Topic how to make blender butter: Discover the joy of making your own blender butter with our easy-to-follow guide. Unlock the secret to creamy, fresh butter that will elevate your cooking and baking to new heights.
Table of Content
- How long does it take for heavy cream to separate in a blender when making butter?
- Essential Ingredients and Tools
- Step-by-Step Guide to Making Butter
- Understanding the Process: From Cream to Butter
- Flavoring Your Butter: Salt and Other Additions
- Tips for Perfect Blender Butter Every Time
- YOUTUBE: Making Butter in a Blender
- Storing Your Homemade Butter
- Common Mistakes and How to Avoid Them
- Uses for Homemade Butter
- FAQs: Troubleshooting Your Butter Making Process
How long does it take for heavy cream to separate in a blender when making butter?
When making butter in a blender, it usually takes around 5-10 minutes for heavy cream to separate. Below are the detailed steps to make butter using a blender:
- Pour the heavy cream into your blender.
- Blend the cream on high speed until it starts to separate.
- Continue blending until the cream separates into solid butter and liquid buttermilk. This usually takes about 5-10 minutes.
- Once separation occurs, stop blending and strain the mixture to separate the butter from the buttermilk.
- Rinse the butter under cold water to remove any remaining buttermilk.
- Squeeze and knead the butter to remove excess moisture.
- You can add salt or other flavorings to the butter if desired and mix them in.
- Finally, shape the butter into a stick or store it in an airtight container in the refrigerator.
READ MORE:
Essential Ingredients and Tools
To start making your own blender butter, you\"ll need just a few key ingredients and tools. This simple process transforms cream into fresh, delicious butter with minimal effort.
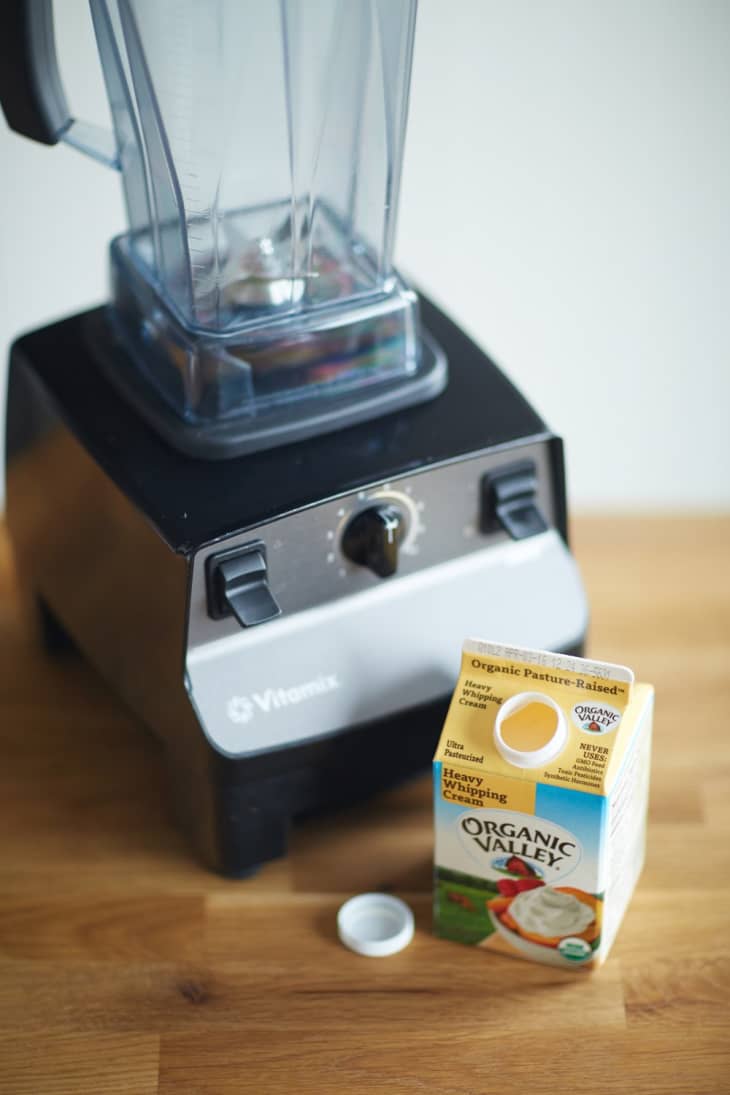
- Heavy Cream: Look for high-quality, preferably organic, heavy cream with a high fat content for the best results.
- Salt (Optional): Add salt to taste if you prefer salted butter. For unsalted butter, simply omit this ingredient.
In addition to the ingredients, you\"ll need the following tools:
- A High-Power Blender or Food Processor: This is essential for whipping the cream into butter. Make sure it\"s clean and dry before use.
- Measuring Cups and Spoons: For measuring your cream and salt accurately.
- Sp spatula: To help scrape the sides of the blender and ensure all the cream is whipped evenly.
- A Bowl and Strainer: For separating the buttermilk from the solid butter after the whipping process.
- Cheesecloth or a Clean Kitchen Towel: For squeezing out any remaining buttermilk from the butter.
With these simple ingredients and tools, you\"re ready to make homemade butter that\"s fresher and tastier than store-bought. Let\"s get started!

Step-by-Step Guide to Making Butter
Follow these simple steps to turn heavy cream into delicious, homemade butter using a blender. It\"s a fun and rewarding process that yields fresh butter you can enjoy in any dish.
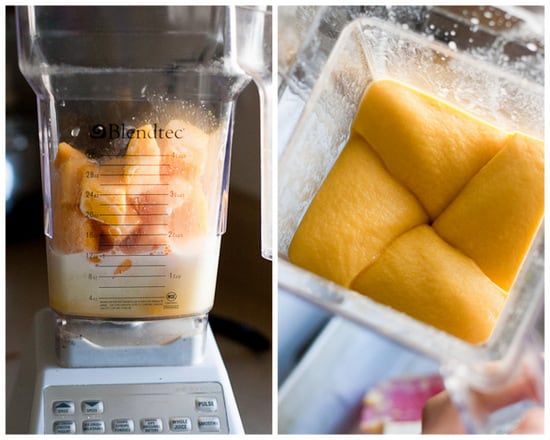
- Pour the Heavy Cream: Start by pouring the heavy cream into your blender. Fill it only halfway to avoid spillage during blending.
- Blend on High: Secure the lid and blend on the highest setting. The cream will go through stages, first turning into whipped cream, then separating into butter and buttermilk.
- Monitor the Process: Keep an eye on the mixture. Once you see the separation (solid butter clumps and liquid buttermilk), stop blending. This usually takes about 2-5 minutes, depending on your blender\"s power.
- Drain the Buttermilk: Pour the contents through a strainer or cheesecloth over a bowl to catch the buttermilk (which you can save for other recipes).
- Rinse the Butter: Transfer the butter solids into a clean bowl of cold water. Gently knead it to rinse out any remaining buttermilk. Drain and repeat this process until the water runs clear.
- Add Salt (Optional): If you prefer salted butter, now is the time to mix in a pinch of salt. Knead it into the butter evenly.
- Shape and Store: Once your butter is rinsed, give it a final knead and then shape it as desired. Wrap it in parchment paper or place it in an airtight container. Store in the refrigerator or freezer.
Congratulations! You\"ve made fresh, homemade butter. Enjoy it on bread, in cooking, or as a spread to enhance your meals with a touch of homemade goodness.

Understanding the Process: From Cream to Butter
The transformation of cream into butter is a fascinating process that combines science and culinary art. Understanding this process will not only make you a better butter maker but also deepen your appreciation for this essential kitchen staple.
- Fat Content: Butter is made from the fat in cream. Heavy cream, with a higher fat content, is ideal for making butter.
- Agitation: When you blend cream at high speeds, the fat molecules start to clump together. This is the beginning of butter formation.
- Separation: Continued agitation causes the fat molecules to coalesce, separating from the liquid, known as buttermilk. This separation is crucial for butter formation.
- Washing: Washing the butter removes any remaining buttermilk, which can spoil the butter. This step ensures your butter stays fresh longer.
- Kneading: Kneading the butter helps in removing excess water, resulting in a firmer, more spreadable butter.
This process not only yields delicious homemade butter but also gives you a by-product - buttermilk - which can be used in baking or cooking. The transformation from cream to butter is a simple yet magical culinary journey that anyone can embark on with just a blender and some cream.

Flavoring Your Butter: Salt and Other Additions
Creating your own butter gives you the unique opportunity to customize its flavor according to your preferences. Here\"s how you can enhance your homemade butter with salt and other delicious additions:
- Salt: Adding salt not only enhances the flavor but also acts as a preservative. For every cup of cream, start with a quarter teaspoon of salt, adjusting to taste.
- Herbs and Spices: Fresh or dried herbs like rosemary, thyme, or garlic powder can be mixed into the butter for a savory twist.
- Citrus Zest: Lemon, lime, or orange zest adds a fresh, zesty flavor to butter, perfect for seafood dishes or pastries.
- Sweet Mix-ins: For a sweeter butter, consider adding honey, maple syrup, or even cinnamon. These are great on pancakes, waffles, or bread.
To incorporate these flavors, add your chosen ingredients to the butter after rinsing and gently knead them in until evenly distributed. Whether you prefer classic, savory, or sweet butter, the possibilities are endless when you make it at home.

_HOOK_
Tips for Perfect Blender Butter Every Time
Creating perfect blender butter is an art that comes with a few handy tips and tricks. Follow these guidelines to ensure your homemade butter turns out beautifully every time:
- Start with High-Quality Cream: The quality of your cream directly affects the taste and texture of your butter. Opt for fresh, high-fat, preferably organic cream.
- Use the Right Temperature: Cream should be cold but not too chilled. Let it sit out for about ten minutes before blending to ensure easier fat separation.
- Don’t Overfill Your Blender: Fill your blender only halfway with cream to prevent overflow and ensure even blending.
- Be Patient: The process can take a few minutes, so don’t rush it. Stop the blender occasionally to prevent overheating and to check the consistency.
- Rinse Well: Rinse the butter thoroughly with cold water to remove all traces of buttermilk, which can spoil the butter.
- Experiment with Flavors: Once you’ve mastered basic butter, try adding salts, herbs, or other flavors to customize your creation.
- Store Properly: Wrap your butter in parchment paper or store it in an airtight container in the refrigerator. Homemade butter can also be frozen for extended shelf life.
With these tips, you\"re well on your way to making delicious, creamy butter in your blender every time. Enjoy the process and the tasty results!

Making Butter in a Blender
\"Experience the joy of creating your very own butter from scratch with our step-by-step guide to making butter. From churning the cream to shaping and flavoring, our video showcases the mesmerizing process that will leave you craving for your homemade delight. Get ready to indulge in the rich and satisfying flavors!\"
Storing Your Homemade Butter
Proper storage is key to maintaining the freshness and flavor of your homemade butter. Follow these tips to ensure your butter remains delicious for as long as possible:
- Wrap Tightly: After shaping your butter, wrap it tightly in parchment paper or plastic wrap. This helps to keep out air and other flavors from the fridge.
- Use an Airtight Container: For extra protection, place the wrapped butter in an airtight container. This step is crucial to prevent the butter from absorbing odors and flavors from other foods.
- Refrigerate: Store your butter in the refrigerator if you plan to use it within a few weeks. The cold temperature keeps the butter fresh and spreads easily.
- Freeze for Longevity: If you’ve made a large batch or plan to store it for longer, freezing is an excellent option. Divide your butter into small portions, wrap each piece securely, and freeze. Thaw in the refrigerator before use.
- Label Your Butter: Don’t forget to label your butter with the date of production. Homemade butter can last in the fridge for up to a month and in the freezer for up to a year.
With these storage tips, your homemade blender butter will remain a flavorful addition to your meals, ready to enhance your dishes whenever you need it.
Common Mistakes and How to Avoid Them
While making butter in a blender is relatively straightforward, there are a few common pitfalls that can affect the outcome. Here\"s how to avoid them and ensure success every time:
- Not Using the Right Cream: Ensure you use heavy cream with a high fat content for best results. Low-fat creams won\"t yield the same results.
- Overfilling the Blender: Filling the blender too much can prevent the cream from whipping properly and cause spillage. Fill it only halfway to give the cream enough space to churn.
- Impatience: The process can take several minutes, and stopping too early may result in whipped cream rather than butter. Continue blending until you see clear separation.
- Inadequate Rinsing: Not rinsing the butter properly can leave buttermilk behind, leading to quicker spoilage. Rinse thoroughly until the water runs clear.
- Skipping the Kneading: Kneading the butter helps remove excess buttermilk and water. This step is crucial for achieving the right consistency and extending shelf life.
- Incorrect Storage: Storing butter improperly can lead to absorption of fridge odors or spoilage. Wrap your butter tightly and store it in an airtight container.
By avoiding these common mistakes, you\"ll ensure your homemade blender butter is perfect every time, with the right texture and a long shelf life.
Uses for Homemade Butter
Homemade butter is not only a delicious treat but also a versatile ingredient that can enhance a wide range of dishes. Here are some creative and classic ways to enjoy your freshly made butter:
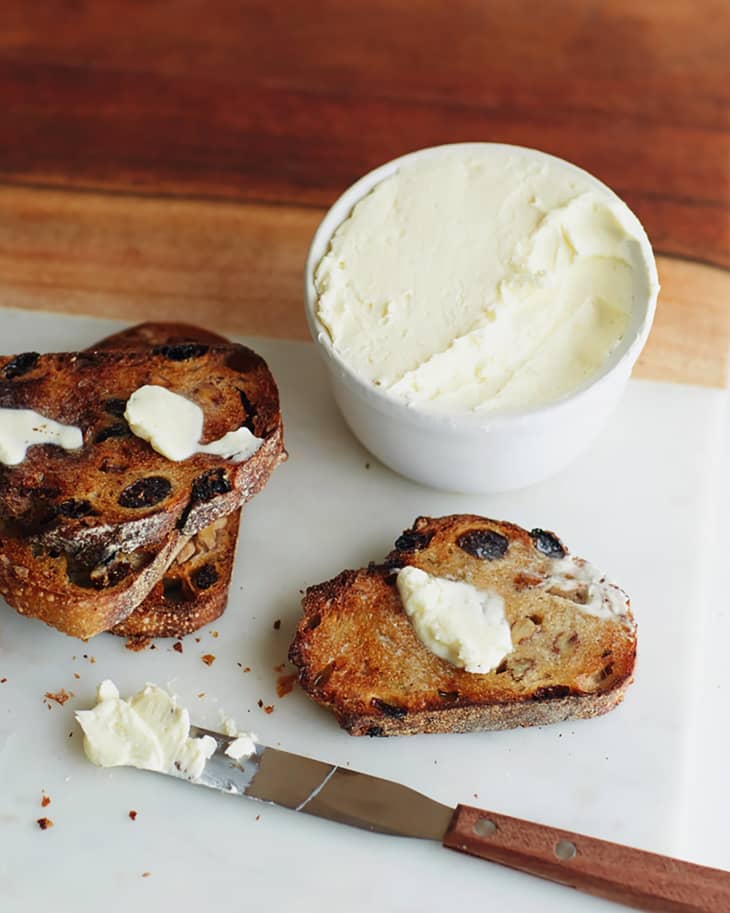
- Spread on Fresh Bread: There\"s nothing quite like the taste of creamy, homemade butter on a slice of warm, fresh bread.
- Baking: Use your butter in baking for richer, more flavorful pastries, cakes, and cookies. Homemade butter can make a significant difference in the taste of your baked goods.
- Cooking: Elevate your cooking by using homemade butter in your recipes. It\"s perfect for sautéing, frying, and adding a rich, buttery flavor to sauces and soups.
- Flavored Butters: Mix in herbs, spices, garlic, or sweeteners to create flavored butters. These are fantastic for spreading on bread, melting over steaks, or adding a special touch to vegetables.
- Homemade Gifts: Packaged in a pretty jar or wrapped in paper, homemade butter makes a thoughtful and unique gift for foodie friends and family.
With these ideas, you can begin to explore the many delightful uses of your homemade butter. Enjoy the process and the delicious results!

READ MORE:
FAQs: Troubleshooting Your Butter Making Process
Encountering issues while making blender butter? Here are some frequently asked questions and their solutions to help you perfect your butter-making skills:
- Why isn\"t my cream turning into butter? Make sure your cream is at the right temperature and that you\"re blending long enough. It might take several minutes for the cream to separate into butter and buttermilk.
- How do I know when the butter is ready? Look for the separation stage, where solid butter clumps form and buttermilk separates. Once you see this, stop blending.
- My butter tastes bland. What can I do? Try adding a pinch of salt or other flavors like honey, herbs, or garlic to enhance the taste of your homemade butter.
- How can I make my butter last longer? Ensure all the buttermilk is rinsed out and store your butter in an airtight container in the refrigerator or freezer.
- The butter is too hard/soft. How can I fix this? If your butter is too hard, let it sit at room temperature for a few minutes before use. If it\"s too soft, store it in a cooler part of your fridge to firm up.
With these tips and solutions, you\"ll be able to troubleshoot common butter-making issues and enjoy homemade butter with confidence and ease.
Embrace the simplicity and satisfaction of making your own blender butter. With this guide, you\"re equipped to create fresh, flavorful butter that will transform your meals and delight your taste buds. Happy butter making!
_HOOK_