Topic 3d models in blender: Discover the world of 3D Models in Blender, where creativity meets technology. This guide offers insights into mastering Blender for stunning 3D creations, catering to beginners and advanced users alike. Start your 3D modeling journey today!
Table of Content
- How to import and use 3D models in Blender?
- Understanding Blender\"s Interface and Basic Operations
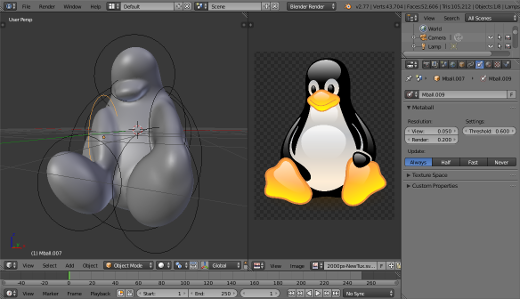
- Starting with Blender: Basic Modeling Techniques
- Texturing and Material Application in Blender
- Lighting and Rendering Tips for Realistic Outputs
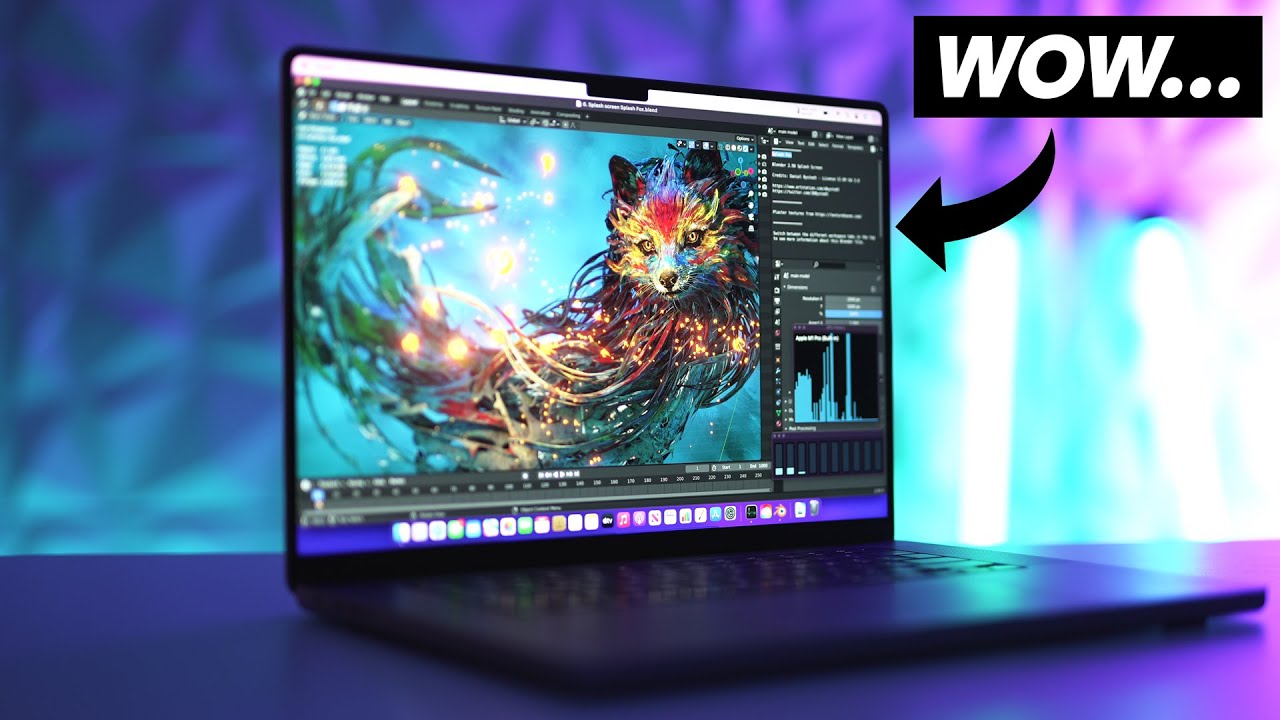
- YOUTUBE: Blender Modeling Introduction: Creating 3D Objects
- Advanced Modeling Techniques: Sculpting, Rigging, and Animation
- Utilizing Blender Add-ons and Plugins for Enhanced Functionality
- Free and Premium Blender Model Resources
- Common Challenges and Solutions in Blender Modeling
- Community Support and Learning Resources
- Future Trends in 3D Modeling with Blender
How to import and use 3D models in Blender?
Here is a step-by-step guide on how to import and use 3D models in Blender:
-
First, find a 3D model that you want to import into Blender. You can search for free models online or create your own in a 3D modeling software.
-
Open Blender and make sure you are in the default layout with the 3D viewport.
-
In the top menu, click on File and then select Import. A list of import options will appear.
-
Choose the appropriate file format of your 3D model. Common file formats include .obj, .fbx, and .dae.
-
Locate the file on your computer and click Import. The 3D model will be imported into your Blender scene.
-
If needed, you can adjust the scale, rotation, and position of the imported model using Blender\'s transformation tools.
-
To manipulate the 3D model, select it by right-clicking on it in the 3D viewport. You can then use the Move, Rotate, and Scale tools to make changes.
-
To apply materials or textures to the model, you can use Blender\'s material editor. This will allow you to add color, texture, and other visual properties to different parts of the model.
-
Once you are finished editing the 3D model, you can then render it or export it in various formats for use in other software or projects.
READ MORE:
Understanding Blender\"s Interface and Basic Operations
Blender\"s interface might seem daunting at first, but with a basic understanding of its layout and functions, you can start creating 3D models efficiently. This section will guide you through Blender\"s primary areas, including the 3D viewport, timeline, outliner, properties panel, and more.
- 3D Viewport: The main area where you interact with your models. You can navigate through the scene using mouse controls or shortcut keys.
- Properties Panel: Located to the right of the viewport, this panel contains various tabs for editing object properties, materials, modifiers, and scene settings.
- Outliner: The hierarchical list of all objects in the scene, located in the top right corner. It allows you to select, hide, lock, or organize your models easily.
- Timeline: At the bottom of the screen, the timeline allows you to control animation playback and keyframes.
- Toolbar and Tool Settings: Located on the left side of the 3D viewport, the toolbar provides quick access to various tools for modeling, sculpting, painting, etc. Tool settings appear at the top of the viewport when a tool is selected.
For beginners, familiarizing yourself with these basic operations is crucial:
- Navigation: Learn to rotate, pan, and zoom within the 3D viewport using your mouse and keyboard shortcuts.
- Object Mode and Edit Mode: Understand the difference between these two primary modes. Object Mode is for selecting and manipulating whole objects, while Edit Mode is for modifying the geometry of your model.
- Adding and Modifying Geometry: Practice adding mesh objects to your scene and using edit tools like extrude, scale, and rotate to modify them.
- Applying Materials: Start experimenting with basic materials to change the appearance of your models.
- Rendering: Learn how to render a simple scene to get a final image of your work.
By mastering these basics, you\"ll lay a solid foundation for more advanced 3D modeling techniques in Blender.

Starting with Blender: Basic Modeling Techniques
Embarking on your 3D modeling journey in Blender begins with understanding the core modeling techniques. This section introduces you to the foundational skills necessary to start creating your own 3D models from scratch.
- Primitives: Learn to add basic shapes (primitives) like cubes, spheres, and cylinders as the starting points for your models.
- Extrusion: Master the art of extrusion, a vital technique for extending surfaces to add volume and detail to your models.
- Loop Cuts: Use loop cuts to add more geometry, allowing for more detailed sculpting and modeling.
- Modifiers: Familiarize yourself with modifiers such as Subdivision Surface for smoothing and Mirror for symmetrical modeling.
- Joining and Separating Objects: Learn how to combine multiple objects into one or separate a single object into multiple parts.
Follow these steps to begin basic modeling:
- Start by selecting a primitive shape that resembles the basic form of your final model.
- Use extrusion and loop cuts to refine the shape and add details.
- Apply modifiers to enhance the geometry and appearance of your model.
- Experiment with joining and separating objects to create complex models.
Remember, the key to mastering Blender\"s modeling tools is practice and experimentation. Start with simple projects and gradually move on to more complex creations as you become more comfortable with the software.

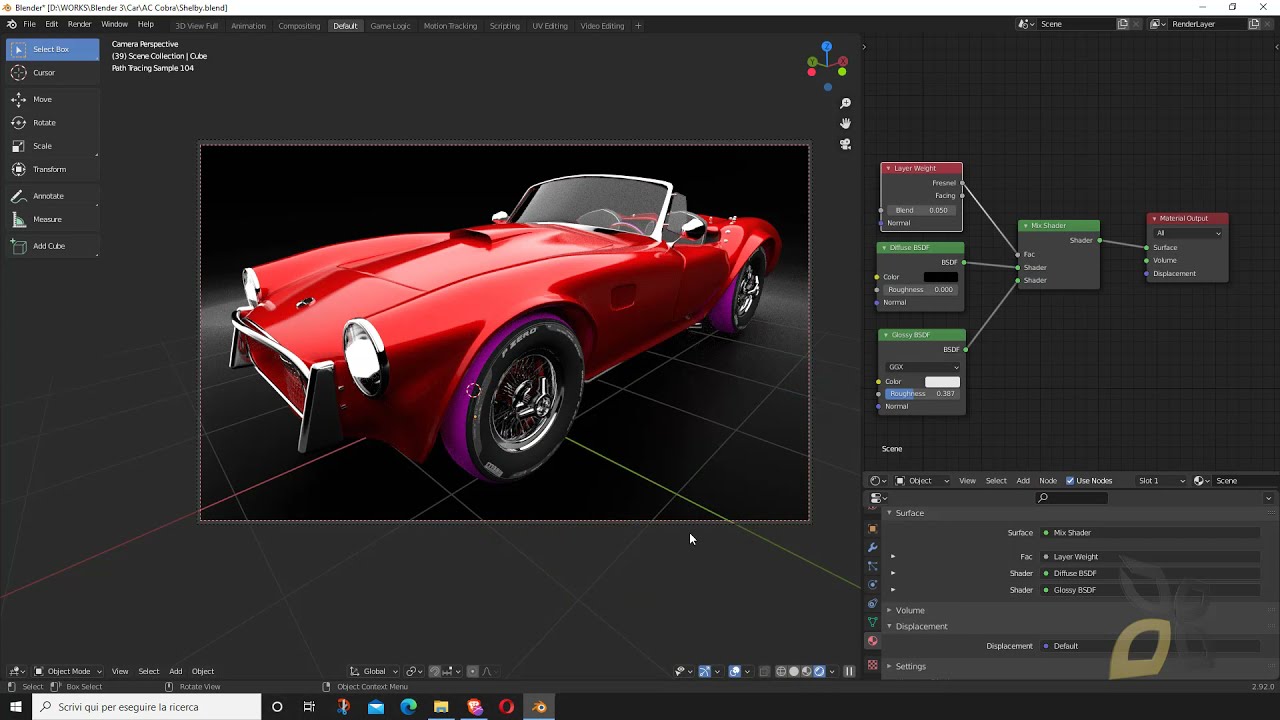
Texturing and Material Application in Blender
Texturing and material application in Blender transforms your 3D models from flat, monochromatic shapes into vivid, detailed creations. This section will guide you through the process of applying textures and materials to your models in Blender, enhancing their realism and appeal.
- Understanding Materials: Learn how to create and apply materials in Blender, adjusting properties such as color, specularity, and roughness to achieve the desired appearance.
- Adding Textures: Discover how to add texture images to your materials, simulating real-world surfaces like wood, metal, fabric, and more.
- UV Mapping: Master the technique of UV mapping, which allows you to project 2D textures onto your 3D models accurately.
- Using Nodes: Get familiar with Blender’s powerful node-based material editor, enabling complex material setups through node connections.
- Shader Effects: Explore the use of shader effects to create dynamic materials with effects like transparency, glossiness, and bump mapping.
To apply textures and materials to your model, follow these steps:
- Create a new material in the Material Properties tab.
- Adjust the material’s settings to achieve the desired base color and finish.
- In the Shader Editor, add texture nodes and connect them to your material’s shader.
- Unwrap your model using UV Mapping to ensure textures align correctly on your model’s surface.
- Refine the material and texture settings, experimenting with different node setups to achieve realistic effects.
By understanding and applying these techniques, you can significantly improve the visual quality of your 3D models in Blender, making them more engaging and lifelike.
Lighting and Rendering Tips for Realistic Outputs
Lighting and rendering are crucial steps in achieving realistic outputs in Blender. This section will provide you with tips to enhance the realism of your 3D models through effective lighting setups and rendering techniques.
- Understanding Lighting Basics: Start by familiarizing yourself with the different types of lights in Blender, such as point, sun, spot, and area lights, and their uses.
- Three-Point Lighting: Employ the three-point lighting technique to add depth and dimension to your models. This setup includes a key light, fill light, and back light.
- HDRI Lighting: Use HDRI (High Dynamic Range Imaging) environments to provide global illumination and reflections, adding realism to your scenes.
- Shadows and Reflections: Adjust the shadow softness and reflection properties to simulate real-world lighting conditions more accurately.
- Rendering Engines: Blender offers several rendering engines, such as Cycles and Eevee. Choose the one that best suits your project needs for realism or speed.
To improve your lighting and rendering, follow these steps:
- Experiment with different lighting setups to understand how they affect mood and realism.
- Use HDRI images to add complex lighting and reflections with minimal setup.
- Adjust the materials and shaders of your objects to work well with your lighting setup, enhancing realism.
- Optimize your rendering settings for quality and efficiency, balancing between render time and output quality.
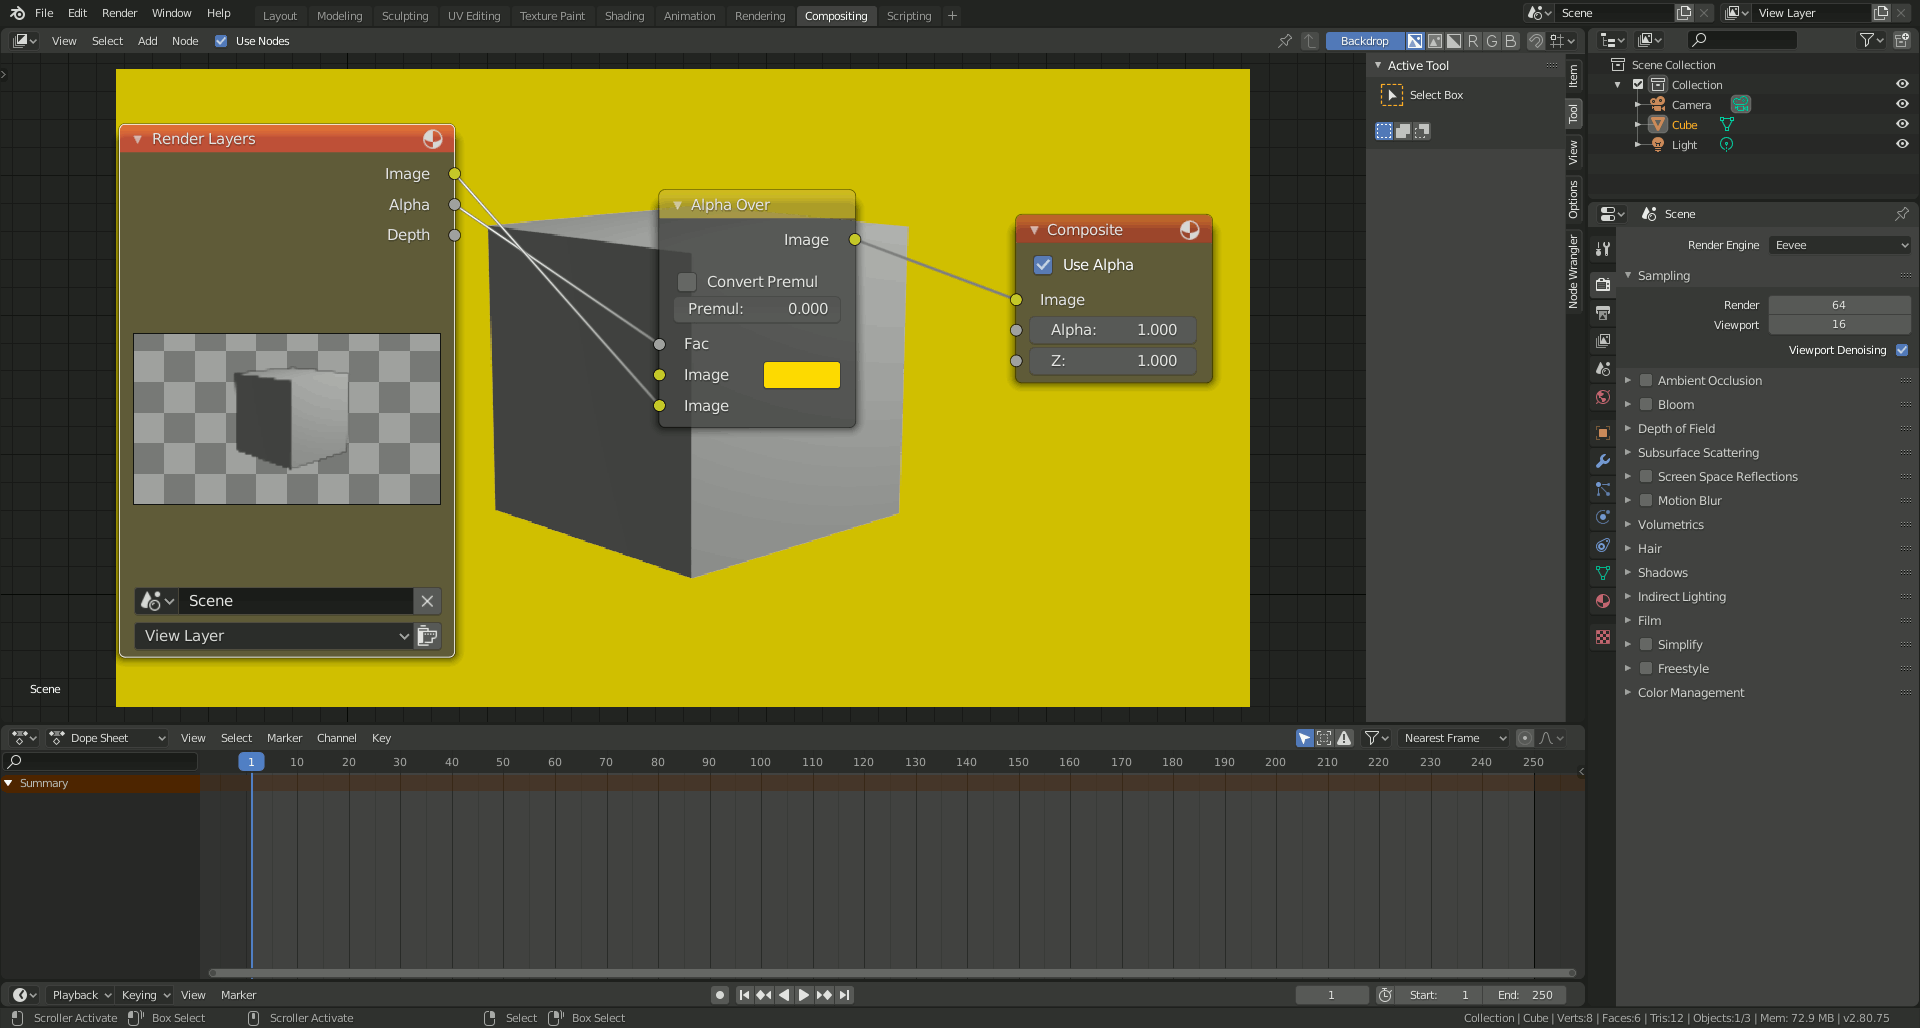
- Utilize Blender’s compositor for post-processing to enhance the final image or animation.
By applying these lighting and rendering tips, you can significantly improve the visual quality of your 3D models and scenes in Blender, making them more lifelike and appealing.

_HOOK_
Blender Modeling Introduction: Creating 3D Objects
\"Discover the incredible world of Blender modeling as we take you on a journey to create stunning 3D models. Learn the step-by-step process and unlock your creativity in this captivating video!\"
Blender Tutorial - 2D Drawing to 3D Model: Part 1
\"Bring your imagination to life with jaw-dropping 3D models! Dive into the fascinating world of 3D modeling as we guide you through the process, empowering you to create your own masterpiece.\"
Advanced Modeling Techniques: Sculpting, Rigging, and Animation
As you progress beyond the basics in Blender, exploring advanced modeling techniques such as sculpting, rigging, and animation opens up new possibilities for your 3D creations. This section delves into these complex techniques, guiding you through the processes to bring your models to life.
- Sculpting: Sculpting in Blender allows for intuitive shaping of your models, similar to working with clay. Discover the dynamic topology feature for adding detail where needed without affecting the overall mesh structure.
- Rigging: Rigging is the process of creating a skeleton for your model so that it can be animated. Learn to use armatures in Blender to rig your characters effectively.
- Animation: Blender\"s animation tools enable you to breathe life into your rigged models. Understand keyframing, the graph editor, and the dope sheet to create smooth animations.
To advance your skills in these areas, follow these steps:
- Start with sculpting to add high levels of detail to your models. Use brushes and the sculpt mode in Blender to refine your creation.
- Move on to rigging by creating an armature that matches your model\"s structure. Pay attention to bone placement for realistic movement.
- Finally, animate your rigged model by setting keyframes for movement over time. Use Blender\"s animation editors to fine-tune your animations for natural motion.
Mastering these advanced techniques requires practice and patience but unlocks the full potential of Blender for creating detailed models, realistic characters, and dynamic animations.
Utilizing Blender Add-ons and Plugins for Enhanced Functionality
Blender\"s functionality can be significantly extended through the use of add-ons and plugins, which are designed to streamline workflows, introduce new tools, and enhance the creative process. Whether you\"re looking to improve your modeling, animation, or rendering capabilities, there\"s likely an add-on that fits your needs. This section explores how to find, install, and utilize these powerful extensions.
- Finding Add-ons and Plugins
- Blender\"s official website and Blender Market are primary sources for both free and premium add-ons. Additionally, GitHub hosts a variety of community-developed plugins. When selecting an add-on, consider the compatibility with your version of Blender, the reviews, and the level of community support.
- Installation Process
- To install an add-on, download the ZIP file and go to Blender\"s Preferences menu. Under the Add-ons tab, click \"Install\" and navigate to your downloaded file. Once installed, enable the add-on by checking the box next to its name, and click \"Save Preferences\" to apply the changes.
- Popular Add-ons for Different Needs
- Modeling: Add-ons like Hard Ops and BoxCutter enhance Blender\"s modeling capabilities, offering advanced tools for boolean operations and hard surface modeling.
- Animation: Rigify automates the rigging process, making it easier to create complex character animations.
- Texturing and Materials: Node Wrangler provides an improved node-based material editing experience, and Substance Painter integration plugins streamline the texturing workflow.
- Rendering: LuxCoreRender and OctaneRender plugins offer alternative rendering engines for photorealistic outputs.
- Simulation and Effects: Flip Fluids and MantaFlow add-ons improve the simulation of fluids and smoke.
- Customizing Your Workflow
- Add-ons can be tailored to fit your specific workflow needs. Many plugins allow customization within their settings, enabling you to adjust parameters to optimize performance and results. Experimenting with different add-ons can help you find the perfect setup for your projects.
- Staying Updated
- Keep your add-ons up to date to ensure compatibility and access to the latest features. Regular updates can introduce new functionalities, bug fixes, and improvements. Most add-ons can be updated directly from the Preferences menu in Blender.
Utilizing add-ons and plugins in Blender can transform your 3D modeling experience by unlocking new possibilities and enhancing your efficiency. By exploring and integrating these tools into your workflow, you can push the boundaries of what\"s possible with Blender.

Free and Premium Blender Model Resources
Finding quality Blender models can significantly speed up your project workflow and enhance your final product. The internet offers a wealth of resources where you can find both free and premium models suitable for a variety of applications, from animation and game development to architectural visualization. Below, we explore some of the best places to find Blender model resources and how to effectively incorporate them into your projects.
- Repositories for Free Blender Models
- BlenderNation and Blend Swap offer extensive collections of free Blender models, ranging from characters to furniture, allowing hobbyists and professionals alike to find assets for their projects.
- CGTrader and TurboSquid also provide a selection of free models, often contributed by a vibrant community of artists.
- The Blender Market has a free section where creators share high-quality assets at no cost, supporting the community-driven aspect of Blender.
- Sources for Premium Blender Models
- For those seeking high-end, production-ready models, platforms like CGTrader, TurboSquid, and the Blender Market offer premium options. These models are typically created by experienced professionals and are ideal for use in commercial projects.
- Premium models often come with detailed textures, realistic materials, and are optimized for better performance, saving time in project development.
- Evaluating Model Quality
- When selecting models, consider the mesh quality, texture resolutions, and compatibility with your version of Blender. Reviews and ratings by other users can also be a helpful guide to ensure the assets meet your expectations.
- Incorporating Models into Your Projects
- After downloading, you can import the models into your Blender scene via the File > Import option. It may be necessary to adjust materials or textures depending on your scene\"s lighting and settings to achieve the desired look.
- Leveraging Models for Learning
- Free and premium models not only serve as assets for your projects but also as learning tools. By examining the construction and setup of professional models, you can gain insights into advanced modeling techniques, texturing methods, and efficient workflows.
Whether you\"re on a tight budget or looking for the highest quality assets, the abundance of free and premium Blender model resources available online ensures that you have the tools needed to bring your creative visions to life.
Common Challenges and Solutions in Blender Modeling
Blender is a powerful tool for 3D modeling, but like any sophisticated software, users can encounter challenges that may hinder their progress. Understanding these common issues and how to resolve them can significantly enhance your modeling efficiency and enjoyment. Below, we discuss some typical problems and provide practical solutions to help you navigate the complexities of Blender modeling.
- Navigating the Interface
- Challenge: First-time users often find Blender\"s interface overwhelming, with its array of panels, menus, and shortcuts.
- Solution: Familiarize yourself with the interface by following beginner tutorials. Customize the interface to suit your workflow, and use the Quick Favorites feature to access frequently used tools easily.
- Mesh Topology Issues
- Challenge: Creating clean mesh topology, especially for complex models or when planning for animation, can be difficult.
- Solution: Use Blender\"s retopology tools, such as the Shrinkwrap modifier or the Poly Build tool, to create clean topology. Practice modeling with topology in mind from the start to avoid issues later.
- Texturing and UV Unwrapping
- Challenge: Texturing and UV unwrapping can be time-consuming, particularly for beginners unfamiliar with the process.
- Solution: Start with simple projects to understand UV mapping basics. Utilize Blender’s Live Unwrap feature and add-ons like UV Squares to simplify the process. Learning to efficiently use seams and pelt mapping can also dramatically improve your texturing workflow.
- Lighting and Rendering
- Challenge: Achieving realistic lighting and rendering settings can be daunting, with many variables to consider.
- Solution: Begin with three-point lighting setups to learn the fundamentals of lighting. Experiment with Blender\"s Eevee for real-time feedback and Cycles for photorealistic renders. Use HDRI environments for natural lighting and reflections.
- Performance Optimization
- Challenge: Managing large scenes and complex models can lead to performance issues in Blender.
- Solution: Use layers and collections to organize and selectively view parts of your scene. Leverage modifiers like Decimate to reduce polygon counts, and consider simplifying objects that are not close to the camera. Utilizing Blender’s viewport shading options can also help maintain a smooth workflow.
- Animation and Rigging
- Challenge: Rigging and animating characters or objects can be intricate, requiring an understanding of bones, weights, and constraints.
- Solution: Start with basic rigging setups and practice with simple animations to build your skills. Use the Rigify add-on to generate rigs automatically, and study existing rigs to see how they are constructed. Break complex animations into smaller, manageable parts.
Overcoming these challenges in Blender modeling requires patience, practice, and a willingness to learn. By addressing these common issues with the suggested solutions, you can improve your skills and confidence in creating stunning 3D models and animations.
Community Support and Learning Resources
The Blender community is vast and incredibly supportive, offering a wealth of resources for learners of all levels. Whether you\"re just starting out or looking to advance your skills, there\"s no shortage of tutorials, forums, and groups ready to help. Here\"s how you can tap into these resources to enhance your Blender journey.
- Official Blender Tutorials and Documentation
- Begin with the basics by exploring the tutorials and documentation available on Blender’s official website. These resources are designed to help you understand the fundamentals of 3D modeling, animation, and rendering in Blender.
- Online Forums and Communities
- Blender Artists Forum is one of the largest Blender communities where users share their work, ask questions, and offer advice.
- Reddit has several subreddits dedicated to Blender, including r/blender for general discussion and r/blenderhelp for troubleshooting.
- Video Tutorials
- Platforms like YouTube have thousands of Blender tutorials covering every topic imaginable. Channels run by experienced Blender artists provide step-by-step guides, tips, and project walkthroughs.
- Blender Networks and User Groups
- Joining a Blender network or a local user group can connect you with fellow Blender enthusiasts. These groups often host meetups, workshops, and webinars where you can learn new skills and share your experiences.
- Blender Conferences and Events
- Annual events like the Blender Conference bring together artists, developers, and educators from around the world. Attending these events, either in-person or virtually, can be a great way to stay updated on the latest Blender developments and network with professionals.
- Books and Educational Materials
- For those who prefer learning from written materials, there are numerous books and guides on Blender. These resources range from introductory texts to advanced manuals on specific aspects of Blender, such as character modeling, lighting, or animation.
With the support of the Blender community and the plethora of learning resources available, mastering Blender has never been more accessible. Engaging with these resources not only boosts your skills but also connects you with a global network of creative individuals who share your passion for 3D modeling and animation.

_HOOK_
READ MORE:
Future Trends in 3D Modeling with Blender
As technology evolves, so too does the landscape of 3D modeling with Blender. The future of 3D modeling with Blender is set to be shaped by several exciting trends, reflecting advancements in technology, changes in the industry, and shifts in how artists create and share their work. Let\"s explore some of the key trends anticipated to influence Blender in the coming years.
- Integration of AI and Machine Learning
- Artificial intelligence and machine learning are expected to play a significant role in automating routine tasks, such as texturing and rigging, thereby speeding up the modeling process and allowing artists to focus on creative aspects.
- Virtual Reality (VR) and Augmented Reality (AR) Content Creation
- With the growing demand for VR and AR experiences, Blender is likely to enhance its tools for creating immersive content, facilitating the development of virtual environments and interactive experiences.
- Real-time Rendering Improvements
- Advancements in real-time rendering, driven by the capabilities of engines like Eevee, will continue to improve, bridging the gap between high-quality rendering and instant feedback, essential for animation and game development.
- Cloud-based Collaboration and Rendering
- The shift towards cloud-based services is expected to enable more collaborative workflows and provide scalable rendering solutions, making high-quality renders more accessible to individuals and small studios.
- Expansion of Blender in Education and Industry
- As Blender becomes more powerful and recognized, its adoption in educational institutions and professional settings is likely to increase, supported by a growing library of resources and a strong community.
- Enhanced Support for Simulation and Physics
- Developments in simulation and physics within Blender will allow for more complex and realistic animations, including better fluid dynamics, soft body physics, and particle systems.
- Customizable Interfaces and Workflows
- Anticipate further enhancements to Blender\"s interface and workflow customization options, enabling users to tailor the software more closely to their individual needs and preferences.
The future of 3D modeling with Blender is bright, with ongoing developments aimed at making the software more powerful, versatile, and accessible. As Blender continues to evolve, it will undoubtedly remain at the forefront of 3D modeling innovation, offering new opportunities for artists and developers worldwide.
Embark on a creative journey with Blender, where endless possibilities in 3D modeling await. Whether you\"re a novice or a pro, the expansive tools, community support, and emerging trends ensure a fulfilling and innovative modeling experience.