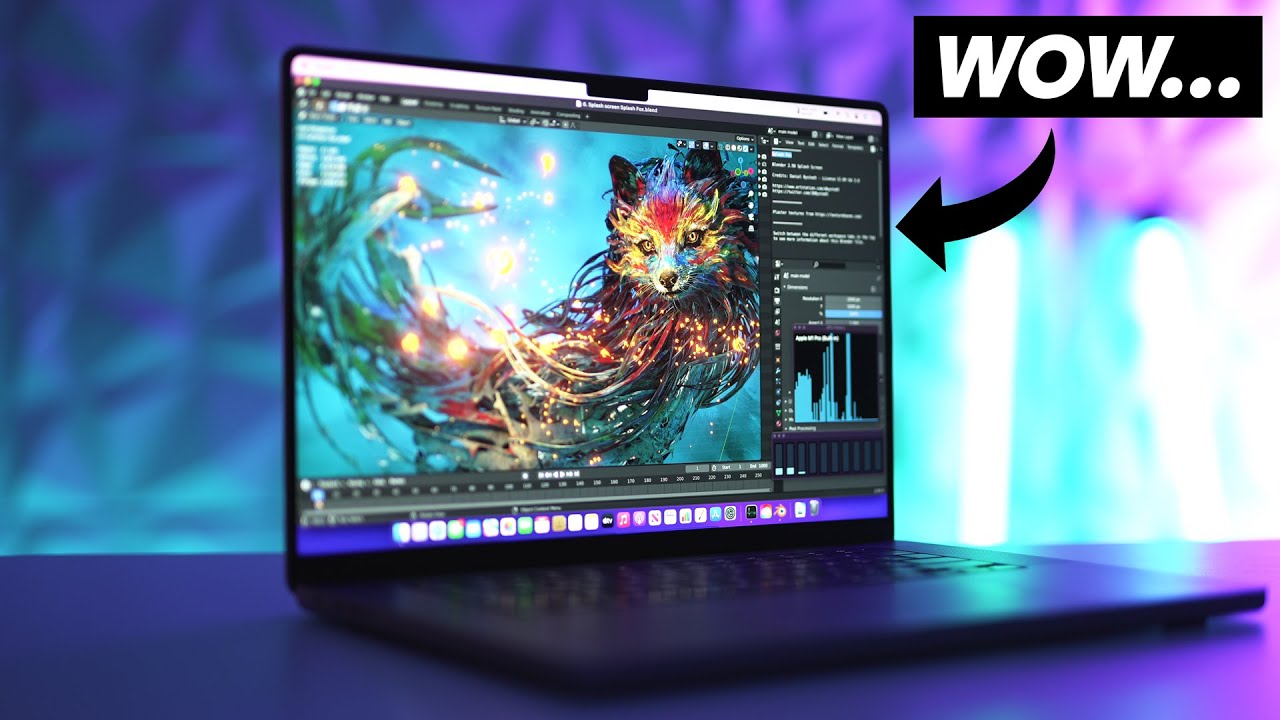
Topic blender mac tutorial: Embark on a creative journey with our Blender Mac Tutorial, designed to empower Mac users to unleash their 3D modeling and animation potential effortlessly.
Table of Content
- What are the best Blender tutorials for Mac users?
- Getting Started with Blender on Mac
- Setting Up Blender for Mac Users
- Understanding Blender\"s Interface and Basic Functions
- Modeling Basics in Blender
- Introduction to Sculpting with Blender
- Creating and Managing Textures
- YOUTUBE: Blender Tutorial for Complete Beginners - Part 1
- Lighting and Rendering Techniques
- Animation Fundamentals in Blender
- Using Blender\"s Physics Simulations
- Advanced Techniques: Scripting and Customization
- Exporting and Sharing Your Work
- Resources and Communities for Further Learning
What are the best Blender tutorials for Mac users?
Here are some of the best Blender tutorials for Mac users:
- Blender Fundamentals 2.8x: This official series covers every aspect of the new interface and helps you get up to speed with Blender 2.80.
- Blender Guru Beginner Tutorial Series: This comprehensive tutorial series by Blender Guru covers the basics of Blender and is suitable for beginners.
- Blender Beginner Tutorial: HDRI Lighting Basics: This tutorial by CG Geek focuses on HDRI lighting basics in Blender and is great for Mac users looking to learn about lighting.
- Blender Tutorial: Donut and Coffee Cup: This popular tutorial series by Blender Guru takes you through the process of creating a donut and coffee cup scene in Blender.
- Blender Sculpting Tutorial for Beginners: If you\'re interested in sculpting in Blender, this tutorial series by YanSculpts is a great starting point.
READ MORE:
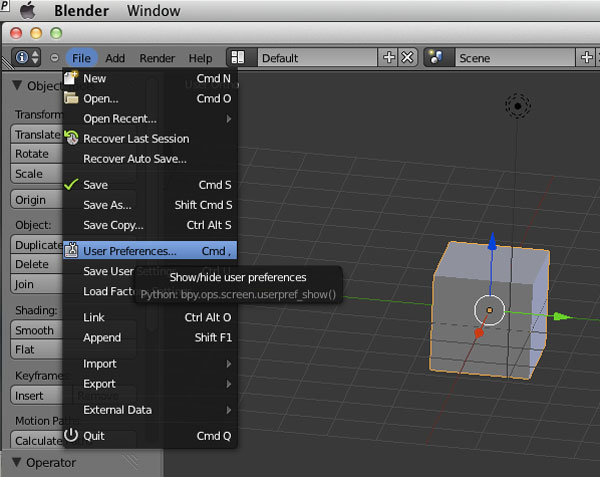
Getting Started with Blender on Mac
Welcome to the exciting world of 3D modeling and animation with Blender on your Mac! This guide will walk you through the steps to get Blender up and running, ensuring a smooth start to your 3D creation journey.
- Download Blender: Visit the official Blender website to download the latest version compatible with macOS. Ensure your Mac meets the system requirements for optimal performance.
- Install Blender: Open the downloaded file and drag the Blender icon to your Applications folder. Follow any additional instructions if prompted.
- Configure Preferences: Upon first launching Blender, navigate to Blender Preferences. Here, you can adjust settings to optimize Blender for your Mac, such as enabling the \"Emulate Numpad\" option for Mac keyboards without a numeric keypad.
- Customize Input Devices: If you\"re using a one-button mouse or a trackpad, adjust the input settings to \"Emulate 3 Button Mouse\" for easier navigation and control in the 3D viewport.
- Explore Interface and Tools: Familiarize yourself with Blender\"s interface. Start with the viewport, object manipulation tools, and the properties panel. Blender offers extensive documentation and tutorials for beginners.
- Create Your First Project: Begin with a simple project, such as modeling a basic object. This will help you get accustomed to Blender\"s tools and workflow.
- Learn Shortcuts: Blender is known for its efficiency-enhancing shortcuts. Learn the basic keyboard shortcuts to improve your workflow and productivity.
Remember, mastering Blender is a journey. Take advantage of online resources, tutorials, and communities to expand your skills. Happy blending!

Setting Up Blender for Mac Users
Setting up Blender on a Mac is straightforward, ensuring you can quickly dive into creating stunning 3D art. Follow these steps to configure Blender for optimal performance on macOS.
- Verify Compatibility: Ensure your Mac meets Blender\"s minimum system requirements. Blender runs efficiently on macOS 10.13 and newer versions, but checking the specific requirements for the Blender version you\"re downloading is advisable.
- Download and Install: Go to the Blender website, select the macOS version of Blender, and download it. Open the downloaded file and drag Blender into your Applications folder.
- Adjust Preferences for Mac: After launching Blender, access the Preferences menu under Blender > Preferences. Here, tailor the settings to fit your Mac setup, such as enabling the \"Emulate Numpad\" option for compact keyboards.
- Configure Input Devices: To accommodate Mac\"s single-button mouse or trackpad, enable \"Emulate 3 Button Mouse\" in Preferences > Input. This allows you to navigate the 3D viewport effectively.
- Customize Interface: Blender\"s interface is highly customizable. Spend some time configuring the layout and themes to your liking, which can enhance your workflow and creativity.
- Install Add-ons: Blender supports various add-ons that can extend its functionality. Explore and install add-ons that can aid your specific workflow. You can manage add-ons in Preferences > Add-ons.
- Explore Blender\"s Features: With Blender set up, start exploring its vast features, from modeling and sculpting to animation and rendering. Utilize the official Blender tutorials and community forums for learning resources.
By following these steps, you\"ll have Blender tailored for your Mac, ready for your 3D modeling, animation, and rendering projects. Enjoy the creative process!
Understanding Blender\"s Interface and Basic Functions
Blender\"s comprehensive interface may seem daunting at first, but it\"s designed for efficiency and flexibility. Let\"s break down the core components and basic functions to get you started.
- Main Areas: The Blender interface is divided into several areas such as the 3D Viewport, Timeline, Outliner, Properties Panel, and more. Each area can be customized to suit your workflow.
- 3D Viewport: This is where you\"ll spend most of your time, viewing and editing your 3D scene. You can navigate the viewport using mouse gestures or shortcuts.
- Properties Panel: Located to the right of the interface, this panel provides access to the object, material, modifier, and scene settings. It\"s essential for detailed work on your projects.
- Outliner: The Outliner, usually found on the top right, lists all the objects in your scene. It\"s useful for selecting, organizing, and managing your scene\"s components.
- Timeline: At the bottom, the Timeline allows you to control animation playback, keyframes, and the frame range for your animation projects.
- Editor Types: Blender features different editor types for tasks such as texturing, UV mapping, scripting, and node editing. You can switch editor types based on your current task.
- Shortcuts: Blender is known for its extensive use of keyboard shortcuts. Learning these shortcuts can significantly speed up your workflow.
Exploring these areas and functions within Blender will give you a solid foundation to build upon. Practice navigating and adjusting the interface to become more efficient in your 3D projects.

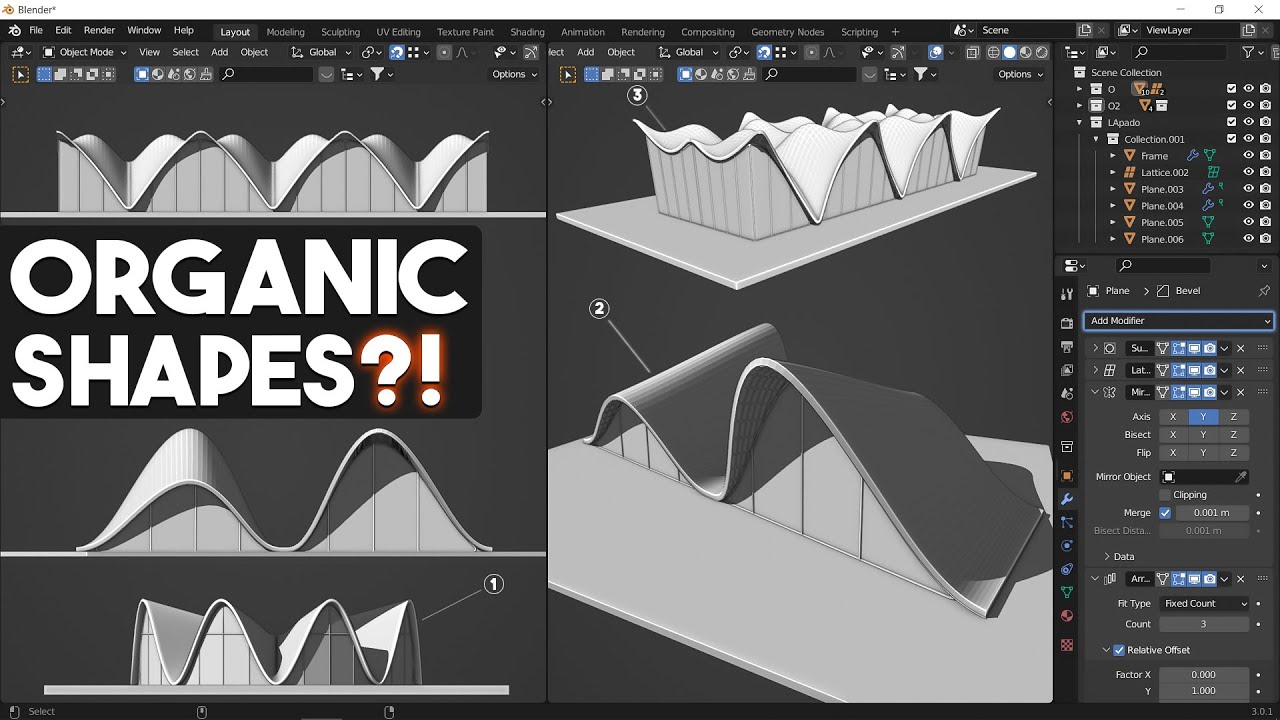
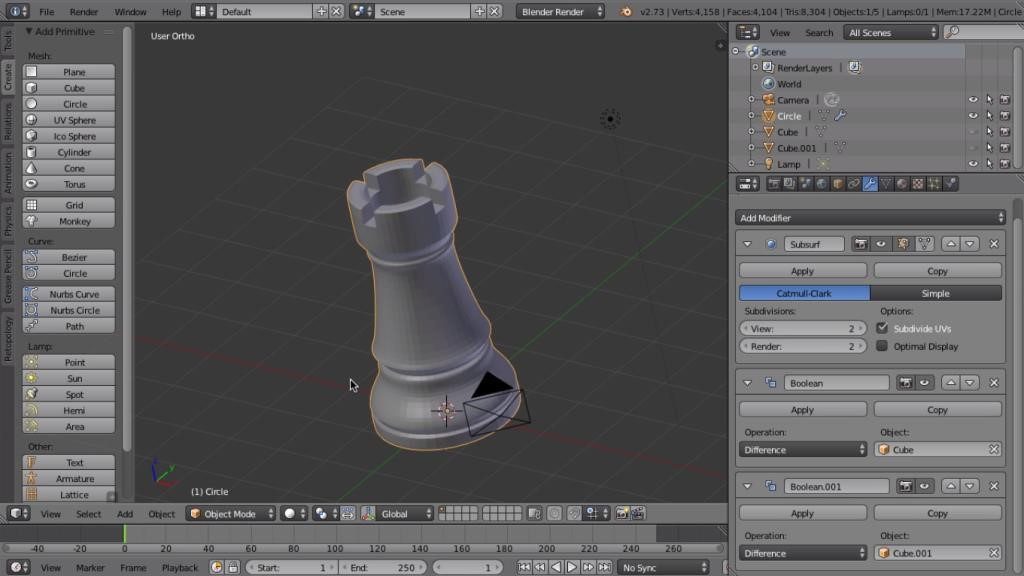
Modeling Basics in Blender
Modeling in Blender opens a world of creativity. This section will guide you through the fundamental steps to start modeling in Blender, ensuring a solid foundation for your 3D art and design projects.
- Starting a New Project: Open Blender and start a new project. Familiarize yourself with the default cube in the 3D viewport, which is often the starting point for modeling exercises.
- Basic Manipulations: Learn to perform basic object manipulations - moving (G key), rotating (R key), and scaling (S key). These are the foundational operations for modeling in Blender.
- Editing Mode: Switch to Edit Mode (Tab key) to modify individual vertices, edges, and faces of an object. This mode is where most of the detailed modeling work happens.
- Adding Geometry: Use the Add menu (Shift + A) to insert new objects into your scene. Starting with simple shapes like spheres, cylinders, and planes can help you understand how to build complex models.
- Modifying Geometry: Explore tools like Extrude (E key), Loop Cut (Ctrl + R), and Bevel (Ctrl + B) to modify and add detail to your objects. These tools are essential for creating intricate models.
- Subdivision Surfaces: Apply a Subdivision Surface modifier to smooth out your models. This modifier is crucial for creating organic shapes and high-detail models.
- Learning Materials and Textures: While not strictly part of modeling, applying basic materials and textures can help visualize your models better and prepare them for the next stages of production.
Modeling in Blender is a skill that improves with practice. Experiment with different tools and techniques, and don\"t hesitate to consult Blender\"s extensive documentation and tutorials for deeper insights.
_HOOK_
Introduction to Sculpting with Blender
Sculpting in Blender allows artists to create detailed models with an intuitive, hands-on approach. This section will introduce you to the basics of sculpting, helping you bring your 3D creations to life with realism and intricacy.
- Accessing Sculpt Mode: Start by selecting your object and switching to Sculpt Mode from the mode menu in the 3D viewport. Sculpt Mode provides a set of tools specifically for sculpting.
- Understanding Brushes: Familiarize yourself with the various brushes available in Sculpt Mode, such as the Draw, Clay, Smooth, and Grab brushes. Each brush has a unique effect on the mesh, allowing for diverse sculpting techniques.
- Dynotopo: For adding detail to your sculpture without worrying about the mesh structure, enable Dynamic Topology (Dynotopo). This feature dynamically subdivides the mesh as you sculpt, allowing for high levels of detail.
- Symmetry: Most organic objects have some form of symmetry. Use the Symmetry options to mirror your sculpting actions across an axis, saving time and ensuring consistency.
- Shaping Your Model: Begin sculpting your model by using the Draw brush to add volume and the Smooth brush to refine surfaces. Experiment with different brushes to achieve the desired form and details.
- Detailing: As your model takes shape, switch to finer brushes for detailing. Add textures, wrinkles, and other small details to bring your sculpture to life.
- Remeshing: To maintain a manageable polygon count and even distribution of vertices, use the Remesh tool. This is particularly useful after extensive sculpting with Dynotopo.
Practice is key to mastering sculpting in Blender. Start with simple projects to familiarize yourself with the tools and techniques, gradually moving on to more complex sculptures as you gain confidence.
Creating and Managing Textures
Textures are crucial for adding realism and depth to your 3D models in Blender. This section will guide you through the process of creating and managing textures, from basic application to advanced manipulation techniques.
- Understanding Textures: Textures in Blender can be images or procedurally generated patterns that are applied to the surfaces of your models to create color, bumpiness, reflectivity, and many other effects.
- Adding a Texture: In the Properties panel, navigate to the Material tab, create a new material, and then go to the Texture tab to add a new texture. You can choose between image textures or procedural textures.
- UV Mapping: For image textures, UV mapping is essential for accurately wrapping the texture around your model. Enter Edit Mode, select all faces, and use the UV Mapping options (U key) to unwrap your model.
- Texture Painting: Blender also allows for direct painting on your model\"s surface in Texture Paint mode. This is great for adding detailed colors, patterns, or wear and tear directly onto your model.
- Using Nodes for Texturing: For more advanced texturing, switch to the Shader Editor and use nodes to create complex materials. Combining different texture nodes can produce highly realistic materials.
- Bump and Normal Maps: To add surface detail without increasing geometry, use bump or normal maps in your material\"s node setup. These maps simulate the appearance of depth on the surface of your model.
- Managing Textures: Organize your textures by naming them appropriately and using Blender\"s asset manager to keep track of your materials and textures for easy access in future projects.
Experimenting with textures and understanding how they affect the appearance of your models is key to creating visually appealing 3D art. Practice with different types and techniques to enhance your skills.

Blender Tutorial for Complete Beginners - Part 1
\"Have you ever wondered how professional chefs effortlessly create those mouthwatering smoothies and soups? Look no further! Our video will introduce you to the wonders of using a blender in the kitchen. Learn the tips and tricks to create healthy and tasty drinks and meals with ease.\"
Lighting and Rendering Techniques
Mastering lighting and rendering in Blender is essential for bringing your 3D scenes to life. This section provides an overview of effective techniques to enhance the visual quality of your projects.
- Types of Lights: Begin by understanding the different types of lights available in Blender, including Point, Sun, Spot, and Area lights. Each type offers unique characteristics suitable for various lighting scenarios.
- Three-Point Lighting: A classic technique that uses three lights (key light, fill light, and back light) to achieve a balanced and professional look. This setup is versatile and can be adjusted for different effects.
- HDRI Lighting: Utilize HDRI (High Dynamic Range Imaging) maps for realistic environmental lighting. HDRI maps simulate lighting from real-world environments, providing a quick and effective way to light your scene.
- Shadows and Reflections: Adjust the shadow and reflection settings of your lights and materials to add depth and realism to your scene. Soft shadows and accurate reflections can greatly enhance the sense of realism.
- Using Blender\"s Render Engines: Blender offers several render engines, including Eevee (real-time) and Cycles (ray-traced). Choose the engine that best fits your project needs and desired level of realism.
- Post-Processing Effects: After rendering, use Blender\"s Compositor to apply post-processing effects such as color correction, glare, and depth of field. These effects can dramatically improve the final image.
- Rendering Settings: Experiment with different rendering settings, including samples, resolution, and denoising, to find the right balance between render quality and time.
Practice and experimentation are key to mastering lighting and rendering in Blender. By exploring different techniques and settings, you can dramatically improve the visual impact of your 3D projects.

Animation Fundamentals in Blender
Animation in Blender is a powerful tool for bringing static scenes and characters to life. This section covers the basic principles and techniques to get started with animation in Blender.
- Understanding Keyframes: Keyframes are the cornerstone of animation in Blender. They define the start and end points of any animation, recording the position, rotation, and scale of objects at specific frames.
- Creating Your First Animation: To animate an object, select it, move to the frame where you want the animation to start, and press I to insert a keyframe. Choose the type of data to record (e.g., location, rotation). Move to another frame, change the object\"s position, and insert another keyframe.
- Timeline and Dope Sheet: Use the Timeline to scrub through your animation and the Dope Sheet to get an overview of all keyframes and to adjust their timing.
- Interpolation and Easing: Blender automatically interpolates the frames between keyframes. You can adjust the interpolation type and easing in the Graph Editor for smoother animations.
- Animating Materials and Lights: Beyond objects, you can animate almost any property in Blender, including material colors, light intensity, and camera movement. The process is the same: select the frame, change the property, and insert a keyframe.
- Using Armatures for Character Animation: For character animation, create an armature (skeleton), parent your mesh to the armature, and animate the bones. This is called rigging and is essential for complex animations.
- Action Editor: For characters and objects with multiple animations, use the Action Editor to create and manage different sets of animations called actions.
Animation is a vast field, and Blender offers a comprehensive set of tools to explore. Start with simple projects to understand the basics and gradually move on to more complex animations as you grow more comfortable with the tools and processes.
Using Blender\"s Physics Simulations
Blender\"s physics simulations offer a way to create realistic animations that mimic the physical world, including fluid dynamics, soft and rigid body dynamics, cloth simulation, and more. This guide will help you start with physics simulations in Blender.
- Understanding Physics Types: Blender provides various physics types for simulation, such as Rigid Body for simulating hard objects that do not deform, Cloth for fabrics, and Fluid for liquids. Each type has its settings and properties.
- Setting Up a Rigid Body Simulation: To create a rigid body simulation, first, add a Rigid Body physics type to your objects. Adjust parameters like Mass, Bounciness, and Friction to control how objects interact.
- Exploring Fluid Simulations: Fluid simulations in Blender are powerful for creating realistic water and liquid effects. Start by defining a domain to simulate the fluid in, and then add fluid objects that interact within this domain.
- Creating Cloth Simulations: Cloth simulations allow you to animate fabrics interacting with other objects and forces. Apply a Cloth modifier to your object and tweak settings like Stiffness, Damping, and Collision to achieve the desired effect.
- Working with Smoke and Fire: Use the Smoke physics type to simulate smoke and fire. Similar to fluid simulations, define a domain and then add smoke or fire emitters. Adjust settings for temperature, vorticity, and smoke color.
- Baking Simulations: Once you\"re satisfied with your setup, you must bake the simulation. Baking calculates all physics interactions and saves them, allowing for smoother playback and rendering.
- Rendering Simulations: With your simulation baked, set up your scene for rendering. Consider lighting and camera angles to showcase the simulation effectively. Use Blender\"s rendering engines, Eevee or Cycles, for the final output.
Physics simulations can add a layer of realism to your Blender projects that would be difficult to achieve manually. Experiment with different types and settings to discover the vast possibilities Blender\"s physics simulations offer.
_HOOK_
Advanced Techniques: Scripting and Customization
Unlocking the full potential of Blender often involves delving into scripting and customization. These advanced techniques allow for automation, creation of custom tools, and personalization of the Blender interface to suit your workflow.
- Introduction to Blender\"s Python API: Blender is deeply integrated with Python, allowing for scripting and automation of tasks. Familiarize yourself with Blender\"s Python API documentation to understand how to interact with Blender programmatically.
- Creating Custom Scripts: Start by writing simple Python scripts to automate repetitive tasks. Use Blender\"s Text Editor to write and execute scripts directly within Blender. Example tasks include batch renaming objects, automating material assignments, or customizing object transformations.
- Developing Custom Add-ons: For more complex functionality, you can develop custom add-ons. Blender\"s Python API allows you to create tools that can be integrated into Blender\"s UI as panels, operators, or modal operators.
- Customizing the User Interface: Blender\"s interface is highly customizable. Use Python scripts to modify the layout, create custom panels, or even develop new interaction modes to streamline your workflow.
- Scripting for Animation: Use Python to create complex animations that would be tedious to keyframe manually. Scripts can generate procedural animations, control particle systems, or dynamically adjust object properties over time.
- Automation of Rendering Tasks: Scripting can also be used to automate rendering tasks, such as batch rendering scenes, setting up render layers and passes, or automating the compositing process.
- Learning Resources: Blender offers extensive documentation on its Python API, and there are numerous tutorials and community forums where you can learn scripting techniques and share custom scripts and add-ons.
By exploring scripting and customization, you can significantly enhance your efficiency and capability within Blender, creating tools and workflows that are tailored to your specific needs.

Exporting and Sharing Your Work
Once you\"ve completed your project in Blender, exporting and sharing your work can be done in several formats, depending on your needs and the platform you wish to share your work on. This section will guide you through the process of exporting your projects from Blender and sharing them with others, ensuring your artwork or animations reach your audience in the best possible quality.
Exporting Your Project
Blender supports a wide range of file formats for exporting, including common ones like .OBJ, .FBX, .DAE (Collada), and Blender\"s own .BLEND. Here’s how to export your project:
- Go to File in the top menu and select Export.
- Choose the format that best suits your project’s needs. If you\"re unsure, .OBJ is widely supported and a good starting point for static models, while .FBX is preferred for complex scenes or animations.
- In the export window, adjust the settings according to your requirements. You can select which parts of your project to export, such as selected objects only, and configure other options related to the chosen format.
- Choose the destination folder and name your file, then click Export.
Sharing Your Work
After exporting your project, it’s time to share it. There are several platforms and methods to share your work:
- Online Portfolios: Websites like ArtStation or Behance allow you to create a professional portfolio. These platforms are popular with artists and can help you get noticed by a wider audience.
- Social Media: Platforms like Instagram, Twitter, and Facebook are great for sharing work with your followers and to reach a wider audience through hashtags and shares.
- 3D Model Marketplaces: If you\"re looking to sell your models, platforms like Sketchfab, TurboSquid, or CGTrader offer marketplaces to list and sell your 3D models.
- Personal Website: Creating a personal website or blog can be a more direct way to showcase your portfolio, offering complete control over how your work is presented.
- Video Platforms: For animations, platforms like YouTube or Vimeo are ideal. They allow you to share your work in its intended format, reaching viewers interested in 3D animation and visual effects.
When sharing your work, consider adding a watermark or signature to protect it, and always provide a clear description of the project to engage your audience. Engaging with your community by responding to comments and feedback can also help to build your presence and reputation in the 3D art world.
Conclusion
Exporting and sharing your work are crucial steps in the creative process, allowing you to showcase your skills and connect with other artists and potential clients. By following these steps and utilizing the platforms available, you can effectively share your Blender projects with the world.
READ MORE:
Resources and Communities for Further Learning
Embarking on your Blender journey is exciting, and the wealth of resources available can help you from the basics to advanced techniques. To continue growing your skills in Blender, explore these recommended resources and communities. They offer tutorials, advice, and the support of fellow Blender enthusiasts.
Online Tutorials and Courses
- Blender Guru: Perfect for beginners and intermediate users, Blender Guru\"s tutorials cover everything from the very basics to more complex projects.
- CG Cookie: Offers a wide range of tutorials and courses that cater to different skill levels, including Blender basics, character modeling, and animation.
- BlenderNation: Provides daily updates on Blender tutorials, news, art, and events, serving as a comprehensive resource for Blender users.
Forums and Community Groups
- Blender Artists Community: An active forum where you can ask questions, share your work, and get feedback from other Blender users.
- Reddit Blender: The Blender subreddit is a place to share and discuss all things related to Blender, including troubleshooting, project showcases, and tutorials.
- Blender Discord Servers: Joining a Blender-focused Discord server can be a great way to get real-time advice and feedback, as well as connect with other Blender enthusiasts.
Books and Manuals
- \"Blender Basics\" by James Chronister: This book is a great starting point for beginners, covering the foundational aspects of Blender.
- The Official Blender Manual: Always a valuable resource, the official Blender manual is updated with each new release, providing comprehensive information on all features.
YouTube Channels
- Darrin Lile: Offers detailed tutorials on character creation, animation, and more, suitable for all levels.
- YanSculpts: Specializes in sculpting and character art, providing insights into creative processes and Blender workflows.
Conclusion
Whether you\"re a beginner just starting out or an experienced user looking to refine your skills, the Blender community is vast and supportive. By engaging with these resources and communities, you can continue to learn, grow, and share your passion for 3D modeling and animation. Happy Blending!
Embark on your Blender journey with confidence, armed with the knowledge from this comprehensive tutorial. Explore, create, and share your artistic visions on Mac, unlocking endless possibilities in 3D modeling and animation.