Topic blender on macbook pro: Discover how Blender on MacBook Pro revolutionizes digital creativity, blending high performance with intuitive design for artists and designers alike.
Table of Content
- Is Blender compatible with MacBook Pro?
- Understanding Blender\"s Compatibility with MacBook Pro
- Optimizing Blender Performance on M1 and M2 MacBooks
- Installation Guide for Blender on MacOS
- Blender Performance: M1 vs M2 MacBook Pro Comparison
- YOUTUBE: Using Blender on M1 Pro MacBook Pro
- Enhancing Blender Workflows with MacBook Pro Features
- Key Blender Updates and Features for Mac Users
- Best Practices for 3D Modeling and Rendering on MacBook Pro
- Maximizing Battery Life While Using Blender on MacBook Pro
- Common Issues and Troubleshooting Tips for Blender on MacOS
- Community and Resources for Blender Users on MacBook Pro
Is Blender compatible with MacBook Pro?
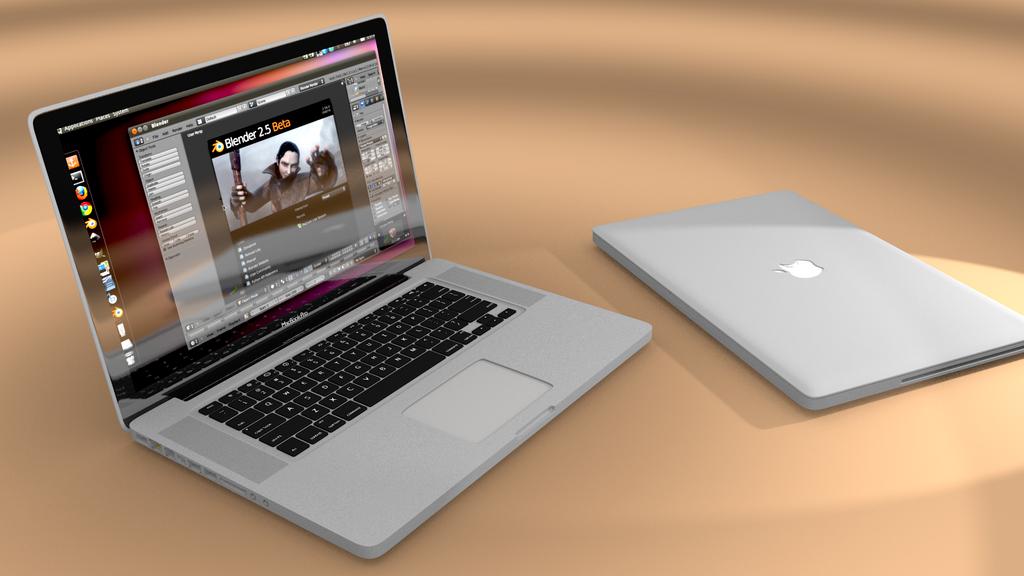
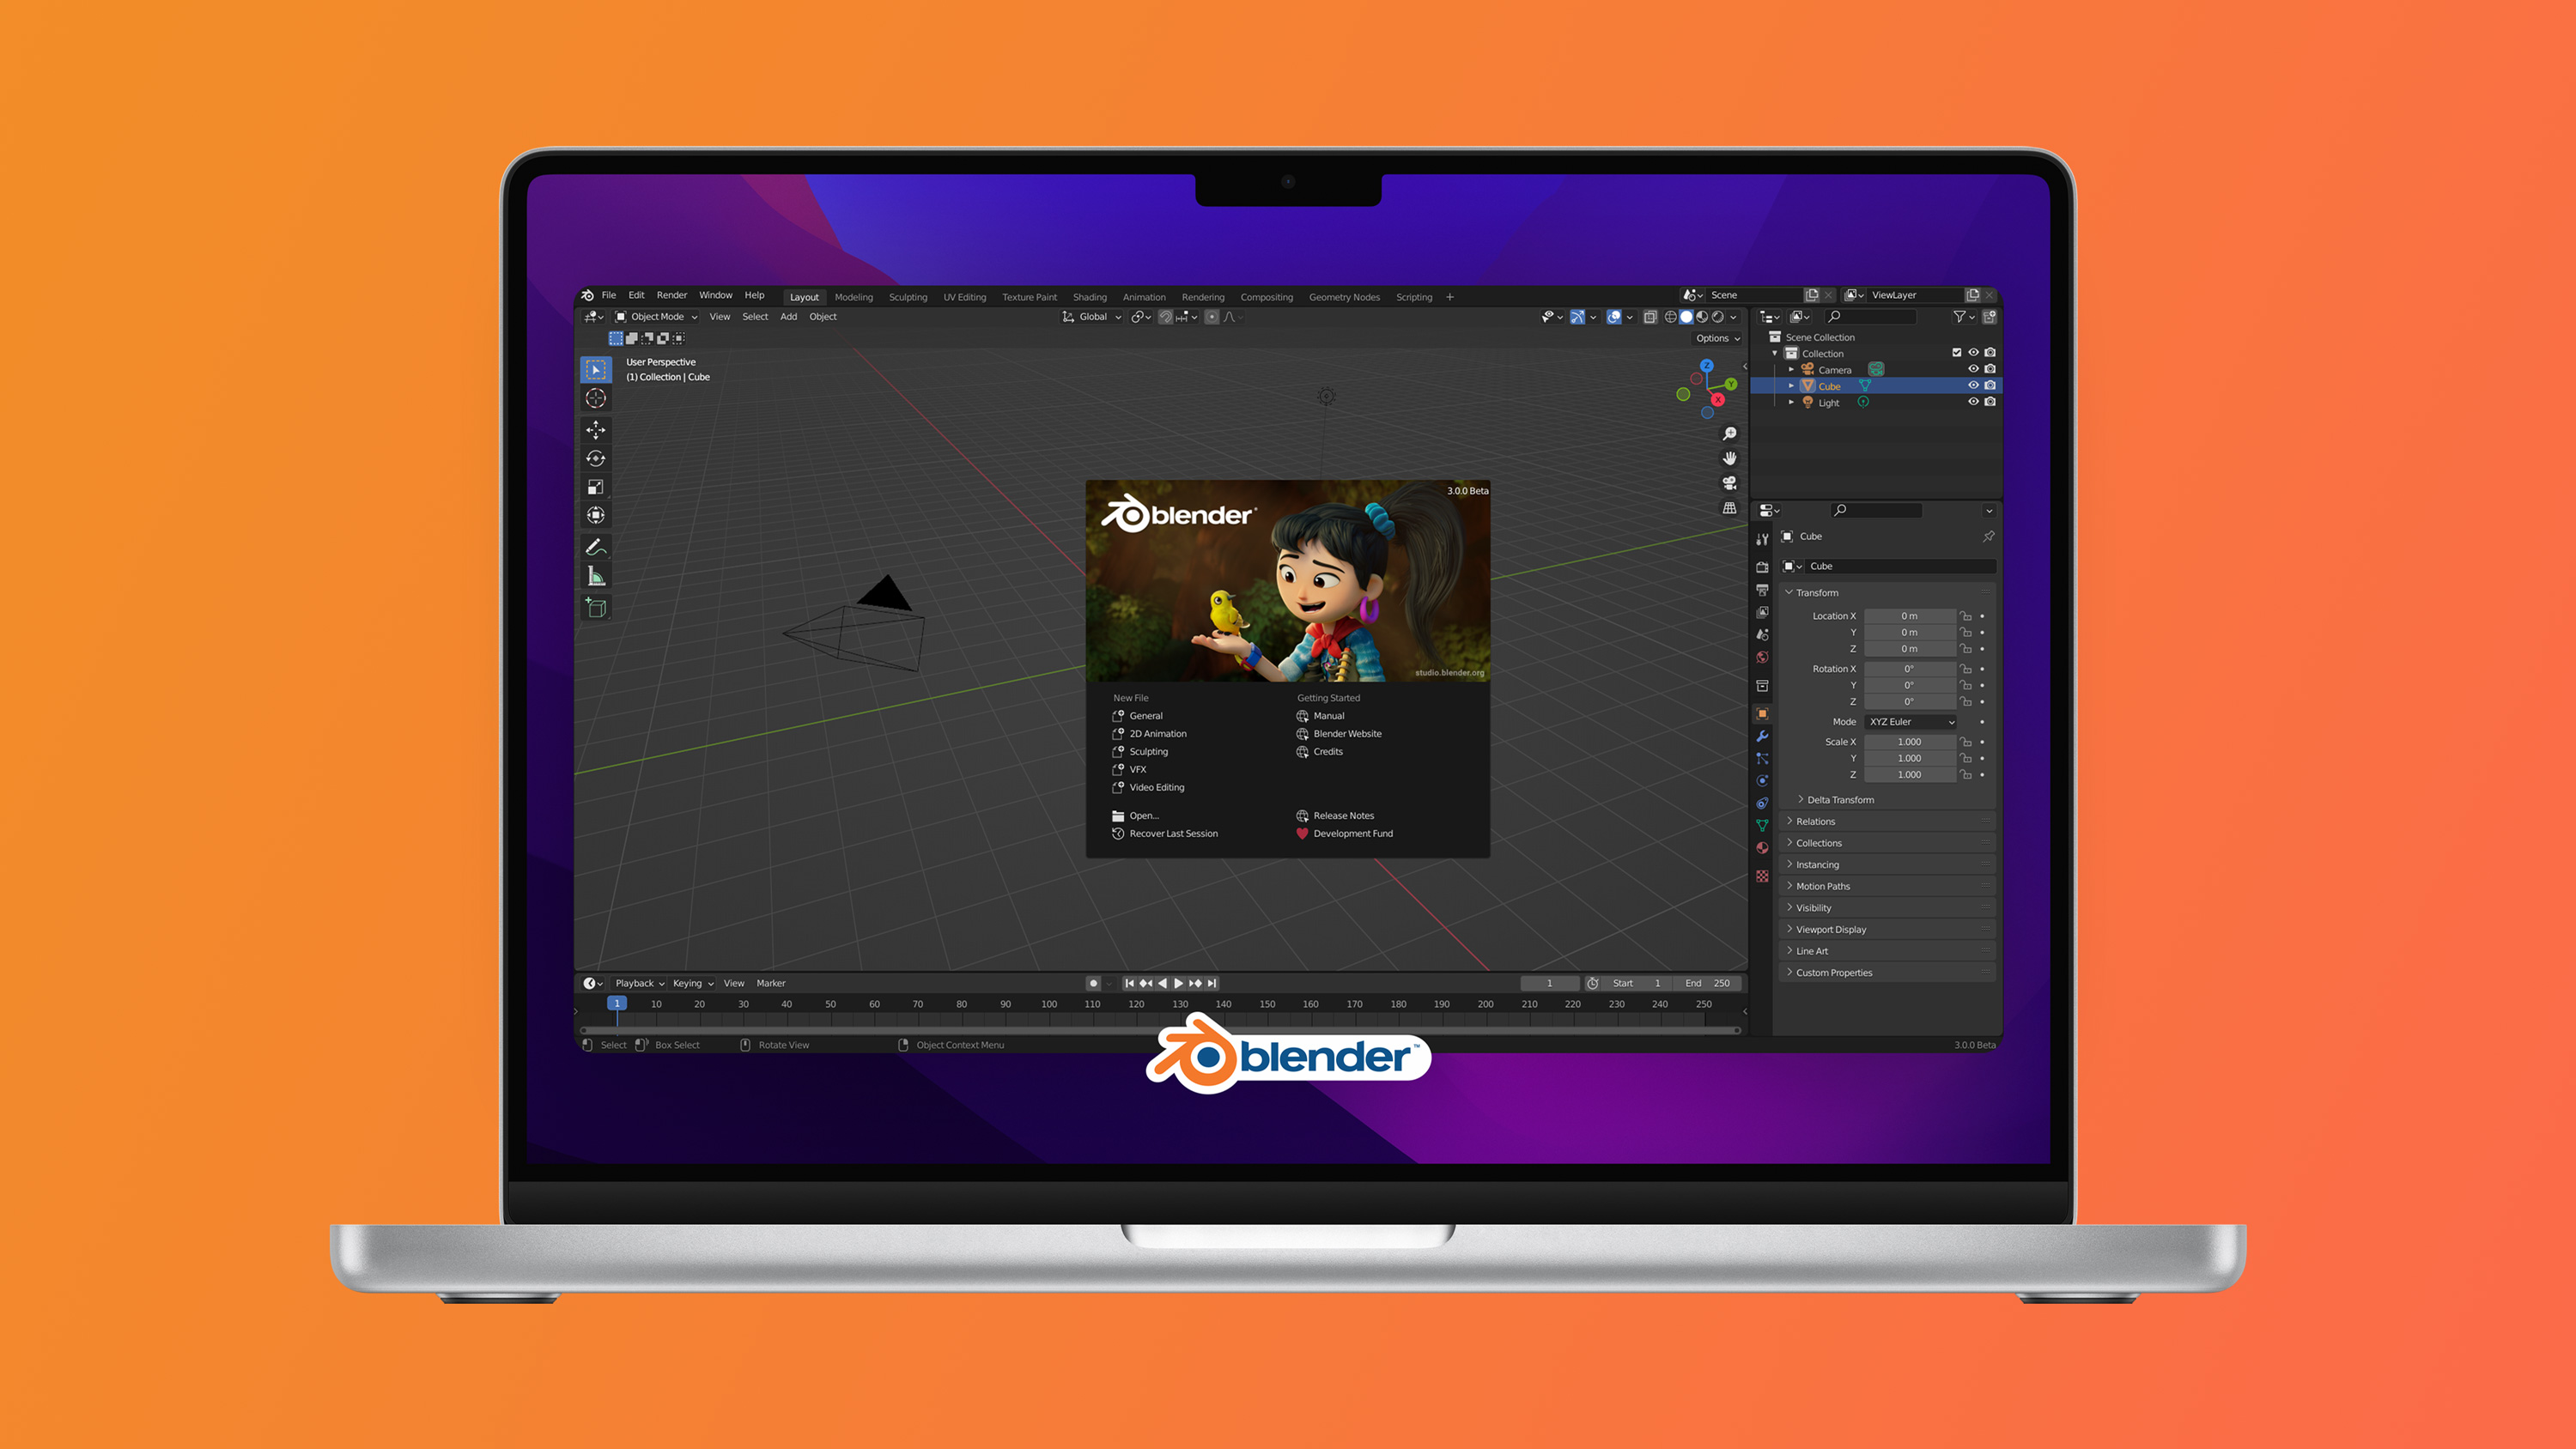
Yes, Blender is compatible with MacBook Pro. While there may be certain limitations and performance issues on macOS compared to other platforms, it is still fully functional and can be used for 3D modeling, animation, and rendering on a MacBook Pro.
To install and use Blender on a MacBook Pro, follow these steps:
- Open a web browser and go to the official Blender website.
- Navigate to the download page and select the macOS version of Blender.
- Click on the download link to start the download.
- Once the download is complete, locate the downloaded file on your MacBook Pro and open it.
- Follow the installation prompts to install Blender on your MacBook Pro.
- After the installation is complete, locate the Blender application in your Applications folder and double-click on it to launch Blender.
- You can now start using Blender on your MacBook Pro for various 3D modeling, animation, and rendering tasks.
While using Blender on a MacBook Pro, it is recommended to have a relatively powerful model with a dedicated graphics card for smoother performance. Additionally, ensure that you have the latest version of macOS and regularly update Blender to benefit from any performance improvements and bug fixes.
READ MORE:
Understanding Blender\"s Compatibility with MacBook Pro
Blender, a powerful open-source 3D creation suite, runs effectively on MacBook Pro, offering users a seamless experience across various MacOS versions. With Blender, MacBook Pro users can leverage the advanced hardware capabilities of their devices, including high-resolution displays and powerful processors, to enhance their 3D modeling, animation, and rendering projects.
- MacBook Pro models with Intel processors support Blender efficiently, with macOS 10.13 (High Sierra) or later being compatible.
- The introduction of Apple Silicon M1 and M2 chips brings improved performance and efficiency, making Blender operations smoother and faster on MacBook Pro models equipped with these chips.
- Users should ensure they download the latest version of Blender to take full advantage of optimizations for macOS, including enhanced support for Metal, Apple\"s graphics API, for improved rendering speeds.
While Blender is compatible with MacBook Pro, users may need to adjust settings or install additional software for optimal performance. For instance, adjusting Blender\"s memory cache limits and thread count can significantly enhance performance on MacBook Pros with higher RAM and multi-core CPUs.
To ensure Blender runs smoothly on your MacBook Pro:
- Verify that your MacBook Pro meets Blender\"s minimum system requirements.
- Download and install the latest version of Blender from the official website.
- Adjust Blender\"s settings to suit your MacBook\"s specifications for better performance.
By following these guidelines, MacBook Pro users can maximize their Blender experience, unlocking the full potential of their creative projects.
Optimizing Blender Performance on M1 and M2 MacBooks
Apple\"s M1 and M2 MacBooks offer a significant leap in performance, making them ideal for running resource-intensive applications like Blender. To fully harness the power of these chips for Blender, several optimization steps can be taken to ensure a smooth, efficient workflow.
- Ensure Blender is up to date, as the latest versions include optimizations for Apple Silicon, improving overall performance and stability.
- Use Blender\"s native support for Metal, Apple\"s graphics technology, to accelerate rendering tasks. This can be enabled in the Blender preferences.
- Adjust Blender\"s settings to match the capabilities of your MacBook. This includes setting the appropriate tile size in render settings for GPU rendering and increasing the memory limit for caching.
For users aiming to maximize their productivity with Blender on M1 and M2 MacBooks:
- Close unnecessary applications to free up system resources for Blender.
- Experiment with different settings in Blender to find the optimal configuration for your specific projects. This may include adjusting the number of threads used for rendering.
- Consider external storage solutions for large projects to ensure smooth performance and avoid filling the MacBook\"s SSD.
By following these tips, users can significantly enhance Blender\"s performance on M1 and M2 MacBooks, making the most of their powerful hardware for 3D creation.
Installation Guide for Blender on MacOS
Installing Blender on a MacBook Pro is a straightforward process that enables users to start creating 3D projects quickly. Follow these step-by-step instructions to ensure a smooth installation of Blender on MacOS.
- Visit the official Blender website (www.blender.org) to download the latest version of Blender. Ensure you select the version compatible with MacOS.
- Once the download is complete, locate the .dmg file in your Downloads folder and double-click it to open the installer.
- Drag the Blender icon to your Applications folder to install the application on your MacBook Pro.
- After installation, you can eject the Blender disk image from your desktop by right-clicking and selecting \"Eject.\"
- Open your Applications folder and double-click Blender to launch it. The first time you open Blender, MacOS may verify the application before it opens.
- If you see a warning stating that Blender can\"t be opened because it is from an unidentified developer, go to System Preferences > Security & Privacy, and click \"Open Anyway.\"
Blender is now installed on your MacBook Pro and ready for use. To ensure optimal performance, consider adjusting the application\"s preferences according to your MacBook\"s specifications, such as enabling GPU rendering if your model supports it.

Blender Performance: M1 vs M2 MacBook Pro Comparison
The introduction of Apple\"s M1 and M2 chips has significantly impacted the performance of applications like Blender on MacBook Pros. This section compares the Blender performance on M1 and M2 MacBook Pro models to help users understand the benefits and limitations of each.
- M1 MacBook Pro: The M1 chip, with its 8-core CPU and up to 8-core GPU, offers a significant performance boost over previous Intel-based models. Users report smoother viewport interactions and faster rendering times in Blender, thanks to the efficient architecture of the M1 chip. However, some users may encounter compatibility issues with certain Blender add-ons that have not yet been optimized for the ARM architecture.
- M2 MacBook Pro: Building on the success of the M1, the M2 chip further enhances performance with a more powerful 8-core CPU and up to 10-core GPU. This results in even faster rendering times and more fluid handling of complex scenes in Blender. The M2 also improves compatibility with a wider range of Blender add-ons, offering a more seamless experience for users.
Both the M1 and M2 MacBook Pros are capable of running Blender with impressive efficiency, but the M2 offers enhancements in performance and compatibility that may be worth the upgrade for power users. Regardless of the model, both chips represent a significant leap forward for creative professionals using Blender on a MacBook Pro.
It\"s important for users to consider their specific needs, such as the complexity of their Blender projects and the necessity for certain add-ons, when deciding between an M1 or M2 MacBook Pro. Both models offer a robust platform for 3D modeling, animation, and rendering, making them excellent choices for Blender users.
_HOOK_
Using Blender on M1 Pro MacBook Pro
Discover the fascinating world of compatibility in our video! Learn how different personalities, interests, and values can come together harmoniously for a truly powerful and fulfilling relationship. Unlock the secrets to understanding and enhancing your compatibility with others!
Blender on M1 Pro MacBook (CPU, GPU, RAM Usage)
Get ready to be blown away by the incredible performance showcased in our video! Witness breathtaking feats of strength, skill, and talent as our performers push the boundaries of what is possible. Prepare to be amazed and inspired by their incredible performance abilities!
Enhancing Blender Workflows with MacBook Pro Features
The MacBook Pro, with its advanced hardware and features, can significantly enhance Blender workflows, offering creative professionals the tools they need for efficient and effective 3D design and animation. Here are ways to leverage MacBook Pro features in your Blender projects:
- Touch Bar Support: Utilize the Touch Bar on compatible MacBook Pro models for quick access to Blender shortcuts and commands. Customizing the Touch Bar for Blender can streamline your workflow, allowing you to switch tools and settings without breaking your creative flow.
- Retina Display: The high-resolution Retina display on MacBook Pros offers exceptional clarity and detail, critical for intricate 3D modeling and texturing in Blender. Take advantage of this display by adjusting Blender\"s interface to suit high DPI settings for sharper and more vibrant visuals.
- Unified Memory Architecture: MacBook Pros with M1 or M2 chips feature a unified memory architecture, which allows Blender to efficiently utilize RAM for both CPU and GPU tasks. This results in faster rendering times and smoother performance when working with complex scenes.
- External GPU Support: For even more power, connect an external GPU (eGPU) to your MacBook Pro via Thunderbolt 3. This can dramatically increase rendering speeds in Blender, making it ideal for heavy-duty 3D projects.
- Metal API: Blender\"s support for Metal, Apple\"s graphics API, means that rendering tasks are more efficiently handled on the GPU. Ensure you\"re using a version of Blender that supports Metal to make the most of your MacBook Pro\"s graphics capabilities.
By leveraging these MacBook Pro features, Blender users can enjoy a more productive and enjoyable 3D creation experience. Whether it\"s utilizing the Touch Bar for shortcuts, enjoying the clarity of the Retina display, or harnessing the power of an eGPU, the MacBook Pro offers a compelling platform for Blender enthusiasts.

Key Blender Updates and Features for Mac Users
Blender regularly receives updates that introduce new features, improvements, and optimizations specifically beneficial for Mac users. These updates are designed to enhance the compatibility and performance of Blender on macOS, leveraging the unique hardware and software ecosystem of Mac computers. Here are some of the key updates and features that Mac users should be aware of:
- Metal API Support: Recent versions of Blender have added support for Metal, Apple\"s graphics framework, offering improved rendering performance and efficiency on Macs, especially those with M1 and M2 chips.
- Apple Silicon Optimization: Blender has been optimized for the Apple Silicon architecture, ensuring that users of M1 and M2 MacBook Pros experience faster rendering times, smoother viewport performance, and overall improved stability.
- HiDPI Support: Blender\"s interface has been adapted to look sharp and clear on Retina displays, making it easier for artists to work on detailed projects without straining their eyes.
- Touch Bar Integration: For MacBook Pros equipped with a Touch Bar, Blender offers customizable controls, allowing users to access frequently used tools and functions directly from the Touch Bar.
- Enhanced File System Integration: Blender works seamlessly with macOS file management features, including support for drag-and-drop operations and improved file dialog interfaces.
- Ecosystem Compatibility: Blender integrates well with other software and hardware in the Apple ecosystem, including support for importing and exporting file formats commonly used in macOS applications.
These updates ensure that Blender not only runs efficiently on Mac but also takes full advantage of the platform\"s advanced features, providing a seamless and powerful experience for 3D artists and designers.
Best Practices for 3D Modeling and Rendering on MacBook Pro
To maximize the performance and efficiency of 3D modeling and rendering with Blender on a MacBook Pro, adopting best practices is key. These strategies help leverage the MacBook Pro\"s hardware for optimal Blender performance, ensuring smooth workflows and high-quality outputs.
- Optimize Your Scene: Simplify models where possible, use modifiers intelligently, and manage textures and materials to reduce the computational load during rendering.
- Use Collections and Layers: Organize your scene into collections and layers to manage visibility and rendering loads efficiently, which can significantly speed up viewport performance and render times.
- Adjust Blender Settings: Experiment with Blender\"s rendering settings, such as tile size and samples, to find the optimal balance between quality and rendering speed. Smaller tiles are generally faster for CPU rendering, while larger tiles can benefit GPU rendering.
- Manage Resources: Close unnecessary applications to free up system resources for Blender. Also, consider upgrading your MacBook Pro\"s RAM and using an SSD if possible, to improve overall performance.
- Leverage EGPUs: If your workflow requires intensive rendering tasks, connecting an external GPU (eGPU) can greatly enhance rendering speeds, making it a worthy investment for professional projects.
- Utilize Render Farms: For extremely complex scenes or animations, consider using cloud-based render farms that can dramatically reduce rendering times compared to local rendering.
- Stay Updated: Regularly update Blender to the latest version to benefit from performance improvements, bug fixes, and new features that can enhance your 3D modeling and rendering experience on MacBook Pro.
By following these best practices, you can significantly improve the efficiency and quality of your 3D modeling and rendering projects on MacBook Pro, taking full advantage of Blender\"s capabilities.

Maximizing Battery Life While Using Blender on MacBook Pro
When using Blender on a MacBook Pro, managing battery life effectively is essential, especially for users who work on the go. Here are several strategies to extend your MacBook Pro\"s battery life while ensuring Blender runs smoothly.
- Adjust Energy Settings: Go to System Preferences > Energy Saver and adjust the settings for better battery life, such as reducing screen brightness and setting the computer to sleep more quickly when inactive.
- Limit Background Applications: Close unnecessary applications running in the background to reduce CPU load and conserve battery power.
- Use Optimized Blender Settings: Within Blender, adjust settings that can reduce energy consumption without significantly impacting performance, such as lowering the viewport shading quality or using simplified models during modeling.
- Manage Rendering Tasks: Render complex scenes or animations while plugged into a power source. If you must render on battery, consider reducing render resolution or quality to speed up the process and save energy.
- Optimize File Sizes: Work with optimized textures and models to decrease processing requirements, which can help conserve battery life.
- Keep Your MacBook Pro Updated: Ensure your MacBook Pro and Blender are updated to the latest versions. Apple regularly releases software updates that can improve system efficiency and battery performance.
- Monitor Battery Health: Regularly check your MacBook Pro\"s battery health (System Preferences > Battery > Battery Health) and follow Apple\"s recommendations for maintaining battery longevity.
By implementing these tips, you can significantly enhance your MacBook Pro\"s battery life, allowing for longer, more productive Blender sessions without the need for constant recharging.
Common Issues and Troubleshooting Tips for Blender on MacOS
While Blender is a powerful tool for 3D modeling, animation, and rendering, Mac users may occasionally encounter issues. Here are some common problems and troubleshooting tips to ensure a smooth experience with Blender on MacOS.
- Blender Crashes or Fails to Start: Ensure your MacOS is up to date and meets Blender\"s minimum system requirements. If issues persist, try resetting Blender\"s preferences or reinstalling the application.
- Performance Issues: Adjust Blender\"s performance settings, such as lowering the viewport shading resolution or optimizing render settings. Ensure your MacBook Pro is well-ventilated and not overheating.
- Graphics and Display Glitches: Update your MacOS to ensure you have the latest graphics drivers. If you\"re using an external GPU, check that it\"s properly connected and recognized by your Mac.
- Compatibility with Apple Silicon: For M1 and M2 MacBooks, download the ARM version of Blender if available, or use Rosetta 2 for software not yet optimized for Apple Silicon.
- Add-ons and Plugins Not Working: Verify that the add-ons are compatible with the MacOS version of Blender. Consider updating the add-ons or Blender itself to resolve compatibility issues.
- File Saving and Opening Issues: Check file permissions and ensure Blender has access to the necessary folders. Using iCloud or other cloud storage solutions can sometimes cause issues with file access or saving.
For any unresolved issues, the Blender community and official Blender support forums are valuable resources, offering detailed guides, FAQs, and user discussions to help troubleshoot specific problems.
_HOOK_
READ MORE:
Community and Resources for Blender Users on MacBook Pro
Blender\"s vibrant community and wealth of resources are invaluable for MacBook Pro users looking to enhance their skills, solve problems, or connect with fellow artists. Here are some key platforms and resources to support your journey with Blender on MacOS.
- Blender Artists Community: An online forum where Blender users can share work, ask questions, and get feedback from a global community of peers.
- Blender Stack Exchange: A Q&A site for people who use Blender to create 3D graphics, animations, or games. It\"s a great place to find answers to technical questions.
- Official Blender Tutorials: The Blender Foundation offers comprehensive tutorials on its website and YouTube channel, covering everything from beginner basics to advanced techniques.
- BlenderNation: A news and tutorials website where you can find the latest Blender news, articles, tutorials, and artist interviews.
- Blender Conference Videos: Watch presentations and workshops from the annual Blender Conference, featuring artists, developers, and experts from the Blender community.
- MacOS-specific Guides: Look for tutorials and guides that address MacOS-specific issues, such as installation, optimization, and using Blender with MacOS features like the Touch Bar.
- Online Courses and Workshops: Platforms like Udemy, Coursera, and Skillshare offer structured Blender courses ranging from beginner to advanced levels.
Engaging with the Blender community and utilizing these resources can greatly enhance your proficiency and enjoyment of Blender on your MacBook Pro, whether you\"re a beginner or an experienced user.
Embrace the power of Blender on your MacBook Pro to unlock unparalleled creative potential. Dive into a world where your imagination knows no bounds, supported by a community rich in resources and inspiration.