Topic making 3d models in blender: Dive into the world of 3D modeling with Blender, where creativity meets technology. This comprehensive guide will unlock your potential to craft stunning models, from basic shapes to intricate designs, effortlessly.
Table of Content
- How can I create 3D models in Blender?
- Understanding Blender\"s Interface and Basic Functions
- Starting with Simple Projects for Beginners
- Modeling Techniques and Tools in Blender
- Advanced Sculpting Tools and Brushes
- Texturing and Material Application
- Modifiers and Non-Destructive Editing
- YOUTUBE: Blender 2.8 Beginner 3D Modeling Tutorial
- Animating Your 3D Models
- Rendering and Exporting for Different Mediums
- Optimizing Models for 3D Printing
- Integrating Blender with Other Software and Add-ons
How can I create 3D models in Blender?
To create 3D models in Blender, follow these steps:
- Download and Install Blender: Visit the official Blender website and download the latest version of the software. Install it on your computer.
- Open Blender: Launch the Blender application once it is installed.
- Get Familiar with the Interface: Take some time to explore and understand the different panels, views, and tools available in the Blender interface.
- Select a 3D Object: Choose the type of 3D object you want to create from the menu at the bottom of the Blender interface. You can start with basic shapes like cubes, spheres, or cylinders.
- Edit the 3D Object: Select the object and use the various editing tools to modify its shape, size, and other properties. You can use options like scaling, rotating, and translating to manipulate the object.
- Add Detail: Use additional features like extrusion, beveling, and subdivision to add more complexity and detail to your 3D model.
- Create Materials and Textures: Apply different materials and textures to your 3D object to give it a realistic appearance. You can adjust properties like color, transparency, and reflectivity.
- Add Lighting: Place light sources in your 3D scene to illuminate the object. Experiment with different types of lighting, such as ambient, directional, and spotlights, to achieve the desired effect.
- Set up the Camera: Position the camera in your scene to define the viewpoint for rendering. Adjust the camera settings, such as focal length and depth of field, to achieve the desired composition.
- Render the Image: Once everything is set up, you can render your 3D model to create the final image or animation. Use the render settings to control parameters like resolution and output format.
- Save and Export: Save your Blender project file for future editing, and export the final 3D model in a compatible format to use in other software or share with others.
This step-by-step process should help you get started with creating 3D models in Blender. Happy modeling!
READ MORE:
Understanding Blender\"s Interface and Basic Functions
Blender\"s user interface may seem daunting at first, but its powerful features are designed for efficiency and flexibility. Let\"s break down the basics to get you started on your 3D modeling journey.
- Workspace: Blender\"s workspace is highly customizable. You can adjust the layout to fit your project\"s needs, whether it\"s modeling, animation, or texturing.
- 3D Viewport: This is where your 3D scene comes to life. Navigate using mouse controls: rotate with the middle mouse button, pan with shift + middle mouse, and zoom with the scroll wheel.
- Object Mode and Edit Mode: Blender operates in different modes for various tasks. Use Object Mode to select and manipulate whole objects and Edit Mode for detailed mesh editing.
- Tool Shelf and Properties Panel: Access tools for creating and modifying objects on the Tool Shelf, and adjust object properties in the Properties Panel.
- Adding Objects: Press Shift+A to add new objects to your scene, ranging from meshes and lights to cameras.
- Basic Transformation Tools: Use the G key to grab (move), R to rotate, and S to scale objects. Combine these with the X, Y, or Z keys to constrain movements to specific axes.
Remember, the key to mastering Blender is practice and experimentation. Don\"t hesitate to explore the interface and try out different functions to see what they do.

Starting with Simple Projects for Beginners
Embarking on your Blender journey starts with mastering simple projects. These foundational exercises will build your skills gradually, making the learning process enjoyable and effective.
- Creating a Coffee Cup: Begin with something simple like a coffee cup. Learn to create a cylinder, modify its shape, and apply basic materials to simulate ceramic texture.
- Modeling a Simple Character: Step up to modeling a basic character by starting with a simple sphere for the head and cylinders for the limbs. This introduces you to character modeling without overwhelming complexity.
- Designing a Basic Landscape: Practice creating landscapes by using the plane object. Learn to use modifiers like Subdivision Surface for terrain and experiment with sculpting tools for natural features.
- Animating a Bouncing Ball: Animation is a fun way to learn movement. Start with a sphere, animate it to bounce, and play with keyframes to understand timing and spacing.
- Texturing a Simple Object: Apply textures to your models to give them life. Begin with UV unwrapping a simple object and applying a basic texture, learning how materials and lighting affect the final look.
These projects will not only provide a solid foundation in Blender\"s tools and techniques but also inspire creativity and confidence as you progress to more complex creations.
Modeling Techniques and Tools in Blender
Blender offers a rich set of tools and techniques for 3D modeling, catering to both beginners and advanced users. Mastering these can significantly enhance the quality and efficiency of your work.
- Extrusion: Essential for adding volume and complexity, extrusion allows you to extend faces, edges, or vertices from your mesh.
- Loop Cut and Slide: This tool is invaluable for adding more geometry to your models, enabling you to create complex shapes with more control over the mesh.
- Subdivision Surface Modifier: Use this to smooth your models by subdividing the mesh, adding more polygons automatically for a refined look.
- Boolean Operations: Booleans are perfect for creating complex shapes by combining simple ones through operations like union, difference, and intersection.
- Proportional Editing: This feature allows you to move parts of your model while influencing nearby vertices to a controllable degree, ideal for organic modeling.
- Sculpt Mode: For more artistic and detailed modeling, Sculpt Mode offers a set of brushes to shape your models as if they were clay.
- Retopology Tools: For high-poly models or 3D scans, retopology tools help in creating a cleaner, lower-poly version that\"s easier to animate and texture.
By combining these tools and techniques, you can tackle any project from simple objects to complex scenes with confidence and creativity.

Advanced Sculpting Tools and Brushes
Blender\"s sculpting mode transforms your modeling workflow with advanced tools and brushes designed for high-detail work. Perfect for character models, organic shapes, and complex textures, these tools bring your 3D art to life.
- Clay Strips: Ideal for adding volume and shape, mimicking the way clay is added in traditional sculpting.
- Crease: Creates sharp creases or folds, perfect for defining tight edges and intricate details on your models.
- Smooth: Softens the surface of your model, smoothing out bumps and refining the mesh.
- Grab: Allows you to manipulate the mesh by grabbing and pulling, akin to working with virtual clay.
- Snake Hook: Great for extruding parts of the model quickly, useful for creating elongated features like horns or limbs.
- Dyntopo (Dynamic Topology): Dynamically adds topology as you sculpt, allowing for intricate detail without the need for a highly subdivided mesh initially.
- Masking: Enables selective sculpting by protecting certain areas of the model, allowing for focused adjustments without affecting the whole mesh.
With these advanced sculpting tools and brushes, Blender empowers artists to push the boundaries of digital art, enabling the creation of highly detailed and expressive 3D models.
_HOOK_
Texturing and Material Application
Texturing and material application in Blender is a crucial step to bring your 3D models to life, adding realism, depth, and emotion. This process involves mapping textures and applying materials to define how surfaces interact with light.
- Understanding Materials: Materials define the color, shininess, transparency, and texture of your model. Blender\"s node-based shader system allows for complex material creations.
- UV Unwrapping: Before applying textures, you must unwrap your model. This process projects the 3D model onto a 2D plane for texture mapping.
- Texture Painting: Blender offers texture painting tools that allow you to paint directly on your model, giving you full control over the textures’ details.
- Using Shaders: Utilize shaders like Principled BSDF for a wide range of material properties, including metallicity, roughness, and subsurface scattering.
- Bump and Normal Mapping: Add depth and intricacies to your textures without adding geometry, simulating details like scratches, bumps, and dents.
- Environmental Textures: Enhance realism by applying environmental textures for reflections and lighting, using HDRI images for global illumination.
- Node Editor: Dive into the Node Editor for advanced texturing, where you can layer textures, mix shaders, and create dynamic material effects.
Mastering texturing and material application will elevate your 3D models, making them visually striking and lifelike. Blender\"s comprehensive tools support creativity and precision in every project.
Modifiers and Non-Destructive Editing
Modifiers in Blender are powerful tools that allow you to manipulate your 3D models in non-destructive ways, meaning you can make significant changes without permanently altering the base geometry. This flexibility is crucial for experimenting and refining your designs.
- Subdivision Surface: Increases the number of polygons, smoothing your model without changing its basic shape. Ideal for creating organic shapes.
- Array: Creates copies of your model in an array, useful for making complex repetitive structures like stairs or chains.
- Boolean: Combines or subtracts shapes from each other, perfect for creating complex forms through simple operations.
- Bevel: Adds bevels to edges or vertices, giving models a more realistic appearance by rounding sharp corners.
- Mirror: Mirrors your model across a specified axis, saving time when creating symmetrical objects.
- Solidify: Adds thickness to thin objects, essential for 3D printing applications or when an object needs volume.
- Armature: Deforms your model using a skeleton structure for animation, allowing for realistic movement and poses.
Understanding and utilizing modifiers can drastically improve your workflow, offering endless creative possibilities while preserving the integrity of your original models. Experiment with these tools to discover new techniques and enhance your projects.

Blender 2.8 Beginner 3D Modeling Tutorial
Are you a beginner looking to learn something new? Look no further! Our video will guide you step by step, making it easy and enjoyable to pick up new skills and become an expert in no time!
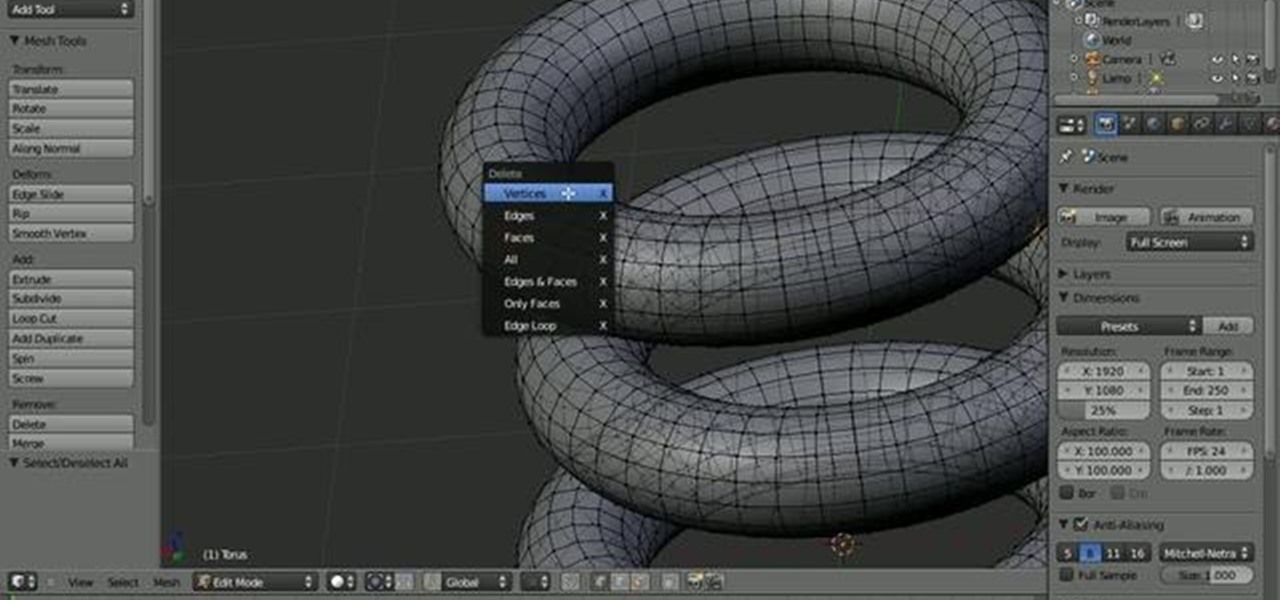
Blender Modeling Introduction: How to create 3D objects
In need of a quick introduction to get you started on your learning journey? Watch our informative video, where we break down the basics and give you a solid foundation to build upon. Get ready to dive into a world of knowledge!
Animating Your 3D Models
Animating your 3D models in Blender adds life to your creations, making them move and interact in realistic or imaginative ways. Whether it\"s simple motion or complex animations, Blender\"s tools are designed to bring your models to life.
- Keyframes: The backbone of animation, keyframes define the start and end points of any movement. Position, rotate, or scale your model at one point, set a keyframe, then move to another point in time, adjust the model, and set another keyframe.
- Animation Curves: Use the Graph Editor to fine-tune animations by adjusting the interpolation curves between keyframes, giving you control over the speed and timing of movements.
- Rigging: Rigging involves creating a skeleton (armature) for your model. Bones are attached to different parts of the mesh, allowing you to animate parts individually or in concert.
- Skinning: Skinning is the process of attaching the mesh to the rig. Proper skinning ensures that when bones move, the mesh deforms naturally.
- Inverse Kinematics: A more advanced rigging technique, inverse kinematics (IK), simplifies animation by allowing you to move a chain of bones by manipulating only the end effector.
- Shape Keys: Use shape keys for facial expressions or other deformations. They allow you to transition smoothly between different shapes of the same mesh.
- Motion Tracking: For integrating 3D elements into video footage, motion tracking tools allow your models to move in sync with real-world objects.
Animation in Blender is both an art and a science, requiring practice and patience. Start with simple projects to understand the basics before moving on to more complex animations.

Rendering and Exporting for Different Mediums
Rendering and exporting are final, crucial steps in 3D modeling with Blender, determining how your creations are shared and experienced across different mediums. Whether it\"s for film, video games, virtual reality, or 3D printing, Blender provides versatile options to bring your work to the intended audience.
- Understanding Render Engines: Blender supports multiple render engines like Cycles (ray-traced, realistic rendering) and Eevee (real-time, game engine-like rendering). Choose based on your project needs for realism or speed.
- Setting Up Lighting and Cameras: Proper lighting and camera setup are essential for capturing your model in the best way. Experiment with different lighting setups and camera angles to highlight the strengths of your model.
- Optimizing Render Settings: Adjust render settings for quality and speed. Consider factors like resolution, samples (for Cycles), and ambient occlusion for the best balance between render quality and time.
- Exporting for Video and Film: Use formats like MPEG or AVI for animations, ensuring compatibility with video editing software. Pay attention to frame rate and aspect ratio to match project requirements.
- Preparing for Game Engines: Export models to formats like FBX or OBJ, widely used in game development. Ensure to bake textures and consider polygon count for performance optimization.
- Virtual Reality and Augmented Reality: For VR/AR, export in formats compatible with your development platform, keeping in mind the need for low-latency rendering and interactivity.
- 3D Printing: For 3D printing, export your model as an STL or OBJ file. Make sure your model is watertight (no holes) and consider material constraints like overhangs and support structures.
With Blender, the possibilities are endless. By mastering rendering and exporting, you can ensure that your 3D models make the leap from the digital realm to the real world, or any virtual environment, with fidelity and impact.
Optimizing Models for 3D Printing
Optimizing 3D models for printing is a crucial step to ensure your Blender creations are ready for the physical world. Proper optimization ensures that your models are structurally sound, aesthetically pleasing, and fully compatible with 3D printing technology.
- Ensure Model Solidity: Your model must be watertight, meaning no holes or non-manifold edges. Use Blender\"s \"Select Non-Manifold\" option to identify and fix these issues.
- Check Wall Thickness: Thin walls can lead to print failures. Ensure all parts of your model have sufficient thickness to support themselves during and after printing.
- Reduce Overhangs: Minimize overhangs beyond 45 degrees to avoid using too much support material, which can be difficult to remove and might mar the surface.
- Optimize Geometry: Simplify complex models to reduce print time and material use. Use modifiers like Decimate to lower polygon count without significantly impacting appearance.
- Apply Scale: In Blender, apply the scale of your model to ensure dimensions are accurate when exported. Incorrect scaling can result in prints that are too small or too large.
- Choose the Right Export Format: Export your model in a format compatible with your 3D printer, typically STL or OBJ, and ensure the file is error-free with tools like Meshmixer.
- Test Print a Small Section: Before printing the entire model, consider printing a small section to check for structural integrity and detail fidelity.
By following these steps, you can fine-tune your Blender models for optimal 3D printing outcomes, bridging the gap between digital art and tangible objects.

_HOOK_
READ MORE:
Integrating Blender with Other Software and Add-ons
Blender\"s versatility is significantly enhanced by its ability to integrate with other software and add-ons, expanding its functionality and streamlining workflows for various projects. Whether for animation, game development, or visual effects, these integrations can unlock new possibilities.
- Unity and Unreal Engine: Export models directly to game engines like Unity or Unreal Engine for real-time visualization and game development. Use the FBX format for best compatibility.
- Adobe Substance Painter: For advanced texturing and material creation, models can be exported from Blender to Substance Painter, allowing for detailed texture painting and then re-imported to Blender for rendering.
- ZBrush for Sculpting: For high-detail sculpting, models can be started in Blender and then exported to ZBrush via GoZ. After sculpting, models can be brought back into Blender for rendering or animation.
- Marvelous Designer for Cloth Simulation: Create realistic clothing in Marvelous Designer and import them into Blender for further refinement and rendering, enhancing characters and scenes with dynamic cloth simulation.
- Blender Add-ons for Enhanced Functionality: Blender\"s community and marketplace offer a wide range of add-ons for tasks like fluid dynamics (e.g., Flip Fluids), terrain generation (e.g., ANT Landscape), and architectural modeling (e.g., Archipack).
- Python Scripting for Custom Tools: Use Blender\"s Python API to write custom scripts and tools, automating tasks, creating custom modifiers, or even developing new types of content within Blender.
Integrating Blender with these tools and add-ons not only enhances its native capabilities but also allows artists and developers to create more complex, detailed, and high-quality projects with efficiency and ease.
Embark on a creative journey with Blender, where endless possibilities await. From sculpting detailed models to animating vibrant scenes, mastering Blender opens doors to a universe of digital artistry and innovation.