Topic 3d text in blender: Unlock the secrets of creating dynamic 3D text in Blender, enhancing your digital art and projects with eye-catching designs and animations that captivate audiences.
Table of Content
- How do I create 3D text in Blender?
- Steps to Create 3D Text
- Customizing Your 3D Text
- Customizing Your 3D Text
- Introduction to 3D Text Creation in Blender
- Getting Started: Basic Steps for Creating 3D Text
- Customizing Text: Fonts, Colors, and Materials
- YOUTUBE: 3D Text in Blender: Everything You Need to Know
- Advanced Techniques: Extrusion, Beveling, and Animation
- Texturing and Lighting for Realistic Effects
- Animating 3D Text: Keyframes and Motion Paths
- Rendering 3D Text: Best Practices and Tips
- Case Studies: Real-World Applications of 3D Text
- Resources and Tutorials for Further Learning
- Conclusion: Unleashing Creativity with 3D Text in Blender
How do I create 3D text in Blender?
To create 3D text in Blender, follow these steps:
- Create a new project in Blender and make sure you are in the default layout with the 3D view.
- Press Shift + A to open the Add menu, then select Text under the Text section to add a new text object to your scene.
- With the text object selected, go to the Object Data properties tab (the one that looks like a letter A) in the Properties Panel.
- Under the Text section, you can type in the text you want to create in 3D.
- Next, in the Font section, you can choose the font and adjust the size of the text as needed.
- To give your text some depth, go to the Geometry section and increase the Extrude value.
- You can also adjust other settings such as beveling, spacing, and alignment to customize the look of your 3D text.
- Once you are satisfied with the look of your 3D text, you can further customize it by adding materials, textures, and lighting to enhance its appearance.
- Finally, you can render your 3D text by going to the Render tab and clicking on the Render Image button to see the final result.
READ MORE:
Steps to Create 3D Text
- Delete the default cube by selecting it and pressing \"X\", then confirming deletion.
- To add text, press \"Shift + A\", select \"Text\" from the menu to introduce a default text object into the scene.
- Enter edit mode by pressing \"Tab\", allowing you to erase the default text and type your desired content.
- Text objects are based on curve objects, offering a wide range of customization through properties.
- To make the text 3D, extrude it by adjusting the extrusion parameter in the object tab of the Properties panel.

Customizing Your 3D Text
- Change the font by accessing the font file from your system or downloading one from font websites.
- Edit text properties such as size, alignment, and curve to create unique and stylish designs.
- Animate your text by adjusting location, rotation, and scale parameters for dynamic presentations.
Advanced Techniques
For more intricate designs, consider using modifiers for effects like beveling or applying physics properties for animations. Blender\"s comprehensive toolset supports extensive creativity in text design.
Creating 3D text in Blender is straightforward, offering limitless possibilities for customization and animation. By following these steps and exploring Blender\"s features, you can produce professional-quality 3D text for any purpose.

Introduction to 3D Text Creation in Blender
Blender is a highly versatile open-source 3D creation suite that allows artists, designers, and hobbyists to create impressive 3D text effects. Whether you\"re looking to enhance your digital art, create eye-catching logos, or add dynamic elements to video projects, Blender\"s text tools provide a robust platform for creativity and expression.
- Starting with Blender: Open Blender and familiarize yourself with the interface to prepare for 3D text creation.
- Adding Text: Use the \"Shift + A\" shortcut to add a text object to your scene, marking the first step in bringing your 3D text to life.
- Editing Text: Enter edit mode by pressing \"Tab\", allowing you to customize your text\"s content to fit your project\"s needs.
- Customization Options: Explore Blender\"s extensive text properties to adjust fonts, size, alignment, and more, tailoring your text to your desired look.
- Extrusion and Bevel: Dive into the geometry options to extrude and bevel your text, adding depth and complexity for a more three-dimensional appearance.
- Materials and Textures: Apply materials and textures to your text to achieve the perfect aesthetic, whether it\"s sleek and modern or rugged and textured.
- Lighting and Rendering: Set up lighting to highlight your text\"s features and render your scene to produce the final polished look.
This introduction aims to equip you with the knowledge to start creating stunning 3D text in Blender, offering step-by-step guidance for beginners and advanced users alike. With practice and exploration, you\"ll be able to unlock the full potential of 3D text in your projects.
_HOOK_
Getting Started: Basic Steps for Creating 3D Text
Creating 3D text in Blender opens up a world of creative possibilities. This section guides you through the initial steps to transform your ideas into captivating 3D text. Whether you\"re aiming for artistic designs, logos, or titles, these foundational steps will get you started.
- Open Blender: Launch Blender and prepare a new project or clear an existing one to start fresh.
- Delete Default Objects: Remove any default objects (like the cube) by selecting them and pressing \"X\" or \"Delete\" to make space for your text.
- Add Text Object: Press \"Shift + A\" to open the Add menu, select \"Text\" to insert a text object into your scene.
- Edit Text: With the text object selected, press \"Tab\" to enter Edit Mode, allowing you to type or modify your text.
- Font and Style: In the Properties panel, navigate to the Font section to choose a font, adjust size, and set other style options.
- Extrude and Bevel: Still in the Properties panel, find the Geometry section to extrude your text for depth and apply bevel for rounded edges.
- Material Application: Apply materials to your text for color, texture, and visual effects, enhancing its 3D appearance.
- Adjust Lighting: Proper lighting is crucial for showcasing your 3D text. Position lights in your scene to highlight the text\"s features.
- Rendering: Finally, render your scene to see the finished 3D text. Experiment with different render settings for the best results.
These steps provide a foundation for creating stunning 3D text in Blender. As you become more familiar with Blender\"s tools and features, you\"ll be able to explore more advanced techniques and creative expressions.

Customizing Text: Fonts, Colors, and Materials
Personalizing 3D text in Blender involves selecting unique fonts, applying vibrant colors, and choosing materials that bring your text to life. This section guides you through the customization process to make your text visually striking and perfectly aligned with your project\"s aesthetic.
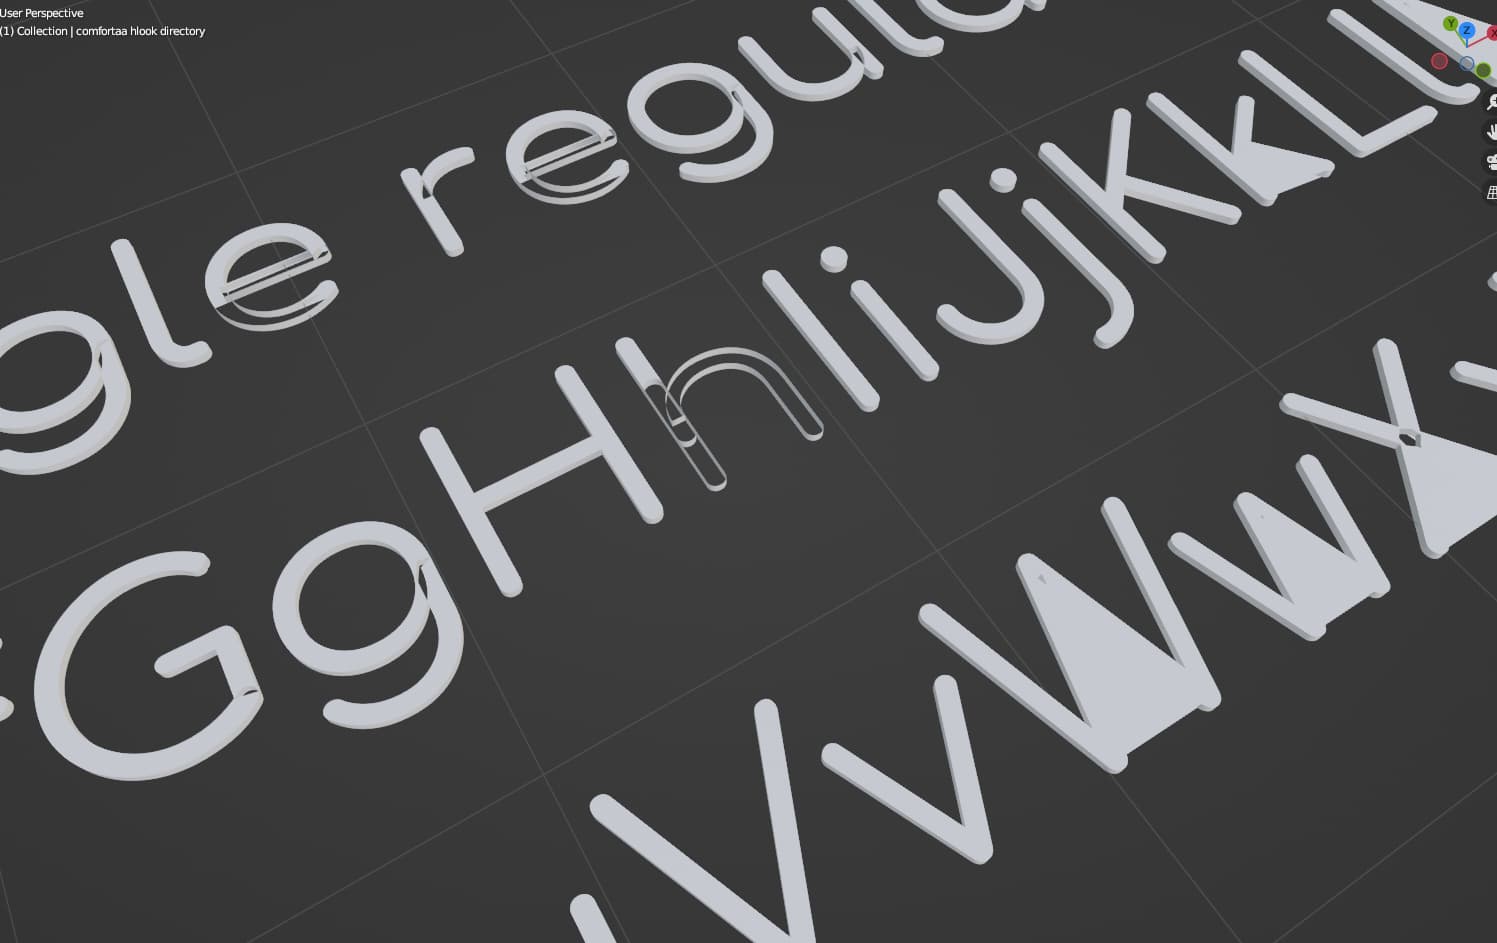
- Choosing Fonts: Blender allows the import of custom fonts. Access the Font properties under the Object Data properties tab to change your text\"s font. You can use fonts from your system or download new ones from the internet.
- Coloring Your Text: To color your text, switch to the Material Properties tab. Here, you can add a new material and select a color. For more complex effects, use the Shader Editor to mix different shaders and create gradients or textured looks.
- Applying Materials: Beyond basic colors, materials define how your text interacts with light, adding depth, reflectivity, and texture. Experiment with different material settings to achieve effects like metallic shine, glass transparency, or rubbery matte.
- Adjusting Extrusion and Bevel: Further customize your text\"s appearance by adjusting its extrusion and bevel in the Geometry section of the Font properties. This can give your text more depth and a more polished look.
- Using Modifiers for Special Effects: For more advanced customization, apply modifiers to your text object. Modifiers like Wave, Displace, or Simple Deform can introduce dynamic shapes and animations to your text.
By carefully selecting fonts, colors, and materials, and utilizing Blender\"s powerful customization tools, you can create 3D text that stands out. Whether you\"re aiming for subtle elegance or bold creativity, these steps will help you achieve the desired impact in your projects.

3D Text in Blender: Everything You Need to Know
Tutorial: Dive into a world of learning with our comprehensive tutorial video! Unlock new skills, enhance your knowledge, and empower yourself to achieve your goals. Let our engaging tutorial guide you towards success. Inflated: Prepare to be amazed by our mind-blowing video on inflated objects! Witness the magic of creativity as ordinary items are transformed into larger-than-life masterpieces. Get ready for a visual feast!
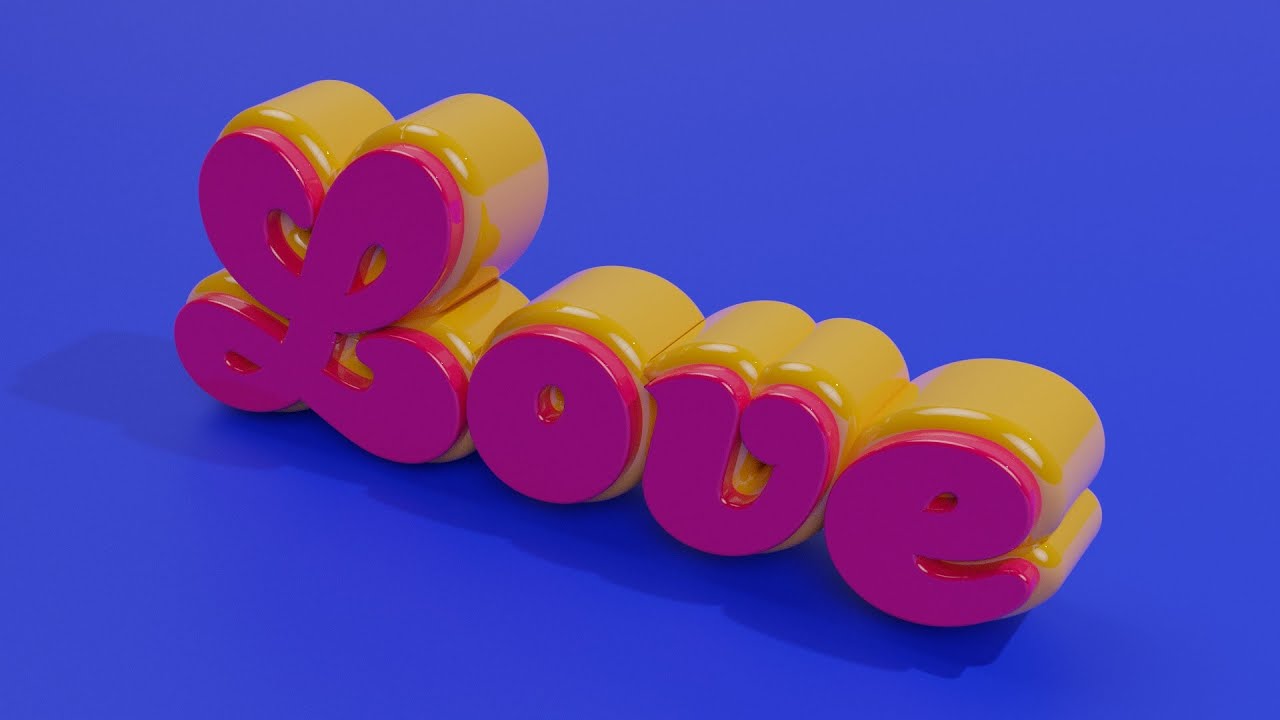
Inflated 3D Text in Blender Tutorial
The first 1000 people to use the link will get a 1 month free trial of Skillshare: https://skl.sh/intranetgirl08221 First installment of the ...
Advanced Techniques: Extrusion, Beveling, and Animation
Once you\"re comfortable with the basics of 3D text creation in Blender, it\"s time to explore more advanced techniques. These methods will add depth, detail, and dynamism to your text, making it stand out in any project.
- Extrusion for Depth: Extruding your text in Blender adds the third dimension, making it pop out from the screen. In the Object Data properties, adjust the \"Extrude\" value under the Geometry section to control the depth of your text.
- Bevel for Smooth Edges: Beveling adds rounded edges to your 3D text, giving it a more polished look. In the same Geometry section, modify the \"Bevel Depth\" and \"Bevel Resolution\" to achieve the desired roundness and smoothness.
- Animation Basics: Animate your text to bring it to life. Start with simple animations like location, rotation, and scale by inserting keyframes at different points in your timeline. For text, consider animating each letter for dynamic effects.
- Advanced Animation Techniques: Explore more complex animations using Blender\"s Graph Editor and Dope Sheet. These tools offer finer control over the timing and interpolation of your animations, allowing for sophisticated motion designs.
- Using Modifiers for Animation: Apply modifiers like Wave, Displace, or Build to your text for unique animation effects. These can make your text appear to grow, ripple, or deform in interesting ways.
Mastering these advanced techniques in Blender will enable you to create 3D text that not only looks stunning but also interacts engagingly with your audience. Whether you\"re working on a logo, title sequence, or digital art, these skills will elevate your text to the next level.
Texturing and Lighting for Realistic Effects
To create visually stunning 3D text in Blender, applying realistic textures and lighting is essential. This section will guide you through the process of texturing your text and setting up lighting to enhance its appearance.
- Applying Textures: Begin by selecting your text object and navigating to the Material Properties tab. Here, you can create a new material and use the Shader Editor to attach textures. Whether you\"re aiming for a metal, wood, or fabric appearance, Blender\"s vast library of textures allows for endless creativity.
- UV Unwrapping: For more complex texturing, consider UV unwrapping your text object. This process involves mapping the 3D surface of your text onto a 2D image, allowing for precise control over how textures are applied.
- Setting Up Lighting: Good lighting is crucial for showcasing the textures and details of your 3D text. Use a combination of key lights, fill lights, and backlights to create depth and highlight the text\"s features. Experiment with different light types and settings to find what best suits your scene.
- Using HDRIs for Environment Lighting: HDRIs (High Dynamic Range Images) can provide realistic environmental lighting and reflections. Adding an HDRI to your scene can instantly elevate the realism of your 3D text.
- Rendering Settings: Finally, adjust your rendering settings to ensure that textures and lighting are accurately represented in the final image. Consider using cycles renderer for its realistic lighting simulation and material appearances.
By carefully texturing your 3D text and setting up effective lighting, you can achieve stunningly realistic results in Blender. These techniques will not only enhance the visual quality of your text but also bring your entire scene to life.
Animating 3D Text: Keyframes and Motion Paths
Animating 3D text in Blender brings a new level of engagement and dynamism to your projects. This section delves into the use of keyframes and motion paths to create compelling animations that capture your audience\"s attention.
- Setting Up Keyframes: Begin by selecting your text object. Move to the frame where you want the animation to start, adjust the position, rotation, or scale of your text, and press \"I\" to insert a keyframe. Choose the type of keyframe (such as location, rotation, scale) based on the animation you want to create.
- Adding Motion: Move to another frame in the timeline, change the text object\"s position, rotation, or scale, and insert another keyframe. Blender will automatically create a smooth transition between these keyframes.
- Customizing Animation Curves: For more control over the animation, use the Graph Editor to adjust the interpolation curves between keyframes. This allows for the customization of the animation\"s speed and timing.
- Creating Motion Paths: For complex movements, consider using motion paths. Convert your text\"s animation into a motion path for visualizing and editing the trajectory of the movement over time.
- Looping Animations: If you want your text animation to loop, ensure the first and last keyframes are identical. You can also use the NLA Editor to create non-linear animations that can be mixed and matched.
Through the effective use of keyframes and motion paths, you can animate your 3D text in Blender to achieve professional-level results. Whether it\"s simple movements or complex sequences, animation adds a dynamic component to your text, making it more engaging and memorable.

_HOOK_
Rendering 3D Text: Best Practices and Tips
Rendering is the final step in the 3D text creation process in Blender, turning your modeled and animated text into a stunning visual piece. This section provides best practices and tips to achieve high-quality renders.
- Choose the Right Renderer: Blender offers different rendering engines like Eevee and Cycles. Eevee is faster and suitable for real-time rendering, while Cycles provides more photorealistic results but takes longer.
- Optimize Lighting: Good lighting is crucial for a high-quality render. Experiment with three-point lighting setups or HDRIs to illuminate your text effectively.
- Material and Texture Resolution: Ensure that the materials and textures applied to your text are of high resolution, especially if your final output is for high-definition platforms.
- Sampling Settings: For Cycles, adjust the sampling rate to balance render quality and time. Higher samples result in cleaner images but longer rendering times.
- Use Denoising: To reduce noise in your renders without increasing samples too much, use Blender\"s denoising feature. This can significantly improve render times while maintaining quality.
- Render Layers and Compositing: For complex scenes, consider rendering your 3D text separately and then compositing it into your final scene. This technique allows for more control over the final output and can save rendering time.
- Output Settings: Before rendering, check your output settings. Choose the appropriate file format, resolution, and aspect ratio for your project\"s needs.
By following these tips, you can ensure that your 3D text renders beautifully, showcasing your work in the best light. Rendering is where your creativity truly comes to life, so taking the time to refine your render settings is well worth the effort.

Case Studies: Real-World Applications of 3D Text
3D text created in Blender has been employed in a wide array of real-world projects, showcasing its versatility and the creative potential it unlocks. This section highlights several case studies where 3D text was used effectively to enhance visual communication and artistic expression.
- Branding and Logo Design: Many designers use Blender to craft 3D logos and branding materials, leveraging text to create memorable brand identities that stand out both in digital and physical spaces.
- Video Game Development: 3D text is often integrated into video game interfaces, titles, and promotional materials, providing a dynamic and engaging player experience.
- Architectural Visualization: Architects and visualizers incorporate 3D text into their renderings to label structures, features, or provide informative overlays that enhance the presentation and understanding of their designs.
- Film and Animation: From opening credits to visual effects, 3D text is a staple in the film industry, offering a tool for creative storytelling and visual impact.
- Advertising and Marketing: Advertisers utilize 3D text in commercials and digital campaigns to capture attention and convey messages in a visually striking manner.
- Educational Content: Educational materials and tutorials often feature 3D text to highlight information or create interactive learning experiences.
These case studies demonstrate the broad applicability of 3D text across various industries, highlighting Blender\"s role as a key tool in the creation of engaging and effective visual content.
Resources and Tutorials for Further Learning
Embarking on the journey of creating 3D text in Blender is an exciting venture. To aid in this endeavor, a wealth of resources and tutorials are available, catering to learners at all levels. Below is a curated list of tutorials and resources that will guide you from the basics to more advanced techniques.
- Official Blender Tutorials: The Blender Foundation offers comprehensive guides and tutorials covering all aspects of Blender, including 3D text creation.
- YouTube Channels: YouTube hosts numerous tutorials from Blender enthusiasts and professionals. Channels like Blender Guru, CG Geek, and Ducky 3D provide step-by-step tutorials on 3D text and much more.
- Online Courses: Platforms like Udemy, Coursera, and Skillshare feature detailed Blender courses, including sections dedicated to text modeling, texturing, and animation.
- Blender Communities: Joining forums and online communities like Blender Artists or the Blender subreddit can provide insights, feedback, and support from fellow Blender users.
- Textbooks and eBooks: There are several comprehensive guides and reference books available for Blender, which include sections on creating and animating 3D text.
These resources offer a blend of theoretical knowledge and practical exercises. Whether you prefer self-paced learning or structured courses, there\"s a wealth of information to help you master 3D text in Blender.
READ MORE:
Conclusion: Unleashing Creativity with 3D Text in Blender
Blender\"s 3D text capabilities offer a powerful avenue for creative expression, allowing artists, designers, and enthusiasts to bring their visions to life. From the initial steps of text creation to the intricate details of animation and rendering, Blender equips you with the tools needed to create stunning visual pieces. The journey through mastering 3D text in Blender not only enhances your skill set but also opens up new possibilities for artistic and commercial projects.
As we\"ve explored various aspects of 3D text creation, from basic customization to advanced techniques and real-world applications, it\"s clear that the potential for creativity is boundless. The resources and tutorials available ensure that anyone can embark on this journey, regardless of their experience level. The community of Blender users provides a supportive environment for learning and sharing, further enriching the experience.
In conclusion, 3D text in Blender is not just about creating visual content; it\"s about storytelling, branding, and making an impact. As you continue to explore and experiment with Blender\"s features, let your creativity flow unbounded. The world of 3D text offers endless opportunities to captivate and communicate, and with Blender, you have all you need to make your mark.
Embark on a creative journey with Blender and transform your text into breathtaking 3D masterpieces. Unleash your imagination and discover the endless possibilities that 3D text in Blender offers for your artistic and professional projects.