Topic how to use blender roblox: Discover the endless possibilities of game design with our comprehensive guide on how to use Blender for Roblox, unlocking the secrets to creating stunning 3D models and animations that will elevate your Roblox games to new heights.
Table of Content
- What are the basic controls for using Blender in conjunction with Roblox?
- Getting Started with Blender
- Creating Your First Model
- Exporting Models to Roblox
- Animating Your Models
- Additional Tips and Tricks
- Conclusion
- Creating Your First Model
- Exporting Models to Roblox
- Animating Your Models
- YOUTUBE: Blender to Roblox Studio Full Guide
- Additional Tips and Tricks
- Conclusion
- Exporting Models to Roblox
- Animating Your Models
- Additional Tips and Tricks
- Conclusion
- Animating Your Models
- Additional Tips and Tricks
- Conclusion
- Additional Tips and Tricks
- Conclusion
- Conclusion
- Introduction to Blender and Roblox Integration
- Downloading and Installing Blender for Roblox Development
- Understanding Blender\"s Interface and Basic Tools
- Installing and Utilizing the Roblox Blender Plugin
- Creating Your First 3D Model in Blender for Roblox
- Texturing and Material Application in Blender
- Exporting Models from Blender to Roblox
- Animating Models in Blender for Roblox
- Importing Blender Animations into Roblox
- Optimizing Blender Models for Roblox Performance
- Advanced Modeling and Animation Techniques
- Common Issues and How to Solve Them
- Resources for Further Learning and Community Support
- Conclusion: Enhancing Your Roblox Games with Blender
What are the basic controls for using Blender in conjunction with Roblox?
When using Blender in conjunction with Roblox, it\'s important to familiarize yourself with the basic controls in Blender to efficiently create content for the Roblox platform. Here are the basic controls to get you started:
- Navigation: Use the middle mouse button to rotate the view, the scroll wheel to zoom in and out, and hold down the Shift key while pressing the middle mouse button to pan.
- Selecting Objects: Right-click an object to select it. Use the A key to select or deselect all objects in the scene.
- Manipulating Objects: Press the G key to grab an object and move it. Press R to rotate and S to scale an object.
- Editing: Use Tab to enter Edit Mode, where you can manipulate the vertices, edges, and faces of an object. Press Ctrl+Tab to switch between different editing modes.
- Adding Objects: Press Shift+A to bring up the Add menu, where you can add different types of objects such as meshes, lights, and cameras.
- Rendering: To render your scene, navigate to the Render tab in the top menu and click on the Render button.
By mastering these basic controls in Blender, you\'ll be able to create custom assets and content for Roblox with ease. Practice regularly and explore more advanced features to enhance your creations and bring your ideas to life in the Roblox universe!
READ MORE:
Getting Started with Blender
- Download and install Blender from the official website.
- Familiarize yourself with Blender\"s interface and basic functions.
- Download the Roblox Blender Plugin to seamlessly export models to Roblox.

Creating Your First Model
- Open Blender and start a new project.
- Use the 3D viewport to create your model using Blender\"s modeling tools.
- Apply textures and materials to give your model a unique appearance.
Exporting Models to Roblox
To export your model from Blender to Roblox, follow these steps:
- Install the Roblox Blender Plugin if you haven\"t already.
- Select the model you wish to export.
- Use the plugin to export your model as an .obj file or a supported format for Roblox.
- Import the exported file into Roblox Studio to use in your game.

Animating Your Models
Blender can also be used to animate models for Roblox. Here\"s how:
- Create or import your model in Blender.
- Use Blender\"s rigging and animation tools to animate your model.
- Export the animation using the Roblox Blender Plugin.
- Import the animation into Roblox Studio and apply it to your model.
_HOOK_
Additional Tips and Tricks
- Take advantage of Blender\"s vast array of tutorials and community forums for learning new techniques.
- Experiment with different modeling and animation methods to find what works best for your project.
- Keep your models and animations optimized for Roblox to ensure smooth performance in-game.

Conclusion
Blender is a versatile tool that, when used effectively, can enhance your Roblox games with custom models and animations. By following this guide and continuously exploring Blender\"s capabilities, you can create unique and engaging content for the Roblox platform.

Creating Your First Model
- Open Blender and start a new project.
- Use the 3D viewport to create your model using Blender\"s modeling tools.
- Apply textures and materials to give your model a unique appearance.

Exporting Models to Roblox
To export your model from Blender to Roblox, follow these steps:
- Install the Roblox Blender Plugin if you haven\"t already.
- Select the model you wish to export.
- Use the plugin to export your model as an .obj file or a supported format for Roblox.
- Import the exported file into Roblox Studio to use in your game.
Animating Your Models
Blender can also be used to animate models for Roblox. Here\"s how:
- Create or import your model in Blender.
- Use Blender\"s rigging and animation tools to animate your model.
- Export the animation using the Roblox Blender Plugin.
- Import the animation into Roblox Studio and apply it to your model.

_HOOK_
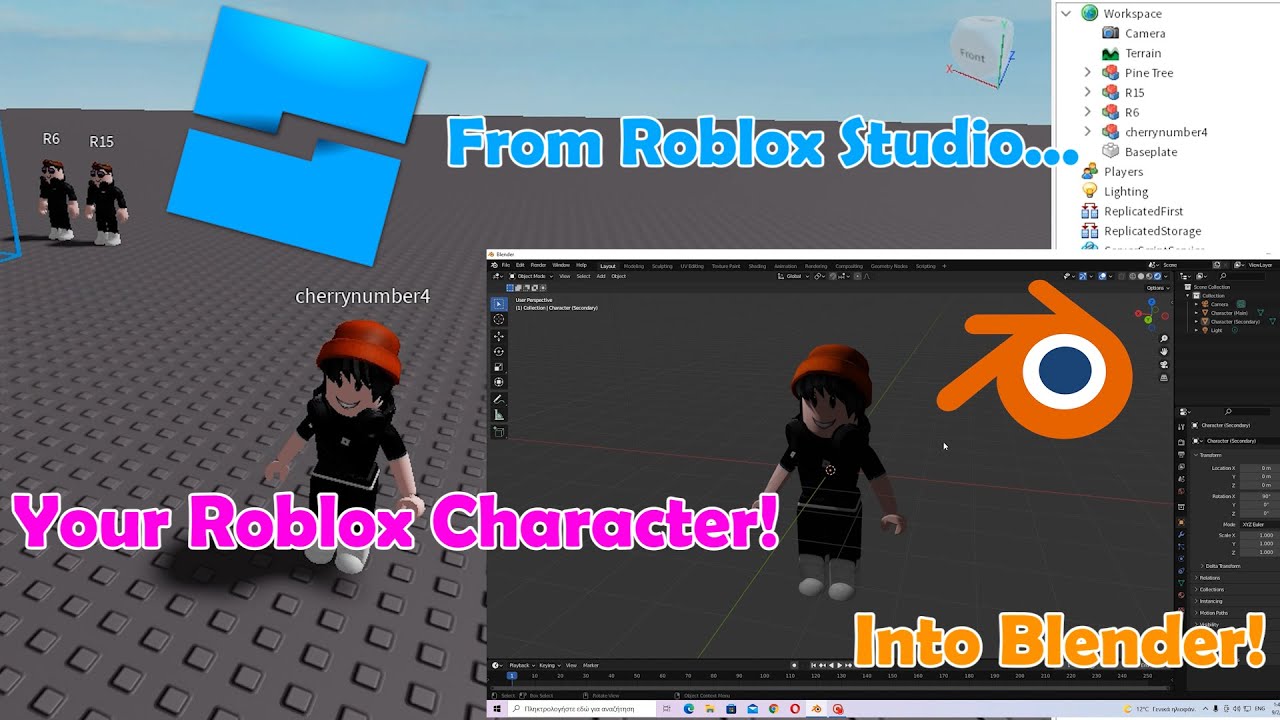
Blender to Roblox Studio Full Guide
Importing: Watch our exciting video on importing to discover the world of opportunities and products waiting for you from around the globe. Learn how easy it is to find unique items and expand your business horizons. Modeling: Dive into the glamorous world of modeling by watching our captivating video that showcases the beauty, creativity, and diversity of this industry. See how models create art through their poses and expressions.
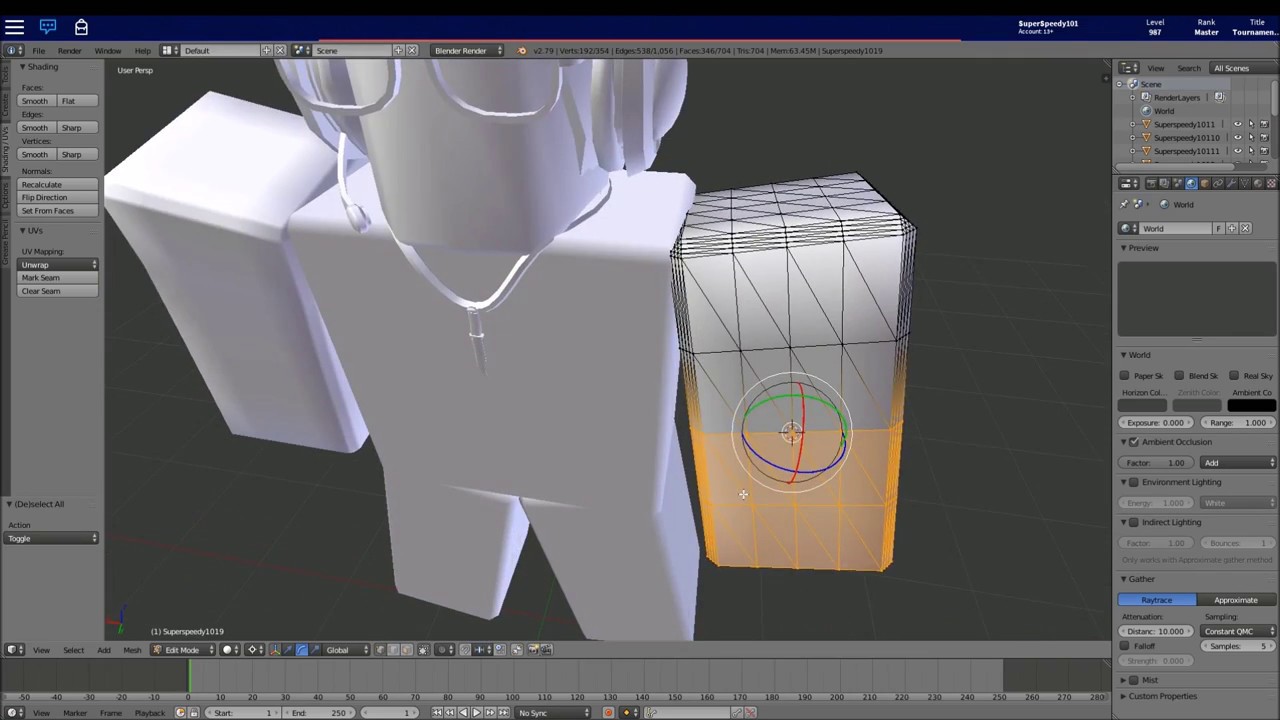
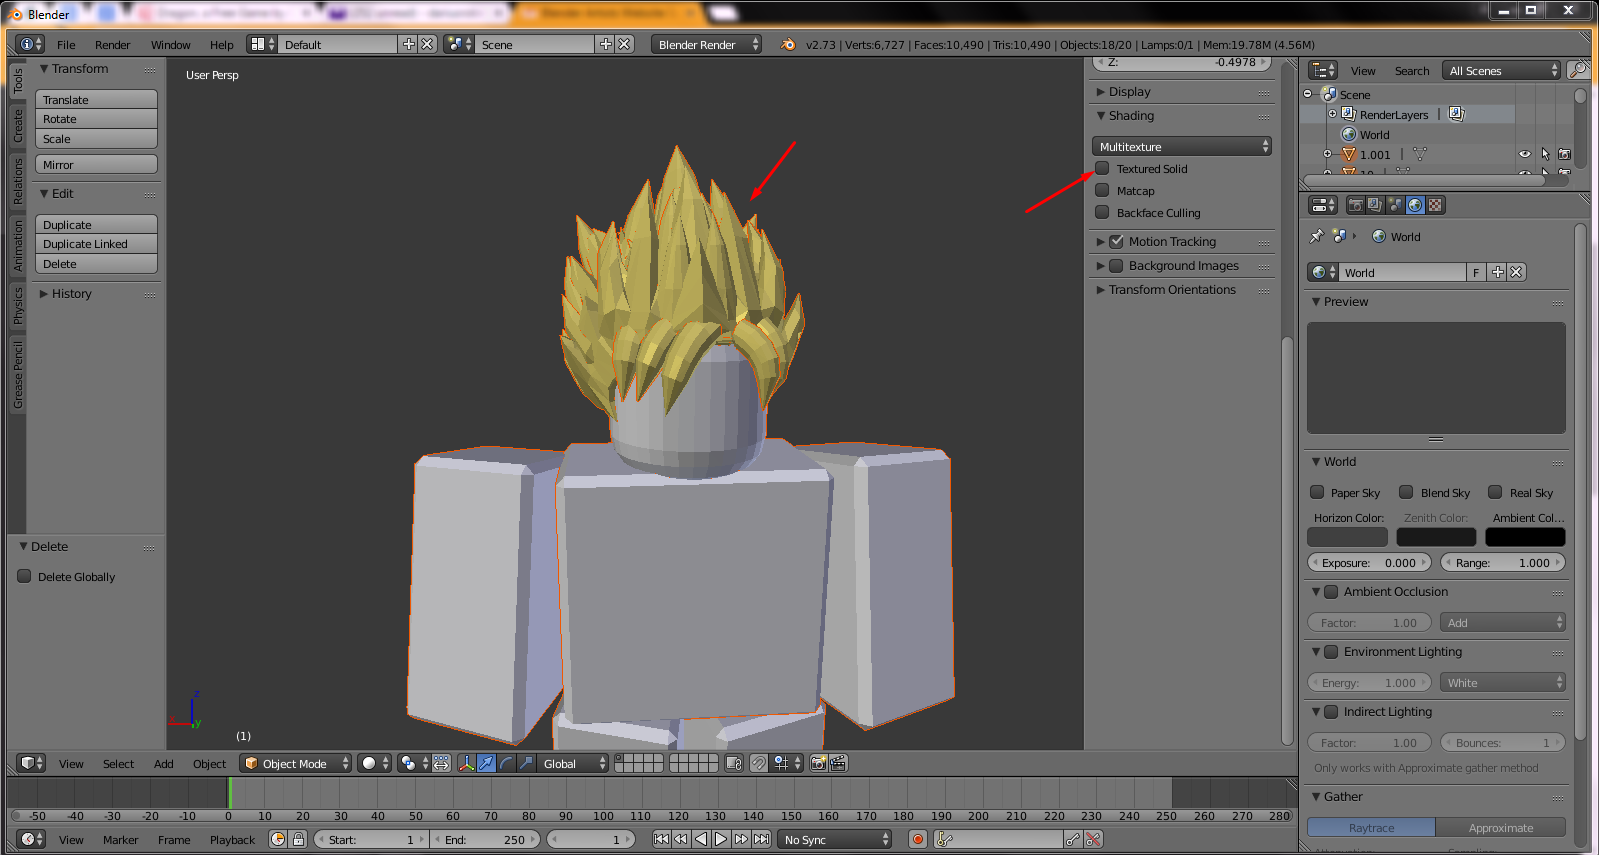
How to 3D Model Roblox Characters Blender Tutorial
If you\'re struggling to make the rig, the model is available for purchase here: ...
Additional Tips and Tricks
- Take advantage of Blender\"s vast array of tutorials and community forums for learning new techniques.
- Experiment with different modeling and animation methods to find what works best for your project.
- Keep your models and animations optimized for Roblox to ensure smooth performance in-game.

Conclusion
Blender is a versatile tool that, when used effectively, can enhance your Roblox games with custom models and animations. By following this guide and continuously exploring Blender\"s capabilities, you can create unique and engaging content for the Roblox platform.
Exporting Models to Roblox
To export your model from Blender to Roblox, follow these steps:
- Install the Roblox Blender Plugin if you haven\"t already.
- Select the model you wish to export.
- Use the plugin to export your model as an .obj file or a supported format for Roblox.
- Import the exported file into Roblox Studio to use in your game.
Animating Your Models
Blender can also be used to animate models for Roblox. Here\"s how:
- Create or import your model in Blender.
- Use Blender\"s rigging and animation tools to animate your model.
- Export the animation using the Roblox Blender Plugin.
- Import the animation into Roblox Studio and apply it to your model.
Additional Tips and Tricks
- Take advantage of Blender\"s vast array of tutorials and community forums for learning new techniques.
- Experiment with different modeling and animation methods to find what works best for your project.
- Keep your models and animations optimized for Roblox to ensure smooth performance in-game.
_HOOK_
Conclusion
Blender is a versatile tool that, when used effectively, can enhance your Roblox games with custom models and animations. By following this guide and continuously exploring Blender\"s capabilities, you can create unique and engaging content for the Roblox platform.
Animating Your Models
Blender can also be used to animate models for Roblox. Here\"s how:
- Create or import your model in Blender.
- Use Blender\"s rigging and animation tools to animate your model.
- Export the animation using the Roblox Blender Plugin.
- Import the animation into Roblox Studio and apply it to your model.
Additional Tips and Tricks
- Take advantage of Blender\"s vast array of tutorials and community forums for learning new techniques.
- Experiment with different modeling and animation methods to find what works best for your project.
- Keep your models and animations optimized for Roblox to ensure smooth performance in-game.
Conclusion
Blender is a versatile tool that, when used effectively, can enhance your Roblox games with custom models and animations. By following this guide and continuously exploring Blender\"s capabilities, you can create unique and engaging content for the Roblox platform.
Additional Tips and Tricks
- Take advantage of Blender\"s vast array of tutorials and community forums for learning new techniques.
- Experiment with different modeling and animation methods to find what works best for your project.
- Keep your models and animations optimized for Roblox to ensure smooth performance in-game.
_HOOK_
Conclusion
Blender is a versatile tool that, when used effectively, can enhance your Roblox games with custom models and animations. By following this guide and continuously exploring Blender\"s capabilities, you can create unique and engaging content for the Roblox platform.
Conclusion
Blender is a versatile tool that, when used effectively, can enhance your Roblox games with custom models and animations. By following this guide and continuously exploring Blender\"s capabilities, you can create unique and engaging content for the Roblox platform.
Introduction to Blender and Roblox Integration
The integration of Blender and Roblox opens up a world of possibilities for game developers, allowing for the creation and manipulation of 3D models directly in Blender and their seamless importation into Roblox. This powerful combination not only enhances the creative process but also streamlines workflows, making the development of intricate, high-quality games more accessible and efficient.
- The Roblox Blender Plugin acts as a bridge between Blender and Roblox, facilitating the direct transfer of 3D modeling objects from Blender into Roblox Studio. This eliminates the need for cumbersome exporting and importing of files, saving time and reducing errors.
- Setting up Blender for Roblox development involves adjusting settings such as changing units from metric to imperial to match Roblox\"s specifications and enabling the Roblox add-on for direct model exports.
- Understanding Blender\"s interface and tools is crucial for creating 3D models. The main window is divided into panels like the 3D Viewport and Properties. Navigating these panels and utilizing Blender\"s comprehensive modeling, sculpting, and texturing tools are essential steps in the development process.
- Creating and editing 3D models for Roblox in Blender involves familiarizing oneself with Roblox\"s asset requirements, such as mesh and texture sizes. Blender\"s vast array of tools and features support the creation of detailed models that meet these specifications.
- The process includes UV mapping for texturing, applying modifiers for complex shapes, and rigging models for animation, all while adhering to Roblox\"s guidelines for asset creation.
- Finally, exporting models from Blender and importing them into Roblox Studio is streamlined through the use of the Roblox Blender Plugin. This includes specifying export settings that align with Roblox\"s requirements, ensuring a smooth transition of assets into the game environment.
Through the integration of Blender and Roblox, developers are equipped with a robust set of tools to bring their creative visions to life. This guide aims to provide a comprehensive overview of the process, from initial setup to the final importation of models, making the journey into game development with Blender and Roblox an exciting and productive endeavor.
Downloading and Installing Blender for Roblox Development
Getting started with Blender for Roblox game development is straightforward. Follow these steps to download and install Blender, and set it up for Roblox development:
- Visit the official Blender website and download the Blender version compatible with your operating system. Blender supports Windows, macOS, Linux, and is also available on Steam.
- Run the installer and follow the on-screen instructions to install Blender on your computer.
- Once installed, open Blender and adjust its settings for Roblox development. Change the units from metric to imperial to align with Roblox\"s unit system.
- To integrate Blender with Roblox, download and install the Roblox Blender Plugin. This plugin facilitates the upload of assets from Blender to Roblox using the Open Cloud API.
- Follow the installation guide for the Roblox Blender Plugin. This involves uninstalling any old version of the plugin, installing the new version from the repository releases page, and ensuring Blender version 3.2 or greater is installed.
- After installing the plugin, authenticate it by logging into your Roblox account through Blender. This step is essential for uploading assets directly to Roblox.
With Blender installed and the Roblox plugin set up, you\"re now ready to start creating 3D models and animations for your Roblox games.
Understanding Blender\"s Interface and Basic Tools
Blender\"s interface might seem daunting at first, but its design is intuitive once you become familiar with the basic components and tools. Here\"s a quick guide to get you started:
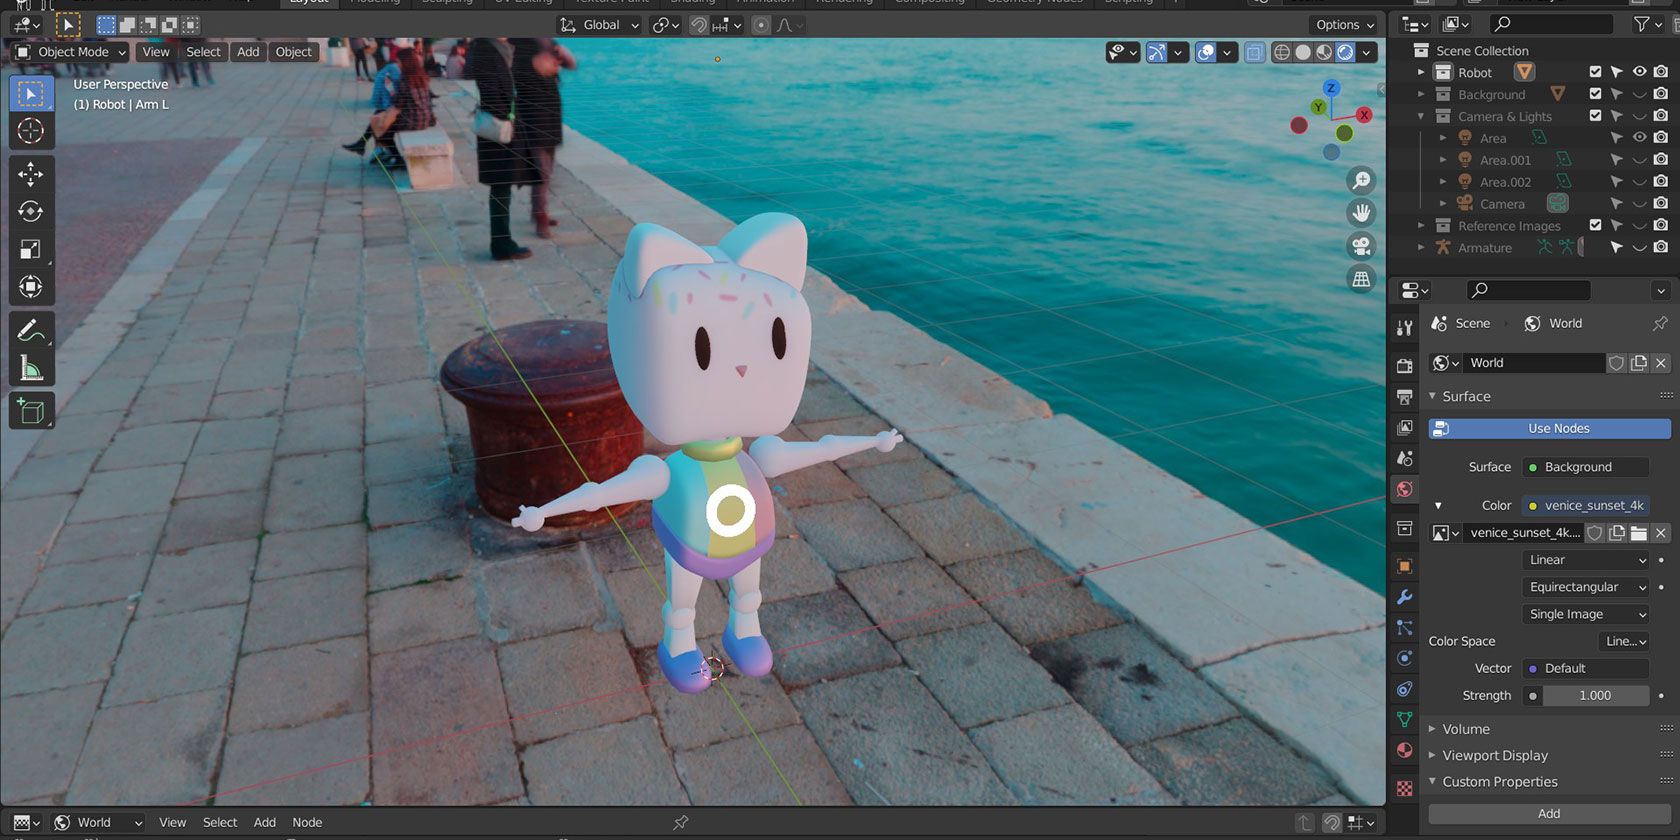
- 3D Viewport: The heart of Blender, where you create, edit, and view your 3D scene. You can navigate the viewport using mouse controls or keyboard shortcuts.
- Properties Panel: Located to the right of the 3D Viewport, this panel gives you access to all the properties of the selected object, including materials, modifiers, and constraints.
- Outliner: This hierarchical view, usually found on the top right, lists all the objects in your scene. It\"s a great tool for organizing and selecting different components of your project.
- Timeline: Found at the bottom of the default layout, the timeline allows you to manage animations, setting keyframes, and adjusting the start and end times of your animation.
- Tools Panel: On the left side of the 3D Viewport, this panel contains tools for transforming (move, rotate, scale), sculpting, painting, and more specific actions like editing text or mesh.
- Shading/UV Editing: Blender offers powerful shading and UV editing tools, allowing you to create detailed textures and materials for your models.
- Modeling Tools: Blender provides a vast array of modeling tools such as extrude, loop cut, and bevel, which can be used to create complex models with precision.
- Sculpting Tools: For more organic modeling, Blender\"s sculpting mode offers brushes and settings to mold your objects like clay.
Starting with these basic elements of Blender\"s interface and tools, you\"ll be well on your way to creating detailed and complex models for your Roblox games. Experiment with each tool to understand its function and how it can enhance your 3D modeling workflow.
_HOOK_
Installing and Utilizing the Roblox Blender Plugin
To integrate Blender with Roblox, leveraging the Roblox Blender Plugin is essential. This powerful tool streamlines the process of exporting models directly into Roblox, enhancing your workflow. Follow these detailed steps to install and utilize the plugin effectively:
- Downloading the Plugin: Begin by visiting the official GitHub repository for the Roblox Blender Plugin. Download the latest release compatible with your Blender version.
- Installation Process:
- Open Blender and navigate to Edit > Preferences > Add-ons.
- Click on the Install button and select the downloaded ZIP file. Do not extract the ZIP file.
- In the search bar, type “Roblox” to find the plugin and check the box next to it to enable.
- Setting Up the Plugin: With the plugin enabled, a new tab labeled “Roblox” will appear in the 3D Viewport’s toolshelf. This tab contains all necessary tools for exporting models to Roblox.
- Linking Your Roblox Account: For the plugin to upload assets to your Roblox account, you must first authenticate it. Follow the on-screen instructions to log in and authorize the plugin.
- Exporting Models:
- Select the 3D model you wish to export.
- Within the Roblox tab, adjust the export settings as needed.
- Click on the Export to Roblox button to upload your model directly to your Roblox account.
- Utilizing Advanced Features: The plugin also supports the exporting of rigged models and animations, making it a comprehensive tool for Roblox game development.
By following these steps, you can significantly enhance your game development process, creating and exporting models from Blender to Roblox with ease. The Roblox Blender Plugin bridges the gap between detailed model creation and Roblox game design, offering a streamlined workflow for developers.
Creating Your First 3D Model in Blender for Roblox
Starting your 3D modeling journey in Blender for Roblox involves understanding a few key steps and adjustments to integrate seamlessly with Roblox’s platform.
Initial Setup in Blender
- Ensure Blender’s units are set to Imperial, as Roblox operates with these units. This adjustment can be made under the Scene tab.
- Activate the Roblox add-on in Blender to allow direct export of your models to Roblox Studio. This can be done via Edit > Preferences > Add-ons, then search and enable the Roblox add-on.
Creating and Editing Your Model
With Blender prepared, begin by creating basic shapes (primitives) and utilize editing tools to refine your design. Remember, Roblox has specific asset requirements, such as a maximum mesh size of 64x64x64 studs and a texture size limit of 1024x1024 pixels. Your creations must adhere to these standards and be exported in the .fbx format.
Texturing Your Model
Once your model is shaped, UV mapping and texturing come next. Blender’s UV mapping tools help in laying out the 2D texture design over your 3D model. When texturing, ensure compliance with Roblox’s format and size requirements.
Exporting and Importing to Roblox
- Export your Blender model as an FBX file via File > Export > FBX, applying the correct settings to match Roblox’s requirements.
- In Roblox Studio, create a new place and use the “Insert Object” > “MeshPart” option in the Workspace. Choose your FBX file to import your model.
Adjustments may be needed in Roblox Studio to ensure your model’s scale, position, and rotation fit your game’s world perfectly. This process might involve resizing, repositioning, and orienting your model accordingly.
By following these steps, you’ll be well on your way to creating dynamic and engaging 3D models for your Roblox games. These foundational skills in Blender will open up endless possibilities for custom game assets and environments.
Texturing and Material Application in Blender
Texturing in Blender is a critical step in creating visually appealing and realistic models for Roblox. It involves applying 2D images or patterns, known as textures, to your 3D models to simulate details like color, roughness, and metalness. This section will guide you through the process of applying textures and materials to your Blender models for Roblox, focusing on both PBR (Physically-Based Rendering) textures and traditional texturing techniques.
Understanding PBR Textures
PBR textures are advanced materials that simulate how light interacts with surfaces in a realistic manner. These textures use multiple maps, including color (albedo), normal, roughness, and metalness maps, to define the surface properties of an object. Properly configured PBR textures can significantly enhance the realism of your models under various lighting conditions.
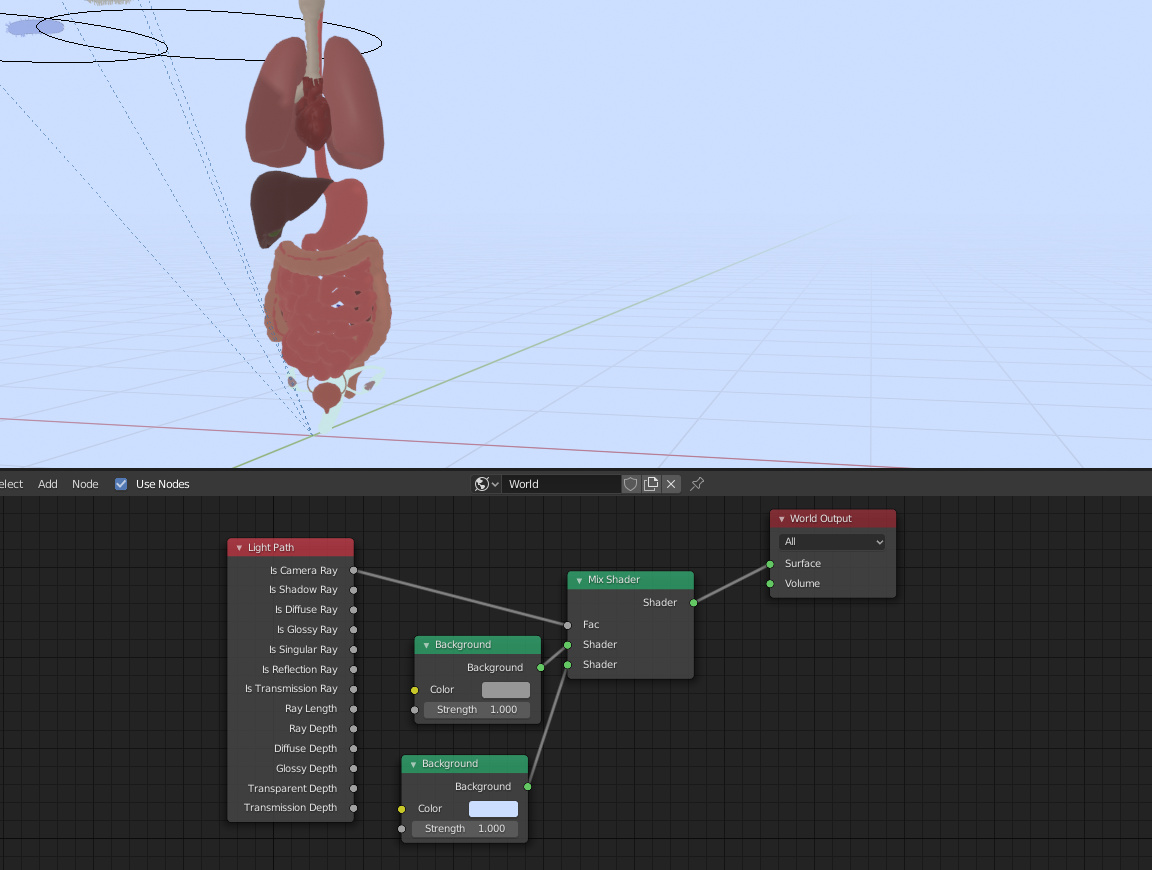
- Setting Up PBR Textures: Start by importing your PBR texture images into Blender. Navigate to the Shading tab, ensure your object is selected, and create a new material if one does not exist. Then, drag and drop your texture files into the node editor and connect them to the appropriate slots on the Principled BSDF node: color to Base Color, metalness to Metallic, roughness to Roughness, and normal to a Normal Map node then to the Normal slot of the Principled BSDF.
- Testing Textures: To see how your textures look on the model, switch the viewport shading to Material Preview Mode. This allows you to preview the final appearance of your textures.
UV Mapping and Texturing
UV mapping is essential for accurately applying textures to your models. It involves unwrapping your model to a 2D representation that can be used to map textures. Blender offers tools like \"Smart UV Project\" for automatic unwrapping or manual unwrapping for more control.
- Switch to UV Editing view and select your model.
- Enter Edit mode, select all faces, and unwrap the model (U > Unwrap). For complex models, consider using the Smart UV Project for an automated unwrapping process.
- Adjust the UV map as needed to ensure textures will be applied correctly.
Applying Materials and Textures
After unwrapping your model, you can start applying materials and textures. Create a new material and use Blender\"s texture painting tools or external images to apply colors and patterns. Remember, Roblox supports textures up to 1024x1024 pixels in size.
Exporting for Roblox
Once your model is textured, export it as an FBX file, ensuring to include texture maps. In Roblox Studio, import your model using the MeshPart object and apply your textures through the Properties panel.
Material References for Realism
To achieve specific material effects, like glossy plastic, matte surfaces, or metallic finishes, adjust the roughness and metalness values accordingly. Blender allows you to simulate a wide range of materials by tweaking these parameters to match real-world references.
By following these steps and utilizing PBR textures and traditional texturing techniques, you can create high-quality, realistic models for your Roblox games in Blender.
Exporting Models from Blender to Roblox
Exporting models from Blender to Roblox involves several key steps to ensure your models are compatible and retain their quality in Roblox Studio. Here\"s a step-by-step guide to exporting your creations effectively:
Preparing Your Model for Export
- Ensure all objects you wish to export are selected. It\"s recommended to join multiple objects into one mesh if they belong together to maintain their relative positioning.
- Remove unnecessary elements like cameras and lights from your Blender scene, as these are not needed in Roblox Studio.
- Consider using the separate by material feature (P key) if your model uses multiple materials, which will be important for texturing in Roblox Studio.
Exporting the Model
- Go to File > Export and choose FBX (.fbx) as your export format. This format is preferred for its compatibility with Roblox Studio and its ability to include animation data if needed.
- In the export options, set the Path Mode to Copy and enable Embed Textures to include any textures applied to your model directly within the FBX file.
- Adjust the export settings to ensure compatibility with Roblox\"s requirements, such as disabling Add Leaf Bones under the Armature settings and setting Scale to 0.01 if your scene unit scaling wasn\"t already set to this value to match Roblox\"s unit scale.
- Click the Export FBX button and choose a location to save your file.
Importing to Roblox Studio
- Open Roblox Studio and navigate to the location where you want to import your model.
- Use the MeshPart object to import your model by setting the MeshId to the location of your exported FBX file.
- For textures, if not embedded, upload them separately to Roblox and apply them to your model using the TextureId property in the MeshPart properties.
By following these steps, your Blender models will be ready to use in Roblox Studio, allowing you to create more immersive and detailed experiences in your Roblox games.
Animating Models in Blender for Roblox
Animating models in Blender for use in Roblox involves a series of steps that bridge the capabilities of both platforms to create dynamic and engaging animations. This guide outlines the process from creating your animation in Blender to importing it into Roblox.
Creating Your Animation in Blender
- Start by ensuring your model is properly rigged for animation. Rigging involves setting up a skeleton that defines how your model moves.
- In Blender, open the Animation tab and import your model. Use the \"Import model\" option under Rbx Animations to bring in the .obj file.
- With your model imported, select the Armature and enter Pose mode to begin animating. Move or rotate bones to desired positions and create keyframes to define motion.
- Proceed to create your animation by setting keyframes at various timestamps. Ensure to select the LocRot keying set for location and rotation keyframes.
- Once your animation sequence is complete, use the \"Export animation\" option. This will copy the animation data to your clipboard for use in Roblox.
Importing the Animation into Roblox
- In Roblox Studio, use the Animation Editor to create a new animation file.
- Click \"Load large animation\" and paste the animation data from your clipboard. Your Blender animation will now be loaded in Roblox.
- To upload the animation to Roblox, click \"Upload animation\". This makes your animation accessible as a Roblox animation.
This workflow leverages Blender for its robust animation toolkit and Roblox Studio for its platform-specific integration, allowing you to create complex animations for your Roblox games and experiences.
_HOOK_
Importing Blender Animations into Roblox
Importing animations from Blender into Roblox allows creators to add complex and dynamic movements to their games. This process involves several steps to ensure the animation works smoothly within the Roblox environment.
Preparing Your Animation in Blender
- Before exporting your animation from Blender, ensure it\"s properly rigged and animated according to your needs.
- Use the Roblox Blender Plugin to simplify the process of transferring your 3D models and animations directly from Blender to Roblox Studio, enhancing efficiency and reducing errors.
Exporting Your Animation
- Export your animation from Blender in an appropriate format supported by Roblox, typically .FBX or .OBJ for models and .FBX for animations.
- Ensure the animation data is correctly packaged with the model if necessary. Roblox\"s 3D Importer supports meshes with animation data, making it possible to bring complex animations into your games.
Importing Animation into Roblox Studio
- Within Roblox Studio, use the 3D Importer tool to import your .FBX or .OBJ file. This tool allows you to preview the animation, adjust import settings, and confirm the animation works as expected.
- Animations can also be shared and imported as .RBXM files between developers, enabling collaboration and sharing of dynamic content.
Tips for Smooth Import
- Check that your Blender export settings match Roblox\"s requirements to ensure compatibility.
- Use the Roblox Blender Plugin for a streamlined workflow from Blender to Roblox Studio.
- Ensure your animations are saved and properly named within Blender before exporting to avoid any loss of data.
- Test your animations within Roblox Studio after import to ensure they play as expected and make any necessary adjustments.
By following these steps and utilizing the tools provided by Roblox, creators can bring their Blender animations to life within their Roblox games, providing richer and more engaging player experiences.
Optimizing Blender Models for Roblox Performance
Creating detailed models in Blender for Roblox games requires a balance between complexity and performance. To ensure your Blender models enhance the gaming experience without causing lag or long loading times, follow these optimization strategies:
Use MeshParts Wisely
MeshParts allow for detailed and complex models but should be used judiciously. Reuse MeshIds for similar objects to reduce loading times and improve performance. Variations in size, color, and rotation can help recycled MeshIds appear unique within your game environment, thus maintaining visual diversity while optimizing performance.
RenderFidelity Settings
Choosing the right RenderFidelity for your MeshParts is crucial. The \"Automatic\" setting adjusts the level of detail based on the camera\"s distance, reducing the polygon count for distant objects and thus improving performance. \"Performance\" mode further optimizes by adjusting detail to maintain framerate, ideal for non-critical background elements.
CollisionFidelity Considerations
CollisionFidelity determines how the Roblox engine calculates collisions with your model. Options range from simple bounding boxes to complex meshes. For most scenarios, simpler collision models such as \"Box\" or \"Hull\" significantly reduce computational demand, especially for background or non-interactive objects.
General Optimization Tips
- Limit Polygon Count: High-polygon models demand more from the graphics processor, so keep your models as simple as possible without sacrificing necessary detail.
- Texture Optimization: Use textures wisely. Large or numerous textures can slow down game performance. Consider using smaller textures or compressing them without losing too much quality.
- Avoid Unnecessary Transparency: Overlapping transparent textures can cause rendering issues and decrease performance. Limit the use of transparency to essential elements.
By adhering to these guidelines, you can create visually appealing models in Blender that perform well in Roblox, ensuring a smooth and enjoyable gaming experience for all players.
Advanced Modeling and Animation Techniques
To elevate your Roblox game development with Blender, incorporating advanced modeling and animation techniques is key. These methods not only enhance the visual appeal of your game but also streamline the workflow from Blender to Roblox Studio.
Setting Up Blender for Roblox Development
Begin by adjusting Blender\"s settings to align with Roblox\"s requirements. Switch the units from metric to imperial to match Roblox\"s standards and enable the Roblox add-on for direct 3D model exports to Roblox Studio.
Mastering Blender\"s Interface and Tools
Familiarize yourself with Blender\"s interface, focusing on the 3D Viewport for model creation and editing. Utilize Blender\"s comprehensive toolset, including modeling, sculpting, and texturing tools, to craft your Roblox assets.
Creating and Editing 3D Models
Start with basic shapes and employ Blender\"s editing tools to refine your models. Explore the use of modifiers like the mirror and array modifiers to enhance your models efficiently.
UV Mapping and Texturing
After modeling, proceed to UV mapping for texture application. Ensure your textures meet Roblox\"s specifications, avoiding copyrighted material and adhering to size limitations.
Rigging and Animating Models
Rig your models with Blender\"s Armature and Weight Paint tools, adhering to Roblox\"s naming conventions. Animate your models using keyframe animation, motion capture, or shape keys, keeping Roblox\"s platform limitations in mind.
Exporting and Importing to Roblox
Export your rigged and animated models using the Roblox plugin for Blender, ensuring you include all necessary files. Import these assets into Roblox Studio, adjusting their scale, position, and rotation as needed for your game environment.
By integrating these advanced techniques, you can create more dynamic and engaging content for your Roblox games. Remember to optimize your models and animations for performance to ensure a smooth gaming experience for all players.
Common Issues and How to Solve Them
When using Blender for Roblox game development, several common issues can arise. Here are some strategies to troubleshoot and resolve these challenges effectively:
Importing Models from Blender to Roblox
If Roblox denies your Blender files, ensure you are uploading the .obj file into a MeshPart. Roblox has a 5,000 polygon limit; if your object exceeds this, it will not be accepted. To overcome this, export your model from Blender as an .obj file and, if needed, separate your exports into different files for complex models.
Shading Issues
Shading problems in Blender, such as weird shading or smoothness, can often be fixed by adjusting the shading mode. For flat shading, select your object, right-click, and choose \"Shade Flat.\" Alternatively, enable \"Auto Smooth\" in the Object Data Properties (the green triangle tab) for more controlled smooth shading. If issues persist, try recalculating the outside normals or merging vertices by distance to eliminate split edges.
Roblox Asset Requirements
Before creating 3D models, familiarize yourself with Roblox\"s asset requirements. Models must not exceed 64x64x64 studs in size, and textures should be no larger than 1024x1024 pixels. Ensure all models are exported in the .fbx format for compatibility with Roblox Studio.
Rigging and Animating Models
For rigging, use Blender’s Armature and Weight Paint tools, ensuring all bones are named according to Roblox’s conventions. When animating, consider the limitations of the Roblox platform, such as file size and format restrictions. Use the Roblox plugin for Blender to streamline the export process.
By addressing these common issues, you can enhance your workflow and create high-quality assets for your Roblox games. Remember, troubleshooting is an iterative process, and sometimes multiple solutions may need to be tried before finding success.
Resources for Further Learning and Community Support
Embarking on your Blender for Roblox development journey is an exciting venture. To support your learning curve and connect you with the community, here are several resources and platforms to explore:
YouTube Channels for Learning Blender
- Blender Made Easy: Offers tutorials on making houses and various objects.
- CG Geek: Covers a wide range of topics including islands, modern houses, characters, and more.
- Blender Guru: Well-known for comprehensive tutorials on Blender fundamentals.
- CG Cookie, Olav3D Tutorials, and many more channels provide in-depth tutorials covering everything from beginner guides to advanced techniques.
Roblox Specific Resources
For Roblox-specific guidance, channels like HeadlessHorror and DutchDeveloper offer tutorials focused on integrating Blender with Roblox. Additionally, the Roblox Developer Forum is a treasure trove of guides, tutorials, and community advice to assist with everything from low poly modeling to advanced animation techniques.
Official Blender Tutorials
Blender.org hosts an array of tutorials suitable for all levels of experience. From beginner fundamentals to advanced topics like Geometry Nodes, Sculpting, and even Python scripting, there\"s a wealth of knowledge directly from the source. The site also offers series on Blender fundamentals and grease pencil basics.
Roblox Creator Hub Tutorials
The Roblox Creator Hub provides structured tutorials that guide creators through the process of asset creation, from modeling in third-party tools like Blender to importing assets into Studio. Topics covered include creating rigid accessories, clothing, and even custom character bodies, ensuring assets are ready for the Roblox Marketplace.
By leveraging these resources, you can enhance your skills in Blender and Roblox development, join a vibrant community of creators, and bring your game ideas to life with professional-quality assets.
_HOOK_
READ MORE:
Conclusion: Enhancing Your Roblox Games with Blender
Utilizing Blender in conjunction with Roblox opens up a vast realm of possibilities for game developers. By mastering Blender, you can elevate the visual appeal and uniqueness of your Roblox games, setting them apart in a crowded marketplace. This guide has walked you through the foundational steps, from downloading Blender and understanding its interface, to creating, texturing, and animating models specifically for Roblox.
Remember, the journey doesn\"t end here. The world of Blender and Roblox is dynamic, with new techniques and tools constantly emerging. Continuously learning and experimenting is key to staying ahead. Join online communities, participate in forums, and collaborate with other developers to share insights and tackle challenges together.
Incorporating custom models and animations from Blender into your Roblox games not only enhances the gameplay experience but also allows for a higher degree of creativity and personalization. Whether you\"re creating immersive environments, detailed characters, or dynamic objects, Blender provides the tools to bring your visions to life.
As you continue to explore and expand your skills, remember to optimize your models for performance to ensure a smooth and engaging user experience. And most importantly, don\"t be afraid to experiment. Every project is an opportunity to learn something new and push the boundaries of what\"s possible in Roblox.
We hope this guide has inspired you to start incorporating Blender into your Roblox development workflow. The path from beginner to expert may seem daunting, but with persistence and passion, you\"ll find that the results are well worth the effort. Happy creating!
Embark on a creative journey with Blender and Roblox to unlock endless possibilities for your games. This guide lights the path to mastering 3D modeling and animation, empowering you to transform your ideas into captivating experiences. Let\"s create together!