Topic blender body modeling tutorial: Embark on a journey to master Blender body modeling with our comprehensive tutorial, designed to transform beginners into skilled character creators through easy-to-follow steps and expert guidance.
Table of Content
- What are the best tutorials for Blender body modeling?
- Beginner Tutorials
- Intermediate Tutorials
- Expert Tutorials
- Intermediate Tutorials
- Expert Tutorials
- Expert Tutorials
- Introduction to Blender Body Modeling
- YOUTUBE: Blender Modelling Tutorial for Absolute Beginners Simple Human
- Choosing the Right Blender Version for Body Modeling
- Essential Tools and Add-ons for Effective Modeling
- Step-by-Step Guide to Modeling a Basic Human Figure
- Advanced Techniques in Sculpting and Texturing
- Rigging and Animating Your Character Models
- Optimizing Your Workflow for Efficiency
- Common Mistakes to Avoid in Body Modeling
- Resources for Further Learning and Inspiration
- Conclusion: Next Steps in Mastering Blender Body Modeling
What are the best tutorials for Blender body modeling?
When it comes to learning body modeling in Blender, there are several tutorials available that can help beginners and experienced users alike. Here are some of the best tutorials for Blender body modeling:
- Blender Guru Body Modeling Tutorial Series: Blender Guru offers a comprehensive tutorial series on body modeling in Blender. This series covers the fundamentals of creating realistic human models, including proportions, anatomy, and detailing.
- CG Cookie Blender Body Modeling Course: CG Cookie provides an in-depth course on body modeling in Blender, focusing on creating human characters from scratch. The course covers techniques for creating a base mesh, sculpting details, and refining the model.
- Youtube Channels: There are several Youtube channels dedicated to Blender tutorials on body modeling. Channels like BlenderBinge and CG Boost offer step-by-step guides and tips for creating detailed human models in Blender.
By following these tutorials and practicing consistently, you can improve your skills in Blender body modeling and create realistic and detailed human models for your projects.
READ MORE:
Beginner Tutorials
- Getting Started with Blender: An introduction to the Blender interface and basic modeling concepts.
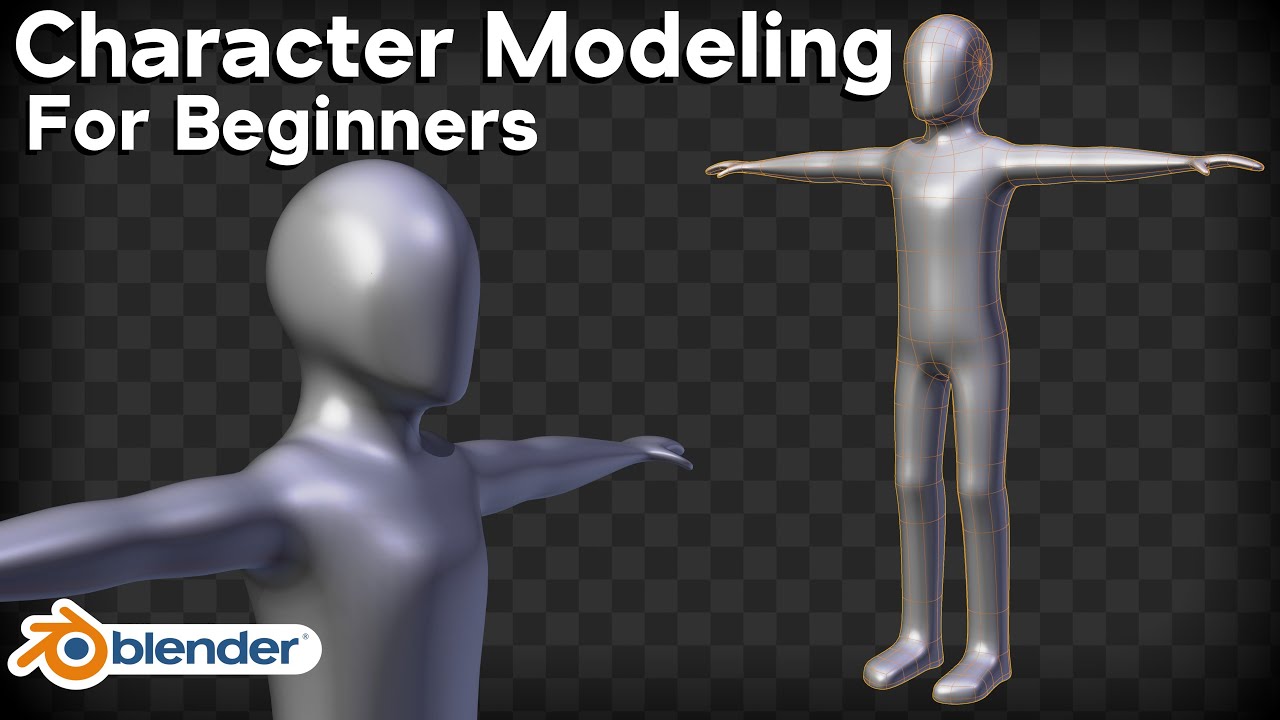
- Modeling a Simple Human Character: Learn the basics of character modeling by creating a simple human figure.
- Understanding Blender\"s Modeling Tools: A guide to using Blender\"s tools for effective body modeling.

Intermediate Tutorials
- Advanced Character Modeling Techniques: Dive deeper into character creation with advanced modeling strategies.
- Creating a Realistic Human Model: Step-by-step instructions on building a realistic human body in Blender.
- Texturing and Shading for Human Models: Learn how to apply textures and shaders to give your model a lifelike appearance.
Expert Tutorials
- Sculpting Detailed Characters in Blender: Master the sculpting tools in Blender to add intricate details to your models.
- Rigging and Animation Basics: Get started with rigging your model for animation, making it ready for motion.
- Advanced Techniques for Realistic Models: Explore advanced techniques for creating highly realistic human models.
Additional Resources
- Blender Community Forums: Join the Blender community to share your work, get feedback, and learn from other artists.
- Free Blender Models and Assets: Access a library of free models and assets to use in your body modeling projects.
- Continuing Education in Blender: Keep up with the latest Blender updates and tutorials to continuously improve your skills.

Intermediate Tutorials
- Advanced Character Modeling Techniques: Dive deeper into character creation with advanced modeling strategies.
- Creating a Realistic Human Model: Step-by-step instructions on building a realistic human body in Blender.
- Texturing and Shading for Human Models: Learn how to apply textures and shaders to give your model a lifelike appearance.

_HOOK_
Expert Tutorials
- Sculpting Detailed Characters in Blender: Master the sculpting tools in Blender to add intricate details to your models.
- Rigging and Animation Basics: Get started with rigging your model for animation, making it ready for motion.
- Advanced Techniques for Realistic Models: Explore advanced techniques for creating highly realistic human models.
Additional Resources
- Blender Community Forums: Join the Blender community to share your work, get feedback, and learn from other artists.
- Free Blender Models and Assets: Access a library of free models and assets to use in your body modeling projects.
- Continuing Education in Blender: Keep up with the latest Blender updates and tutorials to continuously improve your skills.

Introduction to Blender Body Modeling
Blender body modeling is an essential skill for artists and animators looking to create realistic or stylized human figures. This section introduces you to the basics of body modeling in Blender, a powerful, free, and open-source 3D creation suite. Whether you\"re a complete beginner or looking to refine your skills, the journey of mastering body modeling in Blender starts with understanding the tools and principles that make up the foundation of a good model.
- Understanding Blender\"s Interface: Familiarize yourself with Blender\"s user interface, including the 3D viewport, object mode, edit mode, and the various panels and tools available.
- Basic Modeling Concepts: Learn the fundamental concepts of 3D modeling, such as vertices, edges, and faces, and how they are used to create complex shapes.
- Starting with Simple Shapes: Begin your modeling journey by creating simple shapes and learning how to modify and manipulate them to form the basic structure of the human body.
- Using Modifiers for Efficiency: Discover how Blender\"s modifiers can streamline your workflow, allowing for non-destructive transformations and adjustments to your model.
- Sculpting for Detail: Explore Blender\"s sculpting tools to add detail and realism to your models, from muscle definition to facial features.
- Texturing and Shading: Understand the basics of texturing and shading to bring your models to life with realistic materials and skin tones.
- Rigging and Animation: Learn the basics of rigging your model for animation, making it possible to pose and animate your characters.
This guide aims to equip you with the knowledge and skills needed to start modeling human bodies in Blender. By following these steps, you\"ll be on your way to creating your own detailed and expressive characters.

Blender Modelling Tutorial for Absolute Beginners Simple Human
Tutorial: \"Learn essential skills with this easy-to-follow tutorial filled with helpful tips and tricks. Become an expert in no time and unlock your full potential. Watch now to start mastering new techniques!\" Character: \"Dive into a captivating story filled with intriguing characters and compelling plot twists. Join us on an exciting journey as we explore the depths of each character\'s unique personality. Watch now for an unforgettable experience!\"
Blender Character Modeling Tutorial for Absolute Beginners Part 1
This Tutorial is for ABSOLUTE Beginners.. in this part you will learn : Intro: (00:00) How to get Blender: (00:50) Splash Screen: ...
Choosing the Right Blender Version for Body Modeling
Choosing the correct version of Blender is crucial for body modeling, as it can significantly impact your workflow and the quality of your models. Blender is continuously updated with new features, improvements, and bug fixes, making it important to select a version that suits your project\"s needs while offering the best tools and stability for body modeling.
- Latest Stable Release: Always consider starting with the most recent stable version of Blender. These versions have passed rigorous testing and are recommended for most modeling projects due to their enhanced features and reliability.
- LTS (Long Term Support) Versions: For projects that require extended development time or for those who prefer a version with guaranteed support and updates, the LTS version of Blender provides stability over a longer period.
- Experimental Builds: For those looking to explore the cutting edge of 3D modeling tools, experimental builds of Blender offer early access to the newest features. However, these versions may be less stable and are better suited for testing and experimentation rather than production work.
- Compatibility with Add-ons: Ensure the Blender version you choose is compatible with any additional add-ons or plugins you plan to use. Some add-ons may not be updated to work with the latest versions of Blender, so this can influence your decision.
- Community and Learning Resources: Consider the availability of learning resources, such as tutorials and forums, for the Blender version you select. Newer versions might have more updated resources but can also change how certain tools work, affecting how you learn body modeling.
Ultimately, the right version of Blender for body modeling depends on your specific project requirements, preferred workflow, and the level of stability you need. Experimenting with different versions and leveraging the Blender community can help you make the best choice for your modeling endeavors.
Essential Tools and Add-ons for Effective Modeling
Effective body modeling in Blender requires a combination of core tools and specialized add-ons to enhance your workflow and model quality. This section highlights the essential tools and add-ons that are invaluable for anyone looking to excel in Blender body modeling.
- Subdivision Surface Modifier: Crucial for smoothing out the geometry and adding more detail to your models without increasing the base mesh complexity.
- Sculpt Mode Tools: Offers a set of brushes and settings for detailed sculpting, allowing for intuitive shaping of organic forms like human figures.
- Retopology Tools: Essential for creating a clean, animation-ready mesh that deforms well. Tools like F2, LoopTools, and BSurfaces help in retopologizing your sculpts.
- Mirror Modifier: A time-saver for creating symmetrical models, automatically mirroring your edits to one side of the model to the other.
- Armature and Rigging Tools: For setting up skeletons and rigging your models, enabling them to be posed and animated.
- Shading and Texturing Tools: Blender\"s powerful shading and texturing tools, including the Node Editor, allow for the creation of lifelike materials and textures.
Additionally, several add-ons can significantly improve your modeling process:
- BlenderKit: Offers access to a vast library of models, materials, and brushes directly within Blender, streamlining the creative process.
- Auto-Rig Pro: A comprehensive rigging tool that simplifies the process of creating and manipulating rigs.
- Quad Remesher: An auto-retopology tool that converts high-density meshes into clean quad meshes, ideal for animation and further detailing.
Integrating these tools and add-ons into your Blender workflow will not only speed up your modeling process but also enhance the quality and realism of your body models. Whether you\"re sculpting detailed characters or designing simple figures, these resources are essential for achieving professional results.

_HOOK_
Step-by-Step Guide to Modeling a Basic Human Figure
Modeling a basic human figure in Blender is a foundational skill for any aspiring 3D artist. This guide outlines a straightforward approach to creating a simple yet detailed human model, ensuring you grasp the essential techniques and principles of body modeling.
- Setting Up Your Workspace: Start by opening Blender and setting up your workspace for efficient modeling. Adjust your viewports and ensure you have access to necessary tools like the edit and sculpt modes.
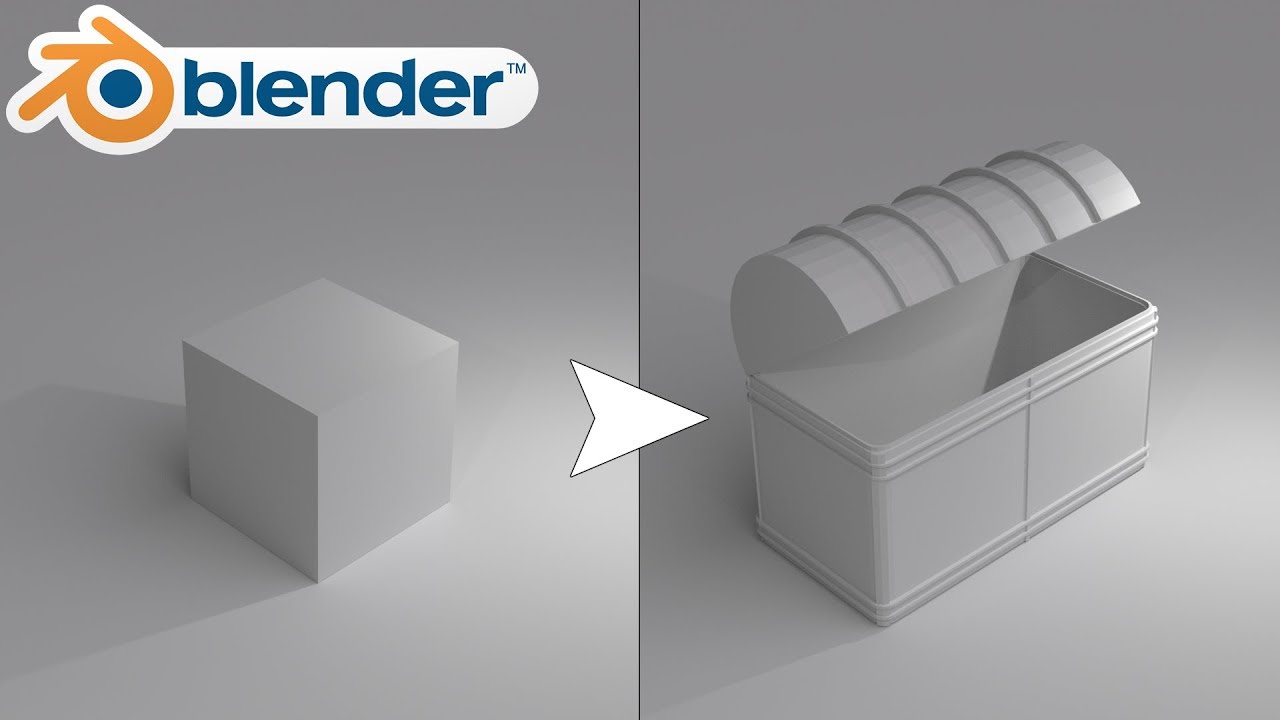
- Creating the Base Mesh: Begin with a simple shape, such as a cube, and use it as the base for your model. Employ the mirror modifier to ensure symmetry, making the modeling process more efficient.
- Defining the Body Proportions: Adjust the base mesh to outline the basic proportions of the human body. Focus on creating the torso, limbs, and head, keeping in mind the typical human anatomy.
- Refining the Shape: Once the basic proportions are set, refine the shape by adding more geometry. Use loop cuts to add detail where necessary, such as the fingers and facial features.
- Sculpting for Details: With the basic form in place, switch to sculpt mode to add details like muscle definition, facial expressions, and other fine features. Use a variety of sculpting brushes to achieve the desired level of detail.
- Retopology: After sculpting, you may need to retopologize your model. This process involves creating a new mesh with clean topology over your detailed sculpt, which is essential for animation and further detailing.
- Texturing and Shading: Apply textures and shaders to your model to bring it to life. This can include skin textures, clothing, and other materials that add realism to your figure.
- Rigging: The final step is to rig your model for animation. Create a skeleton, and assign weights to the mesh to control how it moves with the rig.
This guide provides a basic framework for creating a human figure in Blender. With practice, you can build on these fundamentals to model more complex and detailed characters.

Advanced Techniques in Sculpting and Texturing
Mastering advanced sculpting and texturing techniques in Blender is pivotal for creating highly detailed and realistic models. This section delves into sophisticated strategies to enhance your body modeling projects, pushing your skills to new heights.
- Dynamic Topology Sculpting: Allows for more flexibility by dynamically adjusting the mesh\"s topology as you sculpt, enabling the addition of intricate details without the need for a dense initial mesh.
- Multi-Resolution Sculpting: Ideal for managing different levels of detail on the same model. Start sculpting at a lower resolution for basic shapes, then increase the resolution as you add finer details.
- Stylized Sculpting Techniques: Learn how to apply stylized sculpting techniques for characters, focusing on exaggerated features and unique styles that stand out.
- Advanced Texturing Methods: Utilize Blender\"s Node Editor for creating complex materials and textures. Learn to layer textures, use masks, and manipulate nodes for realistic skin, clothing, and environmental textures.
- Vertex Painting: Paint directly onto your model without the need for UV maps. This is particularly useful for adding color variations and details such as scars, blemishes, or tattoos.
- Normal and Displacement Mapping: Enhance the visual complexity of your models without adding extra geometry. Use normal maps for subtle details and displacement maps for more significant, geometry-altering effects.
- Photorealistic Shading: Achieve lifelike results by mastering photorealistic shading techniques, focusing on skin shading, sub-surface scattering, and the use of HDRIs for realistic lighting.
By incorporating these advanced sculpting and texturing techniques, you can elevate the realism and artistic quality of your Blender models, crafting characters that truly captivate and inspire.
Rigging and Animating Your Character Models
Rigging and animating character models are crucial steps in bringing your Blender creations to life. This section provides a step-by-step guide to rigging and animating your models, ensuring they move in realistic and expressive ways.
- Understanding Rigging: Rigging is the process of creating a skeleton (armature) for your model so that it can be animated. Begin by learning the basics of armature creation and bone placement within the structure of your model.
- Creating the Armature: Start by adding bones to major parts of the character, such as the spine, arms, and legs. Ensure that the bones\" orientation and parenting hierarchy mimic natural human anatomy for realistic movement.
- Weight Painting: Use weight painting to define how different parts of the mesh move in relation to each bone. This step is crucial for smooth and natural deformations during animation.
- Adding Constraints and Controls: Implement constraints and custom controls to manage the character\"s movements more efficiently. This includes IK (Inverse Kinematics) for natural joint movement and custom sliders for facial expressions.
- Animating Your Character: With the rig in place, start the animation process by creating keyframes for your character\"s movements. Understand the principles of animation, such as timing, spacing, and anticipation, to create fluid and dynamic motions.
- Polishing Your Animation: Refine your animation with tweaks and adjustments to ensure smooth transitions and realistic motions. Use the graph editor to fine-tune the velocity and timing of each movement.
- Using Motion Capture Data: For more complex animations, consider using motion capture data. Blender allows you to import and apply motion capture files to your rigged character for realistic and lifelike animations.
By following these steps, you can successfully rig and animate your character models in Blender, adding depth and personality to your 3D creations.
Optimizing Your Workflow for Efficiency
Optimizing your Blender workflow for body modeling can significantly enhance your productivity and the quality of your models. This section provides practical tips and strategies to streamline your modeling process, making it more efficient and effective.
- Customize Your Interface: Tailor Blender\"s interface to suit your modeling needs. Arrange your panels and tools for easy access to frequently used functions, reducing time spent navigating menus.
- Use Keyboard Shortcuts: Familiarize yourself with Blender\"s keyboard shortcuts for common actions. This can drastically reduce your modeling time and improve workflow efficiency.
- Implement Modifiers Wisely: Modifiers like Mirror, Subdivision Surface, and Multiresolution can automate repetitive tasks and simplify the modeling process. Use them to speed up your workflow without compromising on model quality.
- Leverage Sculpting Brushes: Customize and use sculpting brushes effectively for detailed work. Knowing when and how to use each brush can save time and enhance the detail in your models.
- Master the Art of Retopology: Efficient retopology techniques are essential for creating clean, animation-ready models. Tools like the Shrinkwrap modifier and retopology addons can streamline this process.
- Organize Your Project: Use layers and collections to organize your scene and models. This not only helps in managing complex projects but also in rendering and editing specific parts of your model.
- Batch Actions with Python Scripting: For repetitive tasks, consider using Blender\"s Python API to automate your workflow. Scripts can perform bulk actions, like renaming objects or applying modifiers, saving you a significant amount of time.
By adopting these strategies, you can create a more streamlined and efficient workflow in Blender, allowing you to focus more on the creative aspects of body modeling.
Common Mistakes to Avoid in Body Modeling
Body modeling in Blender is a complex process that requires attention to detail and an understanding of human anatomy. Avoiding common mistakes can significantly improve the quality of your models and make your workflow more efficient. Here are some crucial mistakes to avoid:
- Ignoring Human Anatomy: One of the biggest mistakes in body modeling is neglecting the study of human anatomy. Understanding muscle structure, proportions, and how the body moves is essential for creating realistic models.
- Overlooking Proportions: Incorrect proportions can make your models look unrealistic or distorted. Always refer to anatomical guidelines or use reference images to ensure accurate proportions.
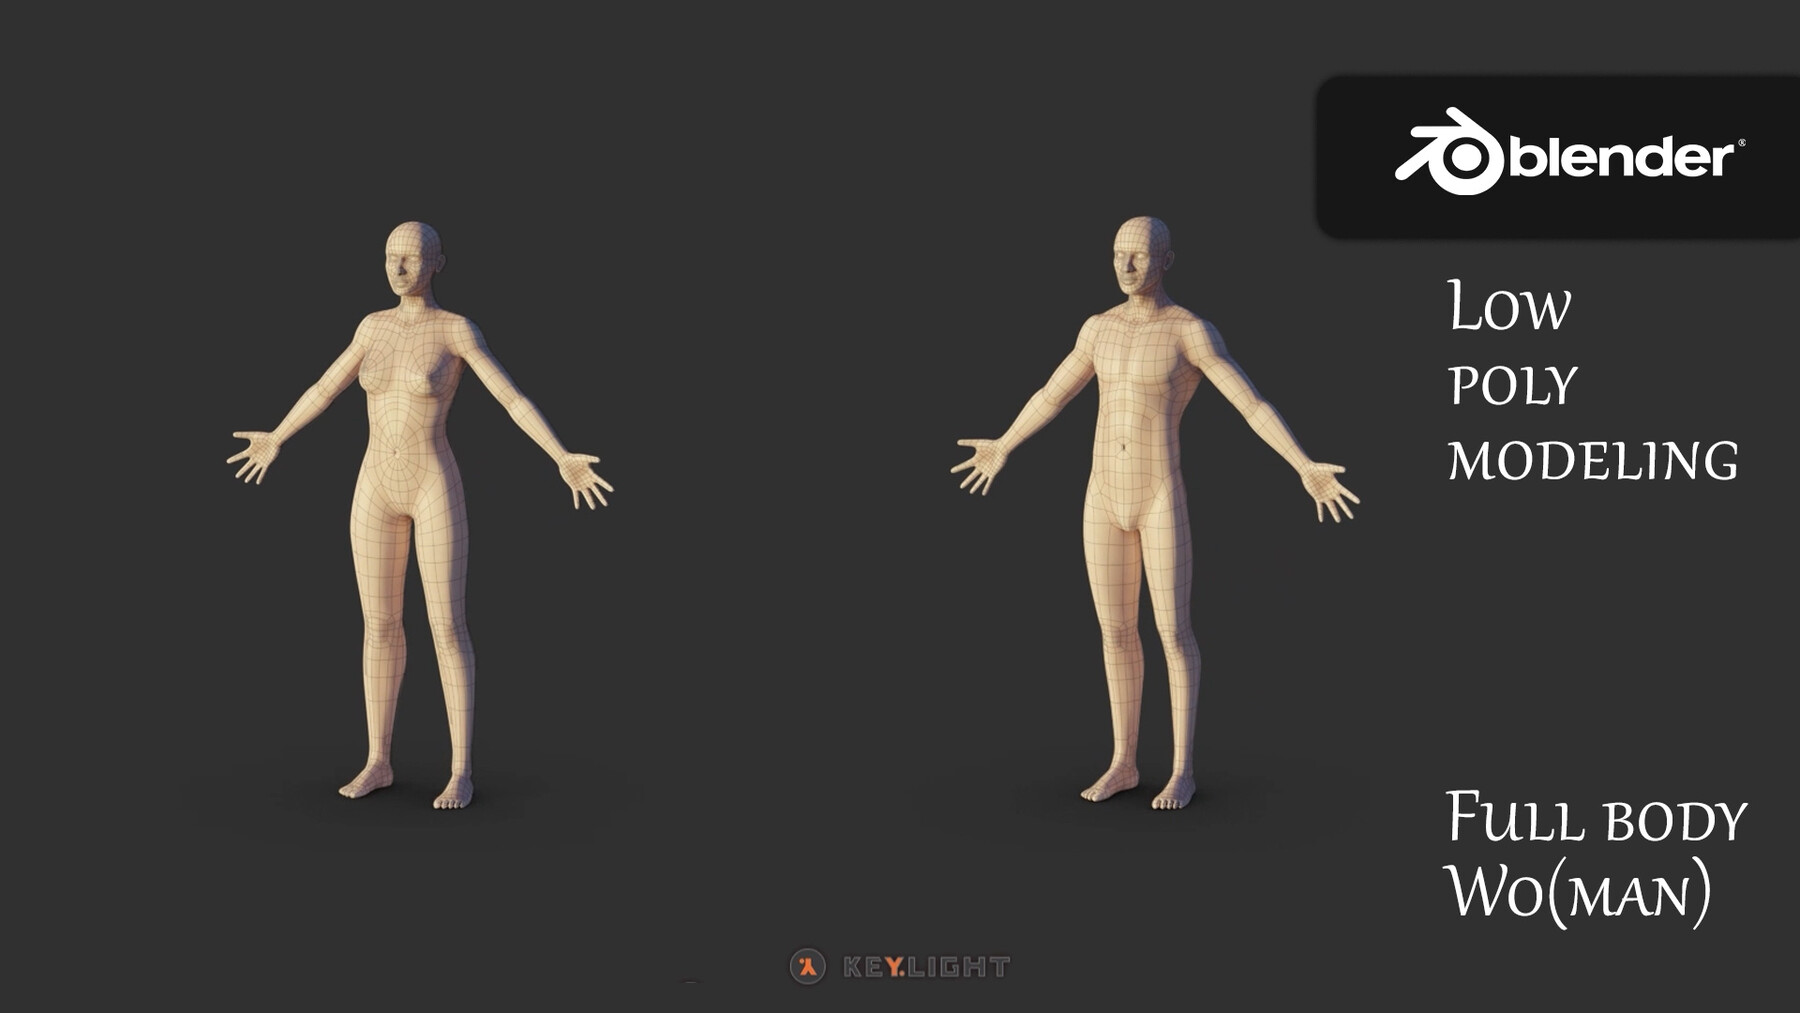
- Using Too Many Polygons Early On: Starting with a high-polygon model can make it difficult to adjust basic shapes and proportions. Begin with a low-poly model and add details as you refine the shape.
- Ignoring Topology: The flow of polygons (topology) affects how your model deforms with animation. Use quads and maintain a clean topology to ensure smooth animations and sculpting.
- Avoiding Retopology: Skipping the retopology step can lead to models that are difficult to animate or detail. Retopology is crucial for creating a clean, animation-ready mesh.
- Neglecting Texturing and Shading: Textures and shading add depth and realism to your model. Failing to properly texture and shade your model can result in a flat and unconvincing appearance.
- Overcomplicating the Rig: An overly complex rig can be difficult to animate and may not offer additional benefits. Keep rigs as simple as possible while still meeting the needs of your animation.
By avoiding these common mistakes, you can enhance the realism and functionality of your Blender body models, making them more lifelike and easier to animate.
_HOOK_
Resources for Further Learning and Inspiration
Advancing your skills in Blender body modeling requires access to quality resources for learning and inspiration. Whether you\"re a beginner or looking to polish your skills, these resources can guide your journey and spark your creativity.
- Blender Official Tutorials: The Blender Foundation offers an array of official tutorials covering all aspects of Blender, including body modeling. These tutorials are updated with each new version of Blender.
- Online Courses and Workshops: Platforms like Udemy, Coursera, and Skillshare feature courses on Blender body modeling. These range from beginner to advanced levels, taught by industry professionals.
- YouTube Channels: YouTube hosts countless tutorials and project walkthroughs from experienced Blender artists. Channels like Blender Guru, CG Geek, and Darrin Lile offer insightful content for modelers of all levels.
- Blender Communities: Joining Blender communities such as Blender Artists Forum or the Blender subreddit can provide support, feedback, and inspiration from fellow Blender enthusiasts.
- Books and E-books: There are many comprehensive guides and reference books on Blender that cover body modeling in depth, perfect for those who prefer written instructions.
- Artstation and Behance: For inspiration, look no further than Artstation and Behance, where professional artists showcase their Blender projects, including character and body modeling.
Utilizing these resources can significantly enhance your understanding of body modeling in Blender, providing you with the knowledge and inspiration needed to create stunning 3D models.
READ MORE:
Conclusion: Next Steps in Mastering Blender Body Modeling
Mastering body modeling in Blender is a journey of continuous learning and practice. As you progress, each project will enhance your skills, understanding, and creativity. To further advance your journey in Blender body modeling, consider the following steps:
- Practice Regularly: The key to mastering Blender body modeling is consistent practice. Work on a variety of projects to challenge your skills and apply what you\"ve learned in different contexts.
- Seek Feedback: Sharing your work with others and seeking constructive feedback can provide new perspectives and insights, helping you to improve your work.
- Stay Updated: Blender is continuously evolving, with new features and tools being added. Stay updated with the latest versions and explore how new features can enhance your body modeling projects.
- Experiment with Styles: Don’t limit yourself to realistic body modeling. Experiment with stylized or abstract forms to expand your creative range and discover new techniques.
- Contribute to the Community: As you gain experience, consider contributing to the Blender community through tutorials, forums, or by sharing your projects. Teaching others is a powerful way to solidify your own knowledge and skills.
Remember, mastery in Blender body modeling doesn’t come overnight but through dedication, practice, and a willingness to learn and grow. Your journey is unique, and each step forward brings you closer to realizing your creative visions. Happy modeling!
Embark on your Blender body modeling journey with confidence, armed with the knowledge from this guide. Remember, every masterpiece starts with a single vertex, and your next project could be the one that astonishes the world.