Topic modeling in blender tutorial: Embark on your 3D modeling journey with our comprehensive Blender tutorial, designed to transform beginners into skilled artists through easy-to-follow steps and expert tips.
Table of Content
- What are the best tutorials for modeling in Blender available online?
- Getting Started with Blender
- Intermediate Modeling Techniques
- Specialized Tutorials
- Resources and Further Learning
- Intermediate Modeling Techniques
- Specialized Tutorials
- YOUTUBE: Blender Beginner Modeling Tutorial Part 1
- Resources and Further Learning
- Specialized Tutorials
- Resources and Further Learning
- Resources and Further Learning
- Introduction to Blender and 3D Modeling
- Getting Started with Blender\"s Interface
- Basic Modeling Techniques for Beginners
- Advanced Modeling Tools and Techniques
- Character Modeling in Blender
- Hard-Surface Modeling Techniques
- Texturing and Rendering Your Models
- Animation Basics for 3D Models
- Resources for Further Learning and Community Support
What are the best tutorials for modeling in Blender available online?
Here are some of the best tutorials for modeling in Blender available online:
- Blender Official Tutorials: The official tutorials provided by Blender cover a wide range of topics including modeling, sculpting, and texturing.
- Blender Guru Beginner Tutorials: Blender Guru\'s beginner tutorials, such as the famous \"Donut tutorial,\" are perfect for those new to Blender.
- CG Cookie Blender Tutorials: CG Cookie offers a variety of tutorials on modeling, texturing, and rendering in Blender.
- Grant Abbitt Tutorials: Grant Abbitt\'s tutorials are focused on modeling and cover a wide range of subjects in Blender.
READ MORE:
Getting Started with Blender
- Introduction to Blender\"s Interface and Basics
- Understanding Blender\"s Modeling Tools and Modifiers
- Simple Projects for Beginners: Creating Your First 3D Model

Intermediate Modeling Techniques
- Advanced Modeling Tools and Techniques
- Creating Realistic Textures and Materials
- Animation Basics: Bringing Your Models to Life

Specialized Tutorials
Character Modeling
- Basics of Character Modeling: Anatomy and Proportions
- Texturing and Rigging Your Characters
Hard-Surface Modeling
- Techniques for Mechanical and Architectural Models
- Utilizing Modifiers for Complex Shapes

Resources and Further Learning
Blender offers an extensive range of tutorials and guides to help you master 3D modeling. From beginner-friendly introductions to in-depth courses on specific techniques, the Blender community and official Blender.org tutorials are invaluable resources. Practice is key to mastering Blender, so start experimenting with different projects to enhance your skills.
Online Communities and Support
- Blender Artists Forum
- Blender Stack Exchange for Q&A
Embark on your 3D modeling journey with Blender today and unlock the limitless potential of your creativity. Happy modeling!

_HOOK_
Intermediate Modeling Techniques
- Advanced Modeling Tools and Techniques
- Creating Realistic Textures and Materials
- Animation Basics: Bringing Your Models to Life

Specialized Tutorials
Character Modeling
- Basics of Character Modeling: Anatomy and Proportions
- Texturing and Rigging Your Characters
Hard-Surface Modeling
- Techniques for Mechanical and Architectural Models
- Utilizing Modifiers for Complex Shapes
Blender Beginner Modeling Tutorial Part 1
\"Discover the incredible capabilities of Blender in our video tutorial! Learn how to create stunning 3D animations and designs with this powerful software. Unleash your creativity and delve into the world of digital art with Blender!\"
Resources and Further Learning
Blender offers an extensive range of tutorials and guides to help you master 3D modeling. From beginner-friendly introductions to in-depth courses on specific techniques, the Blender community and official Blender.org tutorials are invaluable resources. Practice is key to mastering Blender, so start experimenting with different projects to enhance your skills.
Online Communities and Support
- Blender Artists Forum
- Blender Stack Exchange for Q&A
Embark on your 3D modeling journey with Blender today and unlock the limitless potential of your creativity. Happy modeling!
Blender Modeling Tutorial for Absolute Beginners Simple Human
\"Join us as we explore the art of modeling in our fascinating video! From creating intricate 3D models to bringing your ideas to life, our tutorial will guide you through the exciting world of modeling. Dive in and unleash your artistic vision!\"
Specialized Tutorials
Character Modeling
- Basics of Character Modeling: Anatomy and Proportions
- Texturing and Rigging Your Characters
Hard-Surface Modeling
- Techniques for Mechanical and Architectural Models
- Utilizing Modifiers for Complex Shapes

Resources and Further Learning
Blender offers an extensive range of tutorials and guides to help you master 3D modeling. From beginner-friendly introductions to in-depth courses on specific techniques, the Blender community and official Blender.org tutorials are invaluable resources. Practice is key to mastering Blender, so start experimenting with different projects to enhance your skills.
Online Communities and Support
- Blender Artists Forum
- Blender Stack Exchange for Q&A
Embark on your 3D modeling journey with Blender today and unlock the limitless potential of your creativity. Happy modeling!
_HOOK_
Resources and Further Learning
Blender offers an extensive range of tutorials and guides to help you master 3D modeling. From beginner-friendly introductions to in-depth courses on specific techniques, the Blender community and official Blender.org tutorials are invaluable resources. Practice is key to mastering Blender, so start experimenting with different projects to enhance your skills.
Online Communities and Support
- Blender Artists Forum
- Blender Stack Exchange for Q&A
Embark on your 3D modeling journey with Blender today and unlock the limitless potential of your creativity. Happy modeling!
Introduction to Blender and 3D Modeling
Blender is a powerful, open-source software for 3D modeling, animation, rendering, post-production, interactive creation, and playback. It is available for all major operating systems under the GNU General Public License. Blender\"s comprehensive array of modeling tools make creating, transforming, and editing your models a breeze.
- Blender\"s user-friendly interface and versatile features cater to both beginners and professionals.
- It supports the entirety of the 3D pipeline—modeling, rigging, animation, simulation, rendering, compositing, and motion tracking, even video editing, and game creation.
- Advanced users can customize Blender\"s functionality with Python scripting.
- For beginners, there are countless tutorials available online to get started with basic projects.
Starting with 3D modeling in Blender involves learning how to navigate the interface, understanding basic modeling principles, and gradually moving on to more complex projects and techniques. Blender tutorials typically cover various aspects, including but not limited to:
- Introduction to Blender\"s interface and shortcuts.
- Basic modeling techniques using meshes, curves, and more.
- Advanced modeling techniques like sculpting and retopology.
- Applying textures and materials to give your models a realistic appearance.
- Lighting and rendering your models to achieve professional results.
Through these tutorials, users learn to create a wide range of 3D models, from simple objects to complex scenes, characters, and environments. Whether you are interested in video game design, animation, or visual effects, mastering Blender opens up a world of possibilities.
Getting Started with Blender\"s Interface
Blender\"s interface might seem daunting at first, but its well-organized layout and intuitive design make it accessible for users of all levels. Understanding the interface is the first step to mastering Blender. Here\"s a step-by-step guide to get you comfortable with Blender\"s environment.
- Layout: Blender\"s interface is divided into sections called editors, each dedicated to a specific task, like 3D Viewport, Timeline, Outliner, and Properties.
- 3D Viewport: This is where you\"ll spend most of your time, modeling, sculpting, and viewing your scenes. Learning the navigation controls (pan, zoom, and rotate) is crucial.
- Properties Editor: Here, you can access settings for the active object, render settings, world settings, and more. Familiarizing yourself with these panels will speed up your workflow.
- Outliner: The Outliner shows a hierarchical list of all objects in your scene. It\"s essential for organizing your projects, especially as they grow in complexity.
- Timeline: At the bottom of the default layout, the Timeline allows you to control animation playback, including keyframes and playback speed.
Customization is a key feature of Blender\"s interface, allowing you to adjust and save layouts based on your workflow preferences. Here\"s how to start customizing:
- Drag the corner of any editor to split or join areas, creating a workspace that suits your needs.
- Use the editor type selector (in each editor\"s header) to change the editor displayed in that area.
- Save your layout by going to File > Defaults > Save Startup File, so Blender opens with your custom layout every time.
Blender also offers a variety of themes and the ability to adjust the interface\"s scaling, making it comfortable for long hours of work. Additionally, learning the keyboard shortcuts for frequently used functions can dramatically increase your efficiency.
Getting familiar with Blender\"s interface sets a solid foundation for diving into the more creative aspects of 3D modeling. Take your time exploring and practicing with different editors and settings, and you\"ll soon find your workflow in Blender.
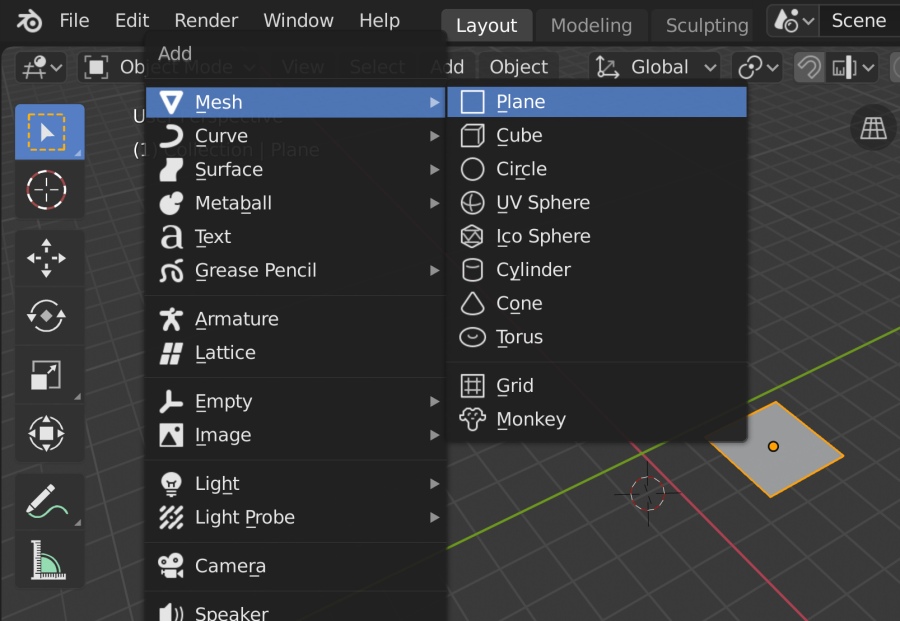
Basic Modeling Techniques for Beginners
Starting with modeling in Blender opens a world of creativity. Here’s a simple guide to get you from novice to proficient modeler.
- Understanding Blender’s Interface: Begin by familiarizing yourself with Blender\"s workspace, including navigation, object selection, and viewport manipulation.
- Starting Simple: Use basic shapes and the extrusion method to create your first models. Focus on creating clean geometry with good topology.
- Modifiers: Learn to use modifiers like the mirror and subdivision surface to speed up your workflow and add detail to your models.
- Low-Poly Modeling: Practice creating low-poly models. This technique is essential for game assets and offers a foundation in efficient modeling practices.
- Hard-Surface Modeling: Explore hard-surface modeling techniques, useful for creating man-made objects with precision. Utilize the mirror and subsurface modifiers for accuracy and detail.
- Particle Systems for Nature: Dive into particle systems to add realistic hair or grass to your models, enhancing their realism.
- Lighting and Rendering: Experiment with Blender’s lighting and rendering features to bring your models to life. Proper lighting can drastically improve the appearance of your models.
- Asset Creation: Learn the workflow of creating game assets, including modeling, UV-unwrapping, and texturing, to prepare for a career in game development.
Remember, practice and patience are key. Start with simple projects and gradually challenge yourself with more complex creations. Happy modeling!
Advanced Modeling Tools and Techniques
Mastering advanced modeling tools and techniques in Blender opens up a world of possibilities for creating highly detailed and complex 3D models. This section delves into sophisticated methods that can help elevate your modeling skills beyond the basics.
Subdivision Surface Modifier
The Subdivision Surface Modifier is a powerful tool for adding smoothness and fine detail to your models without manually adding extra geometry. It works by subdividing the mesh\"s faces into smaller faces, resulting in a smoother appearance. Use this modifier to refine shapes and add complexity to your models efficiently.
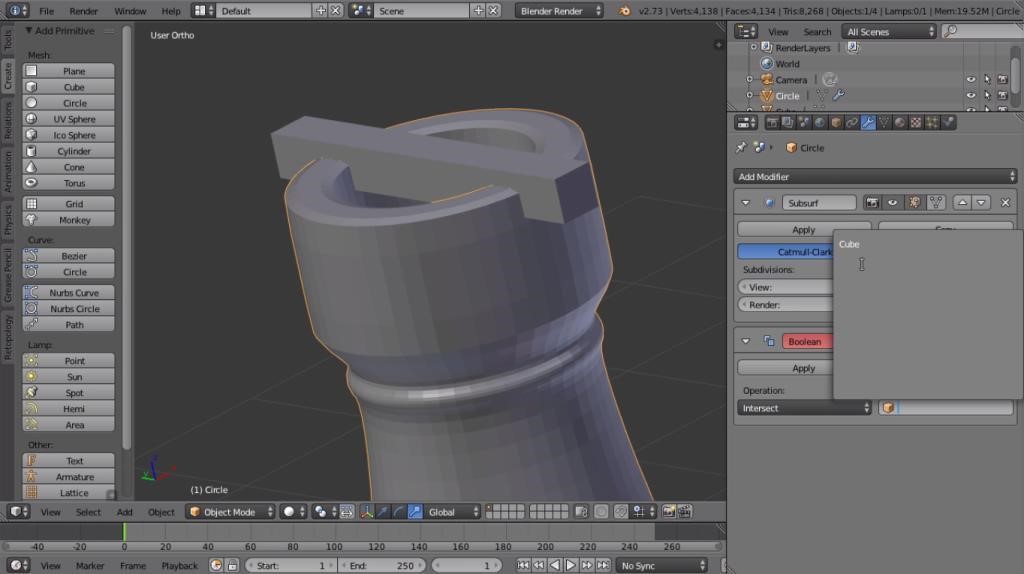
Boolean Operations
Boolean operations allow you to combine objects in a non-destructive manner, creating complex shapes by adding, subtracting, or intersecting them. This technique is particularly useful for hard-surface modeling, such as creating mechanical parts or architectural details.
Sculpting Tools
Blender\"s sculpting tools enable you to mold and shape your models like clay. With features such as dynamic topology, you can add detail to specific areas of your model without affecting the overall mesh. This approach is ideal for character modeling, organic shapes, and adding fine details like wrinkles or scars.
Retopology Tools
Retopology is the process of converting high-poly models into more manageable, low-poly versions without sacrificing detail. Blender offers tools like the Shrinkwrap modifier and the Poly Build tool to facilitate this process, ensuring your models are optimized for animation and performance.
Modifiers for Non-Destructive Modeling
- Array Modifier: Create multiple instances of an object in an array, allowing for complex patterns and structures without manually duplicating and placing each element.
- Curve Modifier: Deform objects along a curve, perfect for creating twisted or bent shapes, such as cables or ropes.
- Mirror Modifier: Automatically mirror a model across a chosen axis, saving time and ensuring symmetry for objects like characters or vehicles.
Procedural Texturing and Shading
Going beyond modeling, Blender\"s procedural texturing and shading capabilities allow you to create detailed surfaces without relying on image textures. This technique uses mathematical algorithms to generate textures that can be easily adjusted and customized, offering infinite possibilities for creativity.
Advanced Lighting and Rendering
Understanding advanced lighting and rendering techniques is crucial for bringing your models to life. Explore HDR lighting, volumetric effects, and the Cycles or Eevee rendering engines to achieve photorealistic results or stylized looks that match your vision.
By incorporating these advanced tools and techniques into your workflow, you can significantly enhance the quality and complexity of your 3D models in Blender. Practice and experimentation are key to mastering these skills and unlocking the full potential of your creative projects.
_HOOK_
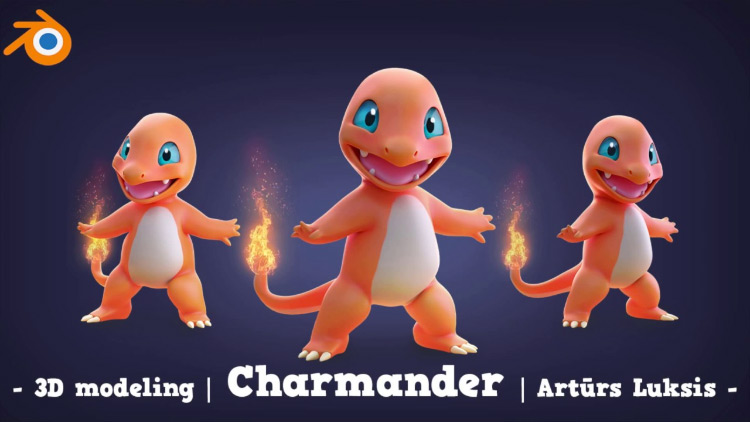
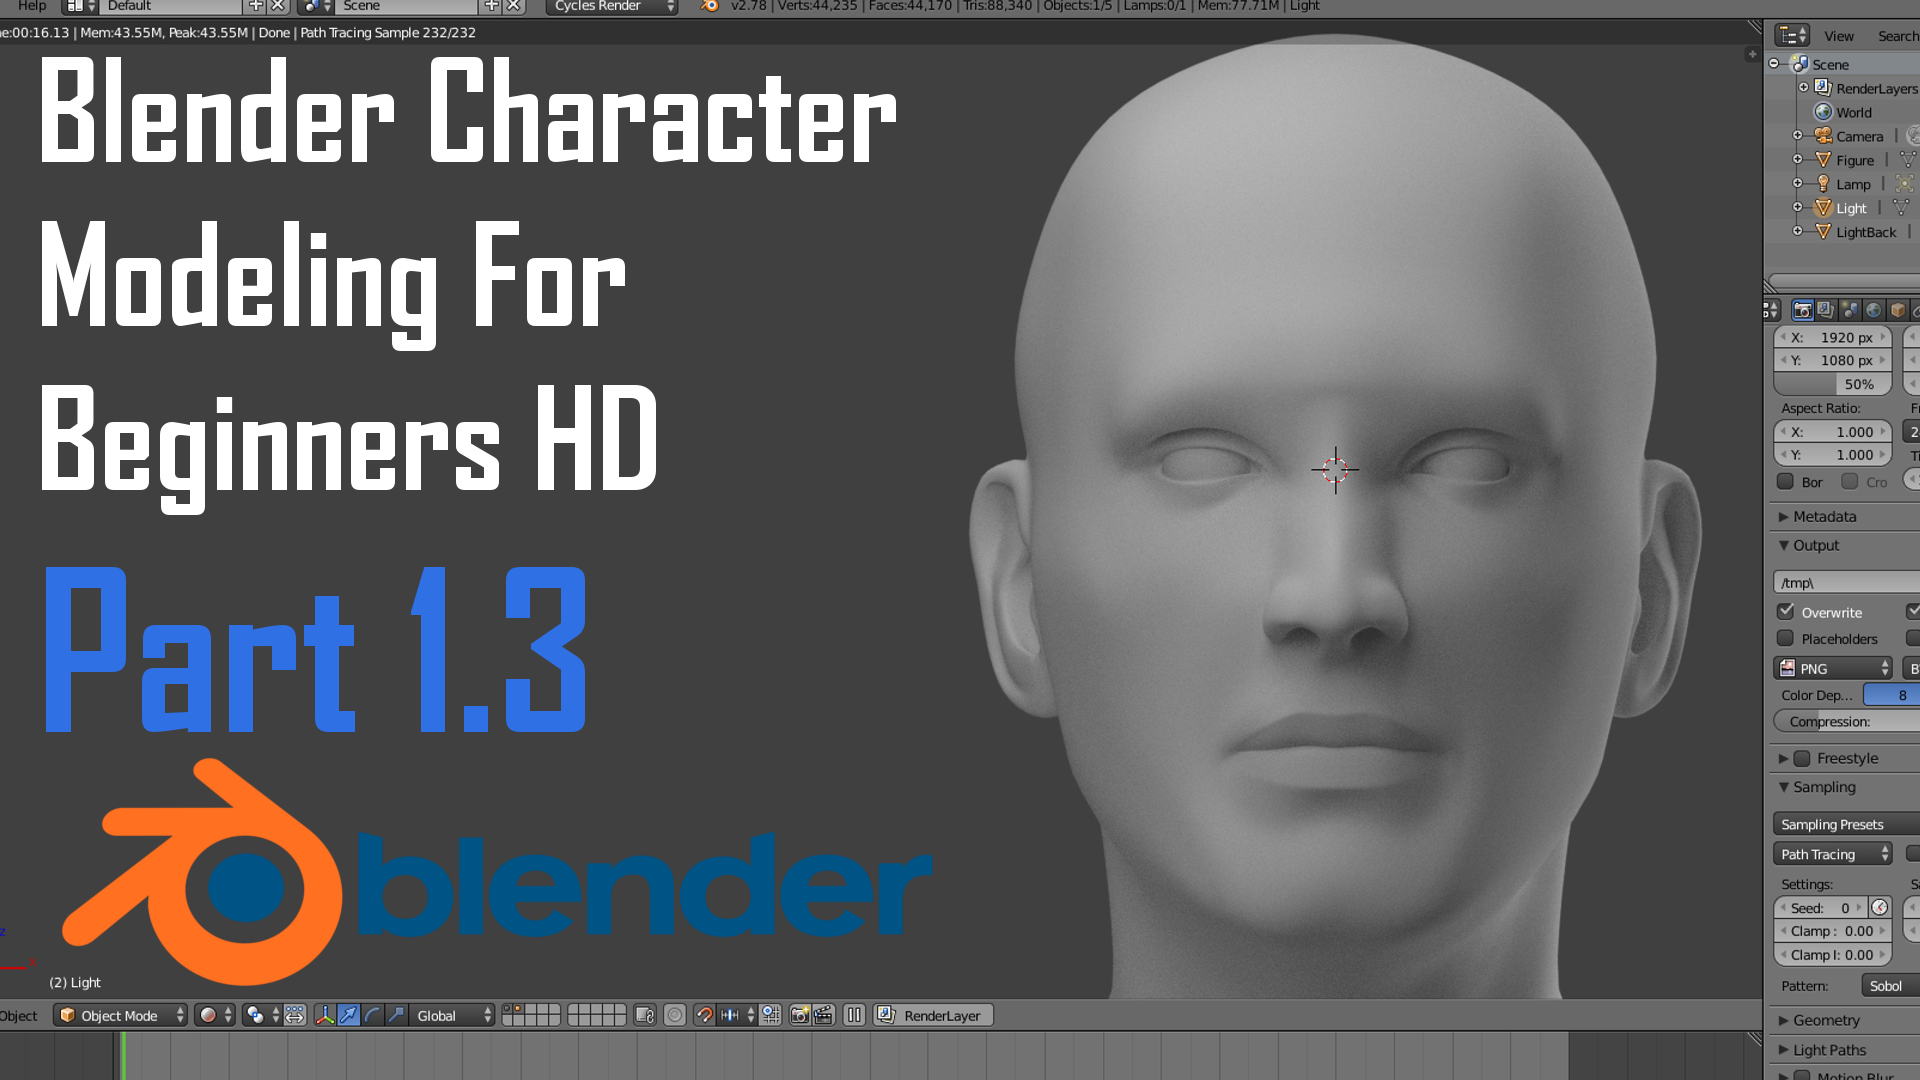
Character Modeling in Blender
Character modeling in Blender is an exciting journey that allows artists to bring their imaginations to life. This guide aims to provide a comprehensive overview of the process, from the basics to more advanced techniques, ensuring you have the tools and knowledge to create detailed and expressive characters.
Starting with the Basics
Begin your character modeling journey by understanding Blender’s interface and getting comfortable with navigation and basic modeling operations. Start with simple shapes to form the basic silhouette of your character, focusing on proportion and anatomy.
Refining the Model
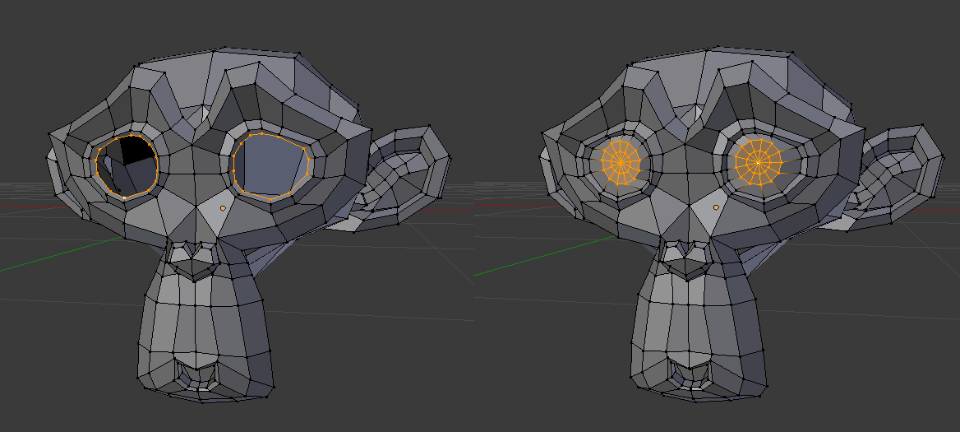
Once the basic shape is in place, refine your character by adding more details. Use Blender’s sculpting tools to add muscle definition, facial features, and other intricate details. This stage is crucial for bringing your character to life and making it unique.
Topology and Edge Flow
Good topology is essential for a model that deforms well in animation. Focus on creating a clean edge flow, especially around joints and facial features. Use quad-based topology to ensure your character\"s mesh deforms naturally.
Retopology
For high-detail sculptures, retopology is necessary to create a lower-poly version of your model suitable for animation. Blender’s retopology tools, such as the Shrinkwrap modifier and snapping options, help simplify this process.
UV Unwrapping and Texturing
After modeling, unwrap your character’s mesh to apply textures. Blender offers powerful UV unwrapping tools to efficiently layout your mesh for texturing. Use texture painting tools to add colors, details, and character to your model.
Rigging and Weight Painting
Rigging is the process of adding bones to your character for animation. Use Blender’s rigging tools to create a skeleton structure inside your model. Weight painting allows you to define how the mesh deforms in relation to the bones.
Facial Rigging and Shape Keys
For expressive characters, facial rigging and shape keys are essential. They allow for detailed facial expressions and lip-syncing. Utilize Blender’s shape keys to create morph targets for different facial expressions.
Final Touches
- Materials and Shaders: Apply materials and shaders to give your character a realistic or stylized appearance.
- Hair and Fur: Use Blender’s particle system to add hair, fur, or clothing to your character.
- Lighting and Rendering: Finally, set up lighting and choose a rendering engine to bring your character to life with beautiful renders.
Character modeling in Blender is a blend of art and technology. With patience, practice, and creativity, you can create stunning characters that tell a story. Remember, every artist has a unique style, so let your imagination guide you.
Hard-Surface Modeling Techniques
Hard-surface modeling in Blender involves creating non-organic models such as machinery, vehicles, and architectural structures. This section introduces key techniques and best practices to help you master hard-surface modeling in Blender.
Understanding the Basics
Start with a solid understanding of Blender\"s interface and basic modeling tools. Familiarize yourself with extrusion, loop cuts, and beveling as these are the foundation of hard-surface modeling.
Using Modifiers for Efficiency
Modifiers are essential for hard-surface modeling. They allow for non-destructive changes to your model. Key modifiers include:
- Subdivision Surface: Smooths the model by subdividing the mesh.
- Boolean: Creates complex shapes by combining basic forms.
- Bevel: Adds beveled edges for a more realistic appearance.
- Mirror: Mirrors the model across an axis to ensure symmetry.
- Solidify: Adds thickness to otherwise flat surfaces.
Detailing with Booleans
Boolean operations allow you to add intricate details to your models by using other objects to add or subtract from your mesh. This technique is ideal for creating vents, panels, and other complex mechanical details.
Edge Flow and Topology
For hard-surface models, maintaining clean topology and proper edge flow is crucial. This ensures that your model looks realistic and behaves correctly under different lighting conditions. Pay attention to edge loops and planar faces, especially for models that will be animated.
Adding Details with Normal Maps
Instead of modeling every small detail, you can use normal maps to simulate the appearance of complexity. This technique is essential for game assets and models where performance is a consideration.
Shading and Materials
Applying realistic materials and shaders can significantly enhance the appearance of your hard-surface models. Utilize Blender\"s powerful shading system to create metals, plastics, and other materials common in hard-surface modeling.
Finalizing Your Model
Once your model is complete, consider adding finishing touches like decals, wear and tear, and other details to bring your model to life. Explore texture painting and procedural textures to add realism to your creations.
Hard-surface modeling in Blender requires patience and practice. Start with simple projects to build your skills before moving on to more complex models. With time, you’ll find that Blender is a powerful tool for bringing your technical and mechanical designs to life.
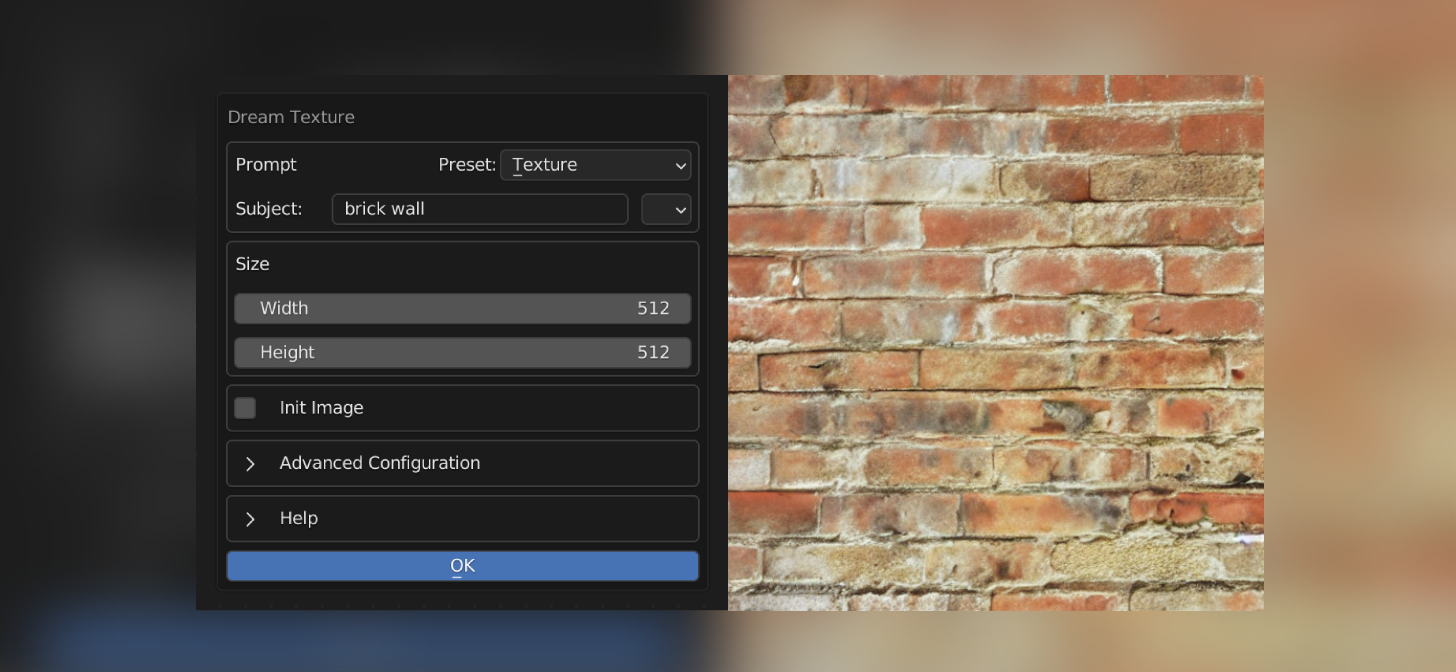
Texturing and Rendering Your Models
Texturing and rendering are crucial steps in the 3D modeling process, adding realism and depth to your creations. This section covers essential techniques for texturing and rendering in Blender, transforming your models from simple meshes into vivid, lifelike objects.
Preparing Your Model for Texturing
Before texturing, ensure your model is UV unwrapped. UV unwrapping is the process of projecting your 3D model onto a 2D plane to apply textures accurately. Blender\"s UV editing tools allow you to efficiently unwrap your model and organize the UV layout.
Applying Textures
Blender supports various types of textures, including procedural textures and image textures. Procedural textures are mathematically generated within Blender, offering infinite customization. Image textures are bitmap images applied to your model, ideal for adding real-world details.
- Procedural Texturing: Use Blender\"s nodes to create complex materials without the need for external images. Adjust parameters to achieve the desired effect, from metallic surfaces to organic patterns.
- Image Texturing: Import image textures and apply them to your model\"s surfaces. Use Blender\"s Shader Editor to adjust the mapping, scale, and influence of the textures on your model.
Shading and Materials
Creating realistic materials involves more than just applying textures. Utilize Blender\"s powerful Shader Editor to build complex materials that react realistically to light. Experiment with nodes like Diffuse, Glossy, and Emission to simulate various material properties.
Lighting Your Scene
Lighting plays a pivotal role in how your textures and materials appear. Blender offers a range of lighting options, from simple lamps to complex HDR environments. Use three-point lighting setups for character models or HDRIs for realistic environmental lighting.
Rendering Your Model
Blender provides two main rendering engines: Cycles and Eevee. Cycles is a ray-traced renderer, offering photorealistic results at the cost of longer render times. Eevee is a real-time renderer, providing faster results with advanced techniques like screen-space reflections and ambient occlusion.
- Cycles: Ideal for final renders and still images where quality is paramount.
- Eevee: Best for real-time previewing and animations where speed is crucial.
Post-Processing
After rendering, use Blender\"s Compositor to enhance your image. Adjust contrast, color balance, and add effects like bloom or glare to elevate the visual impact of your render.
Texturing and rendering are art forms within themselves, requiring practice and experimentation to master. By applying these techniques, you can create stunning visuals that bring your models to life in Blender.
Animation Basics for 3D Models
Animation in Blender brings your 3D models to life, allowing for the creation of dynamic scenes and narratives. This guide introduces the basics of animation in Blender, covering everything from keyframing to rendering your animated scenes.
Understanding Keyframes
Keyframes are the cornerstone of animation in Blender. They define the start and end points of any movement or transformation. To animate a model, you set keyframes at specific frames in the timeline for the properties you want to animate, such as location, rotation, and scale.
Animating with the Timeline
The Timeline editor is where you control the playback of your animation and manage keyframes. It allows you to scrub through your animation, set the frame range, and play or pause the animation. Use the Timeline to get a visual representation of your keyframes and their spacing for timing adjustments.
Using the Dope Sheet
The Dope Sheet gives you an overview of all the keyframes in your scene. It\"s useful for managing and editing keyframes across multiple objects and properties. You can easily move, copy, or delete keyframes and adjust the timing of your animation sequences.
Interpolation and Easing
Interpolation controls how Blender transitions between keyframes. The default interpolation mode is Bezier, which provides smooth easing in and out between keyframes. You can adjust the interpolation mode in the Graph Editor to change the pacing and flow of your animations.
Graph Editor for Fine-tuning
The Graph Editor allows you to precisely control the animation curves for each property. By manipulating the curves, you can create more complex and nuanced movements. This is particularly useful for adjusting the speed and timing of your animations.
Rigging and Armatures
For character animation, rigging is a crucial step. Rigging involves creating a skeleton (armature) for your model and defining how the mesh deforms when the bones move. Weight painting is used to control the influence of each bone on the mesh.
Animating Materials and Lights
Animation in Blender is not limited to object movement. You can also animate material properties and lights to create effects like flickering lights, changing colors, or transitions between materials. This adds an extra layer of dynamism to your scenes.
Rendering Animations
Once your animation is complete, it\"s time to render it into a video file. Choose your rendering engine (Eevee for faster renders or Cycles for more photorealistic results), set your output settings, and render your animation. Consider using Blender\"s Render Farm for faster rendering times.
Starting with these fundamentals, you can explore more complex animation techniques, such as physics simulations, particle systems, and character animation with facial expressions. Remember, practice and experimentation are key to mastering animation in Blender.
READ MORE:
Resources for Further Learning and Community Support
Embarking on the journey of 3D modeling in Blender is both exciting and challenging. To aid in this journey, a plethora of resources and community support networks are available. This guide highlights some key resources for further learning and obtaining support as you develop your Blender skills.
Online Tutorials and Courses
There are numerous online platforms offering tutorials and comprehensive courses tailored to all skill levels:
- Blender\"s Official Website: Features a series of introductory videos that cover every corner of Blender\"s interface and capabilities.
- Udemy: Offers a range of Blender courses, from beginner to advanced levels, focusing on specific techniques like character modeling, animation, and more.
- YouTube: Channels like Blender Guru and CG Geek provide detailed tutorials and projects to help you master Blender\"s vast toolset.
Books and eBooks
For those who prefer reading, several books and eBooks offer in-depth guides and tutorials on Blender:
- Blender For Dummies: An excellent starting point for beginners.
- The Complete Guide to Blender Graphics: Covers everything from basic modeling to advanced rendering techniques.
Community Forums and Support
The Blender community is known for its willingness to help and share knowledge. Participate in forums and groups to seek advice, share your work, and collaborate:
- Blender Artists Forum: A vibrant community where users share their work, ask for feedback, and offer tips.
- Reddit\"s r/blender: A subreddit dedicated to all things Blender, including challenges, showcases, and help threads.
- Blender Stack Exchange: A Q&A site for people who use Blender to create 3D graphics, animations, or games.
Blender User Groups and Meetups
Attending user groups and meetups can be a great way to connect with other Blender enthusiasts, share experiences, and learn new skills through workshops and presentations.
Blender Conference and Workshops
The annual Blender Conference is an excellent opportunity to meet the developers, artists, and teachers from the Blender community. It includes workshops, talks, and showcases of the latest features and artworks.
With these resources and the support of the Blender community, you can continue to grow your skills, create amazing projects, and connect with fellow artists and enthusiasts around the world.
Embark on a transformative journey with our comprehensive Blender tutorials, designed to inspire and guide artists of all levels towards mastering 3D modeling, texturing, and animation. Unleash your creativity and bring your visions to life with Blender.
_HOOK_


:format(webp)/cdn.vox-cdn.com/uploads/chorus_asset/file/24475764/render_to_image_finished.png)