Topic 3d modeling tutorial blender: Dive into the world of 3D art with our Blender modeling tutorial, guiding beginners through the exciting process of bringing their creative visions to life with precision and flair.
Table of Content
- What are the best free resources for learning 3D modeling in Blender?
- Getting Started with Blender
- Basic Modeling Techniques
- Advanced Modeling Projects
- YOUTUBE: Blender 2.8 Beginner 3D Modeling Tutorial
- Basic Modeling Techniques
- Advanced Modeling Projects
- Advanced Modeling Projects
- Introduction to Blender for Beginners
- Setting Up Your Workspace
- Basic 3D Modeling Techniques
- Advanced Modeling Projects and Techniques
- Texturing and UV Mapping
- Animation Basics in Blender
- Rendering and Exporting Your Models
- Resources for Continuous Learning
What are the best free resources for learning 3D modeling in Blender?
There are several great free resources available for learning 3D modeling in Blender. Here are some of the best ones:
- Blender Official Website: The official website of Blender offers a wealth of tutorials, documentation, and resources to help you get started with 3D modeling.
- Blender Foundation YouTube Channel: This YouTube channel provides a wide range of video tutorials on various aspects of Blender, including 3D modeling.
- Blender Guru: Blender Guru is a popular resource for Blender tutorials, covering everything from basics to advanced techniques in 3D modeling.
- CG Cookie: CG Cookie offers a variety of tutorials and courses on Blender, including 3D modeling, texturing, and animation.
- BlenderNation: BlenderNation is a community-driven website that collects Blender-related news, tutorials, and resources, making it a great place to discover new learning materials.
READ MORE:
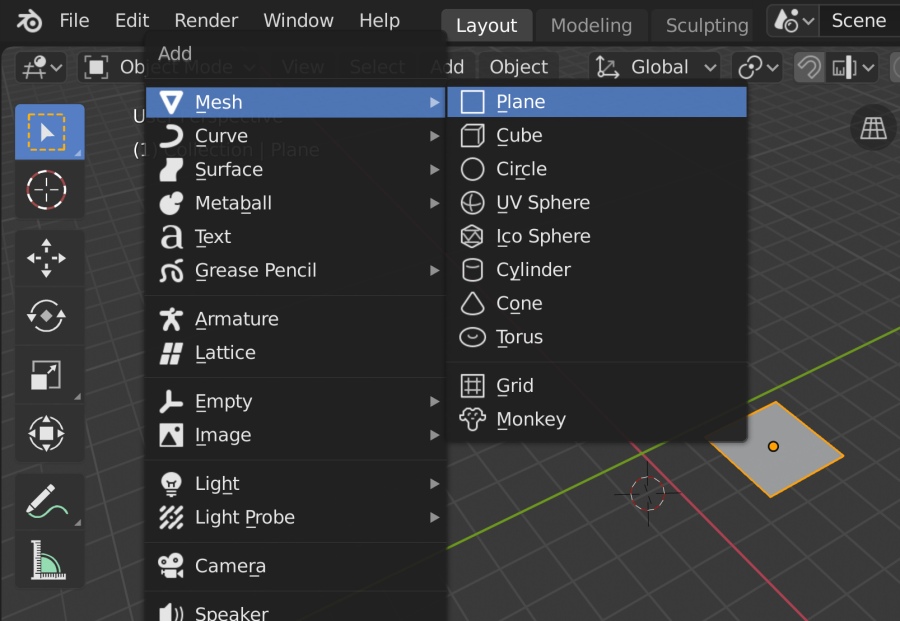
Getting Started with Blender
Begin your 3D modeling journey by familiarizing yourself with Blender\"s interface and foundational concepts. These tutorials are designed to make learning both engaging and efficient.
- Introduction to Blender\"s interface
- Basic navigation in the 3D viewport
- Understanding Blender\"s modeling tools

Basic Modeling Techniques
Learn how to create your first 3D models using simple yet powerful techniques. These tutorials will guide you through the process of creating basic shapes to more complex structures.
- Creating your first 3D object
- Modeling simple geometric shapes
- Techniques for creating realistic models

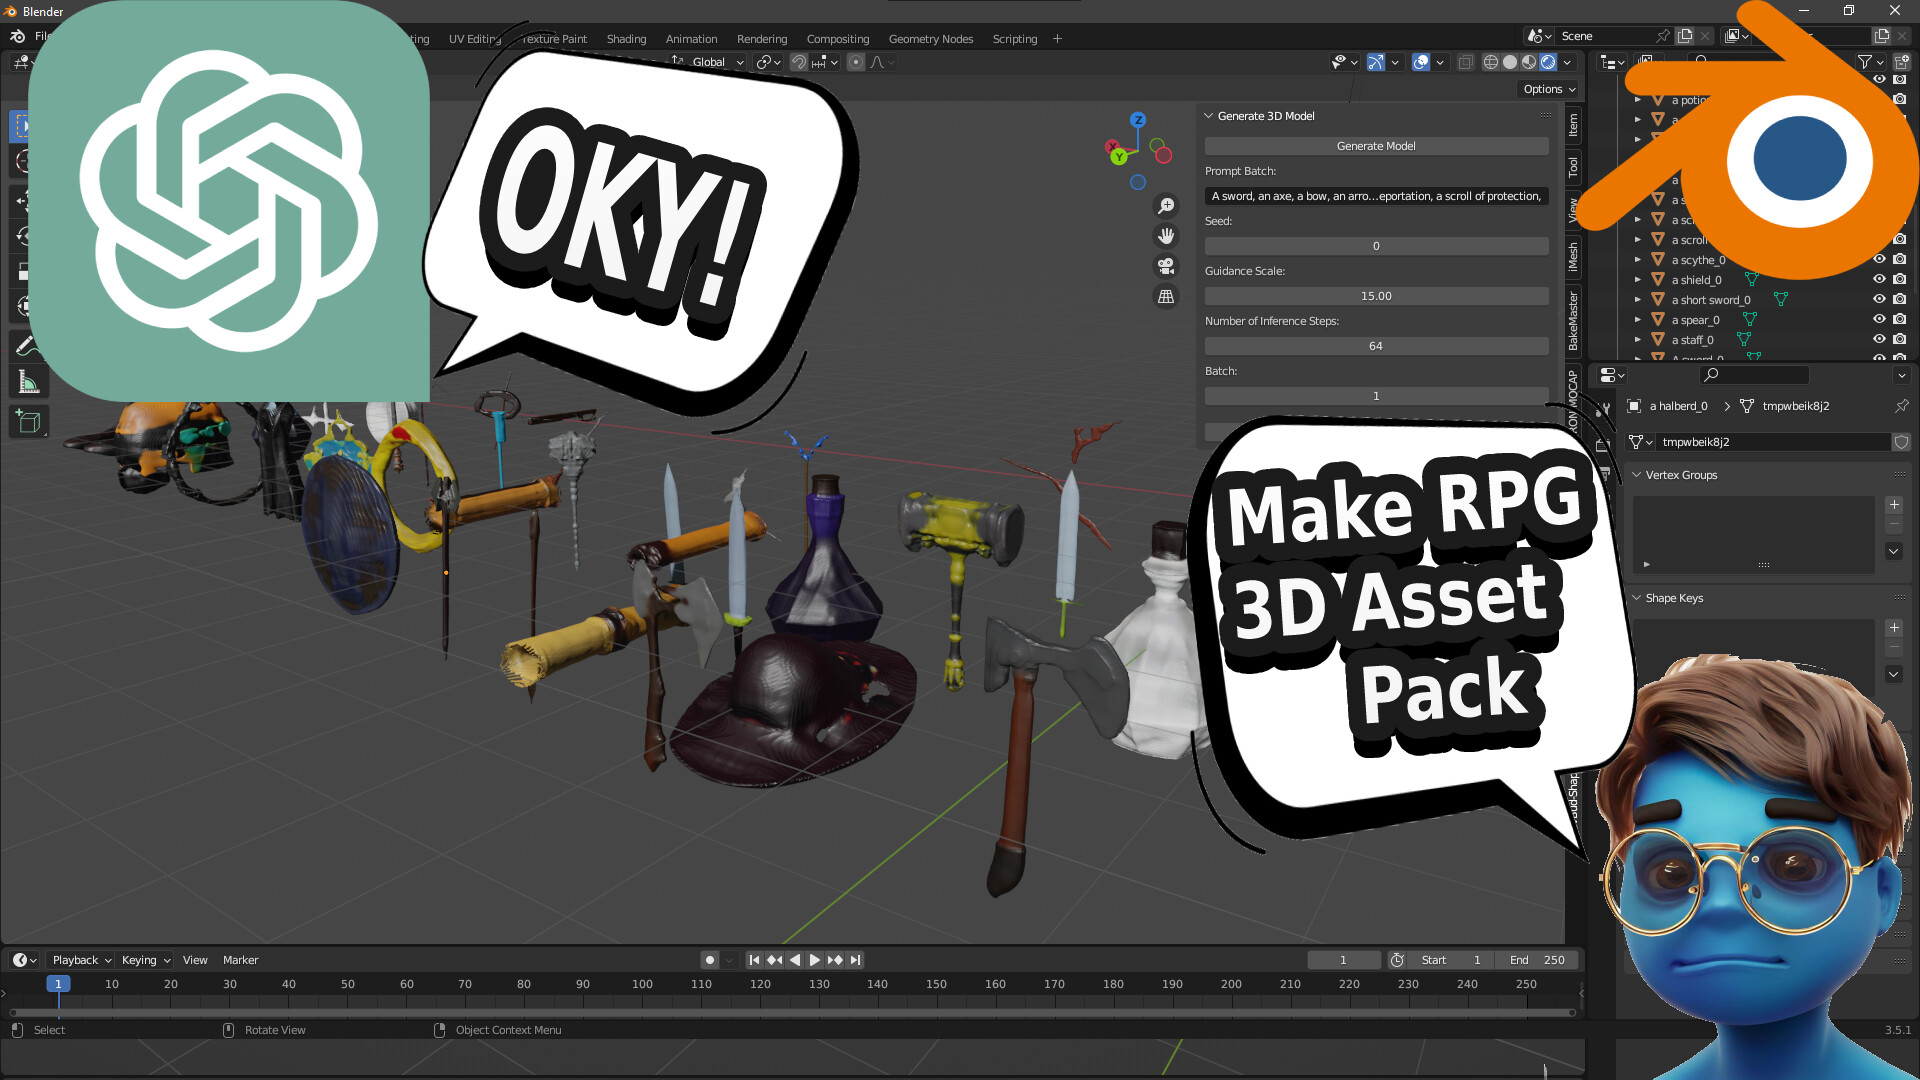
Advanced Modeling Projects
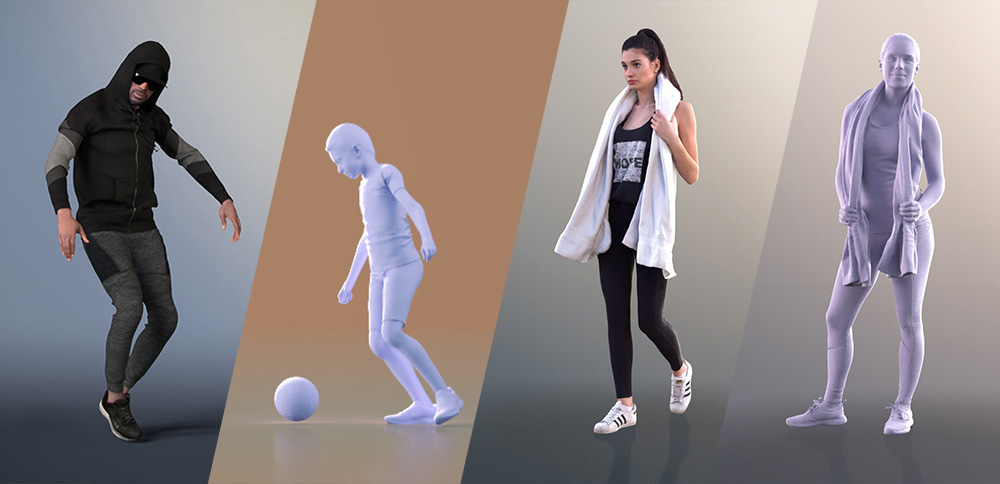
Take your skills to the next level with projects that challenge you to apply what you\"ve learned in creative ways. From character design to architectural visualization, these tutorials provide step-by-step guidance on complex modeling tasks.
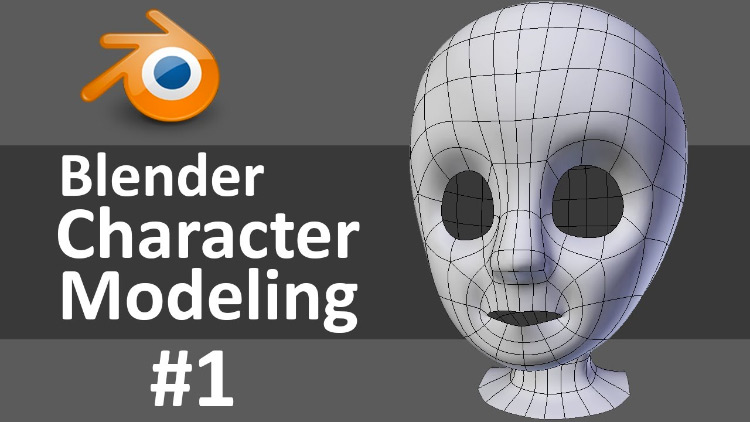
- Character modeling for beginners
- Creating detailed architectural models
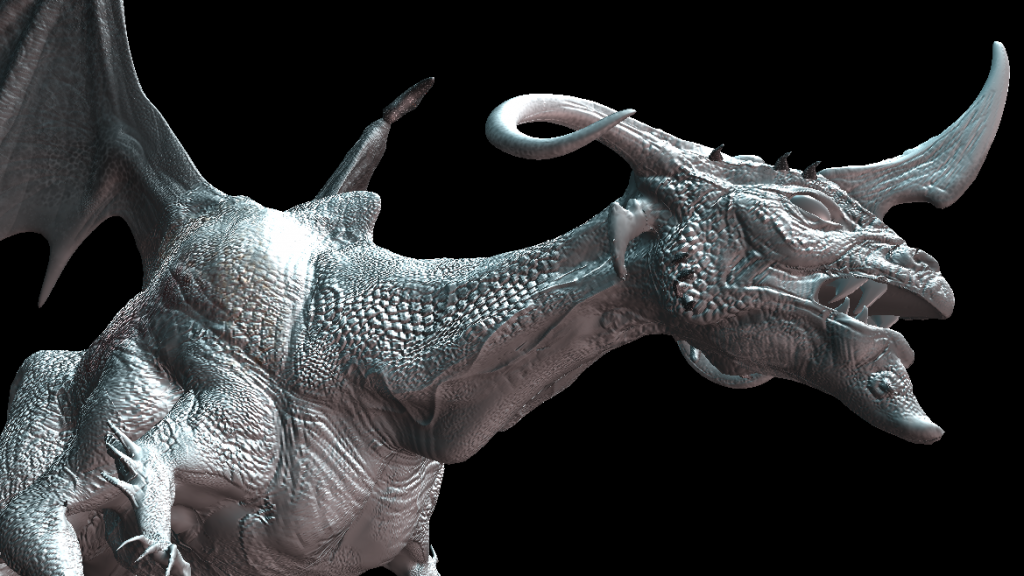
- Designing intricate 3D sculptures
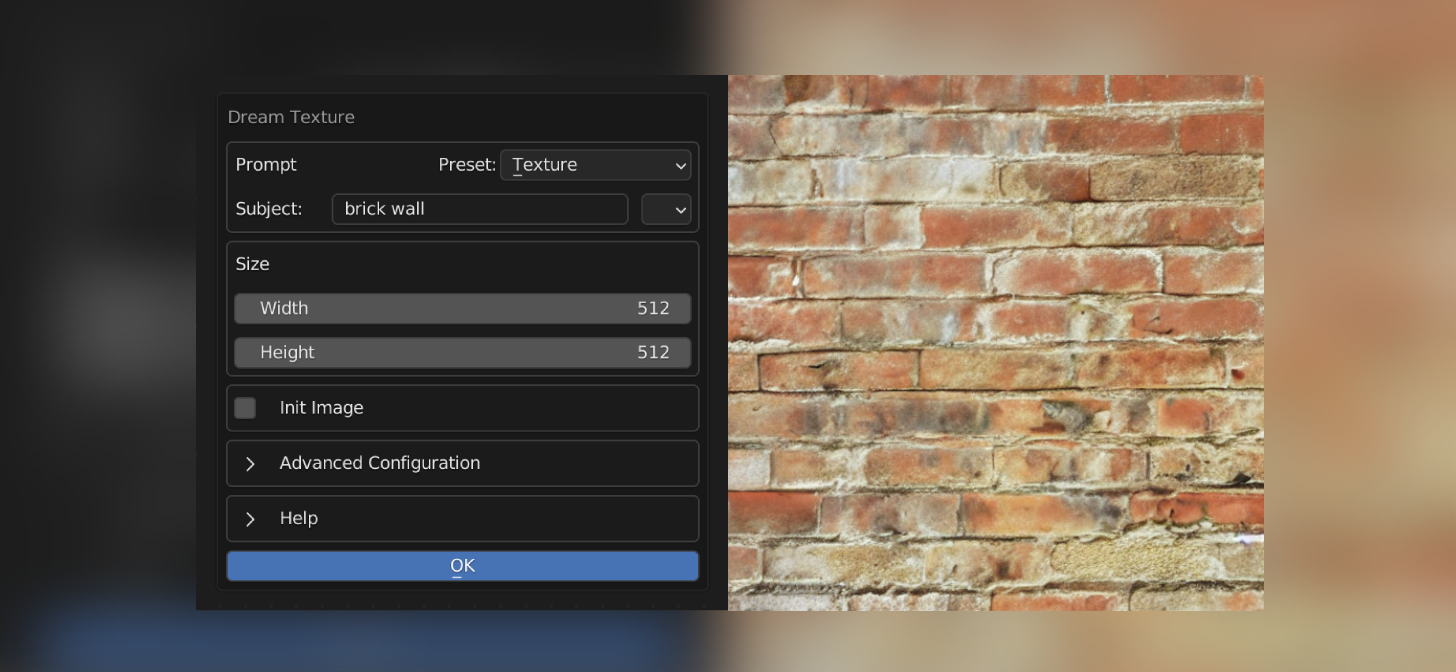
Specialized Techniques
Explore specialized techniques that can enhance your models and workflow. Learn about sculpting, texturing, and animation to bring your models to life.
| Technique | Description | Application |
| Texturing | Applying surface textures to models | Enhancing realism and detail |
| UV Mapping | Unwrapping models for texturing | Creating complex surfaces |
| Animation | Bringing models to life with movement | Character and object animation |
Embark on your 3D modeling adventure with Blender and transform your creative ideas into stunning digital art. With practice and patience, you\"ll be able to create anything you can imagine.

Blender 2.8 Beginner 3D Modeling Tutorial
\"Are you a beginner looking to dive into a new hobby or skill? This video is perfect for you! Join us as we guide you through the basics and help you kickstart your learning journey.\"
Blender Beginner Modeling Tutorial Part 1
\"Curious about the world of modeling? Watch our exciting video as we showcase the glamour, creativity, and hard work that goes into the modeling industry. Get inspired and learn all about this fascinating career!\"
Basic Modeling Techniques
Learn how to create your first 3D models using simple yet powerful techniques. These tutorials will guide you through the process of creating basic shapes to more complex structures.
- Creating your first 3D object
- Modeling simple geometric shapes
- Techniques for creating realistic models

_HOOK_
Advanced Modeling Projects
Take your skills to the next level with projects that challenge you to apply what you\"ve learned in creative ways. From character design to architectural visualization, these tutorials provide step-by-step guidance on complex modeling tasks.
- Character modeling for beginners
- Creating detailed architectural models
- Designing intricate 3D sculptures
Specialized Techniques
Explore specialized techniques that can enhance your models and workflow. Learn about sculpting, texturing, and animation to bring your models to life.
Embark on your 3D modeling adventure with Blender and transform your creative ideas into stunning digital art. With practice and patience, you\"ll be able to create anything you can imagine.
Advanced Modeling Projects
Take your skills to the next level with projects that challenge you to apply what you\"ve learned in creative ways. From character design to architectural visualization, these tutorials provide step-by-step guidance on complex modeling tasks.
- Character modeling for beginners
- Creating detailed architectural models
- Designing intricate 3D sculptures
Specialized Techniques
Explore specialized techniques that can enhance your models and workflow. Learn about sculpting, texturing, and animation to bring your models to life.
| Technique | Description | Application |
| Texturing | Applying surface textures to models | Enhancing realism and detail |
| UV Mapping | Unwrapping models for texturing | Creating complex surfaces |
| Animation | Bringing models to life with movement | Character and object animation |
Embark on your 3D modeling adventure with Blender and transform your creative ideas into stunning digital art. With practice and patience, you\"ll be able to create anything you can imagine.