Topic how to make character model in blender: Embark on a creative journey to master the art of character modeling in Blender, unlocking the secrets to crafting stunning 3D characters with ease and precision.
Table of Content
- How do I make a character model in Blender?
- Getting Started
- Step-by-Step Character Modeling
- Finalizing Your Character Model
- Tips for Success
- Step-by-Step Character Modeling
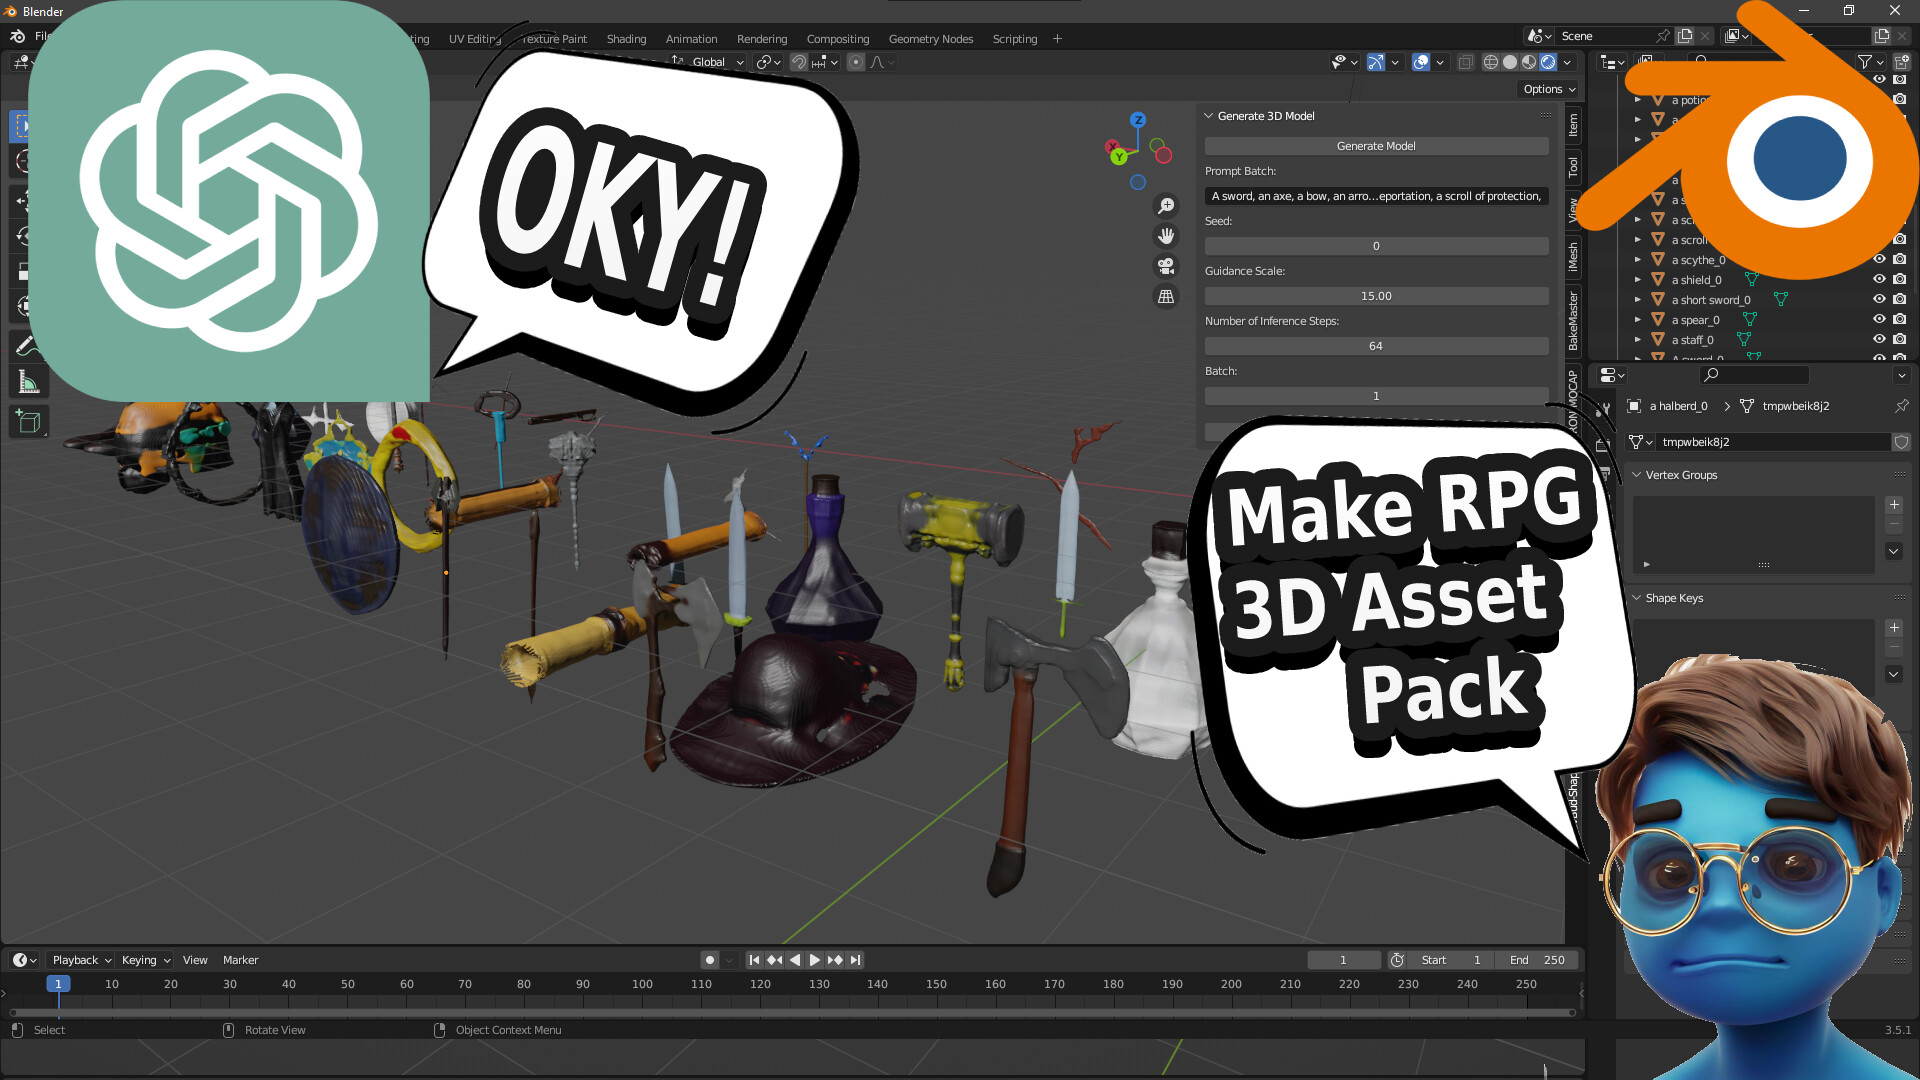
- YOUTUBE: How to Make a Character in Blender: My Full Process in 10 Minutes
- Finalizing Your Character Model
- Tips for Success
- Finalizing Your Character Model
- Tips for Success
- Tips for Success
- Introduction to Character Modeling in Blender
- Setting Up Your Workspace for Character Modeling
- Understanding Blender\"s Tools and Interface
- Starting with a Basic Character Mesh
- Sculpting Techniques for Character Models
- Texturing and Material Application
- Rigging Your Character for Animation
- Animating Your Character Model
- Rendering and Finalizing Your Character
- Advanced Tips and Tricks for Character Modeling
- Common Pitfalls in Character Modeling and How to Avoid Them
- Resources and Further Learning
How do I make a character model in Blender?
To make a character model in Blender, follow these steps:
- Start by gathering references of the character you want to model, including sketches and images.
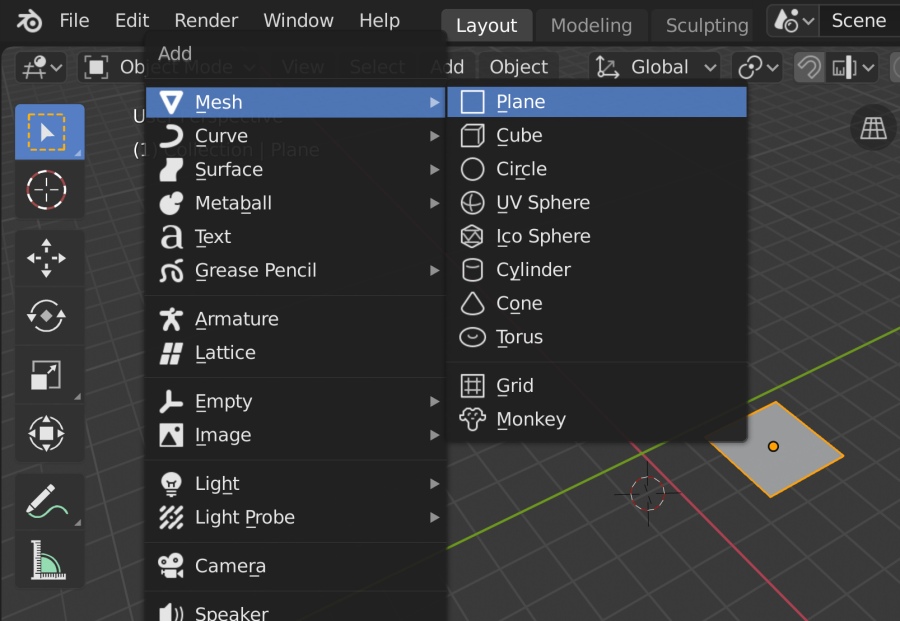
- Open Blender and create a new project.
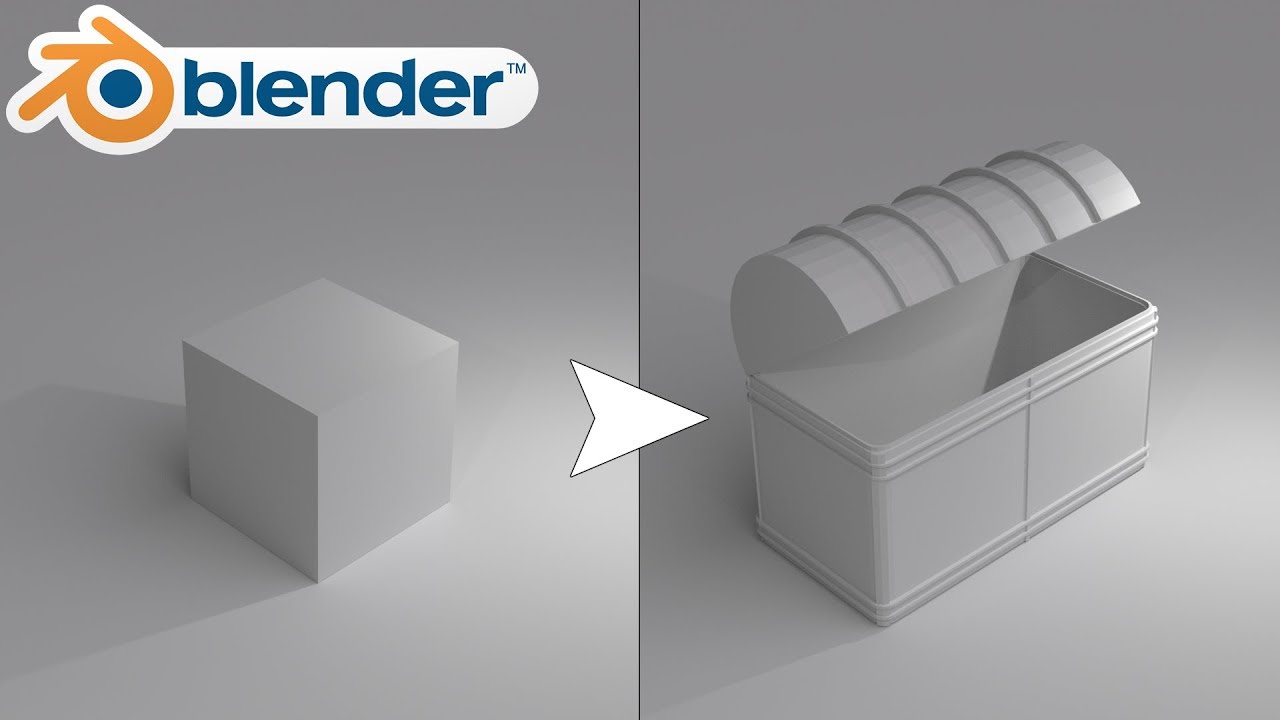
- Use basic shapes like cubes, spheres, and cylinders to block out the initial shape of your character.
- Begin refining the shapes by extruding, scaling, and sculpting to create the desired form.
- Pay attention to details like facial features, clothing, and accessories to bring your character to life.
- Utilize Blender\'s sculpting tools to add finer details and textures to your character model.
- Adjust the proportions and make any necessary tweaks to achieve the desired look.
- Once satisfied with the overall design, you can proceed to UV unwrap, texture, rig, and animate your character if needed.
- Finally, render your character model in Blender and make any final adjustments before saving or exporting.
READ MORE:
Getting Started
Begin by understanding the basics of Blender and character modeling. Familiarize yourself with Blender\"s interface, navigation controls, and how to set up your workspace.

Step-by-Step Character Modeling
1. Research and Reference Gathering
- Start by researching existing characters and understanding the fundamentals of anatomy.
- Gather reference materials to guide your modeling process.
2. Basic Shape and Proportions
- Create a low-poly base to define the basic shape and proportions of your character.
- Use Blender\"s sculpting tools to refine your character\"s form and add details.
3. Adding Details
- Progressively add more details to your model, including facial features, clothing, and accessories.
- Ensure to refine your model\"s topology for better animation and rigging.
4. Texturing and Materials
- Once your model is detailed, move on to texturing and applying materials.
- Use Blender\"s texture painting tools to add colors, patterns, and details.
5. Rigging and Animation
- Rig your character for animation by creating a skeletal structure.
- Weight paint your model to control how the mesh moves with the rig.
- Animate your character to bring it to life.
Finalizing Your Character Model
With your character fully modeled, textured, rigged, and animated, you\"re ready to use it in your projects. Remember, practice and experimentation are key to mastering character creation in Blender.
Tips for Success
- Practice regularly to improve your skills.
- Experiment with different tools and techniques to find what works best for you.
- Join Blender communities online for feedback, tips, and tutorials.

_HOOK_
Step-by-Step Character Modeling
1. Research and Reference Gathering
- Start by researching existing characters and understanding the fundamentals of anatomy.
- Gather reference materials to guide your modeling process.
2. Basic Shape and Proportions
- Create a low-poly base to define the basic shape and proportions of your character.
- Use Blender\"s sculpting tools to refine your character\"s form and add details.
3. Adding Details
- Progressively add more details to your model, including facial features, clothing, and accessories.
- Ensure to refine your model\"s topology for better animation and rigging.
4. Texturing and Materials
- Once your model is detailed, move on to texturing and applying materials.
- Use Blender\"s texture painting tools to add colors, patterns, and details.
5. Rigging and Animation
- Rig your character for animation by creating a skeletal structure.
- Weight paint your model to control how the mesh moves with the rig.
- Animate your character to bring it to life.

How to Make a Character in Blender: My Full Process in 10 Minutes
For Character Modeling: Dive into the fascinating world of character modeling and bring your imagination to life with intricate details and unique features. Watch as skilled artists shape and mold characters into dynamic and captivating creations in this mesmerizing video. For Blender Tutorial: Unleash your creativity with this comprehensive Blender tutorial that will take your digital art skills to the next level. Learn essential techniques and tools to create stunning 3D animations and visual effects. Embark on a journey of innovation and mastery with Blender.
Blender Character Modeling Tutorial for Absolute Beginners Part 1
This Tutorial is for ABSOLUTE Beginners.. in this part you will learn : Intro: (00:00) How to get Blender: (00:50) Splash Screen: ...
Finalizing Your Character Model
With your character fully modeled, textured, rigged, and animated, you\"re ready to use it in your projects. Remember, practice and experimentation are key to mastering character creation in Blender.

Tips for Success
- Practice regularly to improve your skills.
- Experiment with different tools and techniques to find what works best for you.
- Join Blender communities online for feedback, tips, and tutorials.

_HOOK_
Tips for Success
- Practice regularly to improve your skills.
- Experiment with different tools and techniques to find what works best for you.
- Join Blender communities online for feedback, tips, and tutorials.
Introduction to Character Modeling in Blender
Character modeling in Blender is a journey that begins with understanding the core principles of 3D modeling and Blender\"s powerful suite of tools. This process involves several key steps: starting with a basic concept, moving on to sculpting and texturing, and finally rigging and animating your character for use in games, films, or other media. Whether you are a complete beginner or looking to refine your skills, this guide aims to provide you with a comprehensive overview of creating lifelike characters in Blender.
- Understanding Blender\"s Interface: Familiarize yourself with the workspace, navigation, and basic tools to get started.
- Concept and Reference Gathering: Before diving into modeling, collect references and sketches to guide your creation process.
- Blocking Out the Basic Shape: Use primitive shapes or sculpting tools to block out the basic silhouette of your character.
- Sculpting Details: Add finer details to your character, such as facial features, muscles, and clothing, using Blender\"s sculpting tools.
- Retopology: Convert your high-detail sculpt into a mesh with a lower polygon count, suitable for animation.
- UV Unwrapping and Texturing: Unwrap your model into a 2D image layout for texturing, then apply colors and textures to bring your character to life.
- Rigging: Create a skeleton for your character and define how the mesh moves with the bones to prepare it for animation.
- Animating: Bring your character to life by creating animations using the rig.
Each step in this process is crucial for creating a character that looks good and moves realistically. By following this guide, you will learn the essential techniques and workflows used by professionals in the industry, allowing you to transform your creative ideas into fully realized 3D characters.
Setting Up Your Workspace for Character Modeling
Creating a conducive workspace in Blender is crucial for efficient character modeling. This section guides you through optimizing your Blender setup to streamline your character creation process.
- Starting with a Clean Slate: Begin by opening Blender and selecting \"File\" > \"New\" to start with a clean workspace. This ensures no residual data from previous projects interferes with your new creation.
- Customizing the Interface: Tailor Blender’s layout to suit character modeling. Consider splitting your viewport for simultaneous views (front, side, and top) to better sculpt and edit your character.
- Setting Up Reference Images: For accuracy and inspiration, load reference images into Blender. Use \"Shift + A\" > \"Image\" > \"Reference\" to import and position them in your 3D view.
- Adjusting Scene Scale and Unit Size: Ensure your scene’s scale matches real-world dimensions for realism. Access this setting under \"Scene Properties\" to adjust units and scale.
- Configuring Shading and Matcaps: To better visualize the form and details of your character, experiment with different shading modes and matcaps available in the viewport shading menu.
- Organizing Your Project: Use collections to manage different parts of your character model. This keeps your project organized and makes it easier to focus on specific areas without distraction.
- Preparing for Sculpting and Modeling: Ensure you have the necessary tools readily available. Customize your toolshelf and quick access bar with sculpting, modeling, and editing tools.
- Enabling Add-ons: Blender offers various add-ons that can enhance your character modeling workflow. Explore and enable useful add-ons via \"Edit\" > \"Preferences\" > \"Add-ons\".
By setting up your workspace with these steps, you create an environment that supports your creativity and efficiency, allowing you to focus fully on bringing your character to life.
Understanding Blender\"s Tools and Interface
Blender\"s comprehensive suite of tools and its intricate interface can be overwhelming for beginners. This section is designed to demystify the interface and highlight the essential tools you\"ll need for character modeling, ensuring a smoother workflow.
- Navigation: Learn the basics of viewport navigation, including zoom, pan, and rotate, to efficiently explore your 3D scene.
- Mesh Modeling Tools: Discover the power of Blender\"s mesh modeling tools, such as extrude, loop cut, and bevel, which are fundamental for shaping your character.
- Sculpting Tools: Blender\"s sculpting mode offers a plethora of brushes and settings, allowing for detailed character features and textures.
- Modifiers: Understand how modifiers like Subdivision Surface and Mirror can automate and simplify the modeling process, saving time and effort.
- Shading and Texturing: Get acquainted with Blender\"s material and texturing options, enabling you to add color, detail, and realism to your character.
- Rigging and Animation Tools: Explore Blender\"s rigging system, including armatures and bones, to prepare your character for animation.
- Rendering Engines: Learn about Blender\"s rendering engines, Cycles and Eevee, and how to use them to produce stunning visual outputs.
- Python Scripting: For those looking to extend Blender\"s capabilities, Python scripting offers endless possibilities for customization and automation.
Each tool and feature in Blender is designed to offer maximum flexibility and control, enabling artists to bring their creative visions to life with precision and efficiency. Familiarizing yourself with these tools and the interface will not only enhance your modeling skills but also open up new possibilities in your character creation projects.
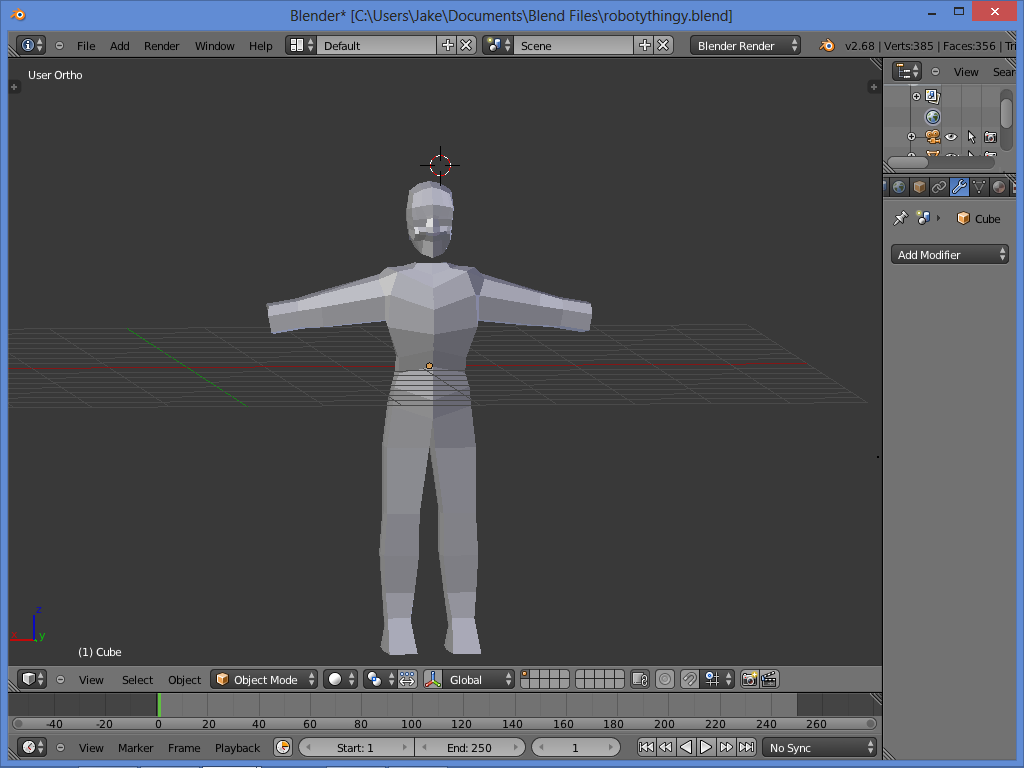
Starting with a Basic Character Mesh
Creating a basic character mesh is the foundational step in character modeling. This section will guide you through starting your character model in Blender, ensuring you have a solid base to sculpt and detail.
- Choosing the Starting Shape: Begin with a simple shape, like a cube or sphere, that best fits the basic silhouette of your character.
- Modifying the Basic Shape: Use the edit mode to add, remove, or adjust vertices, edges, and faces. Focus on creating the rough outline of your character\"s body, head, and limbs.
- Using Mirror Modifier: For symmetrical characters, apply the mirror modifier to save time and ensure both sides of the character are identical.
- Setting Up Proportions: Pay close attention to the character\"s proportions. Use reference images as a guide to ensure accuracy.
- Blocking Major Features: Identify and block out major features such as the torso, arms, legs, and head, keeping topology in mind.
- Ensuring Clean Topology: Aim for a topology that supports future sculpting and animation. Use quads (four-sided faces) to ensure smooth deformations.
- Refining the Mesh: Once the basic form is established, refine the mesh by adding more geometry in areas that will require more detail.
This initial mesh acts as the skeleton for your character, setting the stage for detailed sculpting, texturing, and rigging in later steps. Keeping the mesh simple at this stage facilitates easier modifications and adjustments as you progress.
_HOOK_
Sculpting Techniques for Character Models
Sculpting in Blender allows for the creation of complex character models with intricate details. This section explores essential sculpting techniques that enable you to bring your characters to life with realism and personality.
- Understanding Sculpting Tools: Familiarize yourself with Blender\"s sculpting tools, such as the Grab, Crease, Smooth, and Clay Strips brushes, to manipulate your mesh effectively.
- Starting with Dynamic Topology: Enable Dynamic Topology (Dyntopo) to add detail where needed without affecting the entire mesh. This feature dynamically adjusts the mesh\"s density as you sculpt.
- Blocking Out Major Forms: Begin by defining the major forms of your character, such as the head, torso, limbs, and other significant features, using broad strokes.
- Adding Details: Gradually refine your character by adding smaller details. Use reference images to guide the sculpting of facial features, muscles, clothing, and textures.
- Using Masks: Utilize masking to isolate and protect certain areas of your model while working on adjacent sections. This allows for precise control over complex sculpting tasks.
- Smoothing and Refining: Regularly use the Smooth brush to even out rough areas and blend details seamlessly. Careful smoothing helps achieve a more natural look.
- Applying Multiresolution: For non-destructive sculpting, use the Multiresolution modifier. This allows you to sculpt at different levels of detail without altering the base mesh.
- Retopology for Animation: After sculpting, you may need to retopologize your model to create a cleaner, animation-friendly mesh. Use tools like the Shrinkwrap modifier and snapping to create a low-poly version of your detailed sculpt.
These sculpting techniques provide the foundation for creating detailed and expressive character models in Blender. With practice, you\"ll develop the skills to bring your unique visions to life.
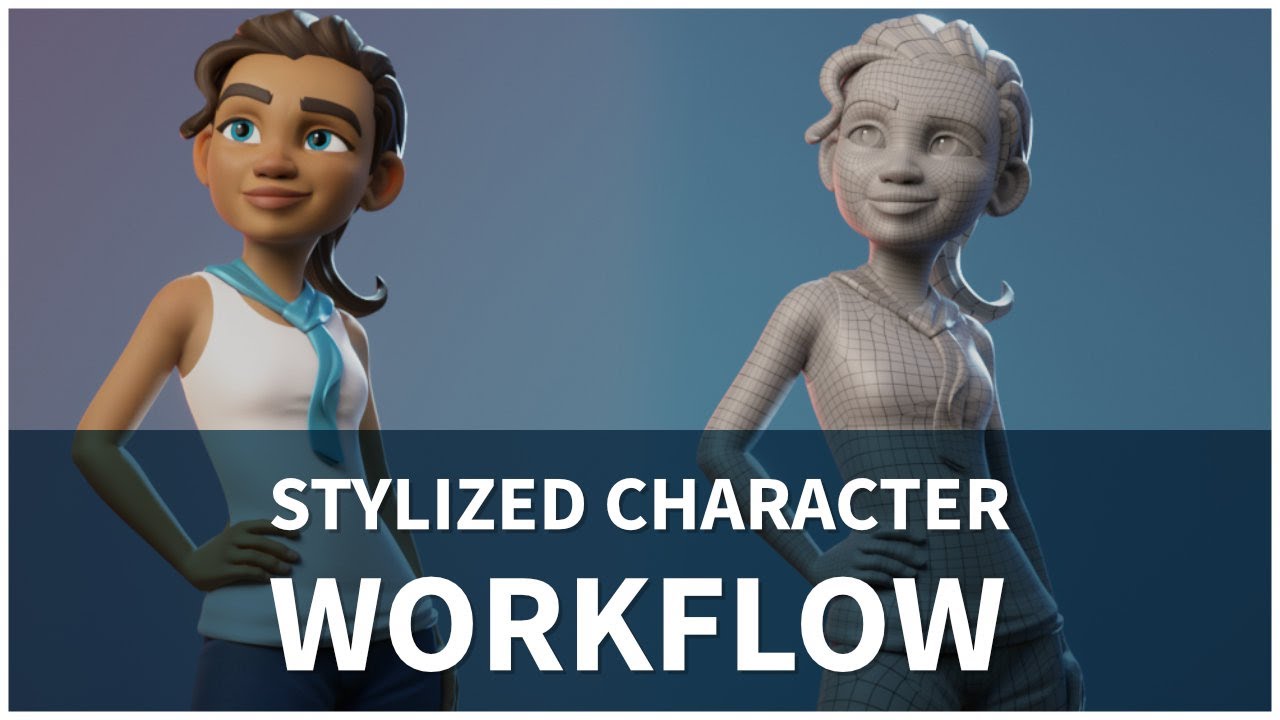
Texturing and Material Application
Applying textures and materials is a crucial step in character modeling that brings your Blender creations to life. This section covers the process of adding color, detail, and realism to your character models through effective texturing and material application techniques.
- Understanding Materials: Begin by creating new materials in the Materials tab for different parts of your character. Adjust colors, metallic properties, and roughness to achieve the desired look.
- UV Unwrapping: Before applying textures, unwrap your character model to translate 3D geometry into a 2D representation. Use Blender\"s UV editing tools to layout the unwrap efficiently.
- Texture Painting: With your model unwrapped, use Blender\"s Texture Paint mode to directly paint textures onto your character. This approach allows for detailed customization of textures.
- Using Image Textures: Import image textures (e.g., skin textures, clothing patterns) into Blender and apply them to your character. Image textures can add a high level of detail and realism.
- Shader Nodes: For more complex materials, dive into Blender’s Shader Editor. Combine different shader nodes to create sophisticated materials with intricate surface properties.
- Bump and Normal Maps: Utilize bump and normal maps to add depth and texture to your character without adding geometry. These maps simulate the appearance of bumps and indentations.
- Specular and Roughness Maps: Adjust the specular and roughness maps to control the shininess and reflection of your character’s surface, enhancing the realism of materials.
- Final Touches: Experiment with layering textures and materials to achieve the desired outcome. Use the rendering preview to assess and adjust your textures and materials in real-time.
Through careful application of textures and materials, you can achieve a level of detail and realism in your character models that makes them stand out. Remember, practice and experimentation are key to mastering texturing in Blender.
Rigging Your Character for Animation
Rigging is the process of creating a skeleton for your character model so it can move and perform actions. This essential step involves setting up bones and controls to animate your character in Blender. Here\"s how to rig your character for animation effectively.
- Creating the Armature: Start by adding an armature object to serve as the skeleton. Each bone in the armature corresponds to a part of the character that will move independently.
- Placing Bones: Position the bones to match the major joints of your character, such as the knees, elbows, spine, and fingers. Use the mirror modifier to ensure symmetry.
- Naming Bones: Properly name each bone according to the body part it controls. This step is crucial for organization and ease of use, especially for complex characters.
- Parenting Mesh to Armature: With automatic weights, parent your character mesh to the armature. This process binds the mesh to the skeleton, allowing the bones to control the mesh when moved.
- Weight Painting: Fine-tune the influence each bone has on the mesh through weight painting. This step ensures that the deformation looks natural when the character moves.
- Adding Inverse Kinematics (IK): For more intuitive control over limb movement, add IK constraints to the arms and legs. This allows for more natural animations with fewer keyframes.
- Customizing Control Rigs: Create custom control rigs for facial expressions and complex movements. These controls provide animators with intuitive interfaces for animation.
- Testing the Rig: Before moving on to animation, test the rig thoroughly to ensure it moves correctly and does not have any unwanted deformations.
Rigging your character properly is a foundational step in bringing it to life. By following these steps, you prepare your character for a wide range of motions and expressions, setting the stage for compelling animation in Blender.
Animating Your Character Model
Once your character is modeled and rigged, animating it to bring it to life is the next exciting step. Animation involves creating movement sequences that are realistic or stylized, depending on your project\"s needs. This section will guide you through the basics of animating your character model in Blender.
- Understanding Keyframes: Keyframes are the cornerstone of animation in Blender. They mark the start and end points of any animation, defining the position, rotation, and scale of your character at specific times.
- Creating a Simple Animation: Start with something simple, such as a wave or a nod. Insert keyframes for your character\"s armature at the desired points in your timeline to define the movement.
- Working with the Dope Sheet: The Dope Sheet in Blender is a powerful tool for managing keyframes and animations. Use it to adjust the timing and sequence of your animations for smoother transitions.
- Using the Graph Editor: For more control over the interpolation of keyframes, the Graph Editor is invaluable. It allows you to fine-tune the velocity and acceleration of your character\"s movements.
- Animating Facial Expressions: Use shape keys to animate facial expressions. These can be keyframed just like movements, allowing for detailed and expressive character animations.
- Adding Motion Paths: Motion paths can be used to visualize and edit the trajectory of your character\"s movements, ensuring fluid and natural motion.
- Creating Walk Cycles: A walk cycle is a looped sequence of animations that simulates walking. By carefully timing and repeating keyframes, you can create a realistic walking motion for your character.
- Applying Constraints: Constraints can automate certain movements, such as making a character\"s eyes follow an object, simplifying the animation process.
Animation in Blender is a vast and creative process that combines technical skill with artistic expression. Start with simple animations to understand the basics, and gradually move on to more complex sequences as you become more comfortable with the tools and techniques.
Rendering and Finalizing Your Character
Rendering is the final step in the character creation process in Blender, transforming your model into a stunning visual output. This section will guide you through the rendering settings and techniques to finalize your character with a professional touch.
- Choosing the Right Renderer: Blender offers different rendering engines like Eevee (real-time) and Cycles (ray-traced). Select the one that best suits your project\"s needs for realism or speed.
- Setting Up Lighting: Proper lighting is crucial for showcasing your character. Use three-point lighting for a balanced setup or experiment with environmental lighting for more dynamic effects.
- Camera Placement: Choose the best angle and position for your camera to capture the essence of your character. Experiment with different focal lengths and compositions.
- Adjusting Render Settings: In the render settings panel, adjust the resolution, sample rate (for Cycles), and other options to enhance the quality of your final image or animation.
- Applying Materials and Textures: Ensure all materials and textures are correctly applied and show up as intended in the render preview. Make last-minute adjustments if necessary.
- Using Compositing: Blender\"s compositing nodes can be used for post-processing effects like color correction, depth of field, and glare to add the finishing touches to your render.
- Exporting Your Work: Once satisfied with the render preview, export your image or animation using the desired format and settings for sharing or use in your portfolio.
Rendering not only brings your character to life but also marks the culmination of your hard work in modeling, texturing, and animating. With these steps, you can achieve a polished and professional-looking character ready for any platform.
_HOOK_
Advanced Tips and Tricks for Character Modeling
Enhancing your character models in Blender involves more than just mastering the basic tools; it requires a deep dive into advanced techniques that can bring your creations to the next level. Here are some expert tips and tricks to refine your character modeling process.
- Use Subdivision Surface Modifiers wisely to add complexity to your models without overloading the mesh with unnecessary vertices.
- Employ the Sculpting tools for dynamic topology, allowing for detailed character features while maintaining a manageable polygon count.
- For realistic skin textures, explore the use of SSS (Subsurface Scattering) shaders in Blender’s Cycles renderer.
- Practice Retopology to optimize your high-poly sculpted models, making them suitable for animation and reducing render times.
- Utilize Shape Keys for facial expressions and morph targets, enabling subtle or dramatic changes in your character’s appearance.
- Master Weight Painting to ensure that your character\"s mesh deforms naturally with the armature’s movements.
- Experiment with Particle Systems for realistic hair and fur, adjusting settings for density, length, and kink to achieve the desired effect.
- Leverage Blender’s Node Editor for complex material creation, using nodes to mix textures, control displacement, and simulate intricate surface details.
- Incorporate HDR lighting techniques to enhance the realism of your scenes and provide your models with a more dynamic lighting environment.
- Stay updated with the latest Blender features and plugins that can offer new ways to approach character modeling and improve your workflow.
By incorporating these advanced techniques into your character modeling projects, you can create more detailed, realistic, and expressive characters in Blender. Remember, the key to mastery is practice and experimentation, so don’t be afraid to try new methods and push the boundaries of what you can create.
Common Pitfalls in Character Modeling and How to Avoid Them
Avoiding common pitfalls in character modeling can save time and enhance the quality of your Blender projects. This section highlights frequent mistakes and provides advice on how to circumvent them, ensuring a smoother modeling process.
- Ignoring Reference Images: Failing to use reference images can lead to unrealistic proportions and details. Always start with a strong set of references to guide your modeling.
- Overcomplicating Geometry: Adding too many polygons early on makes the model hard to adjust. Use a low poly count for the initial shape and add details as needed.
- Neglecting Topology: Poor topology not only affects the aesthetics but also how well the model moves. Focus on maintaining quads and clean edge flows, especially around joints and facial features.
- Skipping the Retopology Step: After sculpting, it\"s crucial to retopologize your model to create a mesh that\"s easier to animate and less taxing on render times.
- Overlooking UV Unwrapping and Texturing Steps: Proper UV unwrapping and texturing are essential for realism. Ensure your UVs are laid out efficiently and textures are applied correctly.
- Forgetting to Test Rig and Animate Early: Rigging and animating your model early can reveal issues with topology and weight painting that are easier to fix before finalizing the model.
- Avoiding Feedback: Not seeking feedback can limit your growth. Share your work with the community or peers to get constructive criticism and advice.
By being aware of these pitfalls and actively working to avoid them, you can improve your workflow and create more professional and engaging character models in Blender.
READ MORE:
Resources and Further Learning
To enhance your character modeling skills in Blender, a wealth of resources is available. From beginner tutorials to advanced courses, these resources provide in-depth training and insights to help you master the art of character creation.
- Blender Official Tutorials: Start with Blender.org for official tutorials that cover every aspect of Blender, including character modeling basics and advanced techniques.
- Blender Studio Training: Access detailed courses on character modeling by industry professionals, offering step-by-step instructions on creating efficient topology and detailed models.
- Concept Art Empire: This collection of tutorials offers a comprehensive look at character modeling in Blender, from the face to hands and feet, perfect for beginners aiming to build high-resolution characters.
- Creative Bloq: Find a variety of Blender tutorials to boost your 3D modeling skills, including character creation and more.
- YouTube Tutorials: Channels like Blender Guru, CG Cookie, and many others offer free, high-quality tutorials on character modeling, texturing, and animating.
- Udemy Courses: For a more structured learning path, consider enrolling in Udemy courses tailored to Blender character modeling, covering everything from scratch to advanced techniques.
- Domestika and Skillshare: These platforms provide courses by experienced 3D artists, focusing on character design, digital sculpting, and modeling in Blender.
By leveraging these resources, you can continuously grow your skills in character modeling, exploring new techniques, and staying updated with the latest Blender features. Remember, the key to mastery is consistent practice and exploration.
Embarking on your character modeling journey in Blender opens a world of creativity and technical skill. With dedication and practice, you can transform your imaginative visions into stunning 3D characters ready to animate and share.