Topic modeling in blender for beginners: Embark on a creative journey with "Modeling in Blender for Beginners," a comprehensive guide designed to unlock the endless possibilities of 3D design and animation for novices eager to learn and create.
Table of Content
- What are the basic steps for beginners to start modeling in Blender?
- Getting Started with Blender
- Learning Resources and Tutorials
- Practical Tips for Beginners
- Conclusion
- Learning Resources and Tutorials
- Practical Tips for Beginners
- Conclusion
- YOUTUBE: Blender Beginner Modeling Tutorial Part 1
- Practical Tips for Beginners
- Conclusion
- Conclusion
- Introduction to Blender and Its Importance in 3D Modeling
- Getting Started with Blender: Downloading and Installation
- Understanding the Blender Interface: Navigation and Tools
- Basic Modeling Techniques in Blender
- Working with Textures and Materials in Blender
- Lighting and Rendering Basics for Realistic Outputs
- Animating Your Models in Blender
- Useful Tips and Resources for Blender Beginners
- Common Pitfalls and How to Avoid Them
- Next Steps: Advancing Your Blender Skills
What are the basic steps for beginners to start modeling in Blender?
For beginners looking to start modeling in Blender, here are some basic steps to get you started:
- Download and install Blender: Visit the official Blender website to download the software and follow the installation instructions.
- Understand the Blender interface: Familiarize yourself with the different panels, tools, and options within the Blender workspace.
- Learn basic navigation: Practice moving around in the 3D viewport using the mouse and keyboard shortcuts.
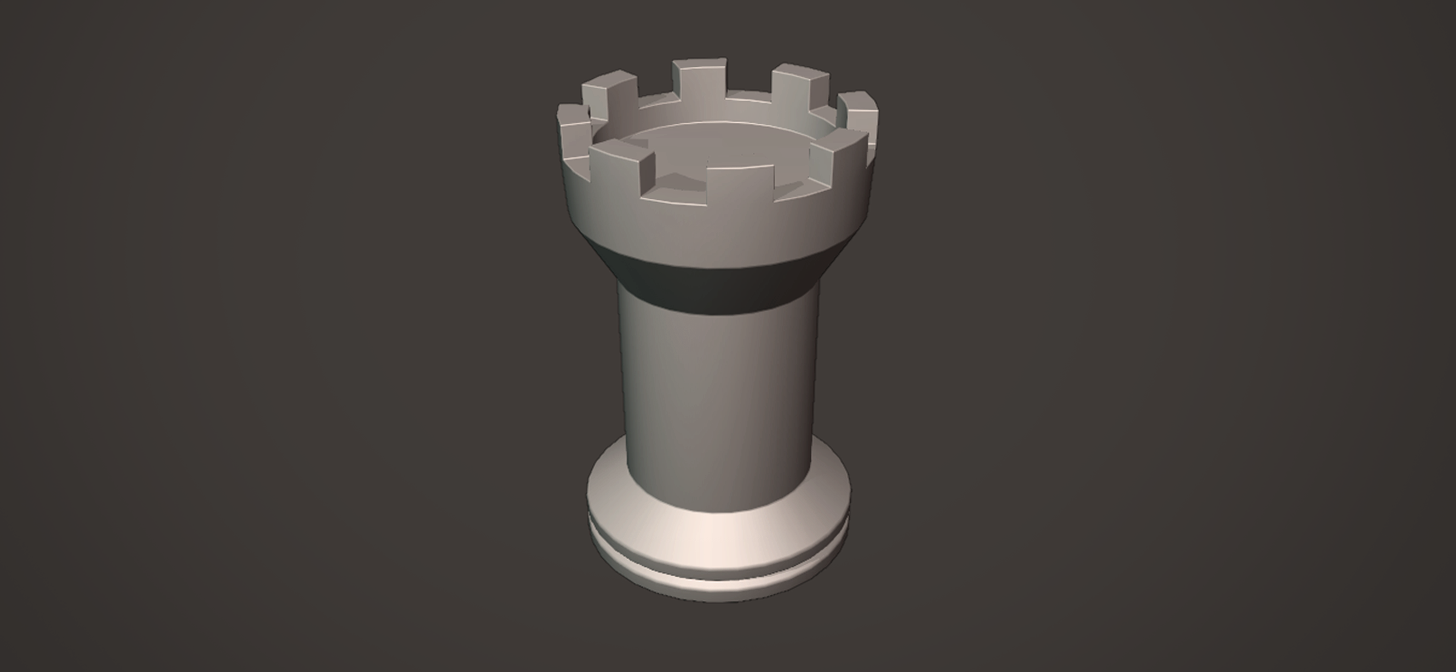
- Create a basic shape: Start by adding a simple primitive object like a cube, sphere, or cylinder to the scene.
- Enter edit mode: Select the object and press the \"tab\" key to enter edit mode, where you can manipulate the object\'s vertices, edges, and faces.
- Use basic modeling tools: Experiment with tools like extrude, scale, and rotate to modify the shape of your object.
- Practice modeling simple objects: Start by creating basic objects like furniture, household items, or simple characters to practice your modeling skills.
- Explore tutorials and resources: Watch tutorials, read guides, and join forums to learn more advanced modeling techniques and tips.
- Practice regularly: The key to improving your modeling skills in Blender is consistent practice and experimentation.
READ MORE:
Getting Started with Blender
Blender offers a versatile platform for 3D modeling, with a $0 price tag and comprehensive documentation that makes it accessible to beginners. Its continuous development and widespread adoption highlight its potential in the 3D industry, encouraging users to explore creative experimentation.
Understanding the Interface
The Blender interface is designed to be user-friendly, providing a seamless experience for navigating and utilizing its tools. Beginners are advised to familiarize themselves with the interface through tutorials that explain each section\"s purpose and functionality.
Basic Modeling Techniques
Modeling in Blender starts with simple shapes. Beginners can learn to reshape basic geometry by entering Edit Mode, where objects can be modified using Vertex Select, Edge Select, or Face Select modes. This foundational knowledge is crucial for creating more complex models.

Learning Resources and Tutorials
There are numerous online resources and tutorials available for those new to Blender. These range from official Blender tutorials, which cover every corner of the new interface and concepts, to YouTube channels dedicated to Blender modeling techniques for beginners.
Character and Object Modeling
- Step-by-step guides for character face, hands, and feet modeling.
- Tutorials on creating high-resolution characters for video games or movies.
- Beginner-friendly projects like creating simple 3D models and animations.
Practical Tips for Beginners
- Start with simple projects to understand the basics of modeling, texturing, and lighting.
- Use Blender\"s extensive documentation and community forums for support and advice.
- Practice regularly to improve your skills and build a portfolio of your work.
Conclusion
Blender is a powerful tool for anyone interested in 3D modeling, offering a wide range of features that cater to both beginners and professionals. By taking advantage of the available learning resources and practicing regularly, beginners can quickly become proficient in creating detailed 3D models and animations with Blender.

_HOOK_
Learning Resources and Tutorials
There are numerous online resources and tutorials available for those new to Blender. These range from official Blender tutorials, which cover every corner of the new interface and concepts, to YouTube channels dedicated to Blender modeling techniques for beginners.
Character and Object Modeling
- Step-by-step guides for character face, hands, and feet modeling.
- Tutorials on creating high-resolution characters for video games or movies.
- Beginner-friendly projects like creating simple 3D models and animations.
Practical Tips for Beginners
- Start with simple projects to understand the basics of modeling, texturing, and lighting.
- Use Blender\"s extensive documentation and community forums for support and advice.
- Practice regularly to improve your skills and build a portfolio of your work.
Conclusion
Blender is a powerful tool for anyone interested in 3D modeling, offering a wide range of features that cater to both beginners and professionals. By taking advantage of the available learning resources and practicing regularly, beginners can quickly become proficient in creating detailed 3D models and animations with Blender.

Blender Beginner Modeling Tutorial Part 1
Tutorial: \"Unlock your potential with our easy-to-follow tutorial video, designed to help you master new skills and techniques. Join us on a learning journey towards self-improvement and success.\" Modeling: \"Experience the glamour and artistry of the modeling world in our captivating video. From striking poses to fierce catwalks, immerse yourself in the beauty and creativity of the modeling industry.\"
5 Blender Models in 7 Minutes Tutorial by Polygon Runway
Let\'s use the screw, solidify and subdivision modifiers to quickly dish out (no pun) 5 different models in 7 minutes using Blender.
Practical Tips for Beginners
- Start with simple projects to understand the basics of modeling, texturing, and lighting.
- Use Blender\"s extensive documentation and community forums for support and advice.
- Practice regularly to improve your skills and build a portfolio of your work.

Conclusion
Blender is a powerful tool for anyone interested in 3D modeling, offering a wide range of features that cater to both beginners and professionals. By taking advantage of the available learning resources and practicing regularly, beginners can quickly become proficient in creating detailed 3D models and animations with Blender.

_HOOK_
Conclusion
Blender is a powerful tool for anyone interested in 3D modeling, offering a wide range of features that cater to both beginners and professionals. By taking advantage of the available learning resources and practicing regularly, beginners can quickly become proficient in creating detailed 3D models and animations with Blender.

Introduction to Blender and Its Importance in 3D Modeling
Blender is an incredibly powerful, free, open-source software for 3D modeling, animation, and rendering. It\"s used worldwide by hobbyists and professionals alike in various industries, including film, games, and design. Its significance in the 3D modeling world stems from its comprehensive set of features that cater to all aspects of 3D production, including modeling, rigging, animation, simulation, rendering, compositing, and motion tracking.
- Accessibility: Blender\"s no-cost entry point makes it accessible to everyone, from students to professionals.
- Community and Support: A vast online community and plethora of tutorials make learning Blender achievable for beginners.
- Continuous Development: Regular updates introduce cutting-edge features and improvements, keeping Blender at the forefront of 3D technology.
- Versatility: Blender is suitable for a wide range of 3D projects, from simple models to complex animations and visual effects.
- Professional Use: Despite being free, Blender meets professional quality standards, making it a viable tool for high-level projects.
Starting with Blender opens up limitless possibilities for creativity and innovation in the 3D space. Its importance in 3D modeling and animation cannot be overstated, offering a full suite of tools for beginners to learn and grow into seasoned professionals.
Getting Started with Blender: Downloading and Installation
Beginning your 3D modeling journey with Blender starts with two essential steps: downloading and installing the software. Blender is freely available for all major operating systems, including Windows, macOS, and Linux. Follow these steps to get Blender set up on your computer and dive into the world of 3D modeling.
- Visit the official Blender website (https://www.blender.org/) to download the latest version of Blender. Ensure you select the version compatible with your operating system.
- Once the download is complete, open the installer. Follow the on-screen instructions to install Blender on your computer. The process involves agreeing to the license, selecting an installation directory, and choosing whether to add Blender to your path.
- After installation, launch Blender. You will be greeted with the default startup screen, which includes a 3D viewport, a timeline, and various panels for tools and settings.
- Take some time to familiarize yourself with the Blender interface. You may adjust the layout to your preference by dragging and resizing panels.
- Explore Blender\"s official tutorials and documentation available on their website to start learning the basics of 3D modeling, animation, and rendering.
With Blender installed, you are now ready to begin creating 3D models. The software\"s comprehensive suite of tools and active community support make it an excellent choice for beginners eager to learn and professionals alike. Happy modeling!
Understanding the Blender Interface: Navigation and Tools
The Blender interface might seem daunting at first, but it\"s designed for efficiency and ease of use once you become familiar with it. Understanding the interface is crucial for navigating and using Blender effectively. Here\"s a breakdown of the key areas and tools to get you started.
- 3D Viewport: This is the heart of Blender, where you can view and interact with your 3D scene. You can rotate, pan, and zoom within the viewport using mouse controls.
- Timeline: Located at the bottom of the interface, the Timeline allows you to control animations, setting keyframes, and changing the current frame.
- Tool Shelf: Accessible by pressing T in the 3D Viewport, the Tool Shelf provides various tools for transforming, editing, and creating objects.
- Properties Panel: Press N to open the Properties Panel in the 3D Viewport for quick access to object properties, including location, rotation, and scale.
- Outliner: The Outliner is a hierarchical view of all the objects in the scene, making it easy to select, hide, or lock objects.
- Properties Editor: This area lets you adjust settings for the active object or scene, including materials, modifiers, and render settings.
Blender also includes advanced tools for specific tasks:
- Modifiers: Non-destructive tools that allow you to easily modify geometry with operations like Subdivision Surface, Mirror, and Boolean.
- Shading/UV Editing: Tools for texturing and material setup, including UV unwrapping and shading nodes.
- Sculpting: Blender offers a powerful set of sculpting tools for high-detail modeling.
- Animation & Rigging: Tools for character rigging and animation, including inverse kinematics and shape keys.
Getting comfortable with Blender\"s interface and tools is the first step towards mastering 3D modeling. Practice navigating the viewport and experimenting with the various tools to become more proficient in creating your 3D projects.
Basic Modeling Techniques in Blender
Blender is a versatile tool for 3D modeling, offering a wide range of techniques to create everything from simple shapes to complex scenes. Here are some fundamental modeling techniques that beginners should master to start their 3D modeling journey in Blender.
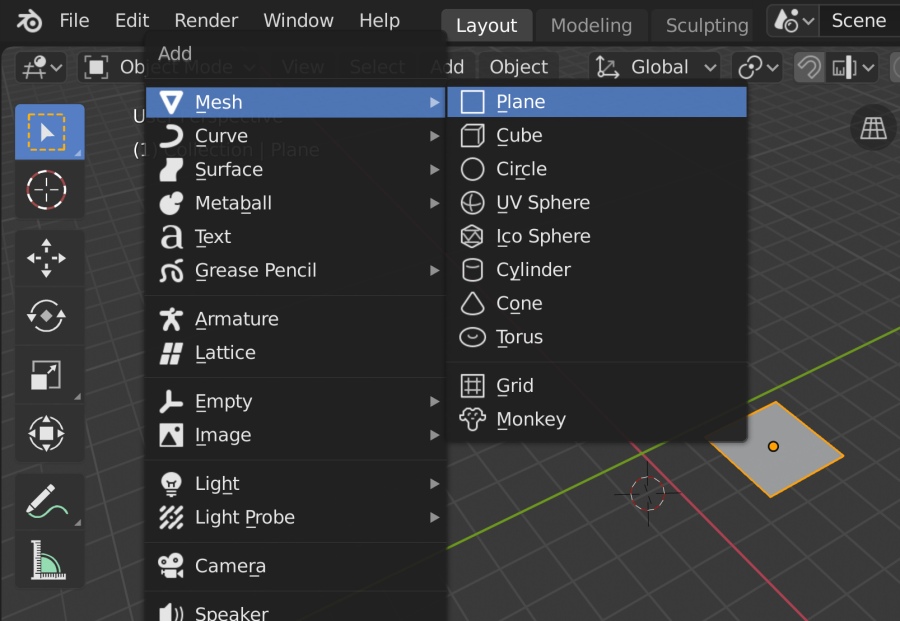
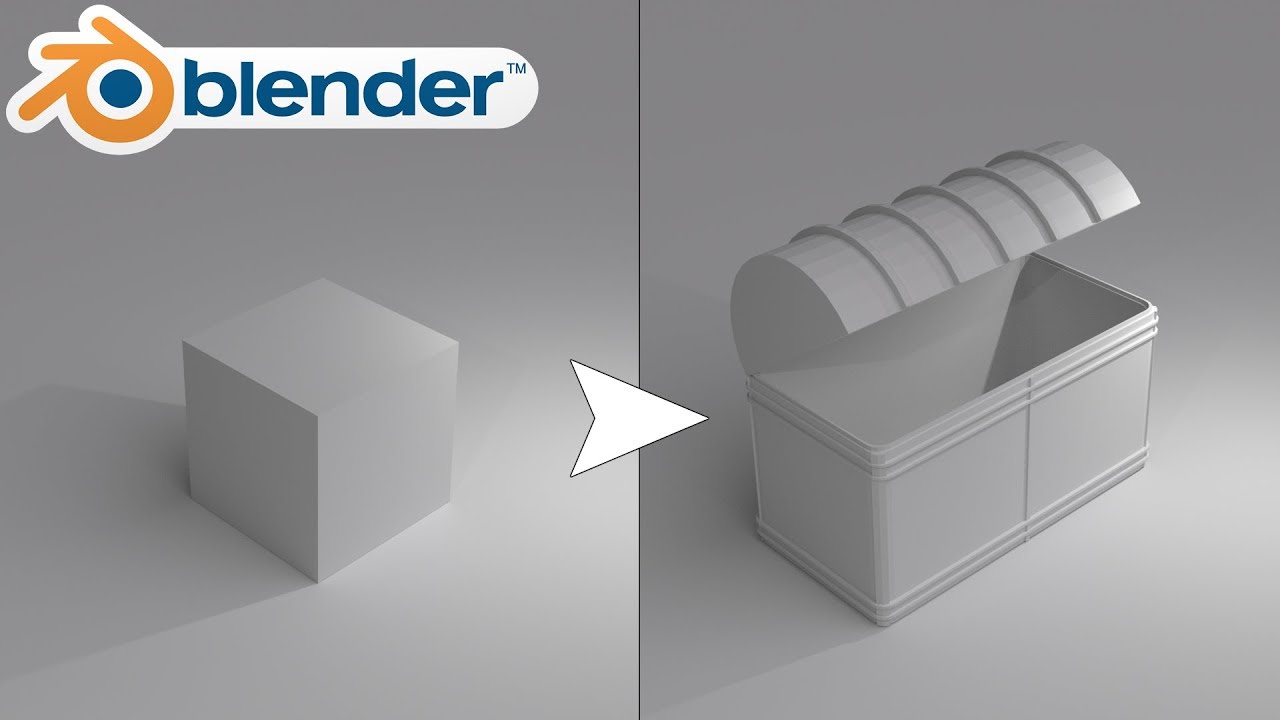
- Starting with Basic Shapes: Begin by creating basic shapes (cubes, spheres, cones) and manipulating them to form more complex structures. Use the \"Add\" menu to insert these primitives into your scene.
- Editing Meshes: Enter Edit Mode to modify the vertices, edges, and faces of your mesh. Use tools like Extrude, Loop Cut, and Subdivide to add detail to your model.
- Modifiers: Learn to use Blender’s powerful modifiers, such as Subdivision Surface, to smooth and refine your model without permanently altering the mesh.
- Boolean Operations: Use Boolean modifiers to combine or subtract shapes from one another, creating complex forms from simple objects.
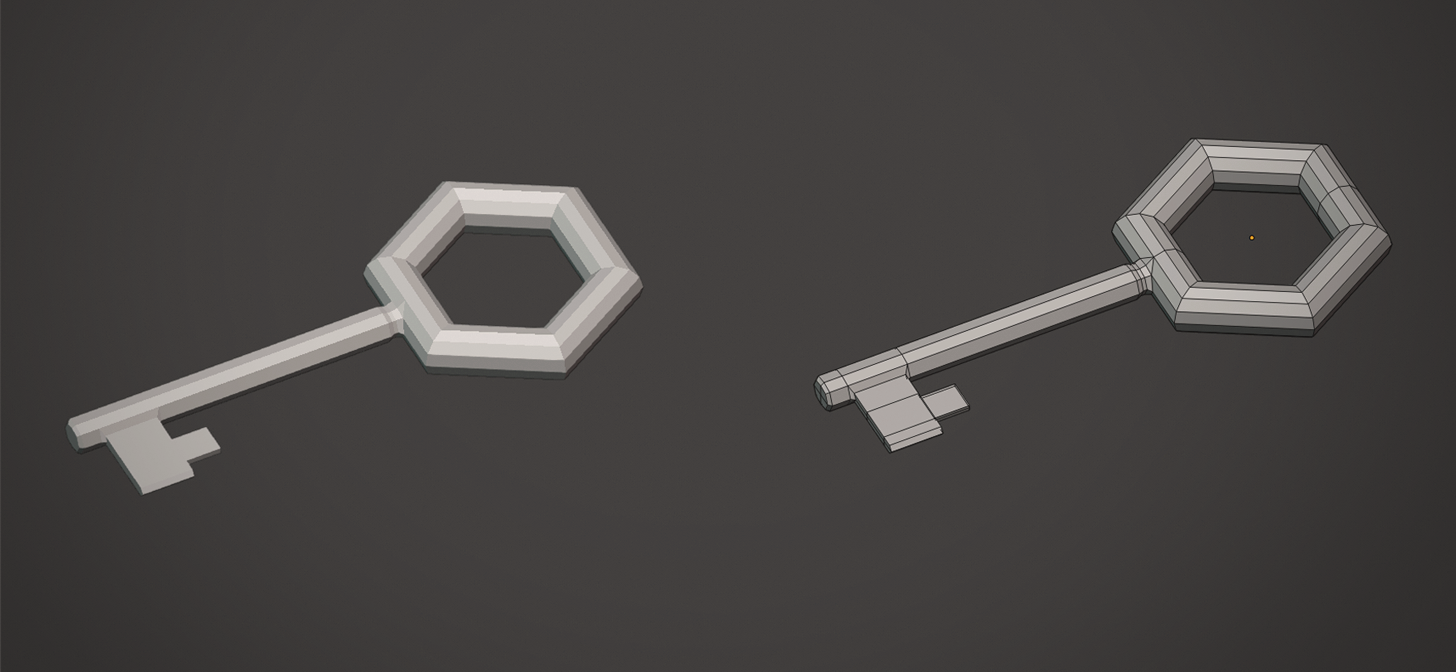
- Proportional Editing: This tool allows for smoother modifications by affecting a range of vertices at once, based on their distance from the selected vertex, providing a way to make organic and soft changes to your models.
- Shading and Smooth/Flat: Understand how to apply smooth or flat shading to your models to influence their appearance and realism.
Practicing these basic techniques will build a solid foundation for more advanced modeling projects. Each tool and technique in Blender is designed to offer flexibility and power, enabling you to bring your creative visions to life.
_HOOK_
Working with Textures and Materials in Blender
Textures and materials are essential for bringing your 3D models to life in Blender. They add color, detail, and realism to your creations. Understanding how to effectively apply and manipulate these elements is crucial for creating visually appealing models. Here\"s a guide to get you started.
- Understanding Materials: Materials define the color and surface properties of your model. In Blender, you can create and assign materials using the Shader Editor, where you can mix various shaders to achieve the desired appearance.
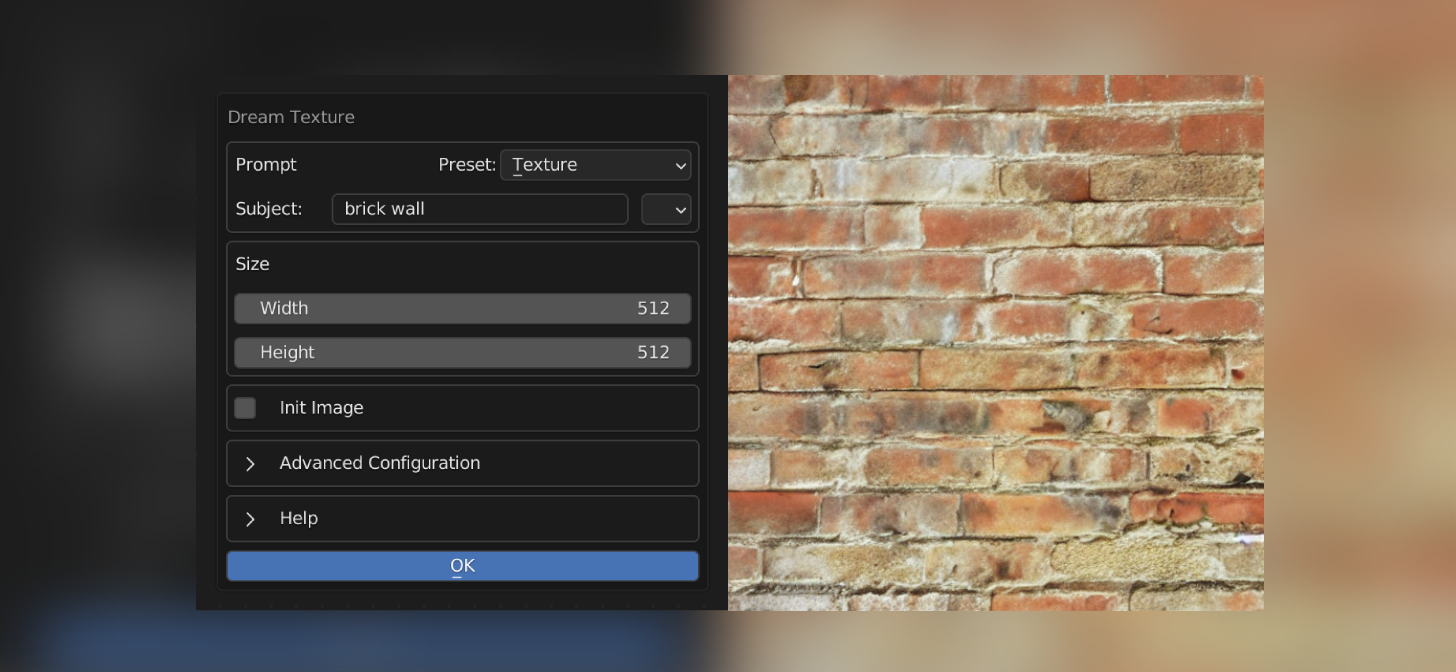
- Applying Textures: Textures are images or patterns applied to the surface of a model to create complex surfaces like wood grain, metal, or fabric. You can add textures through the Shader Editor by connecting texture nodes to your material shaders.
- UV Mapping: For textures to accurately wrap around your model, you need to use UV mapping. This process involves unwrapping your model into a 2D representation, which you can then use to map textures accurately.
- Using Nodes: Blender\"s powerful node-based system allows for intricate material and texture creation. By combining different nodes, you can create materials that react realistically to light and environment.
- Experimenting with Shader Effects: Explore the vast range of shader effects available in Blender, such as Glossy, Diffuse, and Emission, to add depth and realism to your models.
Practice is key to mastering textures and materials in Blender. Start with simple projects, applying basic materials and textures, and gradually experiment with more complex node setups to develop your skills. Remember, the goal is to enhance your model\"s appearance while maintaining performance and render times.
Lighting and Rendering Basics for Realistic Outputs
Lighting and rendering are critical steps in the 3D modeling process, transforming your models from flat, lifeless forms into vibrant, realistic creations. Blender provides a robust set of tools for achieving professional-quality lighting and rendering. Here\"s a beginner\"s guide to mastering these aspects.
- Understanding Lighting: Good lighting can make or break a scene. Start with three-point lighting (key light, fill light, and back light) to add depth and dimension to your models.
- Types of Lights: Blender offers several types of lights, including point, spot, area, and sun lamps. Experiment with these to see how they affect the mood and appearance of your scene.
- Using HDRIs: High Dynamic Range Images (HDRIs) are used to create realistic environmental lighting. They are particularly useful for outdoor scenes or adding realistic reflections to objects.
- Materials and Light Interaction: Understanding how materials react to light is crucial. Use the Shader Editor to adjust material properties for more realistic results.
- Rendering Engines: Blender includes two rendering engines: Eevee and Cycles. Eevee is a real-time renderer, great for fast previews. Cycles is a ray-tracing renderer, offering more realistic results at the cost of longer rendering times.
- Render Settings: Explore the render settings to optimize your final output. Adjusting settings like resolution, sampling, and light paths can significantly affect the quality and speed of your render.
Practicing with these tools and techniques will help you achieve more realistic and visually appealing outputs in your Blender projects. Remember, lighting and rendering are arts in themselves, so patience and experimentation are key to mastering them.
Animating Your Models in Blender
Animation in Blender opens a new dimension of creativity, allowing you to bring your models to life with movement. Whether you\"re interested in character animation, dynamic simulations, or creating short films, Blender\"s animation tools are both powerful and versatile. Here’s how to start animating your models in Blender.
- Understanding Keyframes: Keyframes are the cornerstone of animation, marking the start and end points of any movement. In Blender, you can insert keyframes for nearly any property, including position, rotation, and scale.
- Rigging: For character animation, rigging is essential. Rigging involves creating a skeleton (armature) for your model so that it can be posed and animated. Blender offers a comprehensive set of rigging tools to create complex rigs.
- Animation Editors: Blender includes several editors for animation, such as the Dope Sheet for adjusting keyframes and timing, and the Graph Editor for fine-tuning the motion curves.
- Animating with Modifiers: Blender\"s non-linear animation (NLA) editor allows you to layer and blend different actions (animations), making it easier to create complex sequences.
- Simulation: For animations involving physics, like cloth, hair, or fluids, Blender’s physics simulations can automate the movement, adding realism to your scenes without manual keyframing.
Start with simple animations to get a feel for timing and motion, gradually moving to more complex projects as you become comfortable with Blender\"s animation tools. Remember, animation is both an art and a science, requiring patience and practice to master.
Useful Tips and Resources for Blender Beginners
Starting with Blender can be overwhelming, but with the right resources and tips, the journey can be much more manageable and enjoyable. Here are some essential tips and resources to help beginners navigate the world of Blender.
- Start with Basic Projects: Begin your Blender journey by focusing on simple projects. This approach helps you get comfortable with the interface and basic tools without feeling overwhelmed.
- Utilize Official Blender Tutorials: The Blender Foundation offers a comprehensive collection of tutorials for beginners on their official website. These tutorials cover everything from navigation to complex modeling techniques.
- Explore Online Courses: Platforms like Udemy, Coursera, and Skillshare offer structured Blender courses. These can provide a more guided learning experience with projects and feedback.
- Join Blender Communities: Online communities, such as Blender Artists and the Blender subreddit, are excellent places to seek advice, share your work, and connect with other Blender enthusiasts.
- Practice Regularly: Like any skill, proficiency in Blender comes with practice. Set aside regular time to work on projects and experiment with different features and tools.
- Learn Hotkeys: Blender\"s efficiency increases significantly when you start using hotkeys. Learning these can speed up your workflow and make the modeling process smoother.
- Experiment with Add-ons: Blender supports a wide range of add-ons that can extend its functionality. Explore the add-ons available within Blender and from the community to enhance your projects.
Remember, learning Blender is a marathon, not a sprint. Be patient with yourself, and celebrate your progress, no matter how small. With time and practice, you\"ll find Blender to be an incredibly powerful tool in your creative arsenal.
Common Pitfalls and How to Avoid Them
As beginners embark on their journey of learning Blender, they often encounter several common pitfalls that can hinder their progress. Being aware of these challenges and knowing how to avoid them can significantly enhance the learning experience. Here are some common pitfalls and tips for overcoming them.
- Overlooking the Basics: Jumping into complex projects without a solid understanding of the basics can lead to frustration. Start with simple tutorials and gradually increase the complexity of your projects.
- Not Using Hotkeys: Blender\"s efficiency significantly improves with the use of hotkeys. Familiarize yourself with the most common hotkeys early on to speed up your workflow.
- Ignoring the Power of Modifiers: Modifiers are powerful tools that can simplify complex modeling tasks. Take time to learn and experiment with different modifiers to enhance your models.
- Neglecting to Save Frequently: Like any software, Blender can crash. Regularly saving your work prevents losing significant progress due to unexpected crashes.
- Underestimating Lighting and Rendering: Lighting and rendering are crucial for bringing your models to life. Invest time in learning the basics of lighting setups and rendering settings for realistic results.
- Not Seeking Feedback: Sharing your work with the Blender community can provide valuable feedback and insights. Don\"t be afraid to ask for critiques to improve your skills.
- Sticking to One Resource: Relying solely on one tutorial or learning resource can limit your learning. Explore a variety of tutorials, courses, and forums to gain a broader understanding of Blender.
Avoiding these pitfalls will not only make your learning journey more enjoyable but also more productive. Embrace the process, experiment freely, and don\"t hesitate to seek help from the vibrant Blender community.
_HOOK_
READ MORE:
Next Steps: Advancing Your Blender Skills
Once you\"ve grasped the basics of Blender and are comfortable with modeling, texturing, and perhaps even animation, it\"s time to take your skills to the next level. Advancing in Blender involves diving deeper into its features, experimenting with complex projects, and continuously learning new techniques. Here\"s how you can continue to grow your Blender expertise.
- Master Advanced Modeling Techniques: Explore more complex modeling methods like sculpting and retopology to create detailed and high-resolution models.
- Dive into Character Animation: Learn the nuances of character rigging and animation, including weight painting and using inverse kinematics for more realistic movements.
- Experiment with Simulations: Blender offers robust simulation tools for creating realistic physics-based effects like cloth, smoke, fire, and fluids.
- Explore Node-Based Compositing: Utilize Blender’s node-based compositor for post-processing effects, enhancing the final look of your renders.
- Participate in Challenges and Contests: Engaging in community challenges and contests can push your skills, creativity, and provide feedback from peers.
- Contribute to Open Projects: Blender Foundation occasionally hosts open movie projects, providing a unique opportunity to contribute to larger projects and collaborate with professionals.
- Stay Updated with New Releases: Blender is continuously updated. Keeping up with the latest features and improvements can significantly enhance your workflow and capabilities.
- Learn Python Scripting: Understanding Blender\"s Python API can unlock custom scripting options, automate tasks, and develop new tools and add-ons.
Advancing your Blender skills is a journey of continuous learning and practice. By exploring new areas, accepting feedback, and staying engaged with the Blender community, you\"ll find endless opportunities to improve and innovate in your 3D modeling endeavors.
Embarking on your Blender journey opens a world of creative possibilities. With dedication and practice, you\"ll transform from a beginner to a skilled 3D artist, ready to bring your unique visions to life.