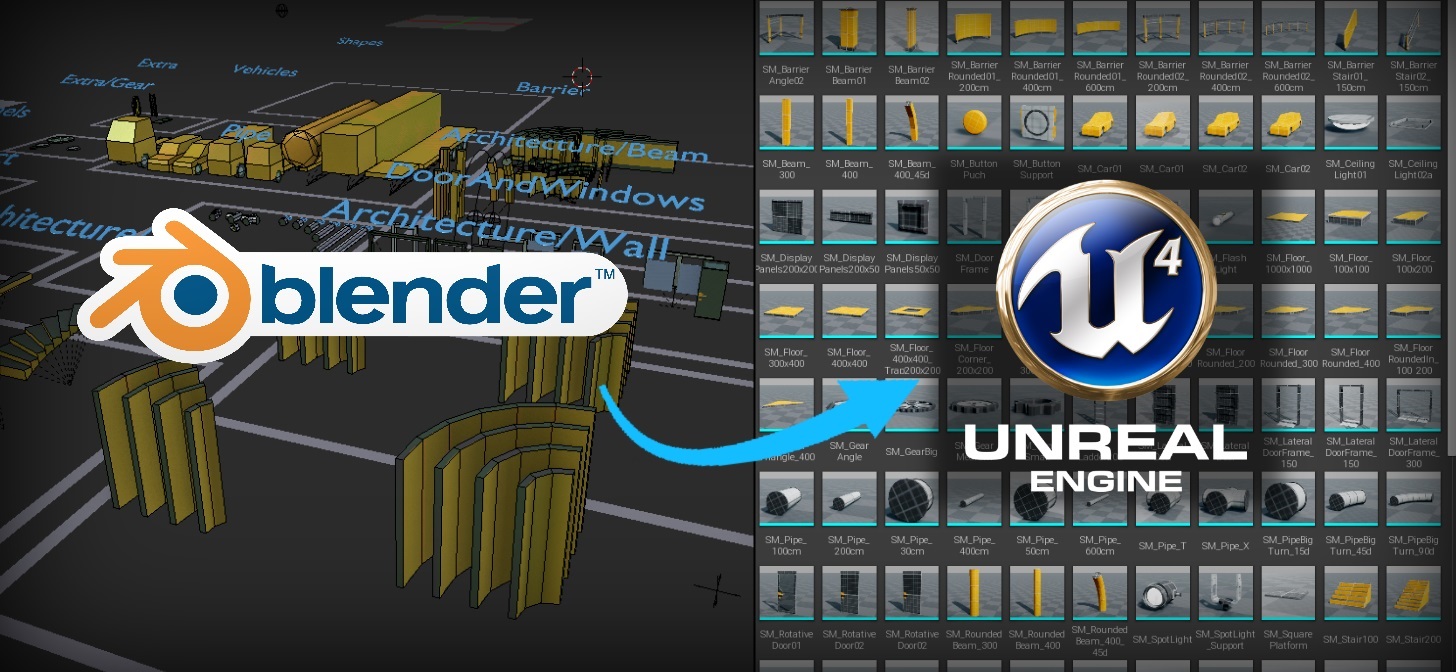
Topic blender to unreal engine 4: Discover the seamless integration of Blender to Unreal Engine 4, enhancing your game development with efficient workflows and advanced asset creation techniques for stunning visual experiences.
Table of Content
- What is the process for importing models from Blender into Unreal Engine 4?
- Understanding Blender to Unreal Engine 4 Workflow
- Essential Tools and Add-ons for Blender to UE4 Export
- Step-by-Step Process: Exporting Assets from Blender to UE4
- Optimizing Blender Models for Unreal Engine 4
- YOUTUBE: How To Export Import From Blender To Unreal Engine 4
- Animation and Rigging: Preparing Blender Assets for UE4
- Addressing Common Challenges in Blender to UE4 Integration
- Advanced Techniques: Lighting, Texturing, and Material Setup
- Utilizing Python Scripts for Efficient Asset Transfer
- Community Resources and Support for Blender to UE4 Users
- Future Developments: Blender and Unreal Engine Collaboration
What is the process for importing models from Blender into Unreal Engine 4?
To import models from Blender into Unreal Engine 4, follow these steps:
- Prepare your model in Blender by ensuring it is properly modeled, textured, and UV mapped.
- Export your model from Blender in a compatible file format such as FBX or OBJ. Go to File > Export and select the appropriate format.
- Open Unreal Engine 4 and create a new project or open an existing one where you want to import the model.
- Locate the Content Browser in Unreal Engine and navigate to the folder where you want to import the model.
- Right-click in the Content Browser, select Import, and choose the exported model file from Blender.
- In the Import Options window, make sure to adjust settings such as scale, rotation, and material options based on your model\'s requirements.
- Click Import to bring the model into Unreal Engine 4.
- Your model should now be imported into Unreal Engine 4 and can be placed in the scene, adjusted, and used in your project as needed.
READ MORE:
Understanding Blender to Unreal Engine 4 Workflow
The workflow from Blender to Unreal Engine 4 (UE4) encompasses a comprehensive process, aimed at streamlining the transition of assets between the two platforms. This guide outlines the critical steps and considerations for a smooth workflow.
- Preparation in Blender: Begin by ensuring your Blender models are optimized for UE4. This includes using the correct scale, applying necessary modifiers, and organizing your scene with clear naming conventions.
- Exporting Assets: Use the FBX export option in Blender, as it is widely supported by UE4. Adjust export settings to match UE4 requirements, such as selected objects, scale, and mesh data.
- Importing into Unreal Engine: In UE4, use the Import function to bring your FBX files into the project. You may need to adjust import settings based on your asset types (static meshes, skeletal meshes, animations).
- Material and Texture Setup: After import, assign materials and textures. UE4 allows for automatic material creation, but manual adjustments might be necessary for complex materials.
- Asset Integration: Once materials are applied, integrate your assets into the game environment. This may involve setting up animations, physics, or other interactive elements.
Understanding this workflow is crucial for efficiently leveraging the strengths of both Blender and UE4, enabling the creation of dynamic and visually compelling game assets.
- For animations, consider additional steps like rigging adjustments and animation retargeting within UE4 for compatibility with UE4\"s skeleton system.
- Utilize Blender\"s Grease Pencil for pre-visualizations or storyboard elements that can be imported into UE4 for cinematic sequences.
- Explore the use of Blender\"s scripting capabilities to automate repetitive tasks, enhancing workflow efficiency.
By mastering these steps, developers and artists can ensure a seamless transition of assets, maintaining high-quality standards and fostering a productive development environment.

Essential Tools and Add-ons for Blender to UE4 Export
The workflow from Blender to Unreal Engine 4 (UE4) encompasses a comprehensive process, aimed at streamlining the transition of assets between the two platforms. This guide outlines the critical steps and considerations for a smooth workflow.
- Preparation in Blender: Begin by ensuring your Blender models are optimized for UE4. This includes using the correct scale, applying necessary modifiers, and organizing your scene with clear naming conventions.
- Exporting Assets: Use the FBX export option in Blender, as it is widely supported by UE4. Adjust export settings to match UE4 requirements, such as selected objects, scale, and mesh data.
- Importing into Unreal Engine: In UE4, use the Import function to bring your FBX files into the project. You may need to adjust import settings based on your asset types (static meshes, skeletal meshes, animations).
- Material and Texture Setup: After import, assign materials and textures. UE4 allows for automatic material creation, but manual adjustments might be necessary for complex materials.
- Asset Integration: Once materials are applied, integrate your assets into the game environment. This may involve setting up animations, physics, or other interactive elements.
Understanding this workflow is crucial for efficiently leveraging the strengths of both Blender and UE4, enabling the creation of dynamic and visually compelling game assets.
- For animations, consider additional steps like rigging adjustments and animation retargeting within UE4 for compatibility with UE4\"s skeleton system.
- Utilize Blender\"s Grease Pencil for pre-visualizations or storyboard elements that can be imported into UE4 for cinematic sequences.
- Explore the use of Blender\"s scripting capabilities to automate repetitive tasks, enhancing workflow efficiency.
By mastering these steps, developers and artists can ensure a seamless transition of assets, maintaining high-quality standards and fostering a productive development environment.
Step-by-Step Process: Exporting Assets from Blender to UE4
Transferring assets from Blender to Unreal Engine 4 (UE4) is a pivotal step in game development and animation projects. This detailed guide will take you through the process, ensuring a smooth transition of your assets into UE4.
- Prepare Your Model: Ensure your model is ready for export by applying all modifiers and ensuring the scale and rotation settings are correct. UV mapping should be completed at this stage.
- Export Settings: Open the export menu in Blender and select the FBX format. In the export settings, choose \"Mesh\" for static models or \"Armature & Mesh\" for models with animations. Enable \"Selected Objects\" if you\"re not exporting the entire scene.
- Adjust FBX Export Options: Set the scale to match UE4\"s unit system (1.0 by default). Under the \"Geometry\" tab, ensure \"Apply Modifiers\" is checked for a final mesh export. If exporting animations, adjust the animation settings accordingly.
- Export Textures: If your model uses textures, ensure they are correctly linked and packed within the Blender file. You may need to export textures separately depending on your workflow and the specifics of your project.
- Import into UE4: Within UE4, navigate to the Content Browser and click \"Import\". Locate your exported FBX file and select the appropriate import options for your asset. Pay close attention to the \"Mesh\", \"Materials\", and \"Animation\" import settings.
- Material Setup: After import, you may need to recreate or adjust materials within UE4 to utilize the engine\"s rendering capabilities fully. This can involve linking textures, adjusting shaders, and fine-tuning material properties.
- Final Adjustments: With your assets imported into UE4, make any necessary adjustments to ensure they integrate seamlessly into your scene. This can include setting up collision properties, adjusting lighting, and fine-tuning animations.
By following these steps, you can efficiently transfer your Blender assets into Unreal Engine 4, ready for further development and integration into your projects.
- Remember to check the UE4 documentation for any updates or changes to the import process.
- Utilize Blender\"s collection system to organize your assets before export, simplifying the import process in UE4.
- Explore UE4\"s plugin ecosystem for tools that can further streamline the Blender to UE4 workflow.
Optimizing Blender Models for Unreal Engine 4
Optimizing Blender models for Unreal Engine 4 is essential for ensuring efficient performance and high-quality visuals in your game or interactive project. This guide outlines key strategies for preparing your models for export and use in UE4.
- Reduce Polycount: High poly models can significantly impact performance. Use Blender\"s decimate modifier to reduce the polycount of your models without drastically affecting visual quality.
- Optimize Textures: Large textures can consume considerable memory. Scale down textures where possible, and use texture compression formats supported by UE4 to reduce file sizes without losing detail.
- Consolidate Materials: Multiple materials on a single mesh can increase draw calls, impacting performance. Try to consolidate materials by baking textures or using texture atlases where possible.
- LOD (Level of Detail) Creation: Generate LODs for your models within Blender or use UE4\"s LOD system to create multiple detail levels, reducing the rendering load at distances where detail is less noticeable.
- Ensure Clean Topology: Clean, efficient mesh topology not only improves deformation during animations but also optimizes rendering. Avoid n-gons and aim for quads or triangles to ensure compatibility with UE4\"s renderer.
- Rigging and Animation Optimization: For animated models, ensure rigs are not overly complex and animations are optimized for performance. Use UE4\"s animation compression tools to reduce the size of animation assets.
Following these optimization techniques will help ensure that your Blender models are ready for real-time rendering in Unreal Engine 4, providing a balance between visual quality and performance.
- Use Blender\"s built-in tools, such as the UV/Image Editor for texture optimization, and the Data Transfer modifier for LOD generation.
- Consider the use of Blender\"s baking features to bake high-resolution mesh details into textures for low-poly models, preserving visual quality while reducing computational load.
- Regularly test your models in UE4 throughout the optimization process to gauge performance impacts and adjust your optimization strategies as necessary.

_HOOK_
How To Export Import From Blender To Unreal Engine 4
Export: \"Discover the exciting world of export business in our video, showcasing how companies expand across borders and reach global markets with their products. Learn about the benefits and opportunities of exporting today!\" Rigs: \"Get ready to be amazed by the powerful and impressive rigs featured in our video! From towering oil rigs to high-tech drilling rigs, this video showcases the incredible engineering behind these massive machines. Watch now!\"
Import Rigs Animations Blender to Unreal
Here\'s how I import rigs and animations from Blender to Unreal in 3 minutes!! If you enjoyed this video, please consider becoming ...
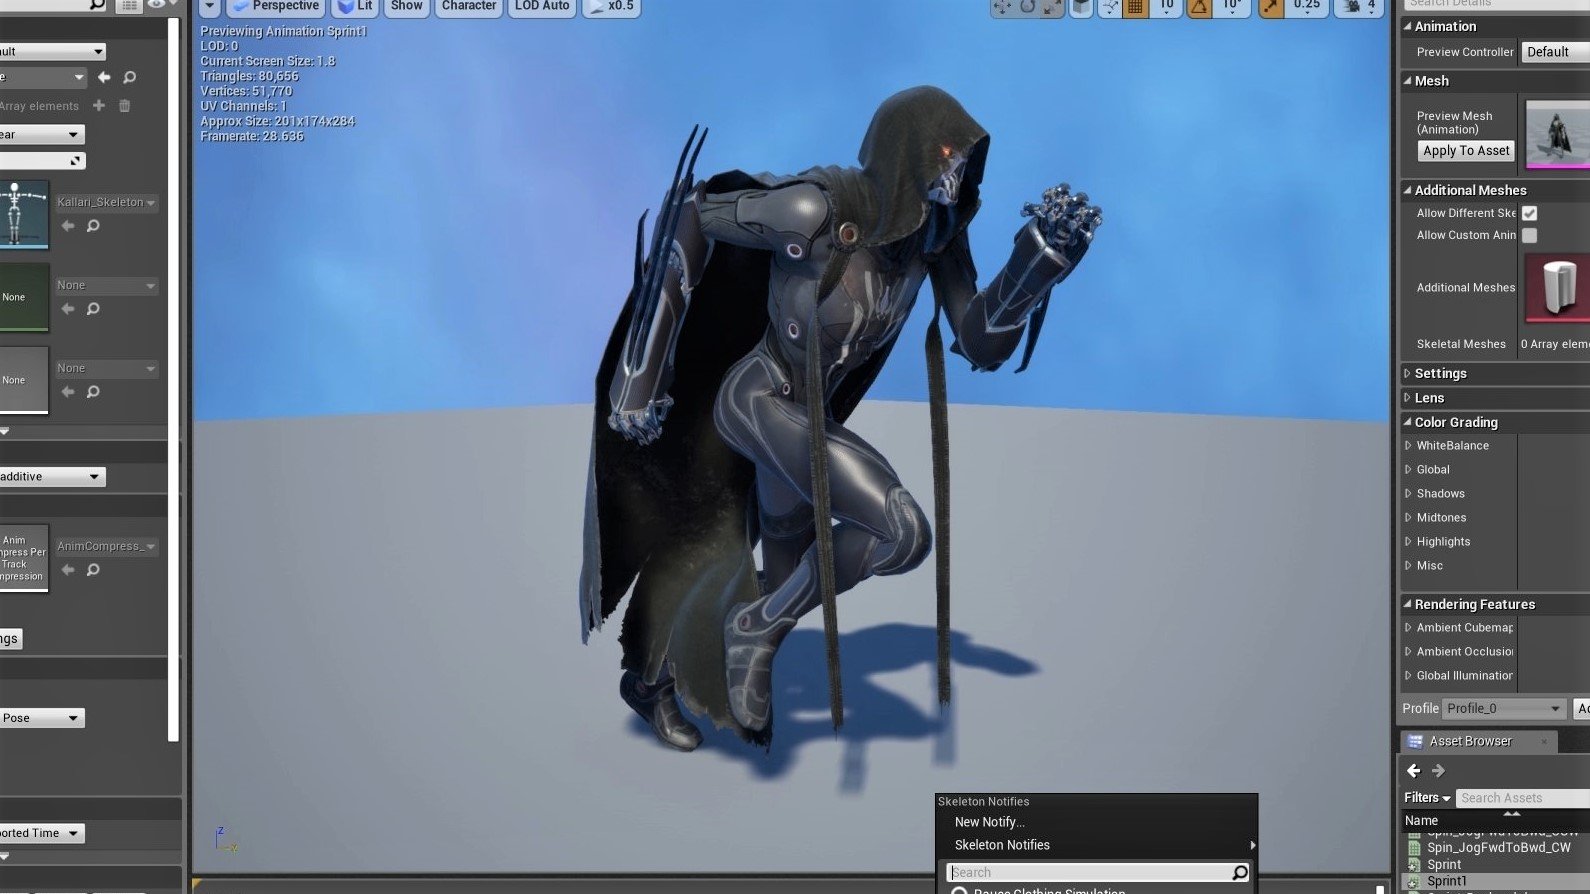
Animation and Rigging: Preparing Blender Assets for UE4
Properly preparing Blender assets for Unreal Engine 4 involves specific considerations for animation and rigging to ensure compatibility and performance in the game engine. Follow these steps to effectively prepare your animated models.
- Use Compatible Rigging Systems: UE4 works best with rigs created using its own skeleton system. When rigging in Blender, use the Rigify addon to create rigs that are more likely to be compatible with UE4\"s animation system.
- Apply Rigging Constraints: Before exporting, apply all rigging constraints and ensure that your armature hierarchy is correctly set up, as complex constraints may not be directly supported in UE4.
- Optimize Bone Count: High bone counts can impact performance. Optimize your rig by minimizing the number of bones and ensuring only necessary bones are included for the animations you plan to use.
- Animation Actions: Organize your animations into actions in Blender. This organization will make it easier to export and manage animations within UE4.
- Exporting Animations: When exporting, select the FBX format and ensure you include Armatures and Animations in your export settings. Adjust the FBX export settings to match UE4\"s requirements, particularly for bone scaling and animation sampling rates.
- Test Import in UE4: After importing your rigged model and animations into UE4, test them to ensure they play correctly. Use the Persona editor in UE4 to review animations and make adjustments as needed.
By following these guidelines, you can ensure that your Blender rigs and animations are ready for use in Unreal Engine 4, with minimal adjustments required after import.
- Remember to save your Blender file before exporting so you can make adjustments and re-export if necessary.
- Consider using UE4\"s retargeting tools to adapt your animations to different character models within the engine.
- Explore Blender\"s Non-Linear Animation (NLA) editor for complex animation sequences that require blending or layering before export.

Addressing Common Challenges in Blender to UE4 Integration
Integrating assets from Blender into Unreal Engine 4 (UE4) can present various challenges, from technical issues to workflow inefficiencies. This section addresses common hurdles and offers solutions to ensure a smooth transition of assets between these two powerful tools.
- Scale and Measurement Discrepancies: Differences in scale between Blender and UE4 can cause assets to appear too large or too small. To address this, always apply the correct scale in Blender before exporting and verify the scale unit in UE4 upon import.
- Materials and Textures Not Transferring Correctly: Sometimes materials and textures may not appear as expected in UE4. Ensure that all textures are correctly linked in Blender and consider exporting textures separately for manual assignment in UE4.
- Animations Not Playing as Expected: If animations are not behaving correctly in UE4, check the animation export settings in Blender. Make sure to export animations with the appropriate keyframe range and ensure that bone names match those expected in UE4.
- Complex Rigging Issues: Advanced rigging features in Blender might not translate directly to UE4. Simplify rigs where possible and use UE4\"s retargeting features to adapt complex animations.
- Performance Optimization: High-poly models or complex shaders from Blender can affect performance in UE4. Use LODs (Level of Detail) and consider simplifying materials in UE4 to improve game performance.
Overcoming these challenges often requires a mix of preparation in Blender and adjustments in UE4, highlighting the importance of understanding both tools\" capabilities and limitations.
- Utilize Blender\"s export options to fine-tune asset compatibility with UE4.
- Regularly test imported assets in UE4 to identify and rectify issues early in the development process.
- Engage with communities and forums for both Blender and UE4 for additional tips and troubleshooting advice.
Advanced Techniques: Lighting, Texturing, and Material Setup
Enhancing your Blender models with advanced lighting, texturing, and material techniques before importing them into Unreal Engine 4 (UE4) can significantly improve the visual quality and realism of your projects. This section explores sophisticated methods to prepare your assets.
- High-Resolution Texturing: Utilize Blender’s texture painting tools or external applications like Substance Painter to create high-resolution textures. Bake these textures into your models to maintain detail at various distances in UE4.
- Physically Based Rendering (PBR) Materials: Prepare materials in Blender using PBR principles that align with UE4’s material system. This ensures that materials react realistically to lighting conditions in your UE4 scenes.
- Advanced Lighting Techniques: Experiment with Blender’s lighting tools, such as HDRIs for environment lighting and area lights for soft shadows, to bake lighting into your textures for static scenes, enhancing realism in UE4.
- Normal and Displacement Maps: Generate normal and displacement maps in Blender to add depth and detail to your textures without the need for high-poly geometry, optimizing performance in UE4.
- Shader Nodes for Dynamic Materials: Leverage Blender’s shader nodes to create dynamic material effects such as weathering or wear, which can be translated into UE4’s material editor for interactive elements.
Implementing these advanced techniques requires a blend of artistic skill and technical knowledge, ensuring your assets look as intended when moved from Blender to UE4.
- Keep UE4’s texture and material guidelines in mind when preparing assets in Blender to ensure compatibility.
- Regularly test materials and lighting setups in UE4 to adjust for any discrepancies between Blender previews and UE4’s rendering engine.
- Utilize UE4’s material instances for efficient material adjustments and variations within the engine.

Utilizing Python Scripts for Efficient Asset Transfer
Automating the transfer of assets from Blender to Unreal Engine 4 (UE4) using Python scripts can significantly streamline your workflow, reducing manual tasks and potential errors. This section outlines steps to leverage Python for efficient asset transfer.
- Understanding Blender\"s Python API: Familiarize yourself with Blender’s Python API to script operations such as exporting models, applying transformations, and setting up export parameters.
- Writing Export Scripts: Create Python scripts in Blender to automate the export process. These scripts can batch export multiple assets, apply necessary transformations, and configure export settings for UE4 compatibility.
- Automating Texture and Material Setup: Develop scripts to automate the setup of materials and textures in Blender, ensuring they are correctly configured for export and subsequent import into UE4.
- Integrating with Unreal Engine’s Python API: Utilize UE4’s Python API to automate the import process, allowing for scripted asset categorization, material assignment, and scene setup within UE4.
- Creating a Pipeline Script: Combine Blender export and UE4 import scripts into a single pipeline script that moves assets from Blender, through the export and import processes, and into your UE4 project seamlessly.
Python scripting for asset transfer not only saves time but also ensures consistency and reliability in how assets are prepared and integrated into your UE4 projects.
- Test your scripts with a small number of assets initially to debug and refine the process before scaling up to larger batches.
- Keep your Python scripts version-controlled for easy updates and collaboration among team members.
- Explore community resources and plugins that may already offer solutions for common tasks related to asset transfer between Blender and UE4.

Community Resources and Support for Blender to UE4 Users
The Blender and Unreal Engine 4 (UE4) communities are vibrant and supportive, offering a wealth of resources for users looking to integrate these two powerful tools. Below are key resources and support networks to help you navigate the process.
- Official Forums: Both Blender and Unreal Engine have official forums where users can ask questions, share tips, and connect with other creators. These forums are excellent places to seek advice on specific challenges.
- Tutorials and Guides: There is an abundance of tutorials available online, ranging from beginner to advanced levels. Look for step-by-step guides, video tutorials, and written posts to help you learn new techniques and solve common problems.
- Plugins and Add-ons: The community has developed various plugins and add-ons to streamline the workflow between Blender and UE4. Exploring these tools can save time and enhance your project\"s quality.
- Discord Channels and Slack Groups: Joining Blender and UE4 dedicated Discord channels or Slack groups can provide real-time assistance and networking opportunities with fellow developers and artists.
- Workshops and Meetups: Attending community workshops and meetups, either virtually or in person, can offer hands-on learning experiences and the chance to ask experts directly.
Leveraging these community resources can dramatically improve your workflow and enable you to overcome technical hurdles more efficiently. Remember, the collective knowledge of the community is one of the best tools at your disposal.
- Always stay respectful and supportive when interacting in forums and community channels, as this fosters a positive learning environment for everyone.
- Consider contributing back to the community by sharing your own experiences, tips, and resources once you\"ve mastered integrating Blender with UE4.
_HOOK_
READ MORE:
Future Developments: Blender and Unreal Engine Collaboration
As the worlds of open-source and commercial software grow ever closer, the collaboration between Blender and Unreal Engine 4 (UE4) is poised to unlock new possibilities for creators and developers. This section explores potential future developments arising from this partnership.
- Enhanced Integration Tools: Future developments may include more robust and seamless integration tools, making the transfer of assets between Blender and UE4 more efficient and user-friendly.
- Real-Time Collaboration Features: Advances in real-time collaboration could allow multiple artists and developers to work on the same project simultaneously within Blender and UE4, further blurring the lines between pre-production and game development.
- Shared Asset Libraries: A unified asset library accessible from both Blender and UE4 could streamline the development process, offering a vast repository of ready-to-use models, textures, and materials.
- Co-Development of New Features: Joint development initiatives could lead to new features and tools that leverage the strengths of both platforms, such as advanced physics simulations or procedural generation tools.
- Education and Training Programs: With both Blender and UE4 being popular educational tools, future collaborations may include joint certification programs or learning resources, empowering the next generation of digital artists and game developers.
The ongoing collaboration between Blender and Unreal Engine promises to push the boundaries of what\"s possible in game development and digital art, fostering a vibrant ecosystem where creativity knows no bounds.
- Stay tuned to official announcements from the Blender Foundation and Epic Games for the latest on this exciting partnership.
- Engage with community forums and social media channels to share your ideas and feedback on how Blender and UE4 can continue to grow together.
Embarking on the journey from Blender to Unreal Engine 4 opens a world of possibilities, blending creativity with technology. This guide aims to empower you with the knowledge and tools to bring your visions to life in UE4\"s dynamic environment.