Topic blender text tutorial: Discover the art of 3D text creation with our Blender Text Tutorial, designed to guide beginners through the fascinating world of typography in Blender.
Table of Content
- What are the steps for inserting text in Blender and converting it to a mesh or curve?
- Getting Started with 3D Text in Blender
- Styling Your Text
- Finalizing Your 3D Text
- Styling Your Text
- YOUTUBE: How to Use Text in Blender Tutorial
- Finalizing Your 3D Text
- Finalizing Your 3D Text
- Introduction to Text Creation in Blender
- Step-by-Step Guide for Adding 3D Text
- Customizing Fonts and Text Styles
- Animating Text for Impactful Presentations
- Advanced Techniques: Texturing and Shading
- Utilizing Text in 3D Scenes and Projects
- Common Issues and Solutions in Text Editing
- Resources for Further Learning and Inspiration
What are the steps for inserting text in Blender and converting it to a mesh or curve?
To insert text in Blender and convert it to a mesh or curve, follow these steps:
- Open Blender and select the location where you want to insert the text.
- Press Shift + A to open the Add menu.
- Select Text from the list of options.
- You will now see a text object in your scene. You can edit the text by entering Edit Mode (press Tab).
- To convert the text to a mesh, go to the Object menu at the top and choose Convert To. Then, select Mesh from the options.
- If you want to convert the text to a curve, go to the Object menu and choose Convert To followed by Curve.
READ MORE:
Getting Started with 3D Text in Blender
To begin, you\"ll need to open Blender and start a new project. The first step is to remove the default cube from the scene. Select the cube, press \"X\" on your keyboard, and confirm deletion. Now, you\"re ready
to add text to your scene.
Adding Text
- Press Shift + A to open the Add menu.
- Select Text from the list to add a text object to your scene.
With the text object selected, you can begin editing your text.
Editing Text
- Press Tab to enter edit mode, allowing you to type or modify the text.
- Use the font settings in the properties panel to change the font, size, and style of your text.

Styling Your Text
Blender offers various options to stylize your text and make it stand out.
Extruding and Beveling
- To give your text depth, increase the Extrude value in the Geometry tab.
- Add a bevel to soften the edges of your text by adjusting the Bevel Depth.
Converting to Mesh
For more advanced editing, you may want to convert your text to a mesh:
- With your text selected, right-click and choose Convert to Mesh from the context menu.
- This allows you to edit your text as a 3D object, using all of Blender\"s mesh editing tools.
Finalizing Your 3D Text
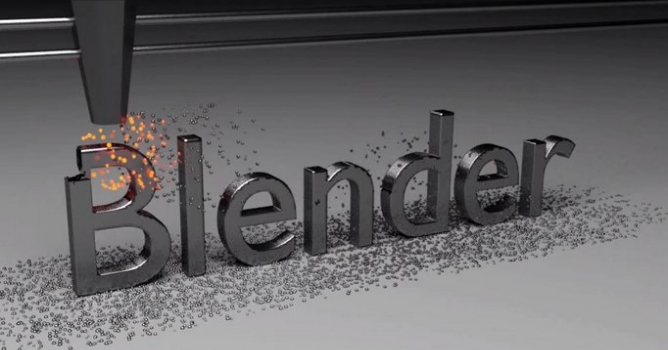
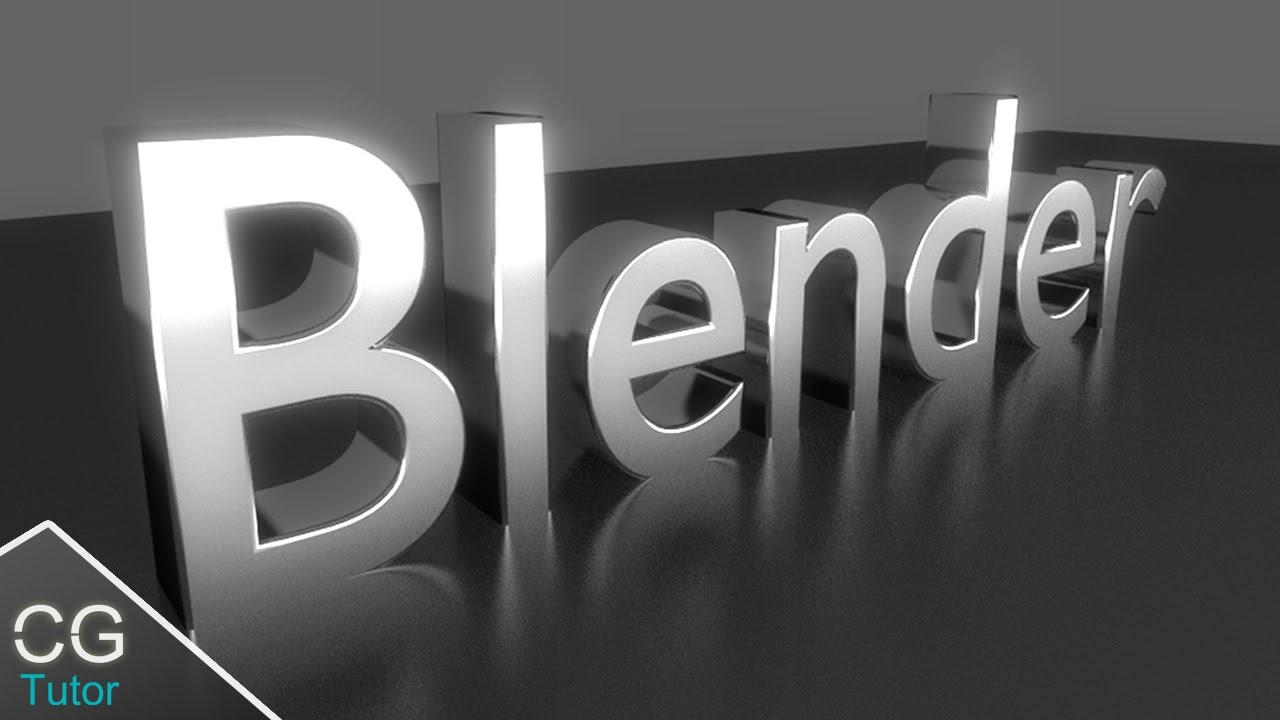
Once you\"re satisfied with the appearance of your text, you can add materials, textures, and lighting to bring your text to life. Experiment with different settings to achieve the desired effect, whether you\"re aiming for a sleek metallic look or a soft, glowing effect.
Rendering Your Scene
To see the final result, move to the rendering tab and choose your preferred rendering engine. Adjust the settings to suit your project\"s needs and hit render. Congratulations, you\"ve created a stunning 3D text effect in Blender!

Styling Your Text
Blender offers various options to stylize your text and make it stand out.
Extruding and Beveling
- To give your text depth, increase the Extrude value in the Geometry tab.
- Add a bevel to soften the edges of your text by adjusting the Bevel Depth.
Converting to Mesh
For more advanced editing, you may want to convert your text to a mesh:
- With your text selected, right-click and choose Convert to Mesh from the context menu.
- This allows you to edit your text as a 3D object, using all of Blender\"s mesh editing tools.

_HOOK_
How to Use Text in Blender Tutorial
Discover the fascinating world of manipulation in our video, where you\'ll learn about the power of influence and persuasion. See how individuals use manipulation for positive outcomes and gain valuable insights.
How to Use Text In Blender for Beginners Tutorial
Calling all beginners! Join us in our video designed just for you, as we provide step-by-step guidance and tips to help you navigate new territory with ease. Don\'t miss this opportunity to start your journey towards mastery.
Finalizing Your 3D Text
Once you\"re satisfied with the appearance of your text, you can add materials, textures, and lighting to bring your text to life. Experiment with different settings to achieve the desired effect, whether you\"re aiming for a sleek metallic look or a soft, glowing effect.
Rendering Your Scene
To see the final result, move to the rendering tab and choose your preferred rendering engine. Adjust the settings to suit your project\"s needs and hit render. Congratulations, you\"ve created a stunning 3D text effect in Blender!

Introduction to Text Creation in Blender
Blender offers a versatile set of tools for creating and manipulating text, enabling artists and designers to incorporate 3D typography into their projects. This section introduces the basics of text creation in Blender, from adding text to your scene to customizing its appearance.
- Adding Text: Start by opening Blender and removing the default cube. Press Shift+A to open the Add menu, select Text to add a 3D text object to your scene.
- Editing Text: With the text object selected, enter Edit Mode (Tab key) to change the default \"Text\" to your desired words or phrases.
- Font Customization: Access the Properties panel to customize your text\"s font, size, and style. Blender supports TrueType and OpenType fonts, allowing for a wide range of typographic options.
- Extrusion and Bevel: In the Geometry section of the Font settings, you can adjust the extrusion depth and bevel of your text, adding dimension and complexity to your typography.
- Material and Color: Apply materials and colors to your text through the Material Properties tab, giving it a unique look that stands out in your scene.
These initial steps lay the foundation for incorporating text into your Blender projects, whether for artistic, architectural, or design purposes. As you become more familiar with Blender\"s text tools, you\"ll discover the vast creative potential of 3D typography.

Step-by-Step Guide for Adding 3D Text
Adding 3D text to your Blender projects can dramatically enhance the visual appeal and professionalism of your work. Follow these detailed steps to incorporate 3D text into your scenes effectively.
- Open Blender: Start by launching Blender and create a new project.
- Remove Default Objects: Delete the default cube or any other object in the scene to start with a clean slate. Select the object, press \"X\" or \"Delete\" on your keyboard, and confirm deletion.
- Add Text Object: Press Shift + A to open the Add menu, then select Text to add a 3D text object to the scene. A text object displaying \"Text\" will appear.
- Edit Text: With the text object selected, press Tab to switch to Edit Mode. You can now delete the default \"Text\" and type your desired content.
- Font and Style: To customize the font and styling, go to the Properties panel on the right, under the Font tab. Here, you can change the font type, size, and other text properties.
- Extrude and Bevel: For adding depth and dimension to your text, adjust the \"Extrude\" and \"Bevel\" settings under the Geometry section in the Font tab. Extruding makes the text 3D, while beveling rounds the edges.
- Material and Color: To change the text\"s color and material properties, switch to the Material Properties tab. Here, you can add different materials to your text, changing its appearance and texture.
- Convert to Mesh: For more advanced manipulations, you may convert the text object into a mesh. Right-click the text and select \"Convert to > Mesh from Curve/Meta/Surf/Text\" for further editing options like sculpting or modifying vertices.
- Placement and Orientation: Position your text within the scene using the Move tool. You can also rotate and scale the text to fit your design needs.
Following these steps, you can add and customize 3D text in Blender, making your projects more engaging and visually appealing.

Customizing Fonts and Text Styles
Blender\"s text tool is not just about adding text; it\"s about bringing your creative vision to life with customized fonts and styles. This section walks you through the process of personalizing your text to fit your project\"s aesthetic needs.
- Accessing Font Options: Select your text object and navigate to the Font tab in the Properties panel. Here, you can change the font by clicking on the \"Font\" button and selecting a new font from your computer.
- Adjusting Font Size: Within the same tab, you can adjust the size of your text to ensure it fits perfectly within your scene or composition.
- Style Variations: Explore different style options such as bold, italic, or underline to emphasize certain text elements or to align with your design theme.
- Character Spacing: Control the spacing between characters for better readability or stylistic effects using the \"Character Spacing\" slider.
- Line Spacing: Adjust the line spacing to manage how text lines are spaced from each other, which is especially useful for paragraphs or multiline text.
- Text Alignment: Choose from left, center, right, or justify alignment options to match the text layout with your overall design intention.
- Text Extrusion and Bevel: For 3D text, modify the extrusion depth and bevel size under the Geometry section to add depth and dimension to your typography.
- Applying Materials: Add colors, textures, and materials to your text through the Material Properties tab, transforming your text into a vibrant element of your project.
By customizing fonts and text styles in Blender, you unlock a new level of creativity in your 3D projects, making your text truly integral to your artistic expression.
_HOOK_
Animating Text for Impactful Presentations
Animating text in Blender can add a dynamic layer to your presentations, making your content stand out. This section guides you through the process of animating text for engaging and professional results.
- Basic Animation Setup: Start with adding text to your scene. Once your text is ready and styled, go to the Timeline at the bottom of the Blender interface. Place your cursor at the frame where you want your animation to start.
- Inserting Keyframes: With your text selected, press I to insert a keyframe. Choose \"Location\" if you want to animate the movement, \"Scale\" for size changes, or \"Rotation\" for spin effects. This action records the starting point of your animation.
- Animating Movement: Move the timeline cursor to another frame, then move your text to its final position, scale, or rotate as desired. Press I again and insert the same type of keyframe. Blender will automatically create a smooth animation between these two keyframes.
- Adjusting Animation Speed: To speed up or slow down the animation, move the keyframes closer together or further apart on the timeline.
- Adding Complexity: For more complex animations, consider using the Graph Editor to adjust the interpolation and timing between keyframes. This allows for more control over the animation\"s pacing and style.
- Text Effects: Explore Blender\"s effects like wave, bounce, or type-on animations by adding modifiers to your text object in the Properties panel.
- Finalizing Your Animation: Once satisfied with the animation, preview it by pressing the play button in the Timeline. Adjust as necessary until you achieve the desired effect.
Animating text in Blender is a straightforward process that can significantly enhance the visual appeal of your projects. With practice, you can create animations that captivate and communicate effectively.

Advanced Techniques: Texturing and Shading
Going beyond basic text creation, Blender allows for sophisticated texturing and shading techniques that can elevate your text to a whole new level. This section covers advanced methods to apply textures and shaders to your 3D text.
- Applying Textures: To apply a texture to your text, first convert the text to a mesh by right-clicking and selecting \"Convert to Mesh from Curve/Meta/Surf/Text\". This allows for texture mapping.
- UV Unwrapping: Once your text is a mesh, go to Edit Mode (Tab), select all vertices (A), and choose \"UV Unwrap\" from the UV Mapping menu. This step is crucial for accurate texture application.
- Choosing a Texture: In the Shader Editor, create a new material for your text mesh. Add an Image Texture node and open the image you wish to use as a texture. Connect this node to the Base Color input of the Principled BSDF shader.
- Shading Techniques: Experiment with the Principled BSDF shader settings to adjust the texture\"s appearance. You can manipulate the roughness, specular, and metallic properties to create various effects.
- Bump and Displacement: For added realism, consider adding a Bump or Displacement node connected to your texture. This can give your text a more three-dimensional feel by simulating surface irregularities.
- Environmental Textures: Enhance the overall look by adding an Environment Texture to your scene. This can provide realistic lighting and reflections on your text.
- Animating Textures: For dynamic text, you can animate the properties of the texture or the UV coordinates using keyframes. This adds motion to the texture itself, creating an engaging visual effect.
By mastering these advanced texturing and shading techniques in Blender, you can produce text that not only stands out visually but also integrates seamlessly into your 3D scenes and animations.
Utilizing Text in 3D Scenes and Projects
Integrating text into your 3D scenes and projects in Blender not only conveys information but also adds a layer of sophistication and creativity. Here’s how to effectively utilize text within your Blender projects.
- Conceptualizing Your Design: Before adding text, consider its purpose. Is it a title, a label, or part of the artistic composition? This will influence its placement, size, and style.
- Choosing the Right Font: Select a font that complements the theme and tone of your project. Blender allows importing custom fonts, giving you a wide range of creative options.
- Integrating Text with 3D Objects: Text can be parented to objects, allowing it to move and rotate with them. This is ideal for labels or dynamic elements within animations.
- Using Text as a 3D Object: Convert your text into a mesh to apply more complex modeling techniques, such as boolean operations, making the text part of the environment.
- Animating Text: Bring text to life by animating its properties, such as location, rotation, scale, or even its characters for typographic animations.
- Applying Materials and Textures: Enhance your text with materials and textures to blend it seamlessly into your scene or to make it stand out as a focal point.
- Lighting and Rendering: Proper lighting can dramatically affect the readability and mood of your text. Experiment with different lighting setups to highlight your text effectively.
- Compositing: Use Blender’s compositing tools to integrate text into scenes, adding effects like glow, blur, or shadows for a more cohesive look.
By thoughtfully incorporating text into your 3D scenes, you can elevate the overall impact of your Blender projects, making them more engaging and informative.
Common Issues and Solutions in Text Editing
Working with text in Blender can present unique challenges, especially for those new to the software. This section addresses common issues encountered when editing text in Blender and provides practical solutions to overcome them.
- Text Not Appearing: If your text isn\"t visible after adding it to the scene, check the object\"s location. Ensure it\"s not placed below the ground plane or behind other objects. Adjust the position using the move tool.
- Difficulty Editing Text: To edit text, you must be in Edit Mode. Select the text object, press Tab to switch modes, and then you can type your text. Press Tab again to return to Object Mode.
- Fonts Not Loading: If a custom font isn\"t displaying, ensure the font file is correctly linked in the Font Properties. Also, verify that the font file is not corrupted and is in a supported format (e.g., TTF or OTF).
- Text Overlapping: Overlapping can occur with certain fonts or due to large character spacing. Adjust the character spacing in the Font Properties panel under the Character Spacing option to fix this issue.
- Texturing Challenges: After converting text to mesh for texturing, you might find the geometry complex for UV mapping. Use the remesh modifier to simplify the mesh before UV unwrapping for better texturing results.
- Animating Text: If animation isn\"t playing smoothly, ensure keyframes are correctly set for the text object\"s properties (location, rotation, scale). Also, check the frame rate and playback settings in Blender.
- Rendering Issues: For text that looks fine in the viewport but renders poorly, check the render settings. Ensure the text object\"s materials and textures are render-compatible and that lighting is adequately set up.
By addressing these common issues, you can improve your workflow and create more polished text elements in your Blender projects.
READ MORE:
Resources for Further Learning and Inspiration
Mastering text in Blender is an ongoing journey, rich with resources for further learning and inspiration. Below is a curated list of resources to deepen your knowledge and spark your creativity.
- Blender Official Tutorials: The Blender Foundation provides comprehensive guides and tutorials on their official website and YouTube channel, covering everything from basics to advanced text techniques.
- YouTube Tutorials: YouTube hosts a wealth of free tutorials by Blender enthusiasts and professionals. Channels like Blender Guru, CG Geek, and Ducky 3D offer tutorials ranging from beginner to advanced levels.
- Online Courses: Platforms like Udemy, Coursera, and LinkedIn Learning offer structured courses on Blender, including text creation, animation, and more, catering to all skill levels.
- Forums and Communities: Blender Artists Forum and the Blender subreddit are great places to ask questions, share projects, and connect with other Blender users.
- Books: There are several books available that delve into Blender\"s capabilities, including text manipulation. Titles like \"Blender 3D Cookbook\" and \"Learning Blender: A Hands-On Guide to Creating 3D Animated Characters\" can be invaluable resources.
- BlenderNation: BlenderNation regularly features tutorials, articles, and news, keeping you updated on the latest Blender techniques and community projects.
These resources offer a mix of learning materials and community support to help you advance your skills in text creation and animation in Blender. Whether you\"re a beginner or looking to refine your expertise, there\"s something for everyone in the Blender community.
Embark on your Blender journey with confidence, as these text tutorials unlock the door to creative freedom and innovation. Start transforming your ideas into reality today and elevate your digital artistry to new heights.
_HOOK_