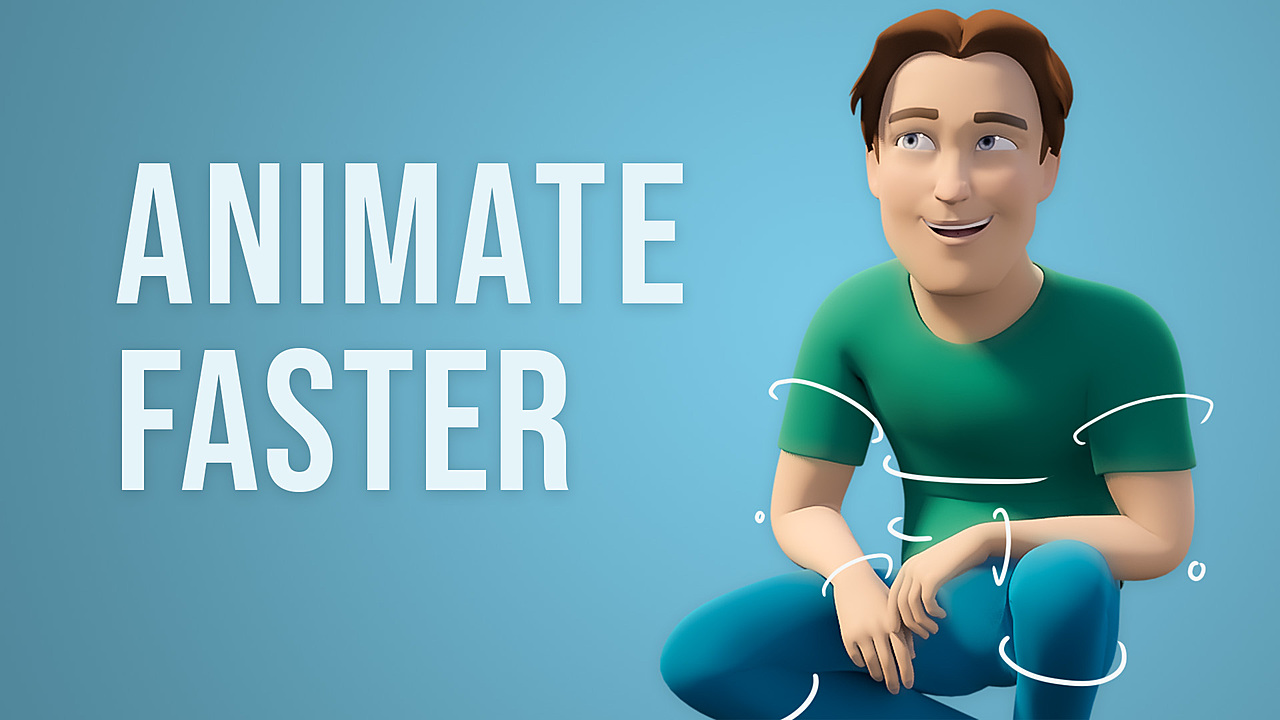
Topic blender rigging and animation: Dive into the captivating world of Blender rigging and animation, where you can transform your 3D models into lifelike characters and dynamic scenes, opening doors to endless creativity and innovation in digital artistry.
Table of Content
- Key Features of Blender Rigging and Animation
- Learning Resources and Guides
- Advanced Animation Techniques
- Addons and Tools
- Learning Resources and Guides
- Advanced Animation Techniques
- Addons and Tools
- What are the best tools and techniques for blender rigging and animation?
- YOUTUBE: Blender - Rigging A Character in 5 Minutes
- Advanced Animation Techniques
- Addons and Tools
- Addons and Tools
- Introduction to Blender Rigging and Animation
- Key Features of Blender\"s Rigging Tools
- Step-by-Step Guides for Rigging in Blender
- Animation Techniques and Tips in Blender
- Advanced Rigging and Animation Concepts
- Best Practices for Blender Animation Workflows
- Learning Resources for Blender Animation
- Community and Support for Blender Animators
- Future of Animation in Blender
- Conclusion: Getting Started with Your First Animation Project
Key Features of Blender Rigging and Animation
- Envelope, skeleton, and automatic skinning for flexible rig setups.
- Easy weight painting and mirror functionality to streamline the rigging process.
- Bone layers and colored groups for efficient organization.
- B-spline interpolated bones for smooth deformations.
- Advanced constraints system to control object properties dynamically.

READ MORE:
Learning Resources and Guides
For those looking to master Blender\"s rigging and animation tools, various resources are available:
- Comprehensive tutorials and courses offering a full introduction to Blender animation, including basic to advanced projects.
- Step-by-step guides on creating realistic animations, such as tank tracks that adapt to terrain using handles and drivers.
- Beginner-friendly tutorials for quick rigging and animating low poly characters, making it accessible for all skill levels.

Advanced Animation Techniques
Maximize your animations with advanced techniques:
- Utilize animated textures to create realistic flames and fire streams.
- Explore the use of Rigify for automatic rigging, simplifying the technical aspects of the rigging process.
- Learn about Blender\"s future in animation through the Animation 2025 project, aiming to enhance animation tools and workflows.
Addons and Tools
Enhance your rigging and animation workflow with Blender addons:
- Discover top rigging and animation addons designed to make Blender even more powerful.
- Learn about SpriteHandler for animating pixel art and sprite sheets within Blender, ideal for game developers.
With Blender\"s comprehensive suite of tools, animators and artists can bring their creative visions to life through detailed rigging and dynamic animations.
Learning Resources and Guides
For those looking to master Blender\"s rigging and animation tools, various resources are available:
- Comprehensive tutorials and courses offering a full introduction to Blender animation, including basic to advanced projects.
- Step-by-step guides on creating realistic animations, such as tank tracks that adapt to terrain using handles and drivers.
- Beginner-friendly tutorials for quick rigging and animating low poly characters, making it accessible for all skill levels.

_HOOK_
Advanced Animation Techniques
Maximize your animations with advanced techniques:
- Utilize animated textures to create realistic flames and fire streams.
- Explore the use of Rigify for automatic rigging, simplifying the technical aspects of the rigging process.
- Learn about Blender\"s future in animation through the Animation 2025 project, aiming to enhance animation tools and workflows.

Addons and Tools
Enhance your rigging and animation workflow with Blender addons:
- Discover top rigging and animation addons designed to make Blender even more powerful.
- Learn about SpriteHandler for animating pixel art and sprite sheets within Blender, ideal for game developers.
With Blender\"s comprehensive suite of tools, animators and artists can bring their creative visions to life through detailed rigging and dynamic animations.
What are the best tools and techniques for blender rigging and animation?
When it comes to rigging and animation in Blender, there are several tools and techniques that can help you achieve your desired results. Here are some of the best tools and techniques for Blender rigging and animation:
- Riggify: Blender\'s Riggify add-on is a powerful tool that helps automate the rigging process. It allows you to quickly rig characters with a predefined rig that can be easily customized to fit your needs.
- Armatures: Armatures are the bones of your rig that control the movement of your character. Understanding how to create and manipulate armatures is essential for successful rigging in Blender.
- Weight Painting: Weight painting is used to define how much influence each bone in the armature has over the mesh. Proper weight painting ensures smooth and accurate movement during animation.
- Keyframes: Keyframes are essential for creating animations in Blender. By setting keyframes at different points in your animation timeline, you can define the movement and poses of your character.
- Constraints: Constraints allow you to control how objects or bones interact with each other during animation. Blender offers a variety of constraints such as IK (Inverse Kinematics) and Copy Location, which can help make complex animations easier to achieve.
By mastering these tools and techniques, you\'ll be well on your way to creating professional-quality rigging and animations in Blender.
Blender - Rigging A Character in 5 Minutes
Quick: \"Join us for this exciting video filled with quick tips and tricks to boost your productivity. Life is busy, but with our fast-paced techniques, you\'ll be amazed at how much you can achieve!\" Armature: \"Discover the fascinating world of art with our beginner-friendly video on armature sculpting. Learn step-by-step how to create stunning pieces with the help of this informative and fun tutorial. Let your creativity shine!\"
Intro to Rigging an Armature to a Character in Blender 3.0
YouTube is something I do in my spare time, so in order for me to do this full time, support the channel and brand by joining any of ...
Advanced Animation Techniques
Maximize your animations with advanced techniques:
- Utilize animated textures to create realistic flames and fire streams.
- Explore the use of Rigify for automatic rigging, simplifying the technical aspects of the rigging process.
- Learn about Blender\"s future in animation through the Animation 2025 project, aiming to enhance animation tools and workflows.
Addons and Tools
Enhance your rigging and animation workflow with Blender addons:
- Discover top rigging and animation addons designed to make Blender even more powerful.
- Learn about SpriteHandler for animating pixel art and sprite sheets within Blender, ideal for game developers.
With Blender\"s comprehensive suite of tools, animators and artists can bring their creative visions to life through detailed rigging and dynamic animations.
_HOOK_
Addons and Tools
Enhance your rigging and animation workflow with Blender addons:
- Discover top rigging and animation addons designed to make Blender even more powerful.
- Learn about SpriteHandler for animating pixel art and sprite sheets within Blender, ideal for game developers.
With Blender\"s comprehensive suite of tools, animators and artists can bring their creative visions to life through detailed rigging and dynamic animations.
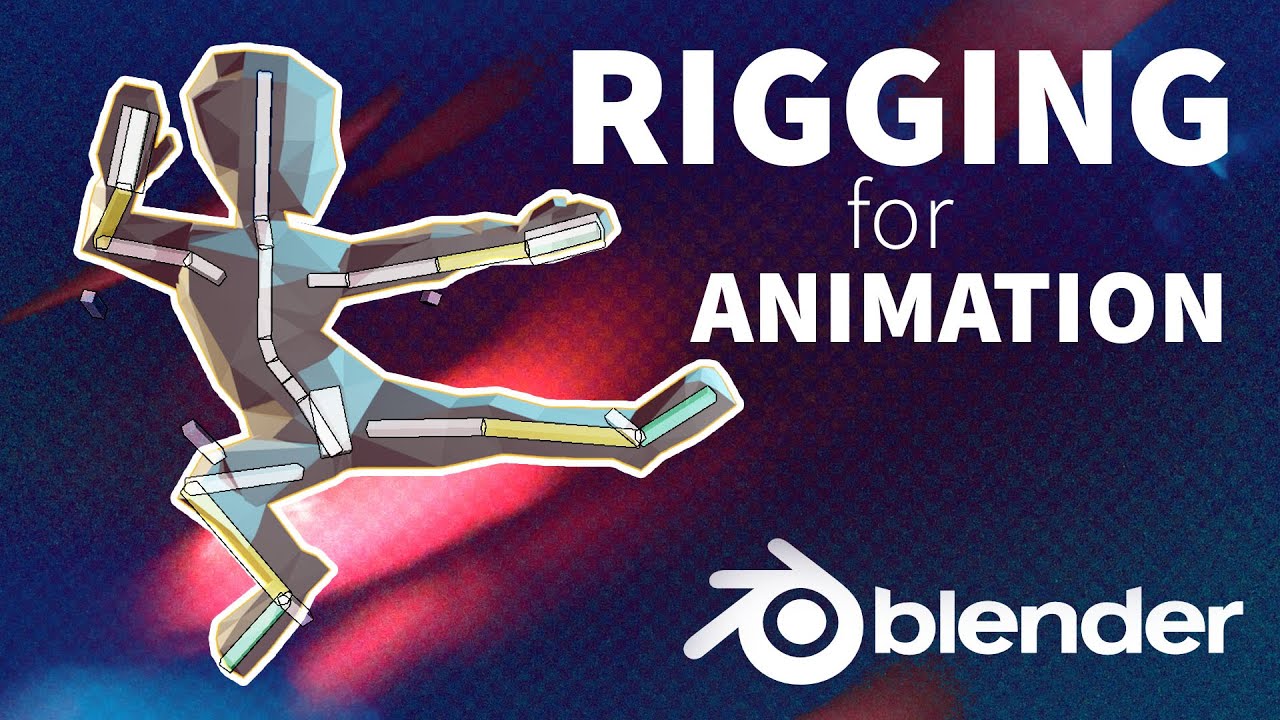
Introduction to Blender Rigging and Animation
Blender rigging and animation are crucial components in bringing 3D models to life, allowing for the creation of complex animations and realistic character movements. Rigging is the process of creating a skeletal structure for a 3D model, so it can move in ways that are realistic or intended by the animator. Animation in Blender involves manipulating this rig to create motion, telling a story or bringing characters to life in games, films, and other visual media.
- Rigging tools in Blender include envelope, skeleton, and automatic skinning, making it easier to rig characters and objects.
- Blender offers advanced features such as easy weight painting, mirror functionality, bone layers, and colored groups for efficient rig management.
- The animation toolkit in Blender provides a powerful constraints system, B-spline interpolated bones, and a robust system for controlling object properties dynamically.
Getting started with rigging and animation in Blender opens up a world of possibilities for 3D artists and animators, enabling the creation of detailed and expressive animations. Whether you\"re working on a personal project or a professional production, understanding the fundamentals of Blender\"s rigging and animation tools is the first step towards bringing your digital creations to life.
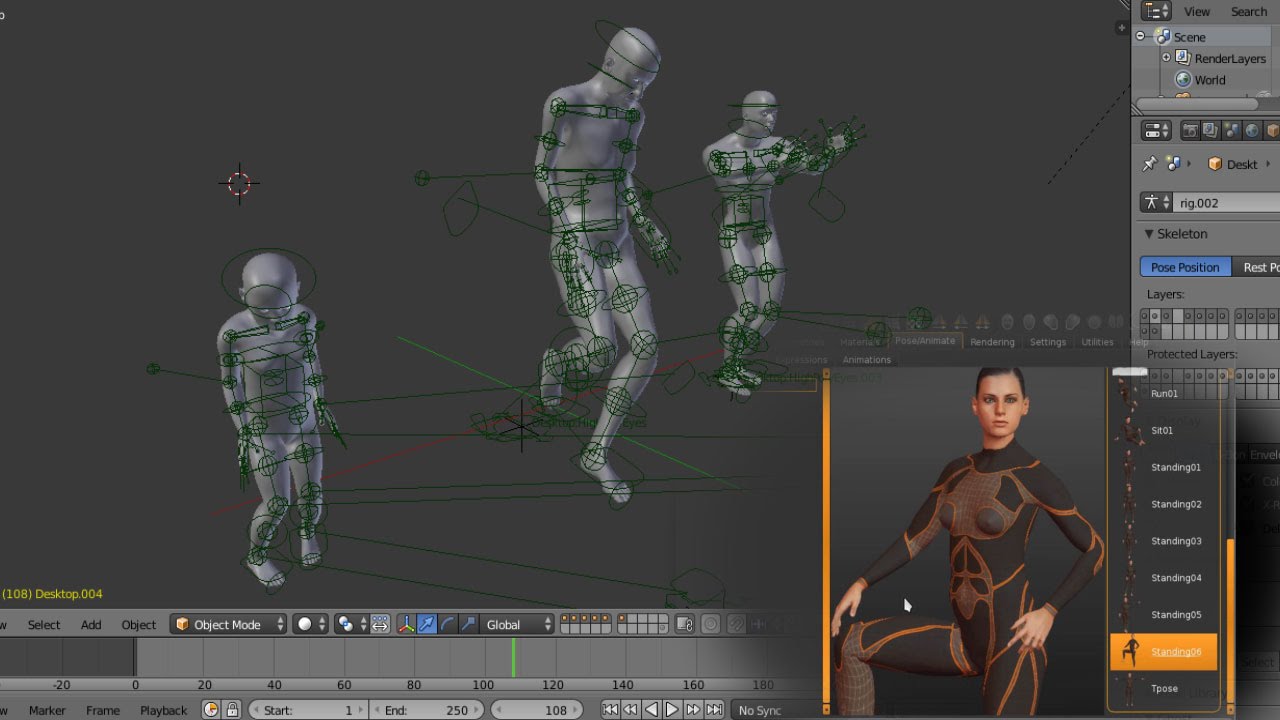
Key Features of Blender\"s Rigging Tools
Blender\"s rigging tools are designed to offer a comprehensive and user-friendly approach to setting up characters and objects for animation. These tools provide animators with the flexibility and control needed to create detailed and believable movements. Here are some of the key features:
- Envelope, Skeleton, and Automatic Skinning: Simplifies the initial setup of the rig by automatically fitting bones to the model\"s geometry.
- Easy Weight Painting: Allows for precise control over how the mesh deforms in relation to the movement of the bones.
- Mirror Functionality: Speeds up the rigging process by mirroring actions performed on one side of the model to the other.
- Bone Layers and Colored Groups: Provides organizational tools for managing complex rigs, making it easier to isolate and select different parts of the rig.
- B-spline Interpolated Bones: Offers smooth deformations for more natural-looking movements.
- Advanced Constraints System: Enables the creation of complex mechanical movements and interactions between rigged elements.
These features make Blender an ideal choice for both beginners and professionals looking to explore the creative possibilities of 3D animation.
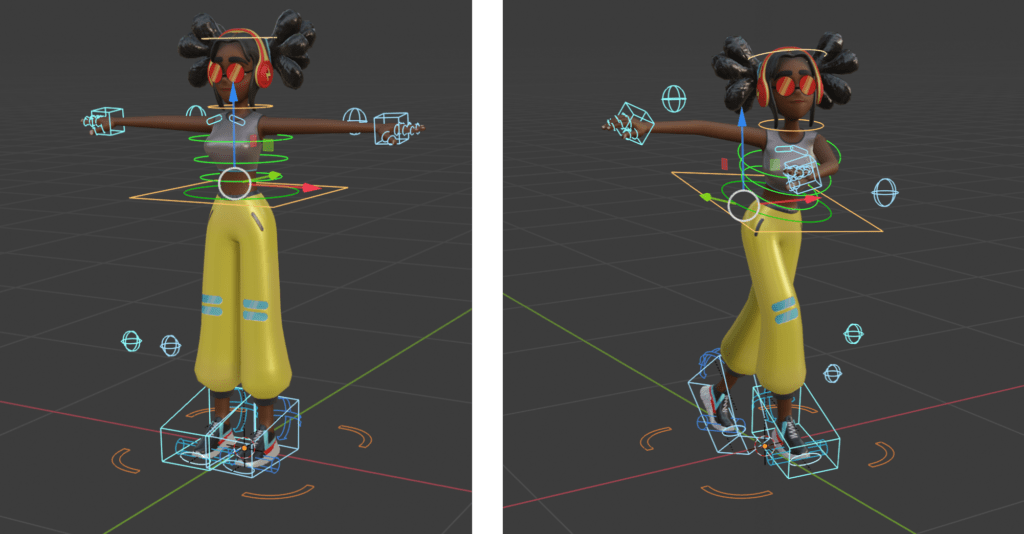
Step-by-Step Guides for Rigging in Blender
Creating a successful rig in Blender is a fundamental step towards bringing your 3D models to life. Here’s a basic outline of steps to get you started with rigging in Blender:
- Understanding Blender\"s Rigging Tools: Familiarize yourself with Blender\"s rigging tools such as bones, armatures, and IK (Inverse Kinematics) constraints.
- Adding a Skeleton: Start by adding bones to your model to create a skeleton. Use the \"Shift+A\" command to add bones and \"Edit Mode\" to position them correctly.
- Defining Bone Hierarchies: Parent your bones properly to ensure they move in a realistic manner. Parenting can be done by selecting the child bone, then the parent bone, and pressing \"Ctrl+P\".
- Automatic Weights: Use automatic weight painting to assign how much influence each bone has on the surrounding vertices. Select your mesh, shift-select the armature, and choose \"Parent to Armature\" with \"Automatic Weights\".
- Weight Painting: Fine-tune the deformation of your mesh by adjusting the weights painted on the mesh. Enter \"Weight Paint\" mode to manually adjust these weights.
- Adding Inverse Kinematics: For more complex rigs, add IK constraints to your bones. This allows for more natural movements with fewer controls.
- Testing the Rig: Always test your rig with simple animations to ensure the bones and weights are working as expected. Adjust as necessary.
This guide is a starting point for rigging in Blender. As you become more familiar with the process, you can explore advanced techniques to enhance your animations.
Animation Techniques and Tips in Blender
Animating in Blender opens up a world of creative possibilities. Whether you\"re working on a short film, a video game, or just exploring 3D animation as a hobby, these techniques and tips will help you enhance your animation projects:
- Keyframe Animation Basics: Learn how to insert keyframes for different properties like location, rotation, and scale to create smooth animations.
- Using the Graph Editor: Utilize the Graph Editor to fine-tune your animations with bezier curves, making the motion more natural and dynamic.
- Principles of Animation: Apply the 12 principles of animation to your work to bring more life and coherence to your animations.
- Character Animation with Rigify: Speed up your rigging process by using the Rigify add-on to automatically generate a rig for your character.
- Motion Paths: Preview the trajectory of moving objects or characters using motion paths to make adjustments before finalizing your animation.
- Shape Keys for Facial Expressions: Create detailed facial expressions using shape keys to animate your character\"s emotions and dialogue.
- Non-Linear Animation (NLA) Editor: Combine and reuse animation actions using the NLA Editor, a powerful tool for complex animation sequences.
- Animating with Modifiers: Explore how modifiers like Wave, Displace, or Build can be animated to achieve unique effects without keyframing every detail.
These techniques and tips are just the beginning. Experimentation and practice are key to mastering animation in Blender, so don\"t be afraid to try new things and push the boundaries of your creative expression.
_HOOK_
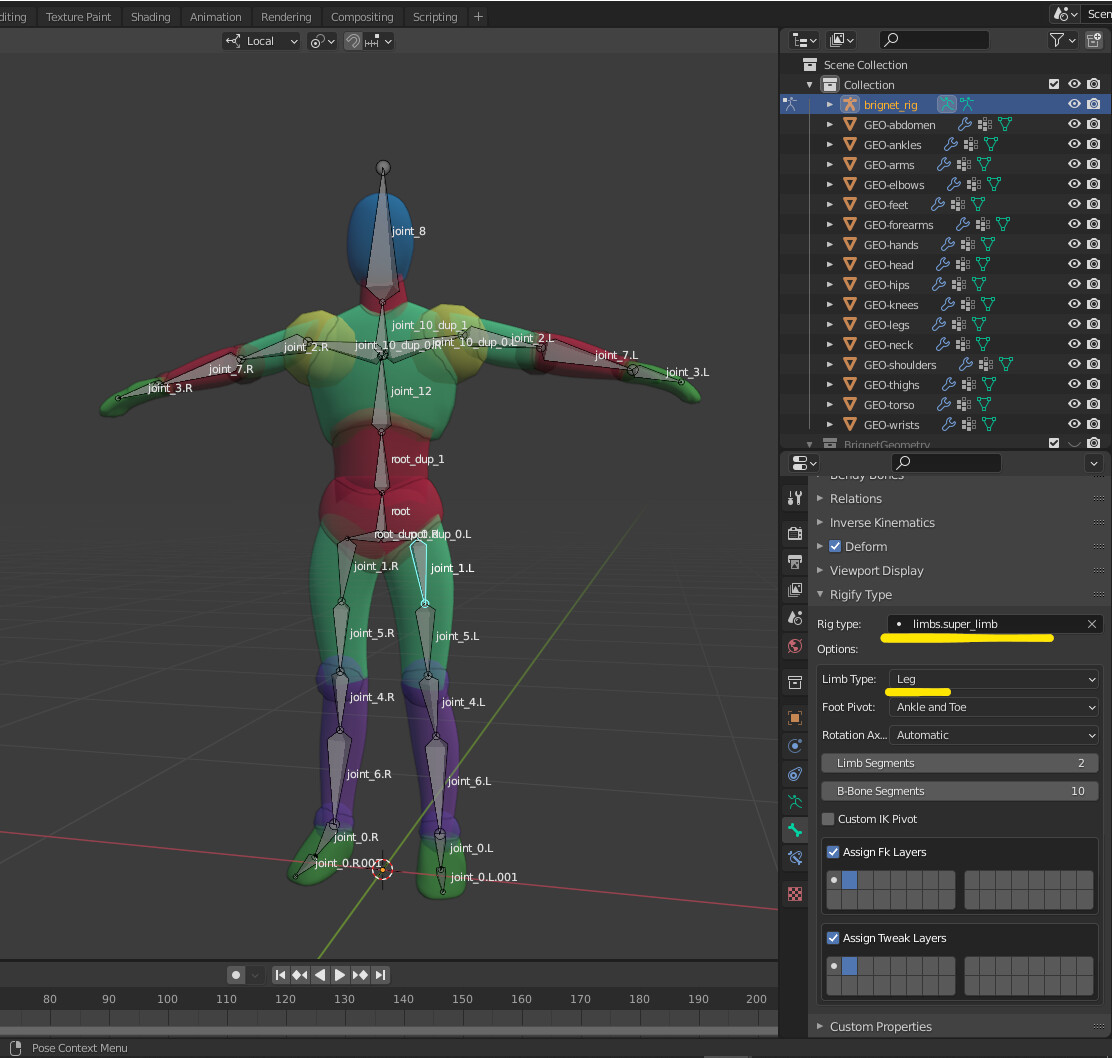
Advanced Rigging and Animation Concepts
For those ready to push beyond the basics, Blender offers a suite of advanced rigging and animation tools designed to tackle complex projects. These concepts introduce sophisticated techniques for creating more dynamic and realistic animations.
- Custom Bone Shapes: Enhancing rig readability and control by creating visually distinct custom bone shapes for easier manipulation.
- Constraints and Drivers: Using constraints and drivers for automated movements and interactions between objects, enhancing realism and efficiency.
- Advanced Deformations: Implementing advanced deformation techniques for more lifelike character movements, utilizing corrective shape keys and lattice modifiers.
- Facial Rigging: Creating detailed facial rigs using bones and shape keys for expressive character animations, including lip sync and facial expressions.
- Python Scripting for Rigging: Automating and customizing rigging tasks with Python scripting to save time and add functionality not available through the standard UI.
- Rigify for Advanced Rigging: Utilizing Rigify, Blender\"s auto-rigging system, to generate fully functional rigs for bipedal and quadruped characters with advanced features.
- Non-Linear Animation (NLA) for Complex Sequences: Managing complex animation sequences with the NLA editor, allowing for blending and layering of different animation clips.
Mastering these advanced concepts will enable you to take your animations to the next level, offering the tools needed to create professional-quality rigs and animations within Blender.
Best Practices for Blender Animation Workflows
Adopting best practices in Blender animation workflows can significantly enhance your productivity and the quality of your animations. These practices are designed to streamline your creative process, from planning to final render.
- Organize Your Project: Use Blender\"s collection and layer systems to keep your scenes organized, making it easier to manage complex projects.
- Utilize Key Shortcuts: Blender\"s extensive list of shortcuts can speed up your animation process. Familiarize yourself with these to enhance your efficiency.
- Non-Destructive Editing: Make use of modifiers and shape keys for non-destructive editing, allowing you to make changes without permanently altering your original models.
- Efficient Rigging Techniques: Implement rigging best practices, such as using the Rigify add-on for quick and efficient character rigging.
- Animation Blocking: Start with rough blocking to get the timing and major movements down before refining the animation for more detailed movements.
- Use Reference Materials: Reference images and videos can be invaluable in achieving realistic animations. Use them to study motion and apply it to your work.
- Rendering Settings: Optimize your rendering settings to balance between quality and rendering time, especially when working on animations with a high frame count.
- Regular Backups: Maintain regular backups of your work to prevent data loss. Blender\"s autosave feature can also help recover work in the event of a crash.
By incorporating these best practices into your Blender animation workflows, you can achieve more realistic animations and a more efficient production process.
Learning Resources for Blender Animation
Mastering Blender for rigging and animation is a journey of continuous learning. Fortunately, a vast array of resources are available to help beginners and professionals alike. Here\"s a guide to some of the most valuable learning materials:
- Official Blender Tutorials: Blender.org offers a series of official tutorials that cover everything from the basics to more advanced techniques in rigging and animation.
- Blender Studio: Access behind-the-scenes production assets and knowledge from open movie projects to learn how professional animators use Blender.
- Online Courses: Platforms like Udemy, Coursera, and Blender Studio itself provide comprehensive courses ranging from beginner to advanced levels.
- YouTube Channels: Channels like Blender Guru, CG Geek, and Darrin Lile offer tutorials that are both informative and engaging, perfect for visual learners.
- Books and E-books: For those who prefer reading, there are several detailed guides and textbooks that explore every aspect of Blender, including rigging and animation.
- Community Forums: Blender Artists and other online forums are great places to ask questions, share knowledge, and connect with other Blender enthusiasts.
- Workshops and Webinars: Keep an eye out for live sessions offered by Blender experts, which often include Q&A segments to address specific doubts.
These resources provide a solid foundation for learning Blender\"s rigging and animation tools, ensuring that anyone can start their journey toward creating stunning 3D animations.
Community and Support for Blender Animators
The Blender community is a vibrant and supportive ecosystem for animators and artists working in 3D modeling, rigging, and animation. Here\"s how you can engage with the community and find support:
- Blender Artists Forum: A bustling online community where you can ask questions, share your work, and get feedback from fellow Blender users.
- Blender Stack Exchange: A Q&A site for Blender where you can find answers to specific technical questions or contribute your own knowledge.
- Blender Chat: Join various chat rooms on blender.chat, including #blender-coders for development support and #support for community chat support.
- Blender Network: Connect with professionals and studios using Blender, ideal for networking and collaboration opportunities.
- Blender Conferences and Meetups: Participate in Blender conferences and local meetups to learn from expert presentations and workshops.
- Social Media and Hashtags: Use platforms like Twitter, Instagram, and LinkedIn with hashtags like #b3d to discover and connect with the Blender community.
- Contribution and Development: For those interested in contributing to Blender\"s development, there are opportunities to get involved in everything from coding to documentation.
This extensive network of resources and supportive individuals makes the Blender community one of the most welcoming and helpful in the digital arts space.
Future of Animation in Blender
The future of animation in Blender is shaping up to be incredibly promising, with a focus on enhancing the rigging and animation tools to meet the evolving needs of animators. The Animation 2025 project is at the forefront, aiming to revolutionize Blender\"s animation system by introducing new features, improving existing workflows, and making the animation process more intuitive and efficient.
- Blender\"s development team is working on creating mesh-based controls for direct interaction, simplifying the rigging process, and introducing better selection tools for animators. This includes innovations like context-aware selection tools and the ability to manipulate poses across multiple frames, making the animation workflow more efficient and user-friendly.
- The introduction of a new GPU-based compositor and EEVEE Next are among the key projects slated for completion, enhancing Blender\"s performance and visual fidelity. These improvements are designed to make Blender more capable of handling complex animations and rendering tasks in real-time.
- A new animation layer system is in development to replace the current workflow in the NLA Editor, aimed at making layered animation more accessible and enjoyable. Additionally, a new 3D onion skinning system is being developed to provide a clearer visualization of animations within the 3D viewport.
- Further advancements include node-based rigging components, pose pinning, and the development of intuitive tools like editable motion trails and modular rigs. These innovations are intended to keep artists in a flow state by removing distractions and simplifying the technical aspects of animation.
These advancements promise to make Blender an even more powerful tool for animators, addressing many of the current limitations and setting a solid foundation for the future of animation in Blender. With the community\"s involvement and ongoing feedback, Blender is poised to become an even more attractive option for professional animators and hobbyists alike.
_HOOK_
READ MORE:
Conclusion: Getting Started with Your First Animation Project
Embarking on your first animation project in Blender can be both exciting and daunting. However, with the right approach and mindset, you can turn this journey into a rewarding experience. Here are some steps and tips to help you get started:
- Learn the Basics: Familiarize yourself with Blender\"s interface and basic functionalities. Start with simple tutorials that cover navigation, modeling, and basic animation concepts.
- Plan Your Project: Before diving in, have a clear idea of what you want to create. Sketch your ideas, storyboard your animation, and decide on the complexity of the rigging needed.
- Start Small: Begin with a simple project that you can complete in a short amount of time. This could be a bouncing ball, a simple character walk cycle, or a basic lip-sync animation.
- Practice Rigging: Try rigging a simple character or object. There are many free models available online that you can use to practice if you\"re not ready to create your own.
- Experiment with Animation: Apply the principles of animation to your rigs. Play with timing, spacing, and squash and stretch to bring your characters to life.
- Seek Feedback: Share your work with the Blender community or other animators you know. Constructive feedback is invaluable for improvement.
- Iterate: Don\"t be afraid to make mistakes. Animation is an iterative process. Learn from each project, and use what you\"ve learned to improve your next project.
Remember, the key to mastering Blender rigging and animation is persistence and continuous learning. Take advantage of the vast amount of resources available, and don\"t hesitate to ask for help when needed. With time and practice, you\"ll find your workflow and develop your own style. Happy animating!
Embarking on your Blender rigging and animation journey opens up a world of creativity and technical skill, blending art with technology to breathe life into your 3D creations. Dive in, experiment, and let your imagination lead the way to incredible animated stories.


