Topic blender rigging tutorial: Embark on your Blender rigging journey with this essential tutorial, designed to guide beginners through the art of bringing 3D characters to life with seamless animations.
Table of Content
- Understanding the Basics
- Advanced Techniques
- Course Recommendations
- What is the best Blender rigging tutorial for beginners?
- YOUTUBE: Blender - Completely Rigging A Character in 5 Minutes
- Advanced Techniques
- Course Recommendations
- Course Recommendations
- Introduction to Blender Rigging
- Getting Started with Rigging in Blender
- Essential Tools for Blender Rigging
- Step-by-Step Rigging Process
- Advanced Rigging Techniques
- Common Rigging Problems and Solutions
- Animating Your Rigged Model
- Course Recommendations for Further Learning
- Community Resources and Support
Understanding the Basics
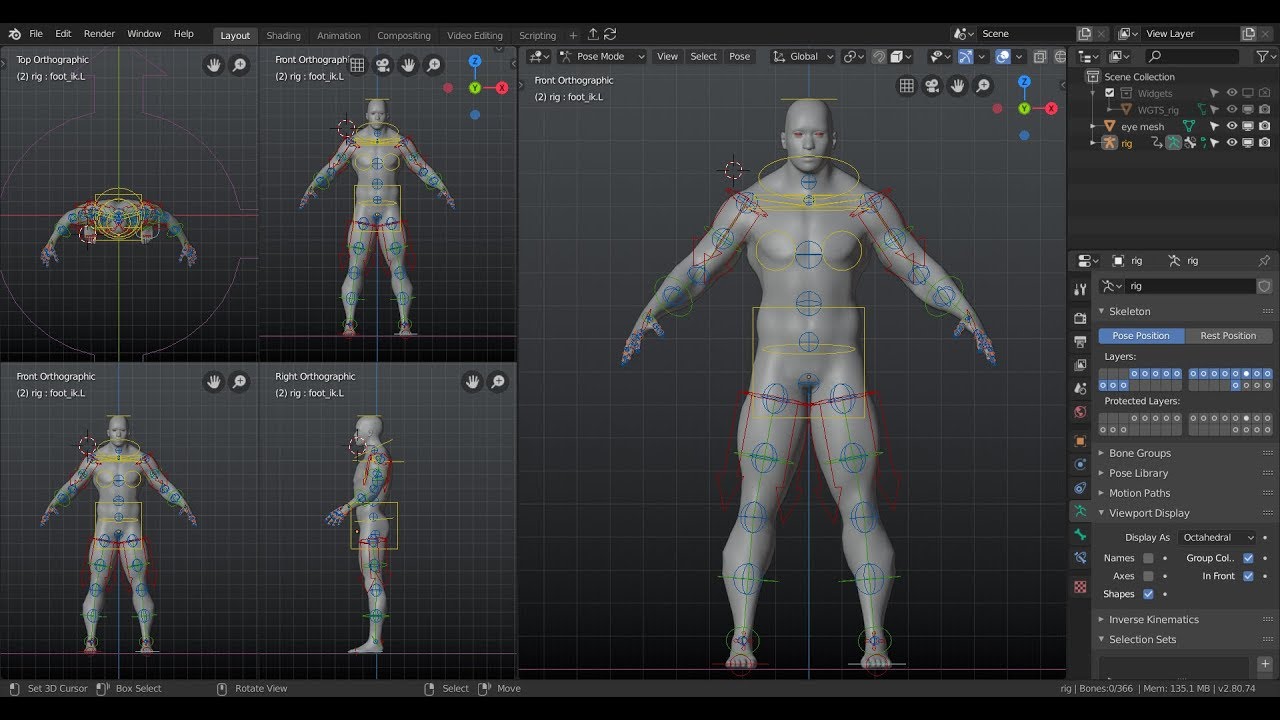
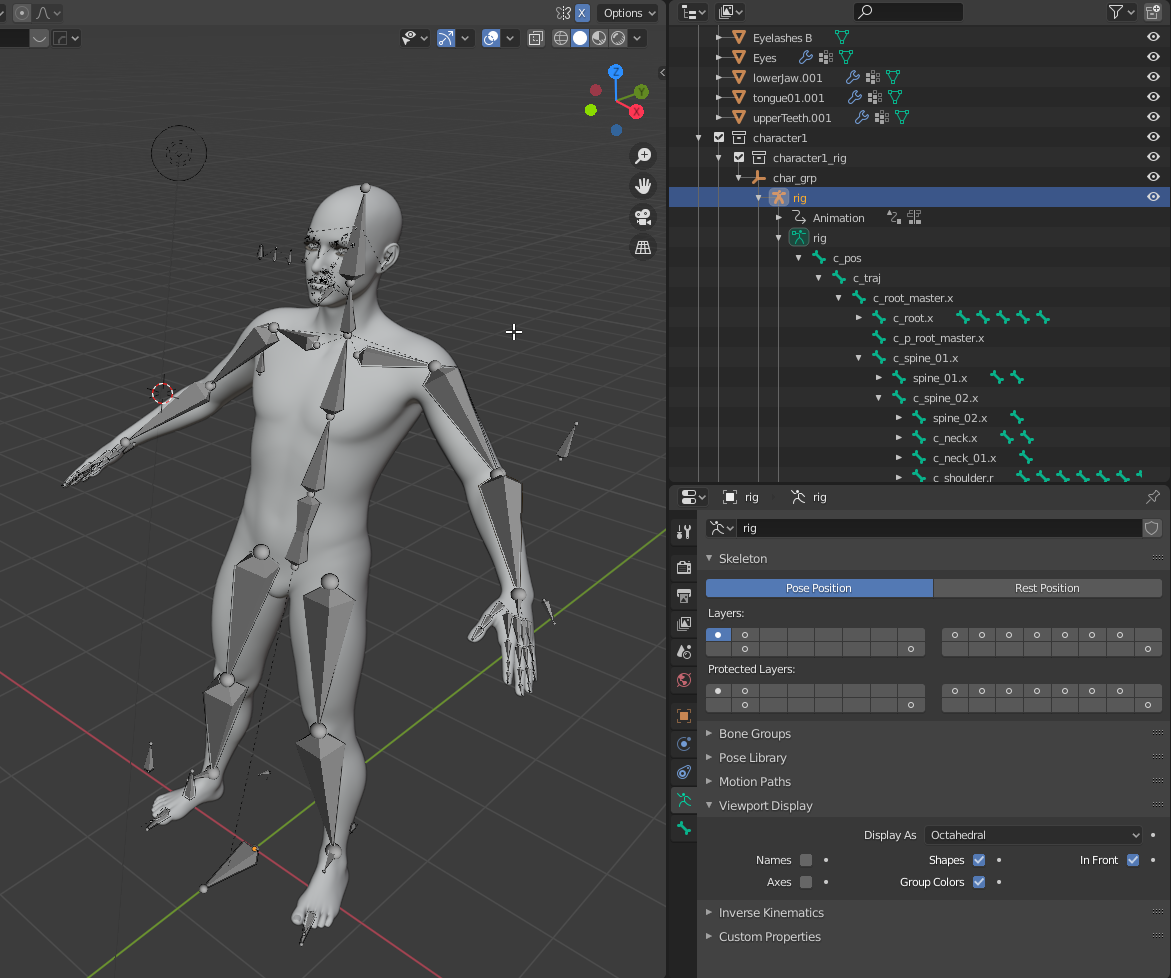
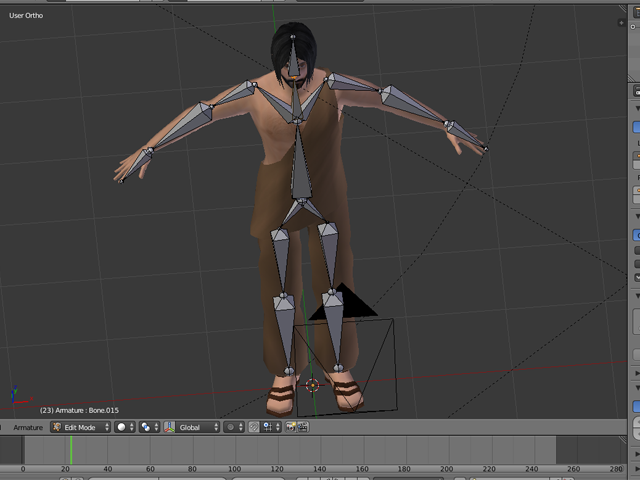
Rigging in Blender involves creating a skeleton for your 3D model, allowing you to animate its movements. Starting with positioning your mesh in the scene is crucial for a symmetrical rig setup. Ensure the model\"s center is correctly aligned for optimal rotation and movement.
Step-by-Step Guide to Rigging
- Begin with adjusting your model in the scene for symmetry.
- Use the Armature feature to create the skeleton structure.
- Enable X-ray mode to visualize and adjust bones within the mesh.
- Connect bones to form a hierarchy, enabling detailed control over limbs and other parts.

READ MORE:
Advanced Techniques
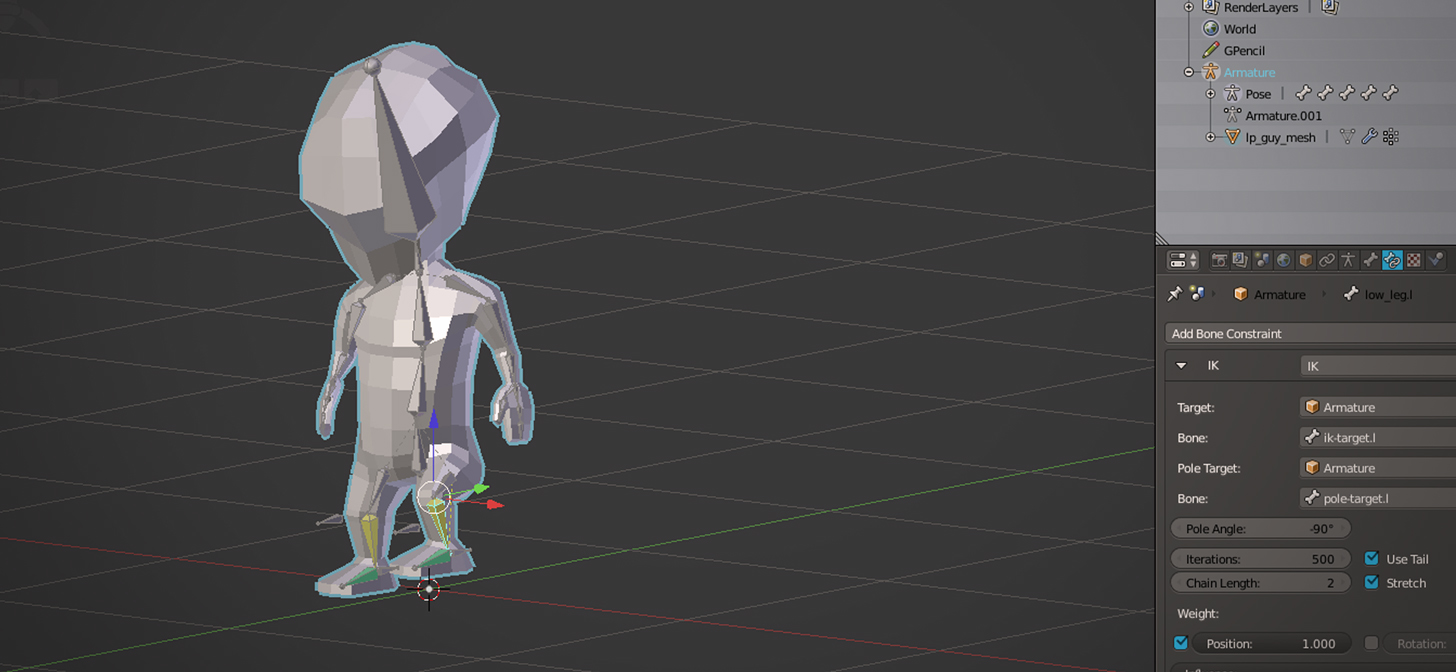
Explore advanced rigging techniques, including IK leg rigs, heel/toe roll foot rigs, and custom bone shapes. Learn to manage bone layers effectively for complex animations.
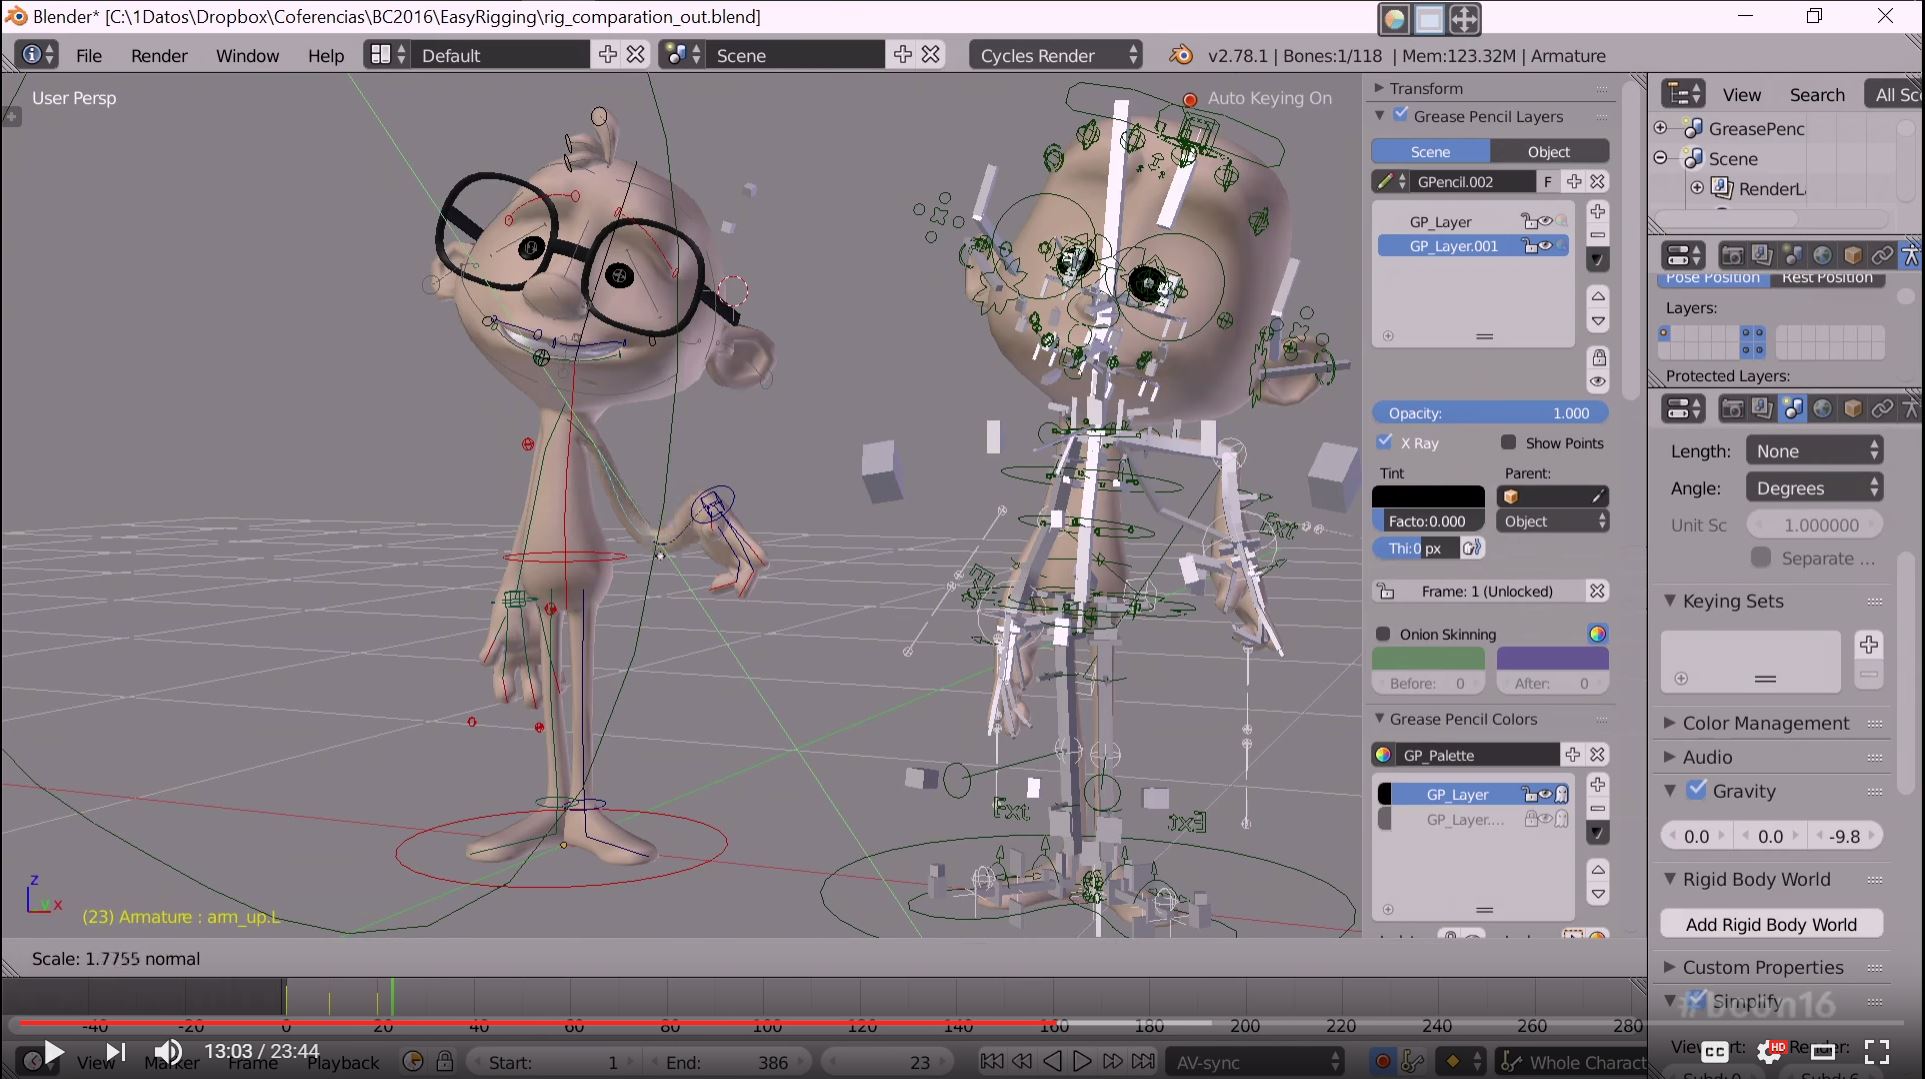
Animation Tools and Features
- Character animation pose editor for detailed poses.
- Non-Linear Animation (NLA) for managing independent movements.
- Sound synchronization to align audio with movements.

Course Recommendations
Enhance your rigging skills with courses designed for beginners and advanced users alike. Explore fundamentals, tackle common rigging problems, and get hands-on with practical exercises.
| Course | Instructor | Focus Area |
| Fundamentals of Rigging | CG Cookie | Creating controls and deformation structure |
| Animation & Rigging | Blender.org | Envelope, skeleton, and automatic skinning |
With these resources, you\"ll be well on your way to mastering rigging in Blender, enabling you to bring your 3D models to life with dynamic and realistic animations.
What is the best Blender rigging tutorial for beginners?
Based on the Google search results and my knowledge, one of the best Blender rigging tutorials for beginners is the tutorial provided by Blender itself. Here is a step-by-step guide on how to access and utilize this tutorial:
- Visit the official Blender website at https://www.blender.org/
- On the website, navigate to the \"Resources\" or \"Tutorials\" section.
- Look for the section related to rigging tutorials.
- Find and click on the tutorial titled \"EASY and QUICK Character Rigging in Blender - Blender Basics\".
- Follow the instructions and guidelines provided in the tutorial to learn how to rig characters in Blender effectively.
This tutorial is designed to be beginner-friendly and covers essential rigging techniques in Blender. Following this tutorial will help you understand the basics of rigging and enable you to create your own character rigs in Blender.
Blender - Completely Rigging A Character in 5 Minutes
Dive into the fascinating world of character rigging and bring your animations to life with realistic movements and expressions. Learn how to create dynamic and interactive characters in this engaging video tutorial.
EASY and QUICK Character Rigging in Blender Blender Basics Tutorial
Discover the essential skills of Blender Basics and unlock endless possibilities in 3D modeling and animation. This video tutorial will guide you through the fundamental tools and techniques in Blender, empowering you to unleash your creativity.
Advanced Techniques
Explore advanced rigging techniques, including IK leg rigs, heel/toe roll foot rigs, and custom bone shapes. Learn to manage bone layers effectively for complex animations.
Animation Tools and Features
- Character animation pose editor for detailed poses.
- Non-Linear Animation (NLA) for managing independent movements.
- Sound synchronization to align audio with movements.
_HOOK_
Course Recommendations
Enhance your rigging skills with courses designed for beginners and advanced users alike. Explore fundamentals, tackle common rigging problems, and get hands-on with practical exercises.
With these resources, you\"ll be well on your way to mastering rigging in Blender, enabling you to bring your 3D models to life with dynamic and realistic animations.

Course Recommendations
Enhance your rigging skills with courses designed for beginners and advanced users alike. Explore fundamentals, tackle common rigging problems, and get hands-on with practical exercises.
| Course | Instructor | Focus Area |
| Fundamentals of Rigging | CG Cookie | Creating controls and deformation structure |
| Animation & Rigging | Blender.org | Envelope, skeleton, and automatic skinning |
With these resources, you\"ll be well on your way to mastering rigging in Blender, enabling you to bring your 3D models to life with dynamic and realistic animations.