Topic rigging tutorial blender: Dive into the world of 3D animation with our comprehensive Rigging Tutorial Blender, designed to transform beginners into skilled artists by mastering rigging techniques that breathe life into your models.
Table of Content
- Getting Started with Blender Rigging
- Basic Rigging Techniques
- Advanced Rigging Concepts
- What are the best free resources for learning rigging in Blender?
- YOUTUBE: Blender - Rigging a Character in 5 Minutes
- Basic Rigging Techniques
- Advanced Rigging Concepts
- Advanced Rigging Concepts
- Introduction to Blender Rigging
- Preparation of Your 3D Model for Rigging
- Understanding Blender\"s Rigging Tools and Interface
- Step-by-Step Guide to Basic Rigging Techniques
- Advanced Rigging Techniques: IK, Constraints, and More
- Weight Painting and Vertex Groups Explained
- Animating Your Rigged Model
- Common Rigging Problems and How to Solve Them
- Resources for Further Learning and Practice
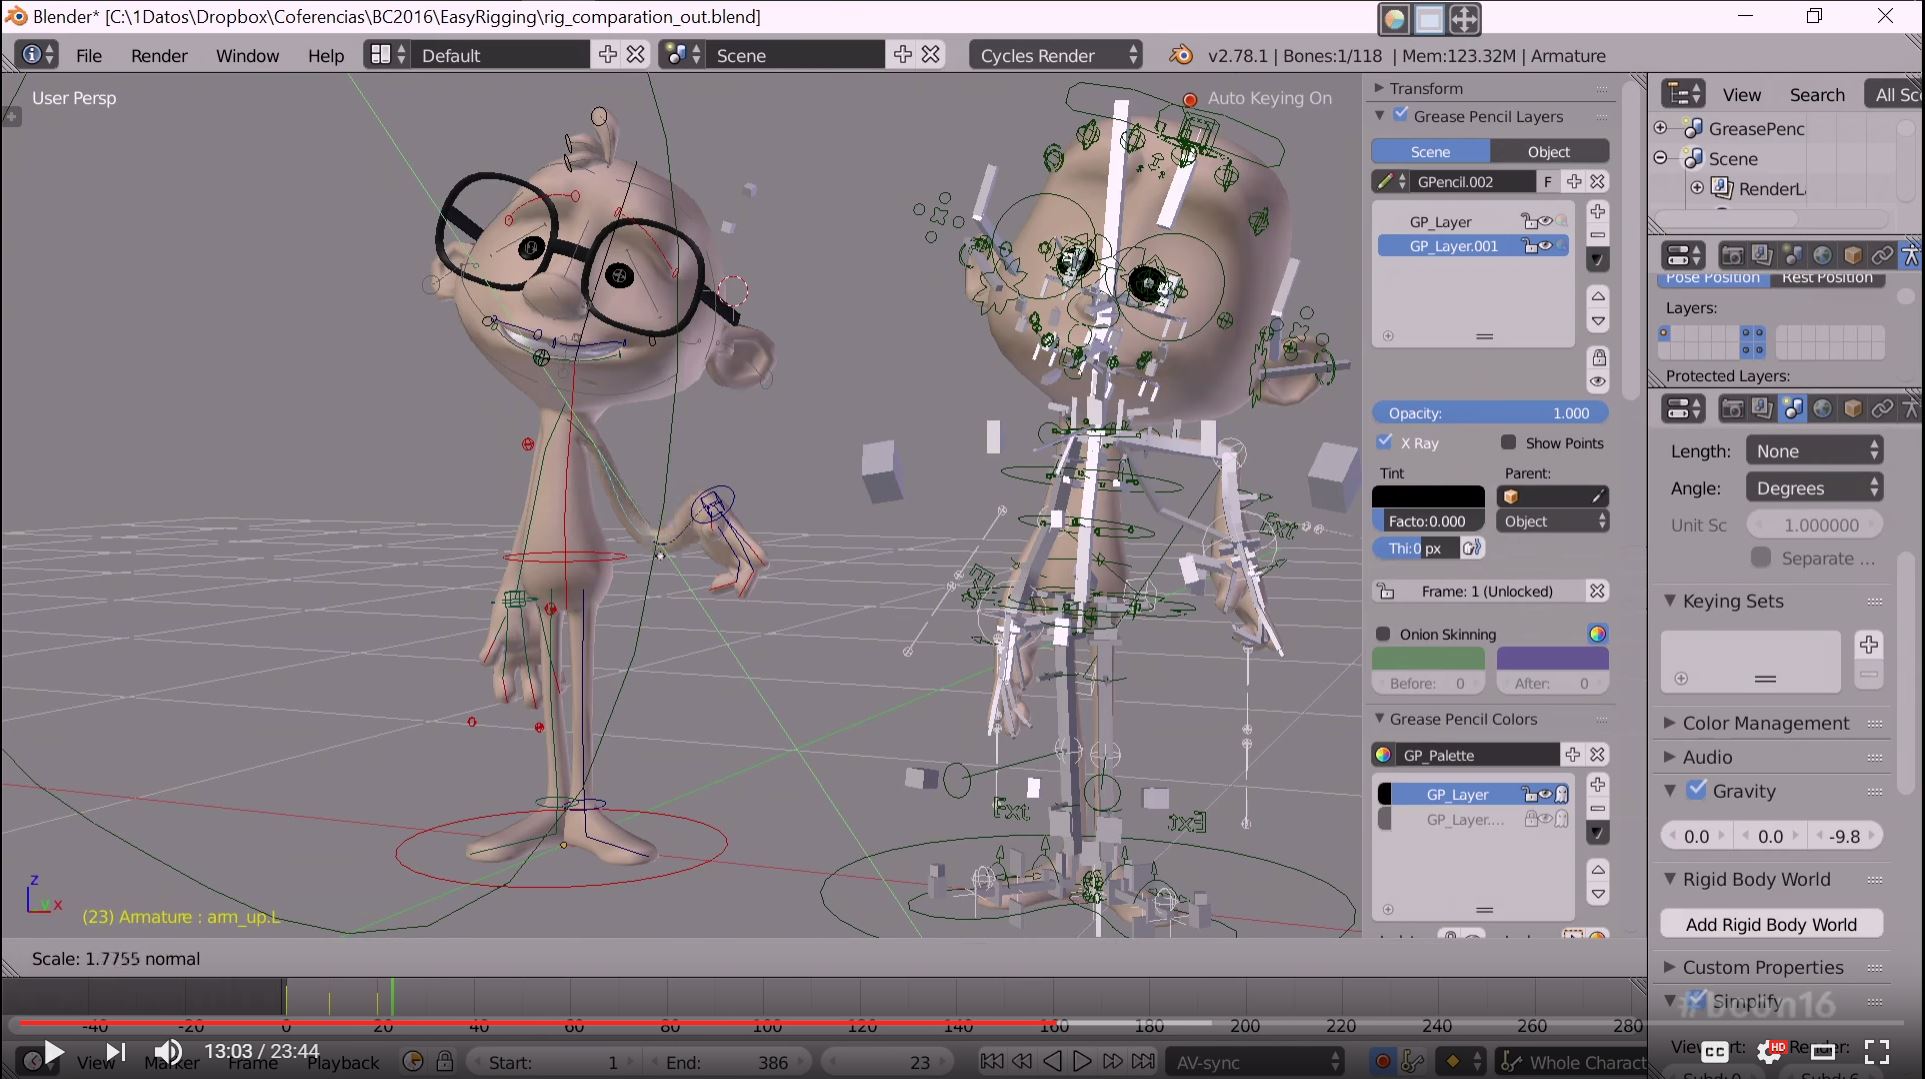
Getting Started with Blender Rigging
Begin your rigging journey by understanding the essentials of mesh preparation and bone placement. Ensuring your model\"s normals are correctly oriented is crucial before rigging. Use the \"Recalculate Outside\" function to correct any normals facing inward. Combining all parts of your model into a single mesh simplifies the rigging process.
Positioning Your Mesh
Adjust your model\"s position in the scene to utilize Blender\"s symmetry features effectively. Setting the origin point at the base of the model\"s feet allows for more intuitive rotations and movements.

READ MORE:
Basic Rigging Techniques
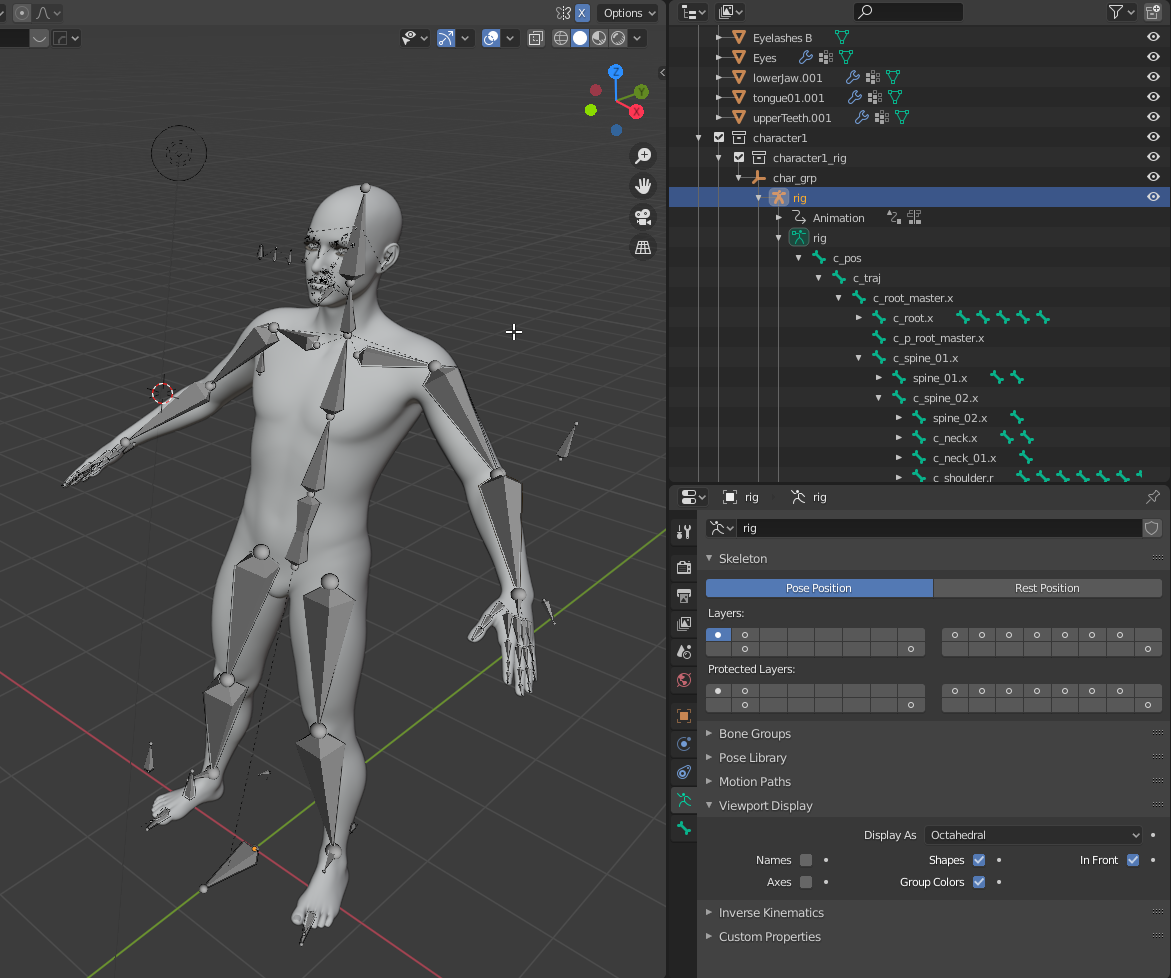
Blender\"s armature system serves as the framework for your rig. Start by adding a central bone and use the X-ray mode to place it accurately within your model. Extending bones from this central point allows you to create the skeleton\"s hierarchy.
- Create the spine by extending bones from the base to the neck.
- For limbs, start at the shoulder or hip and add bones for each major joint.
- Mirror the armature to the other side of the model for symmetry.

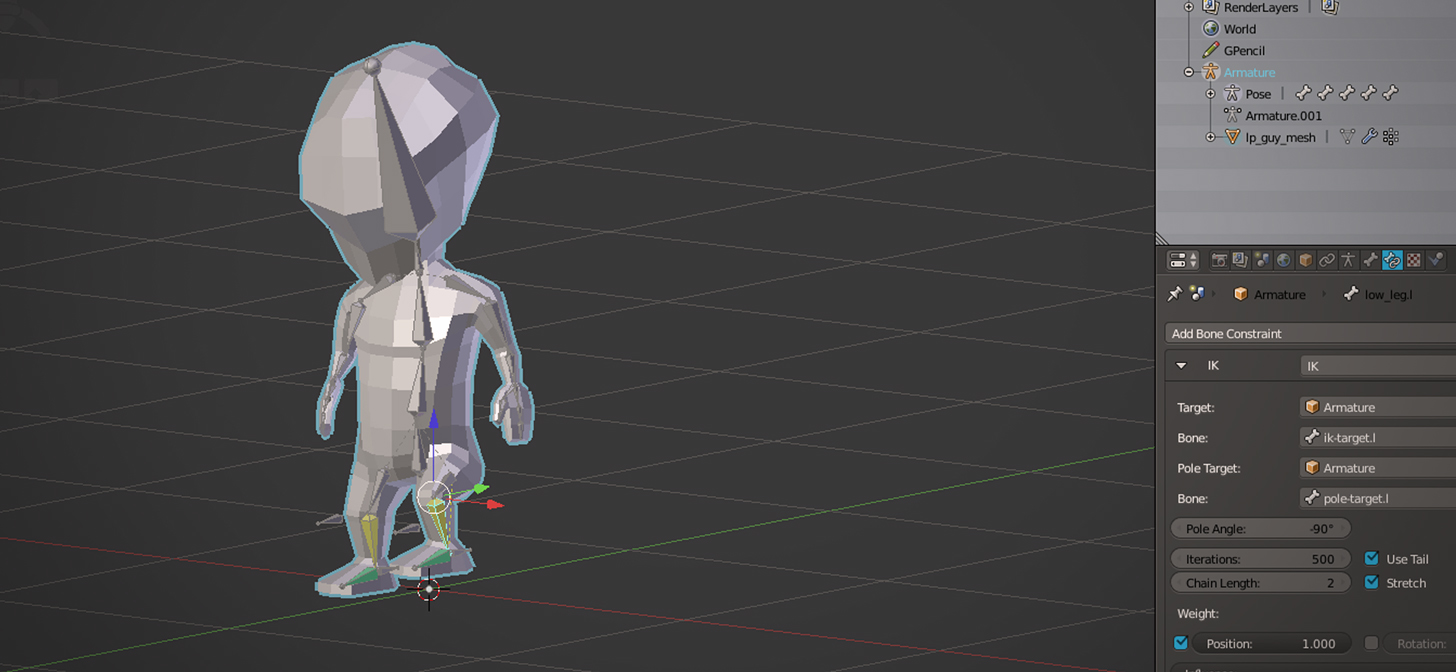
Advanced Rigging Concepts
- Understand the importance of weight painting to bind the 3D mesh to the rig.
- Learn to use bone constraints for more complex animations.
- Explore shape keys for detailed facial animations and morphing.
Tools and Techniques
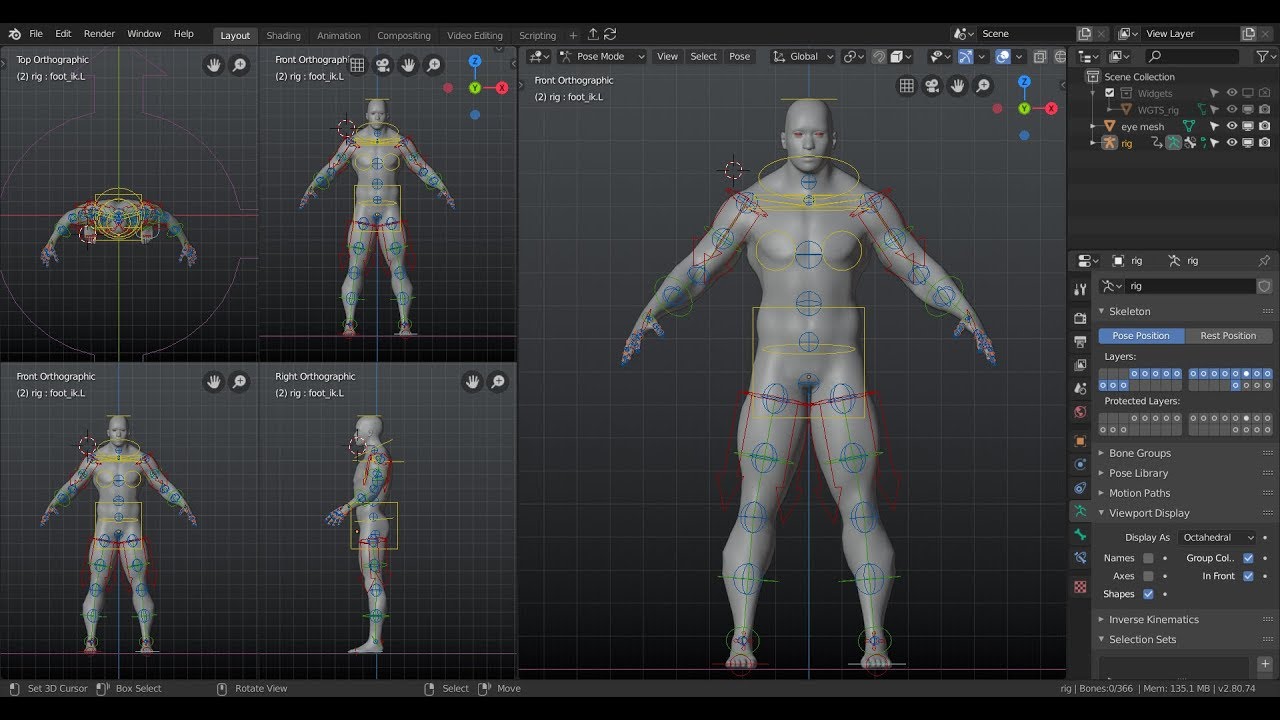
Blender offers an extensive set of tools for rigging, including inverse kinematics, bone layers for organization, and custom bone shapes for easier manipulation.
| Feature | Description |
| Automatic Skinning | Simplifies the process of attaching the mesh to the bones. |
| Envelope, Skeleton, and Mirror Functionality | Allows for easy setup and mirroring of bone structures. |
| Constraints and Drivers | Control movement and animation with advanced properties. |
For those new to rigging or seeking to improve their skills, Blender provides comprehensive tools and resources to master this essential aspect of 3D animation.
What are the best free resources for learning rigging in Blender?
Here are some of the best free resources for learning rigging in Blender:
- Blender Official Manual: The official manual provides detailed information on rigging in Blender, including examples and explanations of different rigging techniques.
- Blender Grid Tutorial: The Blender Grid tutorial series is a great resource for beginners, offering step-by-step instructions on how to rig objects in Blender.
Blender - Rigging a Character in 5 Minutes
Speed: \"Experience the thrill of ultimate speed in our new video, featuring adrenaline-pumping moments that will leave you on the edge of your seat. Get ready for a high-speed adventure!\" Efficiency: \"Discover the incredible power of efficiency in our latest video, showcasing smart strategies and time-saving tips that will revolutionize how you approach your tasks. Increase productivity like never before!\"
Blender Tutorial for Impatient People - Rigging
Learn to rig NOW. I show how to set up an armature, how to parent things to bones, weight painting and how to solve common ...
Basic Rigging Techniques
Blender\"s armature system serves as the framework for your rig. Start by adding a central bone and use the X-ray mode to place it accurately within your model. Extending bones from this central point allows you to create the skeleton\"s hierarchy.
- Create the spine by extending bones from the base to the neck.
- For limbs, start at the shoulder or hip and add bones for each major joint.
- Mirror the armature to the other side of the model for symmetry.
_HOOK_
Advanced Rigging Concepts
- Understand the importance of weight painting to bind the 3D mesh to the rig.
- Learn to use bone constraints for more complex animations.
- Explore shape keys for detailed facial animations and morphing.
Tools and Techniques
Blender offers an extensive set of tools for rigging, including inverse kinematics, bone layers for organization, and custom bone shapes for easier manipulation.
For those new to rigging or seeking to improve their skills, Blender provides comprehensive tools and resources to master this essential aspect of 3D animation.

Advanced Rigging Concepts
- Understand the importance of weight painting to bind the 3D mesh to the rig.
- Learn to use bone constraints for more complex animations.
- Explore shape keys for detailed facial animations and morphing.
Tools and Techniques
Blender offers an extensive set of tools for rigging, including inverse kinematics, bone layers for organization, and custom bone shapes for easier manipulation.
| Feature | Description |
| Automatic Skinning | Simplifies the process of attaching the mesh to the bones. |
| Envelope, Skeleton, and Mirror Functionality | Allows for easy setup and mirroring of bone structures. |
| Constraints and Drivers | Control movement and animation with advanced properties. |
For those new to rigging or seeking to improve their skills, Blender provides comprehensive tools and resources to master this essential aspect of 3D animation.