Topic rigging a car in blender: Discover the art of rigging a car in Blender with our comprehensive guide, designed to empower both beginners and seasoned professionals to create stunning, realistic car animations with ease and precision.
Table of Content
- Initial Setup and Reference Objects
- Generating the Complete Rig
- Advanced Techniques
- How can I rig a car in Blender quickly and easily?
- YOUTUBE: Blender Tutorial: Rigging a Car for Free in Blender (Easy Beginner Tutorial)
- Generating the Complete Rig
- Advanced Techniques
- Advanced Techniques
- Understanding the Basics of Car Rigging in Blender
- Choosing the Right Tools and Add-ons for Car Rigging
- Step-by-Step Guide to Preparing Your Model for Rigging
- How to Set Up Reference Objects Correctly
- Adding and Configuring the Deformation Rig
- Generating and Customizing the Complete Rig
- Tweaking the Animation Rig for Realistic Movements
- Advanced Techniques for Wheel and Brake Animation
- Optimizing Your Rig for Animation and Rendering
- Common Pitfalls to Avoid in Car Rigging
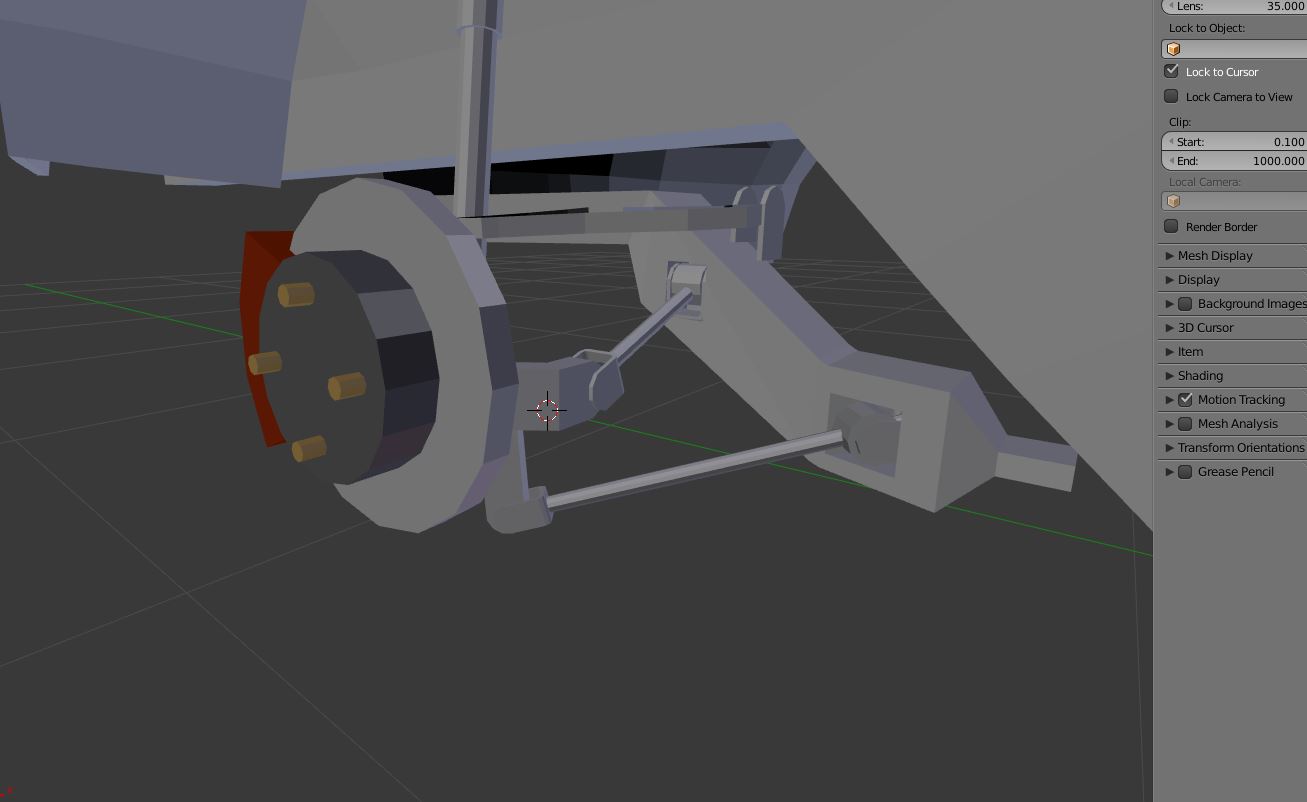
Initial Setup and Reference Objects
Begin by preparing your model, focusing on the reference objects for the body, wheels, and brakes. Ensure their origins are correctly placed for accurate rigging. The Rigacar add-on simplifies this process by automatically positioning bones based on these origins, streamlining the rigging workflow.
Adding the Deformation Rig
- Install the Rigacar add-on to introduce a specialized armature for car deformation.
- Select your model\"s components, add the rig, and let the add-on configure the setup.

READ MORE:
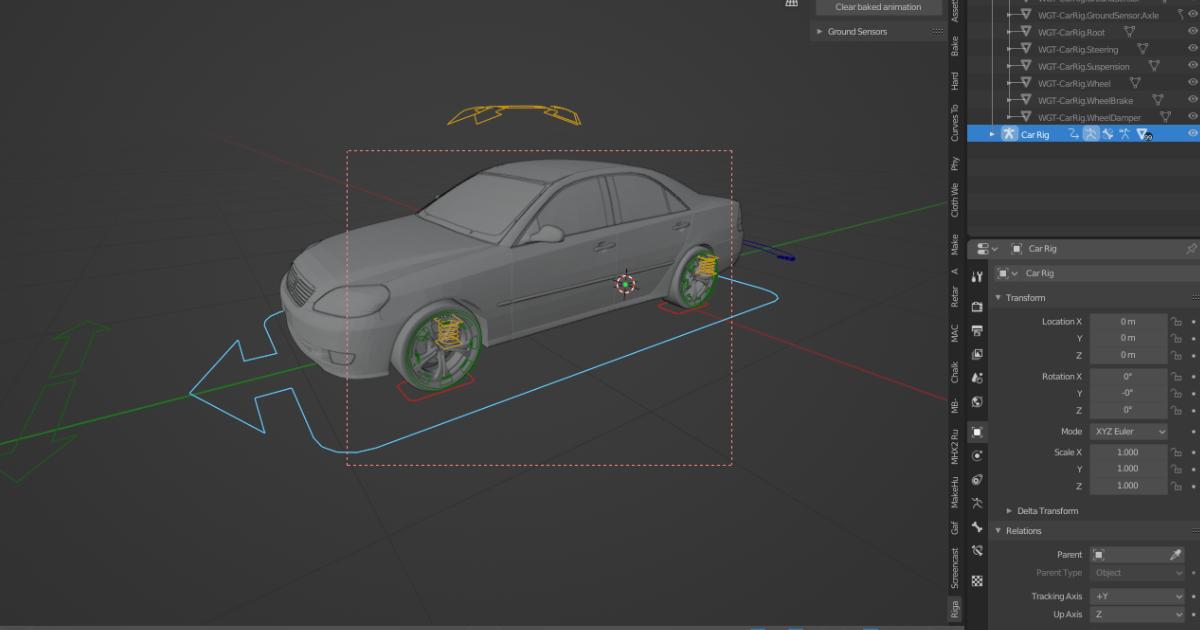
Generating the Complete Rig
With the deformation rig in place, generate the complete rig to access animation widgets spread across various armature layers. These include controls for the entire model, suspension, wheel rotation, and ground sensors, each contributing to a more lifelike animation.
Customization and Animation
- Adjust the spinning of wheels for proper motion alignment.
- Tweak widget positions for a tailored fit to your model.
- Edit ground sensor properties to ensure realistic interaction with terrain.
- Utilize the suspension settings to fine-tune the vehicle\"s response to road conditions.
Advanced Techniques
For those seeking deeper customization, explore adding widgets for brake animation and baking wheel animations to automate rotation based on the vehicle\"s movement. These advanced features enhance the realism of your vehicle animations, providing control over every aspect of the rig.
| Feature | Description |
| Rigacar Add-on | Automates the rigging process for cars, aligning bones with reference object origins. |
| Animation Widgets | Offers intuitive controls for animating vehicle dynamics and interactions. |
| Customization Options | Allows fine-tuning of rigs, including wheel rotation, suspension, and ground sensors. |
Embrace the power of Blender for your vehicle rigging projects, leveraging tools and techniques that bring your animations to life with precision and ease.

How can I rig a car in Blender quickly and easily?
To rig a car in Blender quickly and easily, you can follow these steps:
- Download and install the Rigacar add-on for Blender, which is available for free.
- Import your car model into Blender.
- Select the car model and go to the Rigacar tab in the Blender sidebar.
- Click on the \"Create Rig\" button to automatically rig your car model.
- You can adjust the rig settings such as wheel size, suspension, and steering sensitivity to customize the rig according to your preferences.
- Once you are satisfied with the rig setup, you can start animating your car easily using the rig controls.
- Remember to save your progress periodically as you work on animating your car.
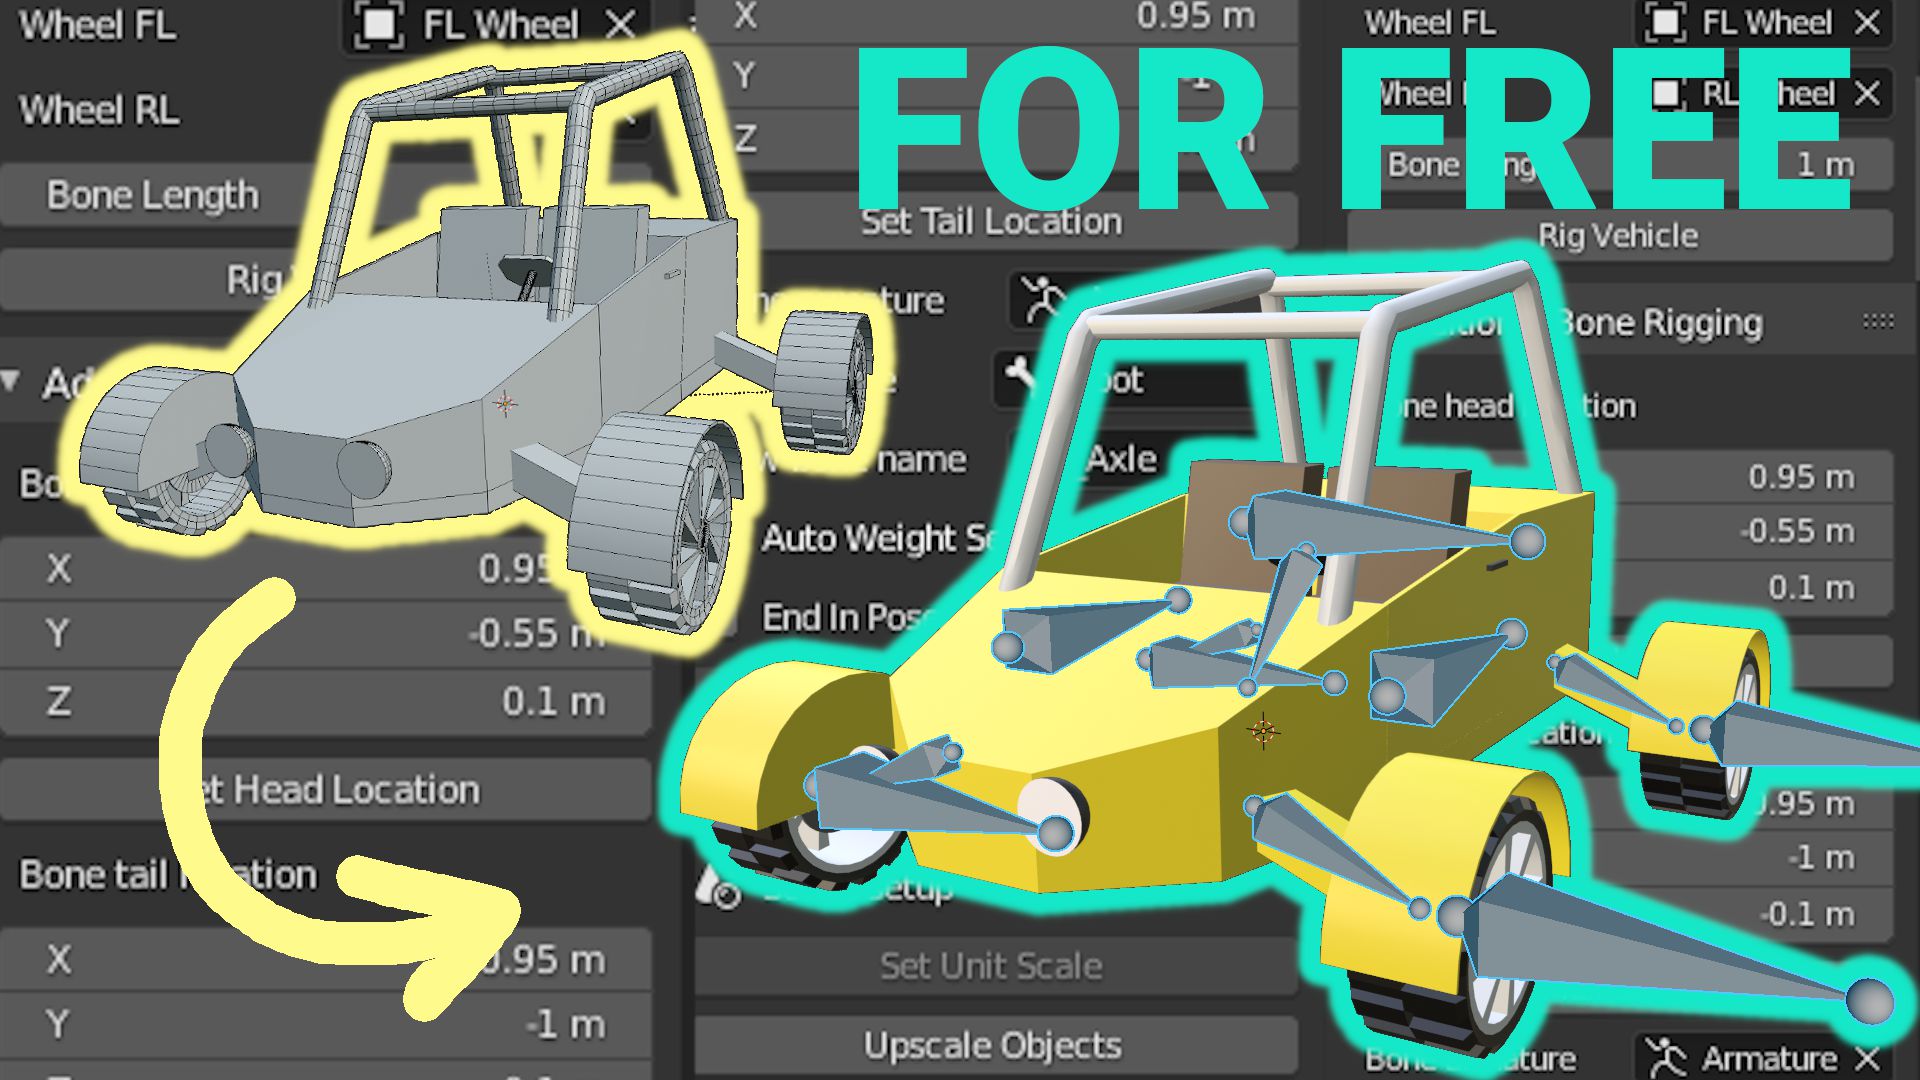
Blender Tutorial: Rigging a Car for Free in Blender (Easy Beginner Tutorial)
Car: Buckle up and embark on an exciting journey through the world of cars in our latest video! From classic models to cutting-edge technology, we showcase the beauty and innovation of the automotive industry. Get ready to rev your engines and dive into a world of speed and style.
Generating the Complete Rig
With the deformation rig in place, generate the complete rig to access animation widgets spread across various armature layers. These include controls for the entire model, suspension, wheel rotation, and ground sensors, each contributing to a more lifelike animation.
Customization and Animation
- Adjust the spinning of wheels for proper motion alignment.
- Tweak widget positions for a tailored fit to your model.
- Edit ground sensor properties to ensure realistic interaction with terrain.
- Utilize the suspension settings to fine-tune the vehicle\"s response to road conditions.
_HOOK_
Advanced Techniques
For those seeking deeper customization, explore adding widgets for brake animation and baking wheel animations to automate rotation based on the vehicle\"s movement. These advanced features enhance the realism of your vehicle animations, providing control over every aspect of the rig.
Embrace the power of Blender for your vehicle rigging projects, leveraging tools and techniques that bring your animations to life with precision and ease.

Advanced Techniques
For those seeking deeper customization, explore adding widgets for brake animation and baking wheel animations to automate rotation based on the vehicle\"s movement. These advanced features enhance the realism of your vehicle animations, providing control over every aspect of the rig.
| Feature | Description |
| Rigacar Add-on | Automates the rigging process for cars, aligning bones with reference object origins. |
| Animation Widgets | Offers intuitive controls for animating vehicle dynamics and interactions. |
| Customization Options | Allows fine-tuning of rigs, including wheel rotation, suspension, and ground sensors. |
Embrace the power of Blender for your vehicle rigging projects, leveraging tools and techniques that bring your animations to life with precision and ease.