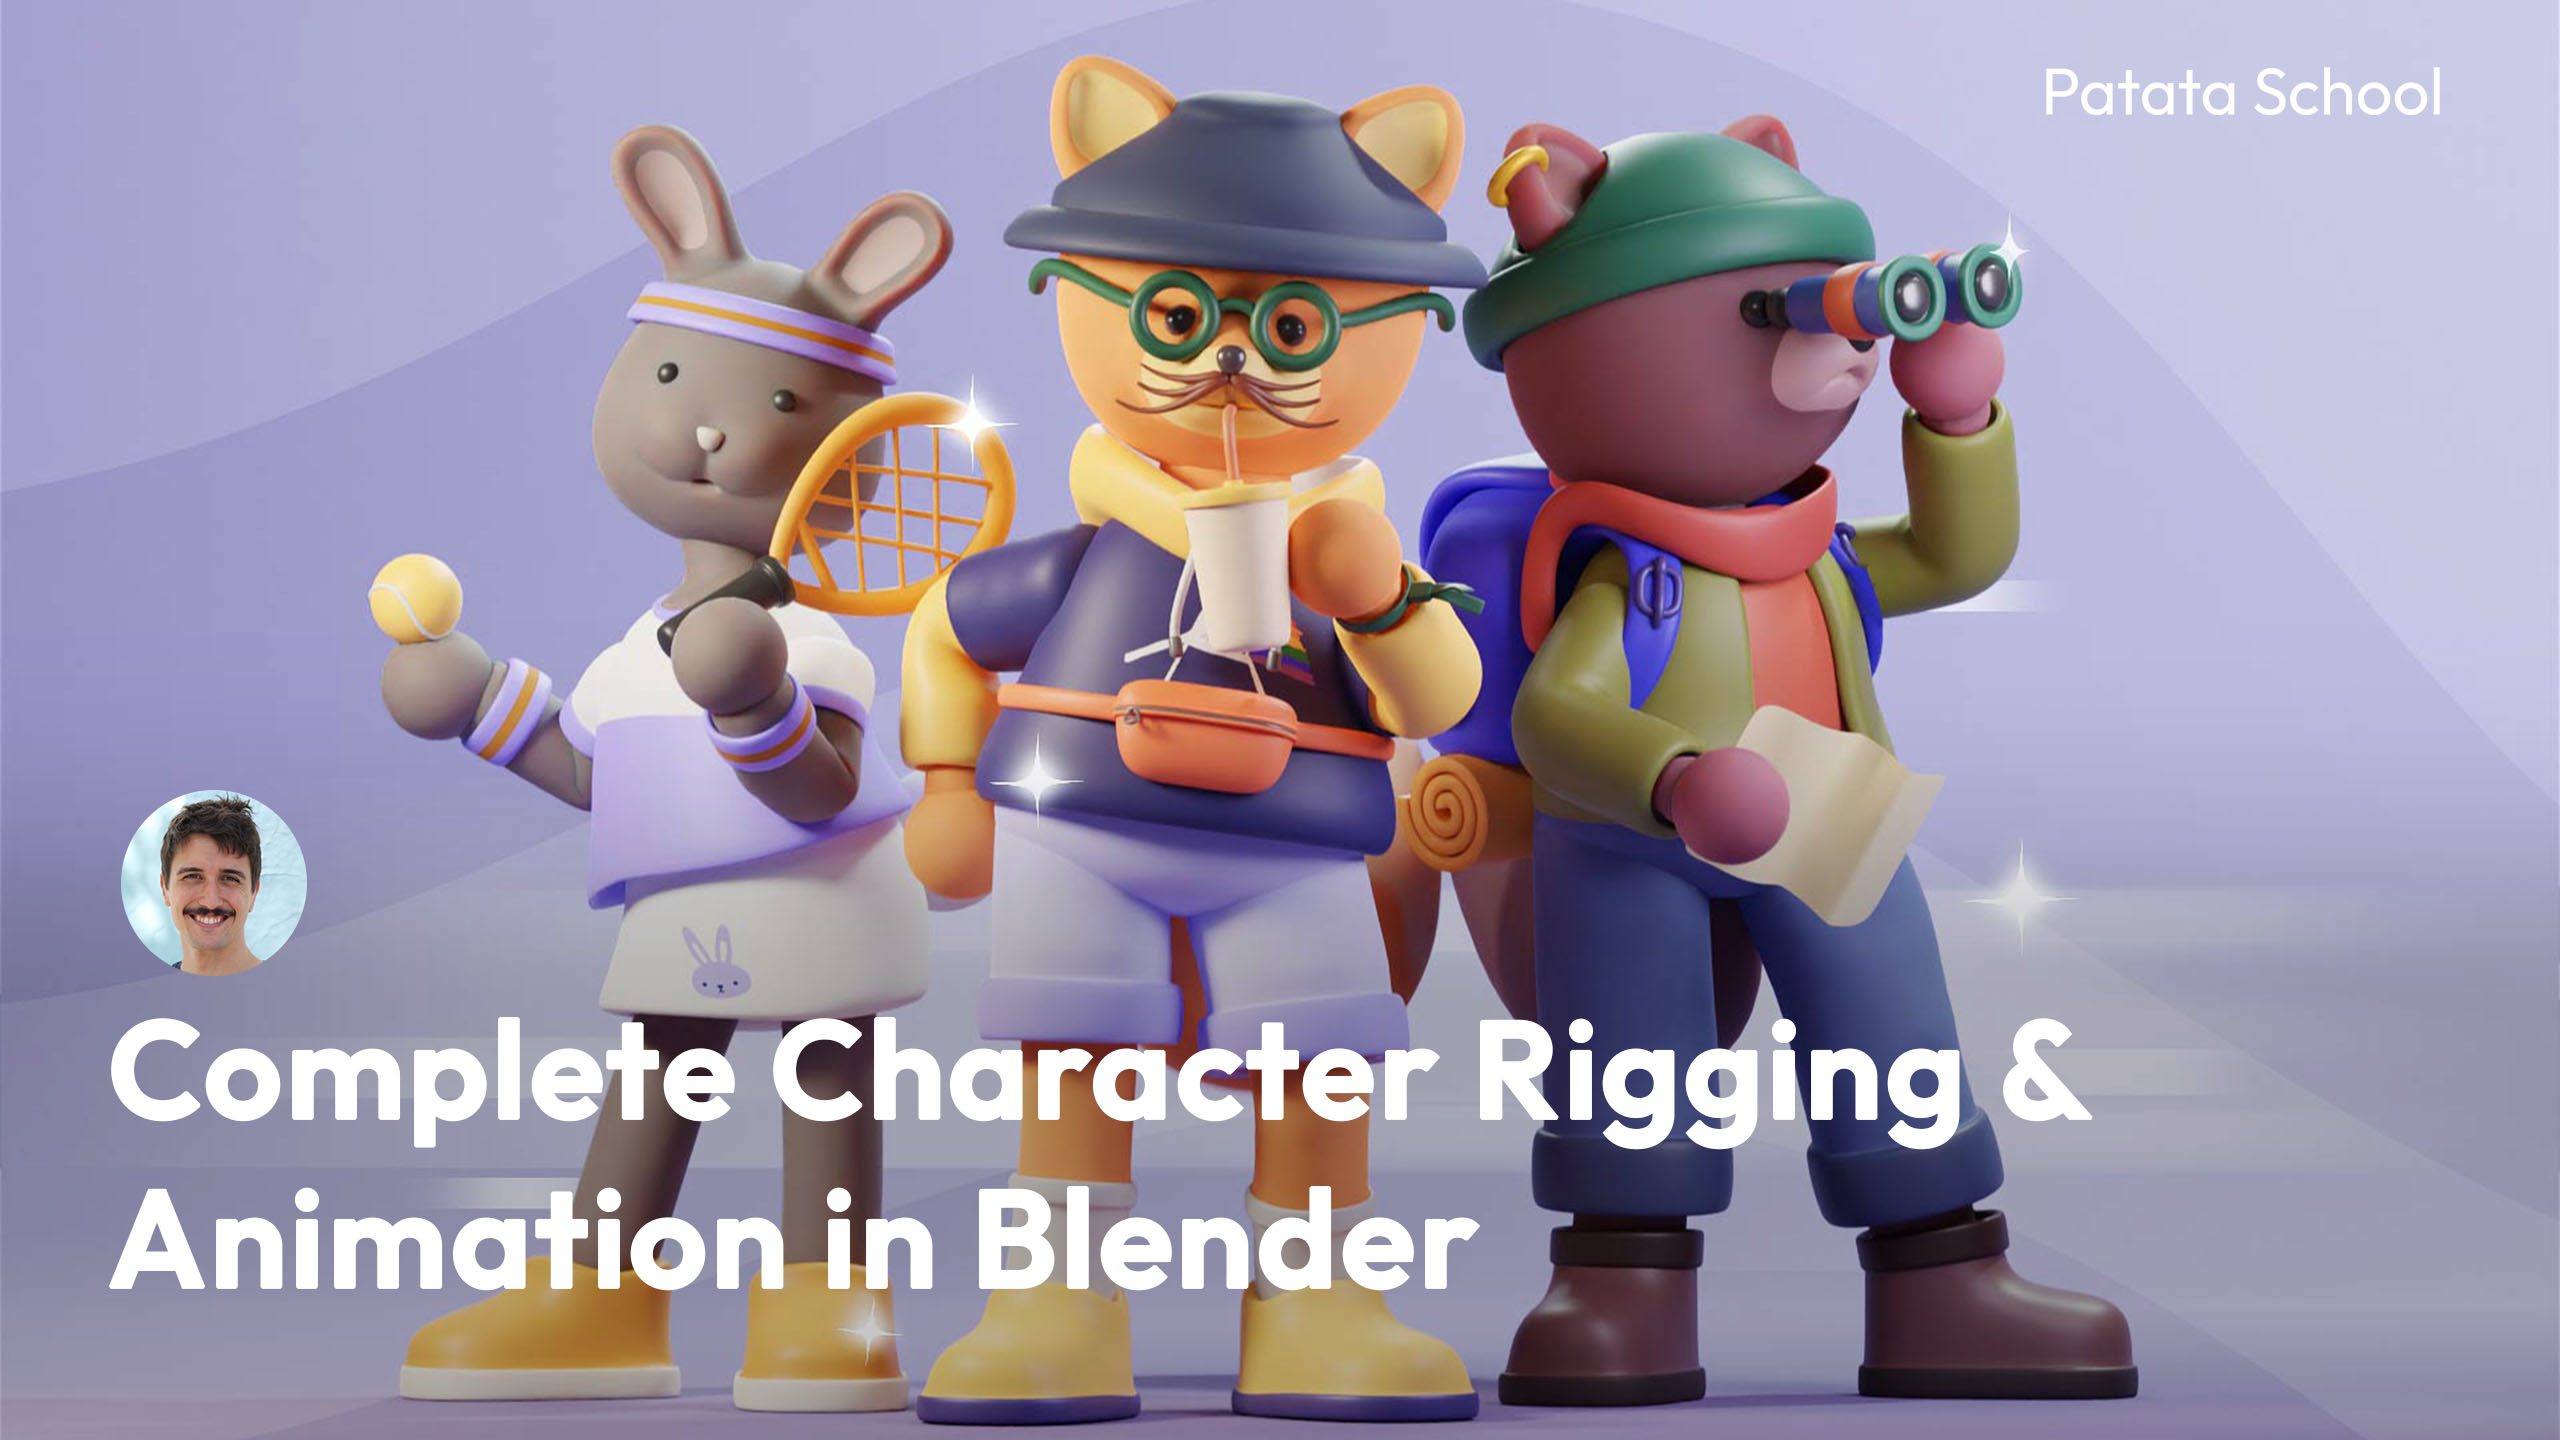
Topic rigging and animation in blender: Explore the art of bringing characters to life with "Rigging and Animation in Blender," a guide to mastering 3D animation and unlocking your creative potential in the digital world.
Table of Content
- Core Features of Blender Rigging and Animation
- Learning Resources and Guides
- Advanced Techniques and Addons
- Conclusion
- What are the key features of rigging and animation in Blender that make it a popular choice among artists and animators?
- YOUTUBE: Blender - Rigging A Character in 5 Minutes
- Learning Resources and Guides
- Advanced Techniques and Addons
- Conclusion
- Advanced Techniques and Addons
- Conclusion
- Conclusion
- Introduction to Blender Rigging and Animation
- Understanding the Basics of Rigging in Blender
- Step-by-Step Guide to Creating Your First Rig
- Advanced Rigging Techniques for Complex Models
- Animation Principles in Blender
- Creating Realistic Animations with Blender
- Utilizing Blender\"s Graph Editor for Animation
- Exploring Blender\"s Animation Tools and Features
- Tips and Tricks for Efficient Rigging and Animation
- Learning from Real-World Rigging and Animation Projects
- Resources for Further Learning and Inspiration
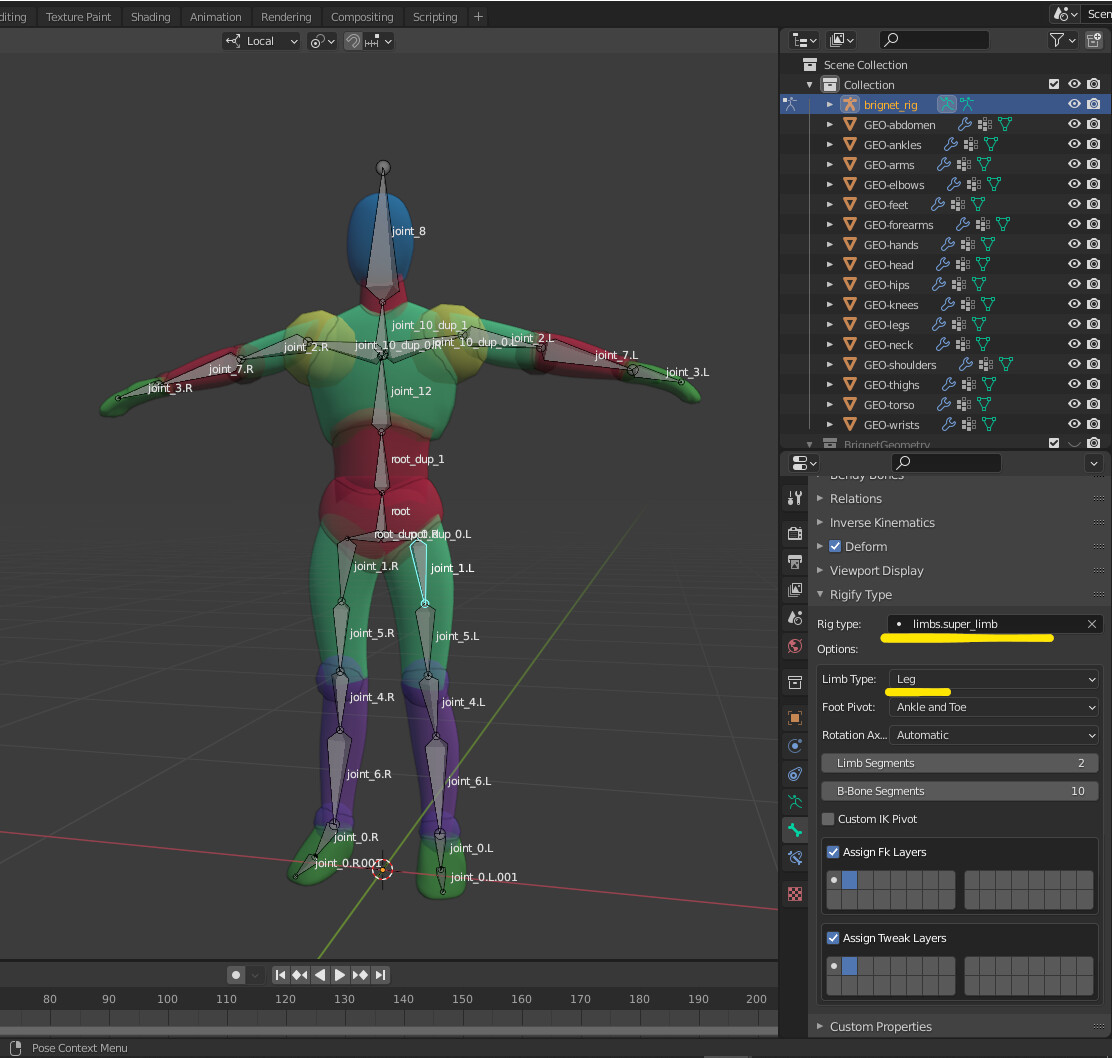
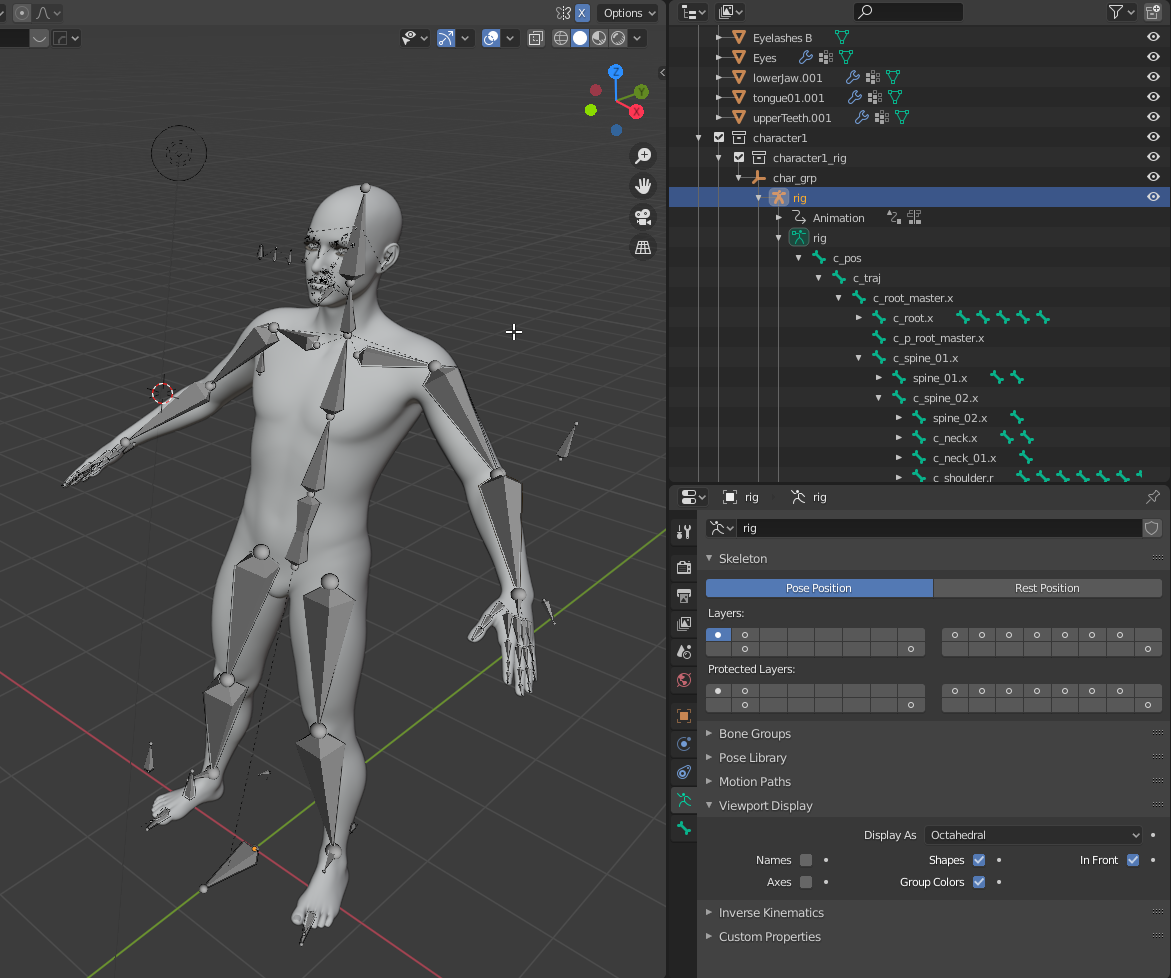
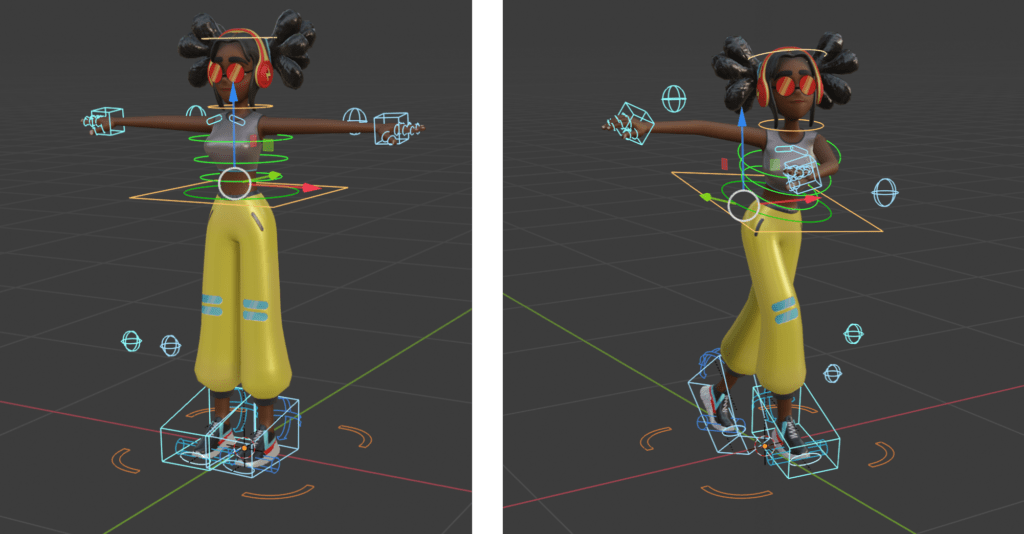
Core Features of Blender Rigging and Animation
- Envelope, skeleton, and automatic skinning for efficient rigging.
- Easy weight painting and mirror functionality to streamline the animation process.
- Bone layers and colored groups for organized rigging workflows.
- B-spline interpolated bones for smoother deformations.
- Comprehensive constraint system to control object properties dynamically.

READ MORE:
Learning Resources and Guides
For those looking to dive deeper into Blender\"s rigging and animation capabilities, a multitude of resources are available. From online courses offering full introductions to animating in Blender, to detailed guides on creating realistic movements for specific objects like tank tracks, learners of all levels can find materials suited to their needs.
Online Courses and Tutorials
- Comprehensive guides covering basic to advanced animation techniques.
- Step-by-step tutorials on rigging and animating characters and objects.
- Specialized lessons on using Blender\"s automatic rigging tools for efficient workflows.

Advanced Techniques and Addons
For those looking to push the boundaries of what\"s possible in Blender, exploring advanced rigging techniques and utilizing addons can significantly enhance your projects. From automatic rigging systems like Rigify to addons designed to simplify complex animation tasks, Blender\"s extensible platform supports a wide range of creative endeavors.
| Addon | Description |
| Rigify | An automatic rigging system generator that simplifies the rigging process. |
| SpriteHandler | Facilitates the creation of pixel art and sprite sheets for game development. |
Conclusion
Whether you\"re a beginner or a seasoned professional, Blender\"s rigging and animation tools offer the flexibility and power needed to realize your creative visions. By leveraging the available resources, tutorials, and addons, you can master the art of animation and bring your projects to life in Blender.
What are the key features of rigging and animation in Blender that make it a popular choice among artists and animators?
Blender offers a comprehensive set of features for rigging and animation that make it a popular choice among artists and animators:
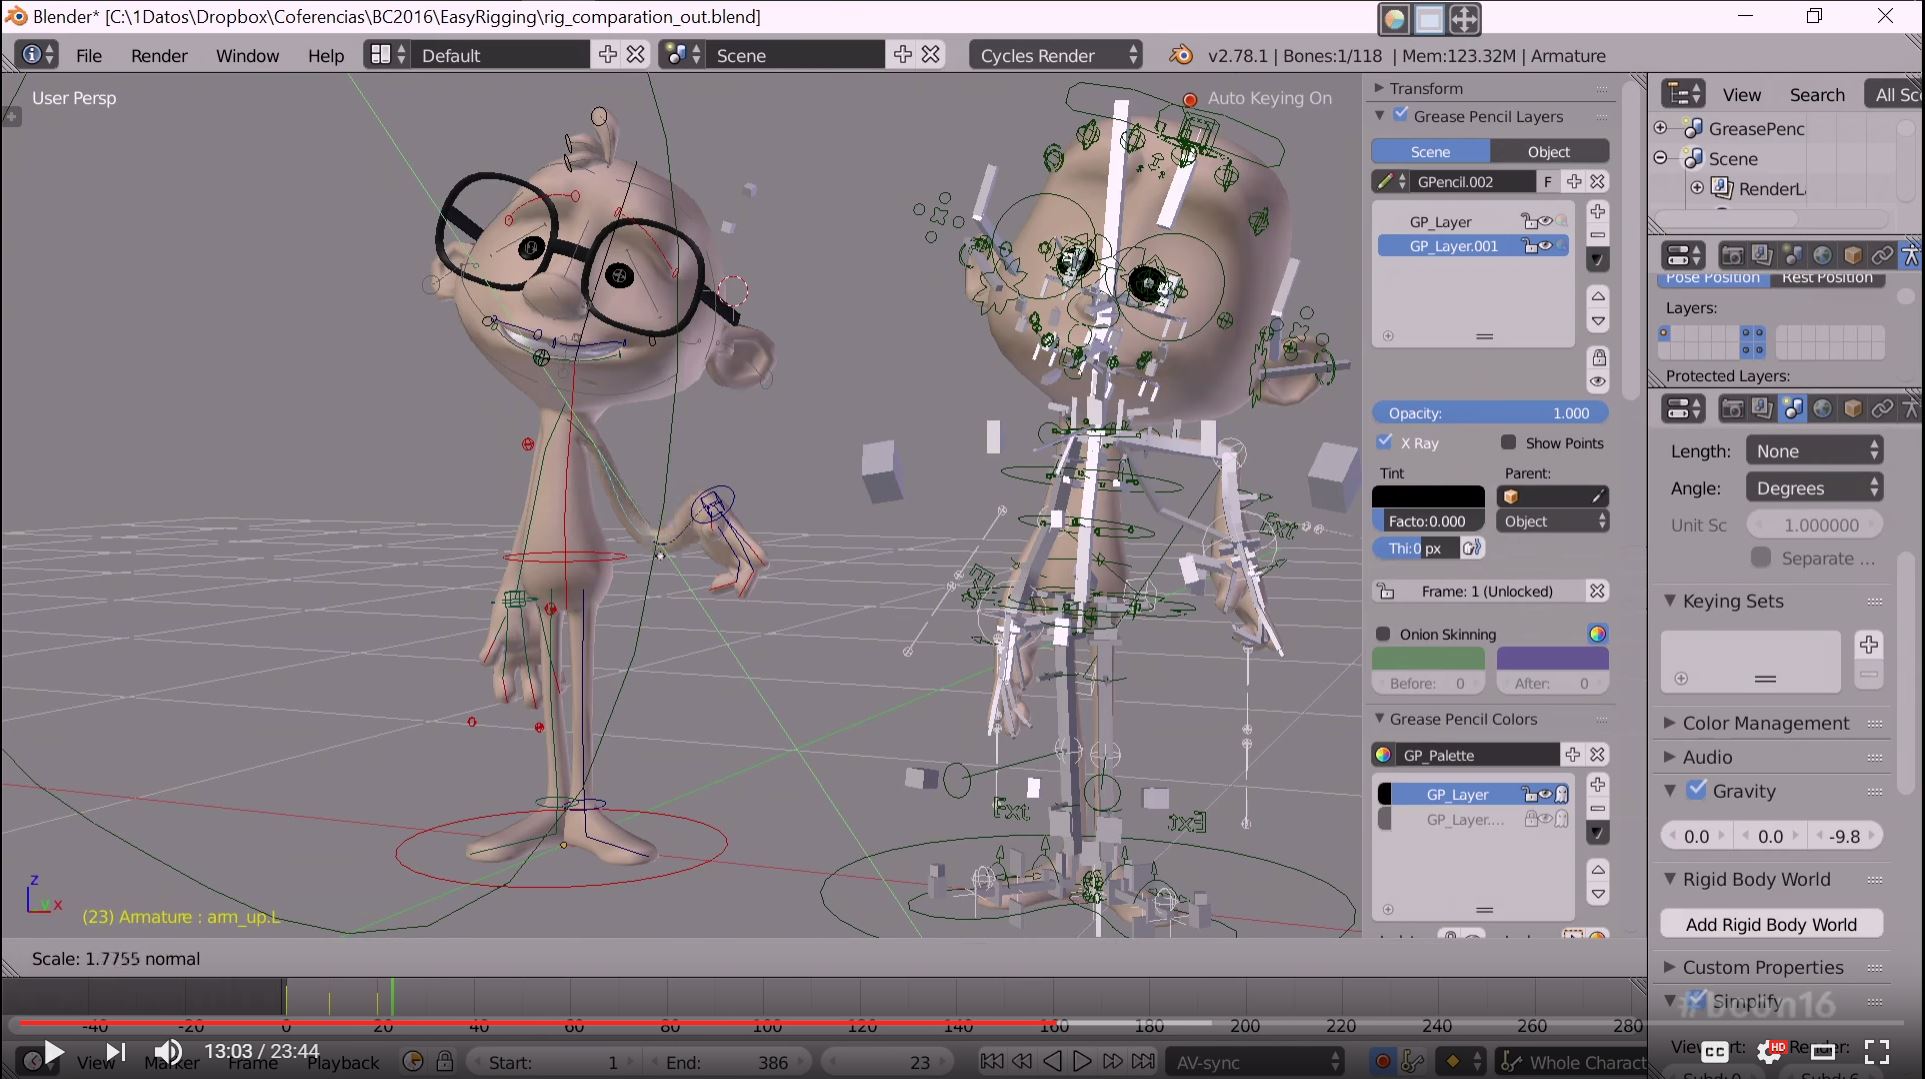
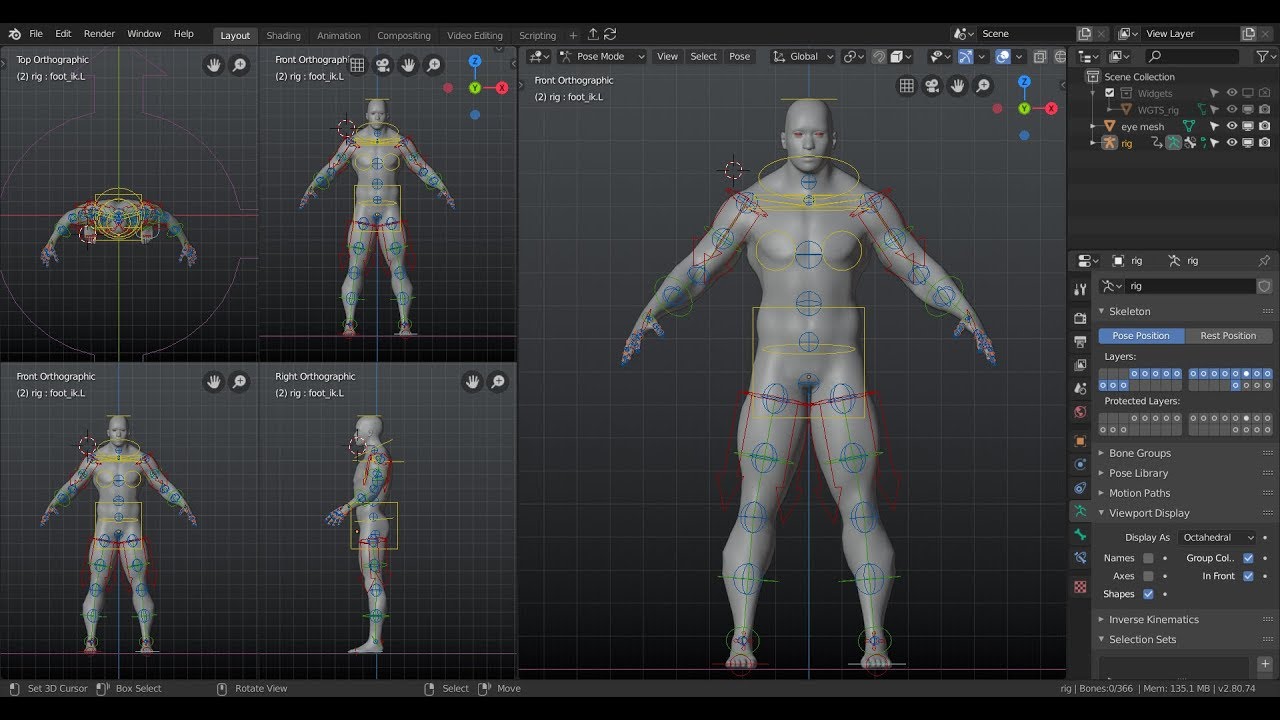
- Flexible Rigging Tools: Blender provides advanced rigging tools such as armatures and bones that allow artists to create complex skeletons for characters.
- Easy Keyframing: The keyframing process in Blender is intuitive and allows users to easily set keyframes for animation, making it simple to create smooth and realistic movements.
- Customizable Armatures: Artists can customize the armatures in Blender to suit the specific needs of their characters, enabling them to achieve realistic and dynamic animations.
- Powerful Animation Tools: Blender offers a wide range of animation tools, including keyframes, interpolation, and motion paths, that give artists full control over their animations.
- Integration with Modeling: Blender seamlessly integrates rigging and animation with its modeling tools, allowing artists to create, rig, and animate characters all within the same software.
- Real-time Playback: Blender\'s real-time playback feature allows artists to preview their animations instantly, making it easier to iterate and refine their work.
_HOOK_
Blender - Rigging A Character in 5 Minutes
Character: \"Dive into a world of captivating characters in this video, where each one embodies unique qualities and brings the story to life. Join us in exploring the depth and complexity of these unforgettable characters!\" Rigging: \"Join us in unraveling the magic of rigging in animation and video games! Watch as the intricate network of digital bones brings characters to life with fluidity and realism. Discover the artistry behind the seamless movements in this captivating video!\"
Learning Resources and Guides
For those looking to dive deeper into Blender\"s rigging and animation capabilities, a multitude of resources are available. From online courses offering full introductions to animating in Blender, to detailed guides on creating realistic movements for specific objects like tank tracks, learners of all levels can find materials suited to their needs.
Online Courses and Tutorials
- Comprehensive guides covering basic to advanced animation techniques.
- Step-by-step tutorials on rigging and animating characters and objects.
- Specialized lessons on using Blender\"s automatic rigging tools for efficient workflows.

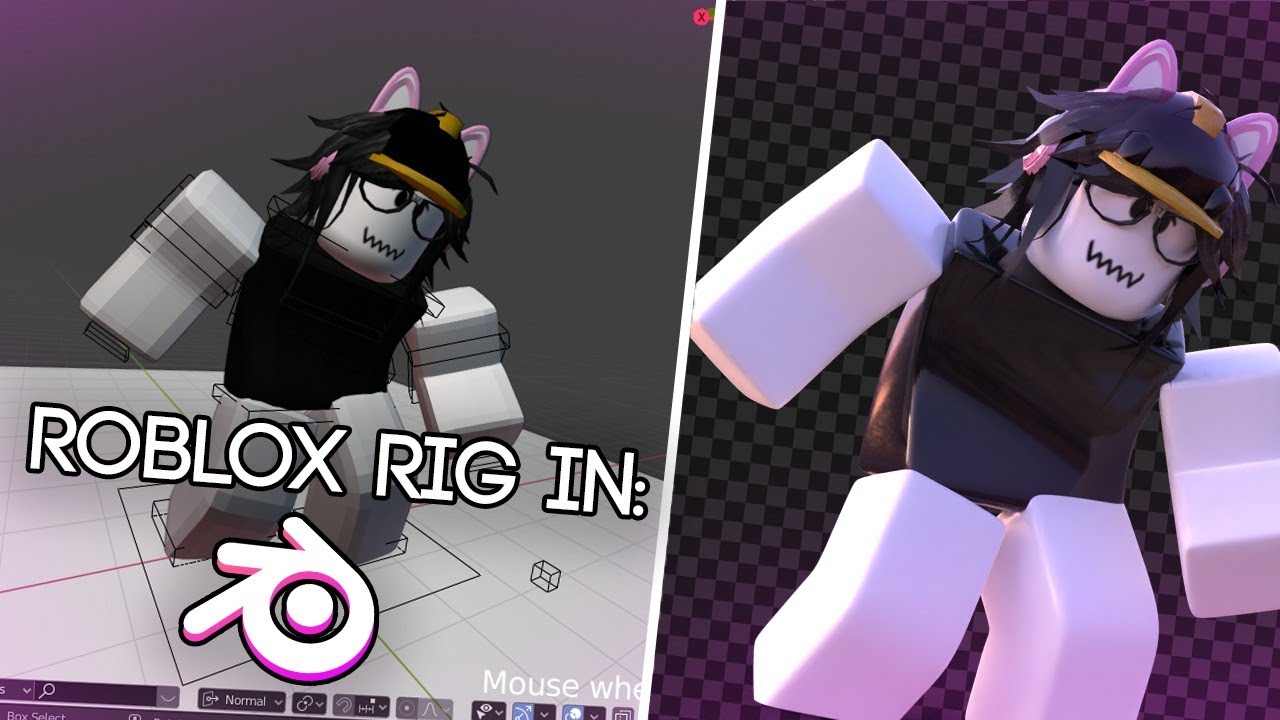
Easy and Quick Character Rigging in Blender - Blender Basics Tutorial
Animation is a whole thing, but before you can make any animations for your game, you\'re going to need to rig your characters.
Advanced Techniques and Addons
For those looking to push the boundaries of what\"s possible in Blender, exploring advanced rigging techniques and utilizing addons can significantly enhance your projects. From automatic rigging systems like Rigify to addons designed to simplify complex animation tasks, Blender\"s extensible platform supports a wide range of creative endeavors.

Conclusion
Whether you\"re a beginner or a seasoned professional, Blender\"s rigging and animation tools offer the flexibility and power needed to realize your creative visions. By leveraging the available resources, tutorials, and addons, you can master the art of animation and bring your projects to life in Blender.
Advanced Techniques and Addons
For those looking to push the boundaries of what\"s possible in Blender, exploring advanced rigging techniques and utilizing addons can significantly enhance your projects. From automatic rigging systems like Rigify to addons designed to simplify complex animation tasks, Blender\"s extensible platform supports a wide range of creative endeavors.
| Addon | Description |
| Rigify | An automatic rigging system generator that simplifies the rigging process. |
| SpriteHandler | Facilitates the creation of pixel art and sprite sheets for game development. |