Topic how to make a logo in blender: Discover the art of logo creation in Blender, where 3D design meets your imagination. This guide will walk you through every step, making complex design concepts accessible and engaging for artists and entrepreneurs alike.
Table of Content
- How can I create a logo in Blender?
- Step-by-Step Guide to Logo Creation
- Additional Tips
- Finalizing Your Logo
- Additional Tips
- Finalizing Your Logo
- Finalizing Your Logo
- Introduction to Blender for Logo Design
- YOUTUBE: How To Create A Spinning Logo In Blender
- Understanding Blender\"s Interface and Tools
- Step-by-Step Process for Creating a Logo
- Importing and Modifying External Images in Blender
- Utilizing Blender\"s 3D Modeling Tools for Logo Creation
- Texturing and Coloring Your Logo
- Lighting and Rendering Techniques for Professional Results
- Exporting Your Logo for Various Uses
- Tips and Tricks for Efficient Logo Design in Blender
- Common Pitfalls and How to Avoid Them
- Resources for Further Learning and Inspiration
How can I create a logo in Blender?
To create a logo in Blender, follow these steps:
- Open Blender and set the viewpoint to Z.
- Click on Add → Image → Reference in the upper lefthand corner.
- Add the saved image of your logo (ensure the image is upright and aligned correctly).
- Trace or model the logo using Blender\'s tools such as curves, polygons, and extrusions.
- Apply textures, colors, and effects to enhance the logo design.
- Experiment with lighting and rendering settings to give your logo a polished look.
- Once satisfied with the design, export the logo in the desired file format for further use.
READ MORE:
Step-by-Step Guide to Logo Creation
- Starting Your Project: Open Blender and select File > New to start a fresh project. Name your project accordingly for easy reference.
- Importing Your Logo: If your logo is a 2D image, you can import it by selecting Add > Image > Reference. Position it in the viewport for tracing.
- Tracing the Logo: Use the Bezier curve tool to trace over your imported logo. This will be the basis for creating a 3D model.
- Converting to 3D: Once tracing is complete, convert the curve to a mesh. This allows for extrusion and further 3D modeling techniques to be applied.
- Extruding the Logo: Select your traced logo and extrude it to give it depth. Adjust the thickness to your preference.
- Refining the Model: Use Blender\"s modeling tools to refine shapes, add details, or smooth out edges. The Sculpting mode can be particularly useful for this.
- Adding Materials: In the Materials tab, create new materials to apply colors or textures to your logo. This brings your logo to life and adds visual interest.
- Lighting and Rendering: Proper lighting is crucial for showcasing your logo. Add lights to the scene and adjust their intensity and position. Finally, render your logo to produce the final image or animation.
Additional Tips
- Keep It Simple: Start with simple shapes and build complexity as needed. Complex models can be created from basic forms.
- Use Layers: Work with layers to keep different elements of your logo organized. This helps in managing complex scenes.
- Experiment with Textures: Don\"t be afraid to experiment with different textures and materials. They can significantly enhance the look of your logo.
- Preview Frequently: Make use of Blender\"s preview rendering feature to check your progress and make adjustments in real time.

Finalizing Your Logo
Once satisfied with your logo, you can export it in various formats for web or print use. Blender supports exporting to image formats like PNG or JPEG, and even video formats if your logo is animated.
Conclusion
Creating a logo in Blender is a rewarding process that combines creativity with technical skill. By following these steps and tips, you\"ll be able to produce a professional-quality logo that stands out.
Additional Tips
- Keep It Simple: Start with simple shapes and build complexity as needed. Complex models can be created from basic forms.
- Use Layers: Work with layers to keep different elements of your logo organized. This helps in managing complex scenes.
- Experiment with Textures: Don\"t be afraid to experiment with different textures and materials. They can significantly enhance the look of your logo.
- Preview Frequently: Make use of Blender\"s preview rendering feature to check your progress and make adjustments in real time.

_HOOK_
Finalizing Your Logo
Once satisfied with your logo, you can export it in various formats for web or print use. Blender supports exporting to image formats like PNG or JPEG, and even video formats if your logo is animated.
Conclusion
Creating a logo in Blender is a rewarding process that combines creativity with technical skill. By following these steps and tips, you\"ll be able to produce a professional-quality logo that stands out.

Introduction to Blender for Logo Design
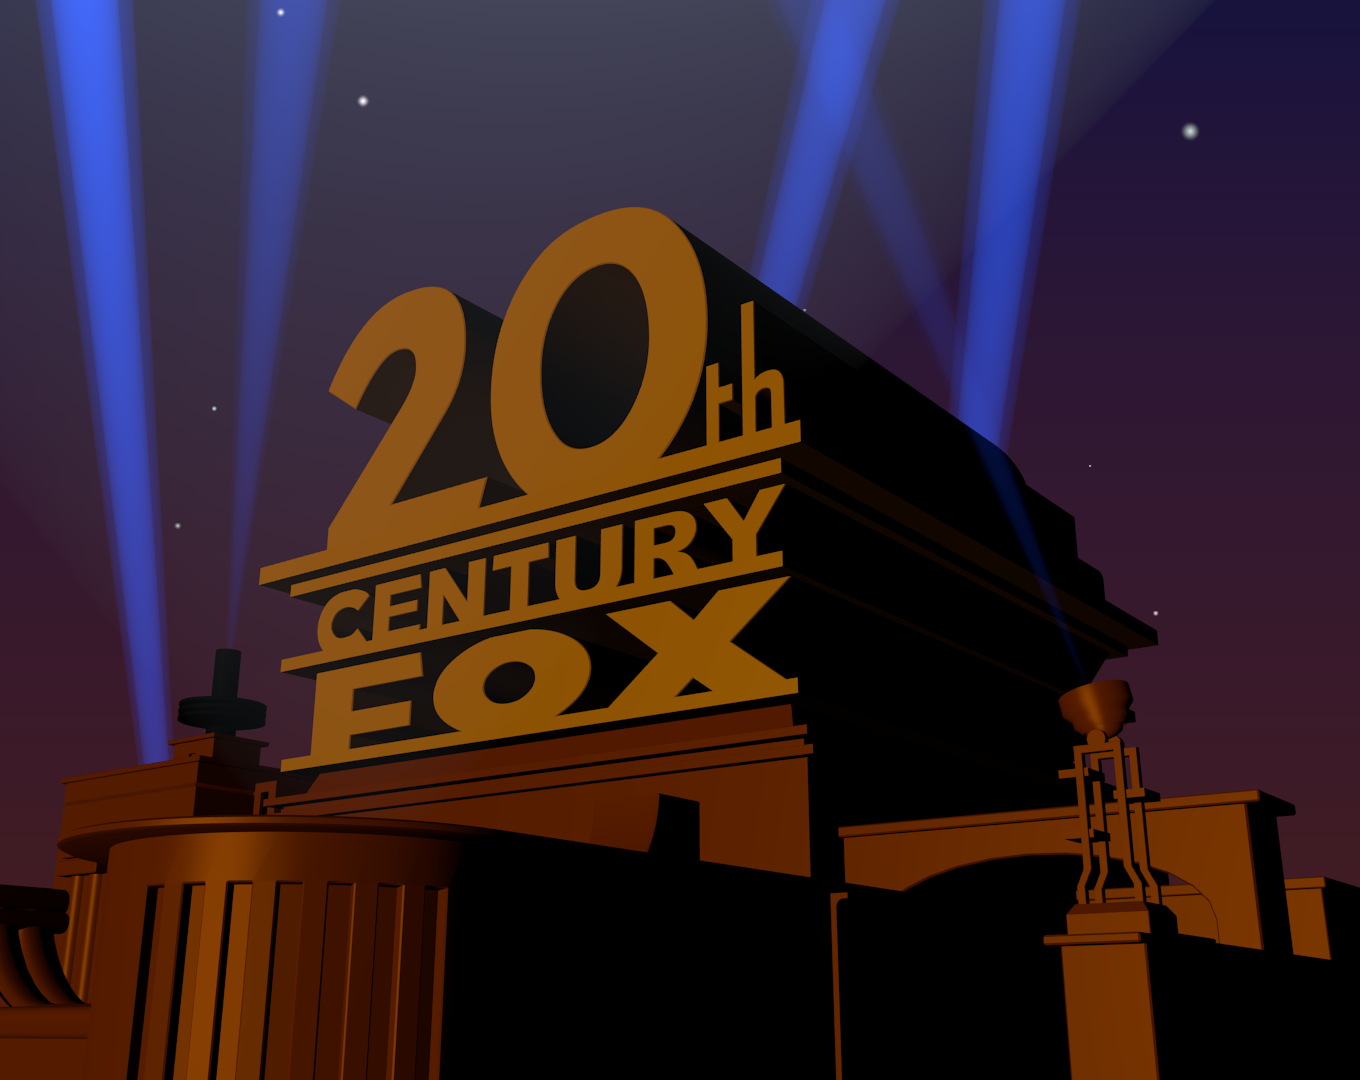
Blender is a powerful and free open-source 3D creation suite that supports the entirety of the 3D pipeline—modeling, rigging, animation, simulation, rendering, compositing, and motion tracking. For logo design, Blender offers a unique approach by allowing designers to create logos with a 3D perspective, adding depth and dynamics that are not possible with traditional 2D graphic design software.
- Understanding Blender\"s Interface: Blender\"s interface might seem daunting at first, but it\"s logically organized. Familiarize yourself with the main areas: the 3D viewport, where you can see and manipulate your logo; the timeline, for animation; and various editors for properties, outliner, and more.
- Importing 2D Logos: You can start your logo design by importing a 2D image of your logo into Blender. This can be done by adding the image as a reference or as a background in the 3D viewport, allowing you to trace and model over it.
- Modeling Your Logo: Using Blender\"s modeling tools, you can extrude, sculpt, and modify the 2D image into a 3D model. Blender offers various tools like Bezier curves and meshes to accurately model your logo.
- Adding Textures and Materials: Once your logo is modeled, you can add colors, textures, and materials to make it stand out. Blender\"s shading and texturing tools are robust, offering everything from simple color application to complex material simulations.
- Lighting and Rendering: Proper lighting is crucial for making your logo pop. Blender provides a comprehensive set of lighting tools to illuminate your logo effectively. Finally, rendering your logo brings everything together, producing the final image or animation for your use.
Whether you\"re a seasoned designer or new to 3D design, Blender equips you with all the tools needed to create a dynamic and memorable logo. The process involves importing your existing logo or starting from scratch, modeling it into 3D, adding textures, colors, and lighting, and finally rendering it for use across various media.
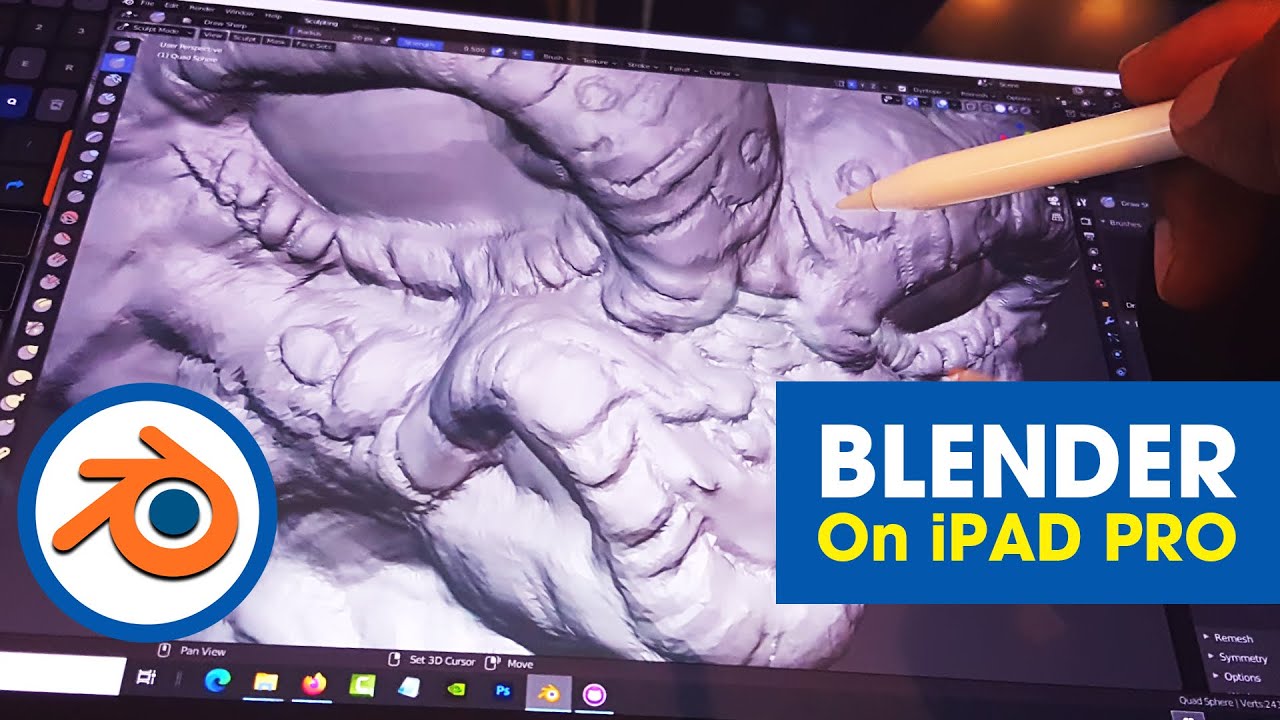
How To Create A Spinning Logo In Blender
Spinning: Get ready to be mesmerized by the incredible art of spinning in this captivating video. Watch as objects twirl and dance in a hypnotic display of skill and precision. Don\'t miss out on experiencing the beauty and magic of spinning! 3D: Step into a world of breathtaking visuals and immersive experiences with this mind-blowing 3D video. Let the stunning depth and realism draw you in as you explore a whole new dimension of entertainment. Dive into the future of technology and entertainment with this incredible 3D video!
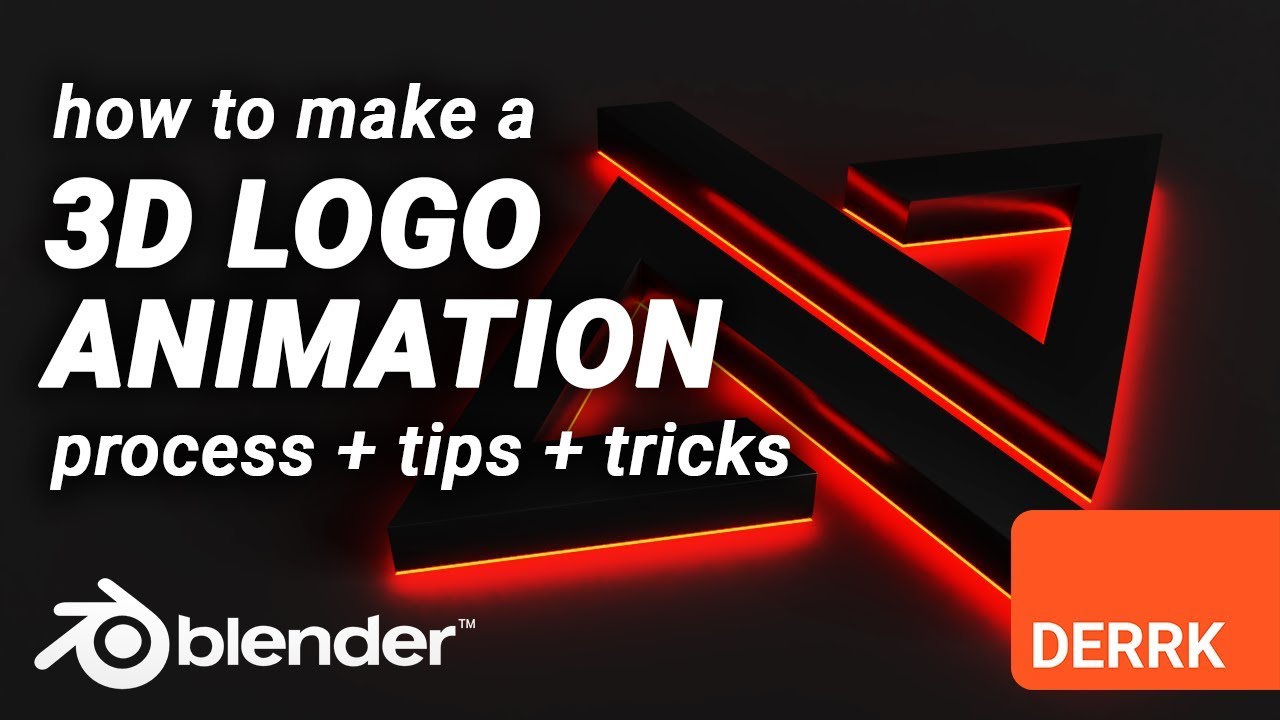
How to Make 3D Logo from 2D Image Blender Tutorial
In this lecture,we\'ll learn how to convert 2D image into 3D model in Blender 2.92.Also we\'ll learn: - How to make 2D to 3D clean ...
Understanding Blender\"s Interface and Tools
Blender\"s interface is designed to facilitate the creation of a wide range of 3D content, including logos. Understanding its interface and tools is crucial for efficient and effective logo design.
- 3D Viewport: The main area where you interact with your 3D scene. You can navigate, sculpt, and edit your logo models here.
- Properties Panel: This panel provides options and settings for the objects in your scene, including materials, modifiers, and scene settings, crucial for customizing the appearance of your logo.
- Outliner: A hierarchical list of all elements in your scene. It\"s essential for organizing and selecting different components of your logo project.
- Timeline: Located at the bottom of the default layout, the timeline is used for animation, allowing you to create dynamic logos with moving parts.
- Tools Shelf: Accessible by pressing T in the 3D viewport, this shelf offers tools for modeling, painting, and editing your logo.
- Shading/UV Editor: This editor is used for texturing and shading objects, providing control over how your logo looks in terms of color, texture, and material effects.
- Node Editor: For more advanced users, the node editor allows for complex procedural textures and materials, offering limitless possibilities for customizing your logo.
Blender also includes features like the Grease Pencil for 2D drawing and animation, making it possible to sketch out logo ideas directly in Blender before modeling. Learning to navigate Blender\"s interface and utilize its comprehensive toolset can transform your logo design process, enabling the creation of unique, eye-catching logos that stand out in a digital-first world.

Step-by-Step Process for Creating a Logo
- Preparation: Start by sketching your logo concept on paper. This initial step helps solidify your ideas and serves as a reference throughout the design process.
- Open Blender and Set Up Your Scene: Launch Blender and create a new project. Adjust your workspace to focus on the 3D viewport, where you\"ll be designing your logo.
- Importing Your Sketch or Image: If you have a digital sketch or image of your logo, import it into Blender as a reference. Use the \"Add\" menu to import images as planes or backgrounds to model over.
- Modeling the Logo: Use Blender\"s modeling tools to create your logo. This can involve extruding 2D shapes into 3D objects, sculpting freeform shapes, or using text tools for typographic elements.
- Adding Detail and Texture: Once your basic shape is modeled, add details and textures. This could include materials that mimic real-world surfaces, like metal or glass, and adding any finer details that will make your logo stand out.
- Lighting Your Scene: Proper lighting is crucial for showcasing your logo\"s design. Experiment with different lighting setups to highlight the logo\"s features and ensure it looks good from all angles.
- Camera Setup and Composition: Position the camera within your scene to capture the best view of your logo. Consider the rule of thirds and other compositional techniques to make your logo visually appealing.
- Rendering: Once you\"re satisfied with your logo\"s appearance, render it. Rendering transforms your 3D scene into a 2D image or animation. Adjust render settings to achieve the desired quality and resolution.
- Post-Production: Use Blender\"s compositing and editing tools to polish your final image. This might include adjusting colors, adding effects, or compositing your logo onto different backgrounds.
- Exporting: Export your finished logo in the format you need. Blender supports various file formats, ensuring compatibility with other software or use cases, such as web, print, or animation.
This step-by-step guide provides a framework for creating a unique and professional logo in Blender. Each project will have its nuances, so feel free to adapt the process to suit your creative vision and technical requirements.
_HOOK_
Importing and Modifying External Images in Blender
Bringing external images into Blender is a foundational step for creating 3D logos from 2D designs. This process allows designers to use existing logos or sketches as a reference for modeling.
- Preparing Your Image: Start with a high-contrast, clear image of your logo. Simple, flat images with minimal colors work best for conversion.
- Importing the Image: In Blender, go to Add > Image > Reference to import your logo as a reference image. Position it in the 3D viewport to serve as a guide for modeling.
- Tracing the Logo: Use Blender\"s drawing tools, such as the Grease Pencil or Bezier curves, to trace over your imported logo. This creates a basis for your 3D model.
- Converting Traces to 3D Objects: Convert your traces into 3D objects using the extrude function. This gives depth to your 2D logo.
- Modifying and Refining: With your logo now in 3D form, use Blender\"s modeling tools to refine shapes, add details, and make adjustments as needed.
- Applying Materials and Textures: After modeling, apply materials and textures to enhance the visual appeal of your logo, giving it a unique look.
This process transforms a flat image into a dynamic 3D logo, leveraging Blender\"s powerful modeling and texturing capabilities. Whether starting from an existing logo or a new design, Blender offers the tools necessary for bringing your vision to life in three dimensions.
Utilizing Blender\"s 3D Modeling Tools for Logo Creation
Blender\"s suite of 3D modeling tools provides extensive capabilities for creating detailed and dynamic logos. Understanding how to leverage these tools is key to transforming a basic concept into a professional-grade logo.
- Choosing the Right Modeling Tools: Blender offers various modeling tools such as extrude, loop cut, and bevel, which can be used to create complex shapes and designs for your logo.
- Using Modifiers for Enhanced Effects: Modifiers like Mirror, Solidify, and Subdivision Surface can add symmetry, thickness, and smoothness to your logo, enhancing its 3D appearance.
- Implementing Textures and Materials: Apply textures and materials to give your logo color, depth, and realism. Blender\"s node-based material system allows for intricate material designs.
- Adding Lighting: Proper lighting is crucial for showcasing your logo\"s design. Experiment with different lighting setups to highlight the best features of your logo.
- Rendering Your Logo: Once you are satisfied with your logo design, use Blender\"s powerful rendering engines, Cycles or Eevee, to produce high-quality images or animations of your logo.
Each step in the process plays a crucial role in the outcome of your logo. Starting with basic shapes and utilizing Blender\"s tools to refine and detail these shapes allows for the creation of complex, visually appealing logos. Remember, patience and practice are key to mastering 3D logo creation in Blender.
Texturing and Coloring Your Logo
Adding textures and colors to your logo in Blender transforms it from a basic 3D model into a vivid and compelling visual element. This stage is critical for bringing your logo to life and making it resonate with your audience.
- Understanding Materials: Materials in Blender define the color and texture of your object. Start by creating a new material for your logo in the Material Properties panel.
- Selecting Colors: Choose colors that align with your brand\"s identity. You can adjust the diffuse color to match your specific branding colors.
- Applying Textures: Textures can add depth and complexity to your logo. Use the Shading tab to add textures, which can be anything from simple patterns to more complex images or procedural textures.
- Using Nodes for Advanced Texturing: For more control over the appearance, use Blender’s node editor. Combine different nodes to create unique materials that can include glossy, metallic, or translucent effects.
- Previewing Your Work: Regularly preview your logo in the 3D viewport. Use the rendered view mode to get a realistic sense of how the textures and colors work together.
Texturing and coloring are about experimentation and iteration. Adjust your materials and textures until you find the perfect combination that represents your brand. Remember, the goal is to make your logo stand out and convey your brand’s message effectively.
Lighting and Rendering Techniques for Professional Results
Mastering lighting and rendering in Blender is essential for producing professional-looking logos. These techniques enhance the visual appeal and can dramatically affect the perception of your logo.
- Setting Up the Lighting: Start by experimenting with three-point lighting, a standard method that uses key, fill, and back lights to achieve depth and dimension.
- Choosing Light Types: Blender offers various light types, such as point, sun, and area lights. Use a combination that best suits the mood and style of your logo.
- Adjusting Light Settings: Modify the intensity, color, and distance of each light source to enhance the textures and materials of your logo.
- Utilizing HDRI: High Dynamic Range Imaging (HDRI) can be used for realistic lighting and reflections. Import an HDRI image to simulate environmental lighting.
- Exploring Rendering Engines: Blender features two main rendering engines, Cycles and Eevee. Cycles is a ray-trace based engine that produces realistic results, while Eevee is a real-time engine for faster previews.
- Post-Processing: Use Blender’s Compositor for post-processing effects like glare, bloom, or color correction to add the final touches to your logo.
- Exporting Your Logo: Finally, render your logo to an image or animation format suitable for your project needs, ensuring the resolution and settings are optimized for quality.
By carefully adjusting lighting and rendering settings, you can create a logo that looks compelling in any media. These steps are key to turning a good logo into a great one, ensuring your brand stands out.
Exporting Your Logo for Various Uses
Once you have completed your logo in Blender, exporting it properly is crucial for use across different media. Whether for digital platforms, print, or animations, understanding the export process ensures your logo maintains its quality in various formats.
- Choosing the Right Format: For static images, PNG or JPEG formats are commonly used, while SVG or EPS formats are better for scalable vector graphics. For animations, consider exporting in MP4 or AVI.
- Setting Resolution and Dimensions: Adjust the resolution and dimensions according to the intended use of your logo. For web use, a lower resolution may suffice, but print materials typically require higher resolutions.
- Applying Compression: When necessary, apply compression to reduce file size, especially for web use, to ensure fast loading times without significantly compromising image quality.
- Exporting Animations: If your logo includes animations, use Blender\"s animation export features. Ensure to select the appropriate codec and settings for your target platform.
- Using Blender\"s Export Options: Blender offers various export options tailored for different needs. Familiarize yourself with these to choose the best one for your logo.
Properly exporting your logo ensures it looks its best, regardless of where it\"s used. By following these steps, you can confidently share your logo, knowing it represents your brand effectively across all mediums.
_HOOK_
Tips and Tricks for Efficient Logo Design in Blender
Designing logos in Blender can be an incredibly rewarding process, offering a vast array of creative possibilities. To make the most of Blender\"s capabilities, here are some tips and tricks to enhance your logo design workflow.
- Start Simple: Begin with basic shapes and forms to build the overall structure of your logo. This approach makes it easier to modify and refine your design as you progress.
- Use Reference Images: Import reference images of your logo or related concepts directly into Blender. This can serve as a guide and inspiration for your 3D modeling.
- Utilize Modifiers: Modifiers like Mirror, Array, and Boolean can save time and effort by automating repetitive tasks or creating complex shapes more easily.
- Keep Your Mesh Clean: A clean topology not only makes your model more efficient but also ensures better results when applying materials, textures, and during rendering.
- Experiment with Lighting: Lighting can dramatically change the appearance of your logo. Experiment with different lighting setups to highlight the logo\"s best features.
- Preview Frequently: Use Blender\"s real-time render engine, Eevee, to quickly preview your logo as you work. This can help you make adjustments on the fly and achieve the desired look more efficiently.
- Organize Your Project: Use layers and collections to organize different elements of your logo. This makes managing complex projects easier and improves workflow.
- Learn Shortcuts: Blender\"s shortcuts can significantly speed up your workflow. Familiarize yourself with key shortcuts for actions you perform frequently.
- Stay Updated: Blender is continuously being updated with new features and improvements. Stay updated with the latest versions to take advantage of new tools and functionalities.
- Seek Inspiration and Feedback: Look at other logo designs for inspiration, and don\"t hesitate to seek feedback on your work. Constructive criticism can provide new ideas and perspectives.
By incorporating these tips into your workflow, you can enhance the quality and efficiency of your logo designs in Blender, turning your creative visions into polished, professional outcomes.
Common Pitfalls and How to Avoid Them
When designing logos in Blender, several common pitfalls can hinder the process. Recognizing and avoiding these can streamline your workflow and improve the final outcome.
- Ignoring the Planning Phase: Skipping initial sketches and concept development can lead to a lack of direction. Always start with a clear plan and concept sketches.
- Overcomplicating the Design: Adding too many elements or details can make your logo look cluttered. Aim for simplicity and clarity to create a more impactful design.
- Neglecting Mesh Topology: Poor mesh topology can lead to issues with texturing and animating. Focus on clean, efficient topology from the start.
- Underutilizing Lighting: Lighting can dramatically enhance your logo\"s appearance. Experiment with different lighting setups to find the most flattering one for your design.
- Forgetting to Save Frequently: Blender, like any software, can crash. Regularly save your work to avoid losing progress.
- Misjudging Scale and Proportions: Incorrectly scaled elements can distort your logo\"s appearance. Use reference images and grids to maintain correct proportions.
- Omitting the Use of Layers and Collections: Failing to organize your project can lead to confusion, especially in complex designs. Use layers and collections to keep your workspace organized.
- Overlooking the Final Export Settings: Exporting your logo with incorrect settings can result in loss of quality. Double-check your export settings, especially when working with different formats and resolutions.
By being mindful of these common pitfalls and employing best practices, you can create stunning logos in Blender that are both aesthetically pleasing and functionally versatile.
READ MORE:
Resources for Further Learning and Inspiration
To excel in logo design with Blender, leveraging a variety of resources can significantly enhance your skills and creativity. Here are some curated resources for further learning and inspiration:
- Blender Official Tutorials: Blender.org offers comprehensive tutorials and documentation to help you get started and advance your skills.
- YouTube Channels: Channels like Blender Guru, CG Geek, and Ducky 3D provide in-depth tutorials on Blender, including logo design and animation.
- BlenderNation: A community website featuring daily news, tutorials, art, and more from the Blender community.
- Online Courses: Platforms like Udemy and Coursera offer courses on Blender, ranging from beginner to advanced levels.
- Forums and Communities: Join Blender forums and social media groups to connect with other Blender artists, share your work, and get feedback.
- Inspirational Galleries: Websites like ArtStation and Behance showcase professional 3D work, providing a wealth of inspiration for your logo designs.
Utilizing these resources can provide you with the knowledge, techniques, and inspiration needed to create stunning logos in Blender. Whether you\"re a beginner or looking to refine your skills, there\"s always something new to learn and explore in the world of 3D design.
Embarking on your logo design journey in Blender opens up a world of creativity and professional opportunities. With the right approach and resources, you can craft logos that truly stand out, showcasing your brand in the best light.