Topic how to make a 3d logo in blender: Discover the art of transforming simple designs into stunning 3D logos with Blender, enhancing your brand"s visual appeal and setting you apart in the digital world.
Table of Content
- How can I create a 3D logo in Blender?
- Step-by-Step Guide to Creating a 3D Logo
- Additional Resources
- Additional Resources
- Introduction to 3D Logo Design in Blender
- Essential Tools and Setup in Blender for 3D Modeling
- Importing Your 2D Logo into Blender
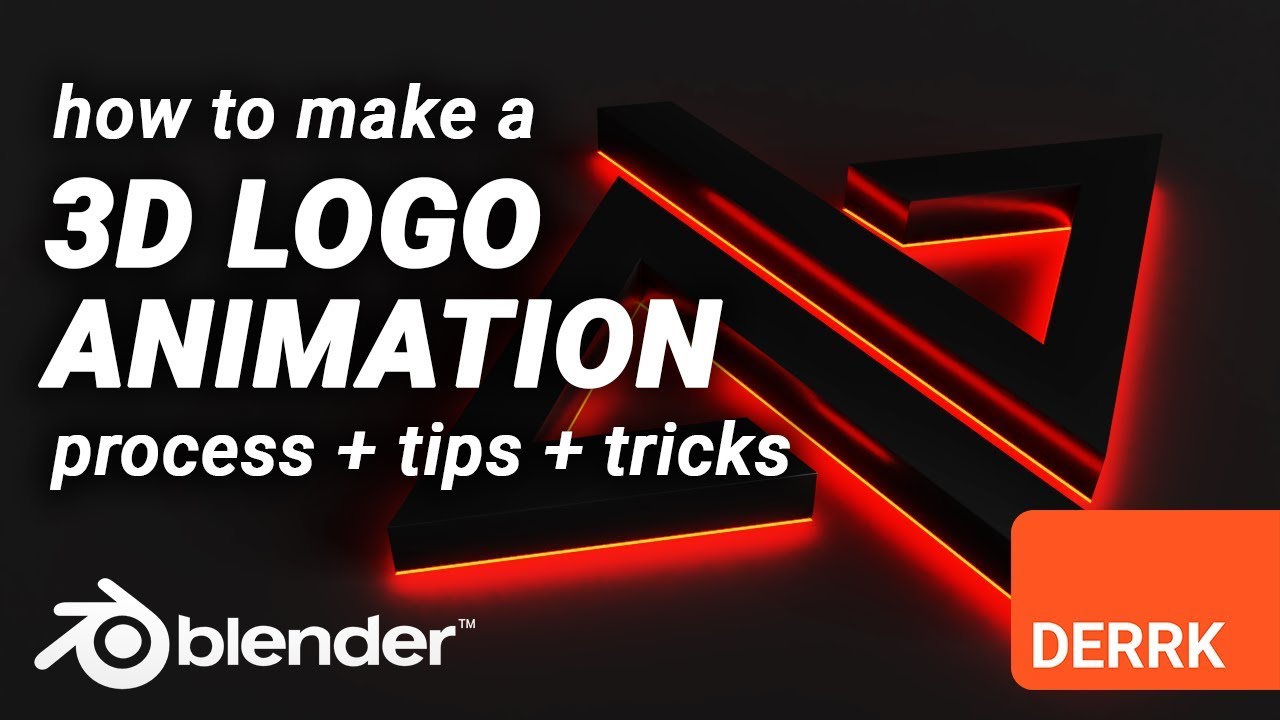
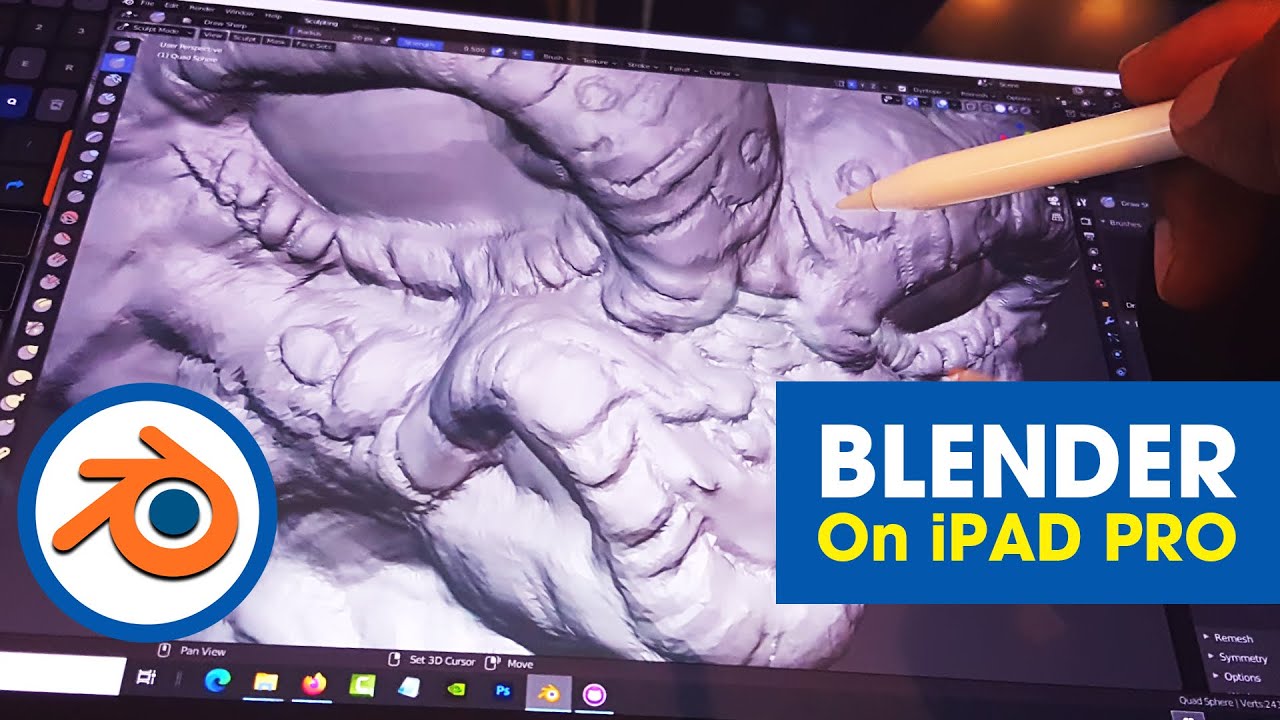
- YOUTUBE: How to Make 3D Logo from 2D Image Using Blender Tutorial
- Tracing Your Logo with Meshes or Curves
- Transforming 2D Images into 3D Models
- Applying Textures and Materials for Realism
- Lighting and Camera Setup for the Perfect Shot
- Rendering Your 3D Logo for High-Quality Output
- Post-Processing Tips and Tricks
- Animating Your 3D Logo for Dynamic Presentations
- Advanced Techniques for Professional Results
- Resources for Further Learning and Inspiration
How can I create a 3D logo in Blender?
To create a 3D logo in Blender, you can follow these steps:
- Start by designing your logo in a 2D software like Adobe Illustrator or Inkscape.
- Save your logo as a vector file such as SVG format.
- Open Blender and go to File -> Import -> SVG.
- Choose your SVG file and import it into Blender.
- With the imported logo selected, go to the Object Data Properties panel.
- Under Geometry, you can adjust the settings to give your logo some depth by extruding it.
- You can also manipulate the logo further by adding materials, textures, and lighting to enhance the 3D look.
- Once you are satisfied with your 3D logo, you can render it using the Render tab.
- Save your 3D logo in the desired format (e.g., PNG, JPEG).
READ MORE:
Step-by-Step Guide to Creating a 3D Logo
- Start Blender and remove any default objects from the scene.
- Import your 2D logo as a background image to use as a reference.
- Use the \"Add\" menu to create a mesh or curve that traces the outline of your logo.
- Convert the traced outline into a 3D model by extruding or using the solidify modifier.
- Apply materials and textures to your 3D model to enhance its appearance.
- Adjust the lighting and camera angles to showcase your logo in the best way.
- Render your scene to produce the final 3D logo image.
Tips for a Successful 3D Logo
- Ensure your reference image is high quality for a cleaner trace.
- Use bezier curves for smoother outlines.
- Experiment with different materials and lighting setups to achieve the best result.
- Consider animating your logo for an even more dynamic presentation.

Additional Resources
For more detailed instructions and advanced techniques, consider exploring online tutorials, Blender forums, and the Blender community for tips, tricks, and advice from experienced users.
Additional Resources
For more detailed instructions and advanced techniques, consider exploring online tutorials, Blender forums, and the Blender community for tips, tricks, and advice from experienced users.

Introduction to 3D Logo Design in Blender
Creating a 3D logo in Blender is a fantastic way to bring a new level of professionalism and uniqueness to your brand or project. Blender, a powerful open-source 3D modeling software, offers a range of tools that can transform a simple 2D logo into a dynamic 3D design. This process not only enhances the visual appeal of your logo but also provides a deeper connection with your audience through engaging visuals.
To start, you\"ll need a clear vision of your logo and a basic understanding of Blender\"s interface. The journey from a 2D image to a 3D model involves several key steps, including importing your logo, tracing its outline, adding depth, and applying textures and colors for a realistic finish. Each step allows for creative exploration, enabling you to customize the logo to fit your brand\"s identity perfectly.
- Preparation: Gather your logo files and familiarize yourself with Blender\"s workspace.
- Importing Your Logo: Learn how to import your 2D logo into Blender as a reference for modeling.
- Modeling: Trace your logo with Blender\"s modeling tools to create a 3D representation.
- Texturing and Coloring: Apply materials and textures to give your logo color and a more lifelike appearance.
- Lighting and Rendering: Enhance your logo with lighting effects and render it for the final presentation.
With patience and practice, you can leverage Blender\"s robust features to create a standout 3D logo. Whether you\"re aiming for a sleek and modern look or a more complex and detailed design, Blender provides all the necessary tools to bring your vision to life.

_HOOK_
Essential Tools and Setup in Blender for 3D Modeling
Before diving into the creation of a 3D logo in Blender, it\"s crucial to understand and set up the essential tools and environment for 3D modeling. This foundation will enable you to efficiently transform your ideas into reality.
- Understanding Blender\"s Interface: Familiarize yourself with the layout, including the 3D viewport, outliner, properties panel, and timeline.
- Setting Up Your Workspace: Customize the interface to suit your workflow, such as adjusting the layout and setting up shortcuts for frequently used tools.
- Importing Images: Learn how to import reference images or 2D logos into Blender, which will serve as a guide for modeling.
- Mesh and Curve Tools: Get to know the mesh and curve tools, essential for tracing and modeling your logo.
- Modifiers for Modeling: Explore modifiers like Mirror, Solidify, and Subdivision Surface to enhance and expedite your modeling process.
- Materials and Textures: Understand how to apply materials and textures to give your logo color and depth.
- Lighting Setup: Learn about different lighting setups to illuminate your logo effectively, highlighting its features.
- Camera and Rendering Settings: Set up the camera for the optimal view and adjust rendering settings for high-quality output.
With these tools and settings at your disposal, you\"re well-equipped to start creating detailed and visually appealing 3D logos in Blender. Whether you\"re working on a personal project or for a client, these foundational steps are crucial for a successful 3D modeling workflow.
Importing Your 2D Logo into Blender
Importing your 2D logo into Blender is the first practical step in transforming it into a 3D model. This process involves several key steps to ensure your logo is accurately represented in Blender\"s 3D workspace.
- Prepare Your Logo File: Ensure your logo is in a compatible format. SVG files are ideal as they can be easily scaled and manipulated.
- Start Blender: Open Blender and create a new project.
- Import the Logo: Use the \"Import\" feature found under \"File\" in the Blender top menu. Select \"SVG\" if your logo is in SVG format. Navigate to your logo file and import it.
- Adjust the Imported Logo: Once imported, your logo might need scaling and rotation adjustments to fit the 3D view properly. Use the scale (S) and rotate (R) tools to adjust.
- Convert to Mesh: For further manipulation, convert the SVG curve to a mesh by selecting the object, then going to \"Object\" > \"Convert to\" > \"Mesh from Curve/Meta/Surf/Text\".
After importing and adjusting your logo in Blender, you\"re ready to begin the exciting process of transforming it into a 3D model. This involves tracing, extruding, and adding depth to your logo, steps that are crucial for achieving a professional and polished 3D logo.
How to Make 3D Logo from 2D Image Using Blender Tutorial
Tutorial: Need help mastering a new skill or project? This tutorial video breaks down complex concepts into easy-to-follow steps. Dive in and learn something new today! Basics: Want to strengthen your foundation in a subject or activity? This video covers all the basics you need to know, perfect for beginners looking to build a solid understanding. Jump in!
Tracing Your Logo with Meshes or Curves
After importing your 2D logo into Blender, the next step is to trace it accurately to create a 3D model. This critical phase involves using Blender\"s meshes or curves to outline your logo, providing the foundation for its 3D structure.
- Choose Your Tracing Method: Decide whether to use meshes or curves based on your logo\"s complexity. Curves are ideal for logos with smooth, continuous lines, while meshes work well for more intricate designs.
- Begin Tracing: Using the \"Add\" menu, select either \"Mesh\" or \"Curve\" to start tracing your logo. For curves, use the Bezier curve tool for greater control and precision.
- Adjusting the Trace: Carefully adjust your trace to match the logo\"s outlines. This may involve moving points, scaling, or rotating elements to ensure accuracy.
- Conversion for 3D Modeling: Once the tracing is complete, if you used curves, you may need to convert them to meshes for further 3D modeling. This can be done via the \"Object\" menu, choosing \"Convert to\" > \"Mesh from Curve/Meta/Surf/Text\".
- Refining the Trace: Refine your trace to remove any unnecessary vertices and to simplify the model for easier manipulation and better performance.
Tracing your logo accurately is essential for the next steps in the 3D modeling process, such as extruding and adding depth. Taking your time during this phase ensures a more precise and professional-looking 3D logo.

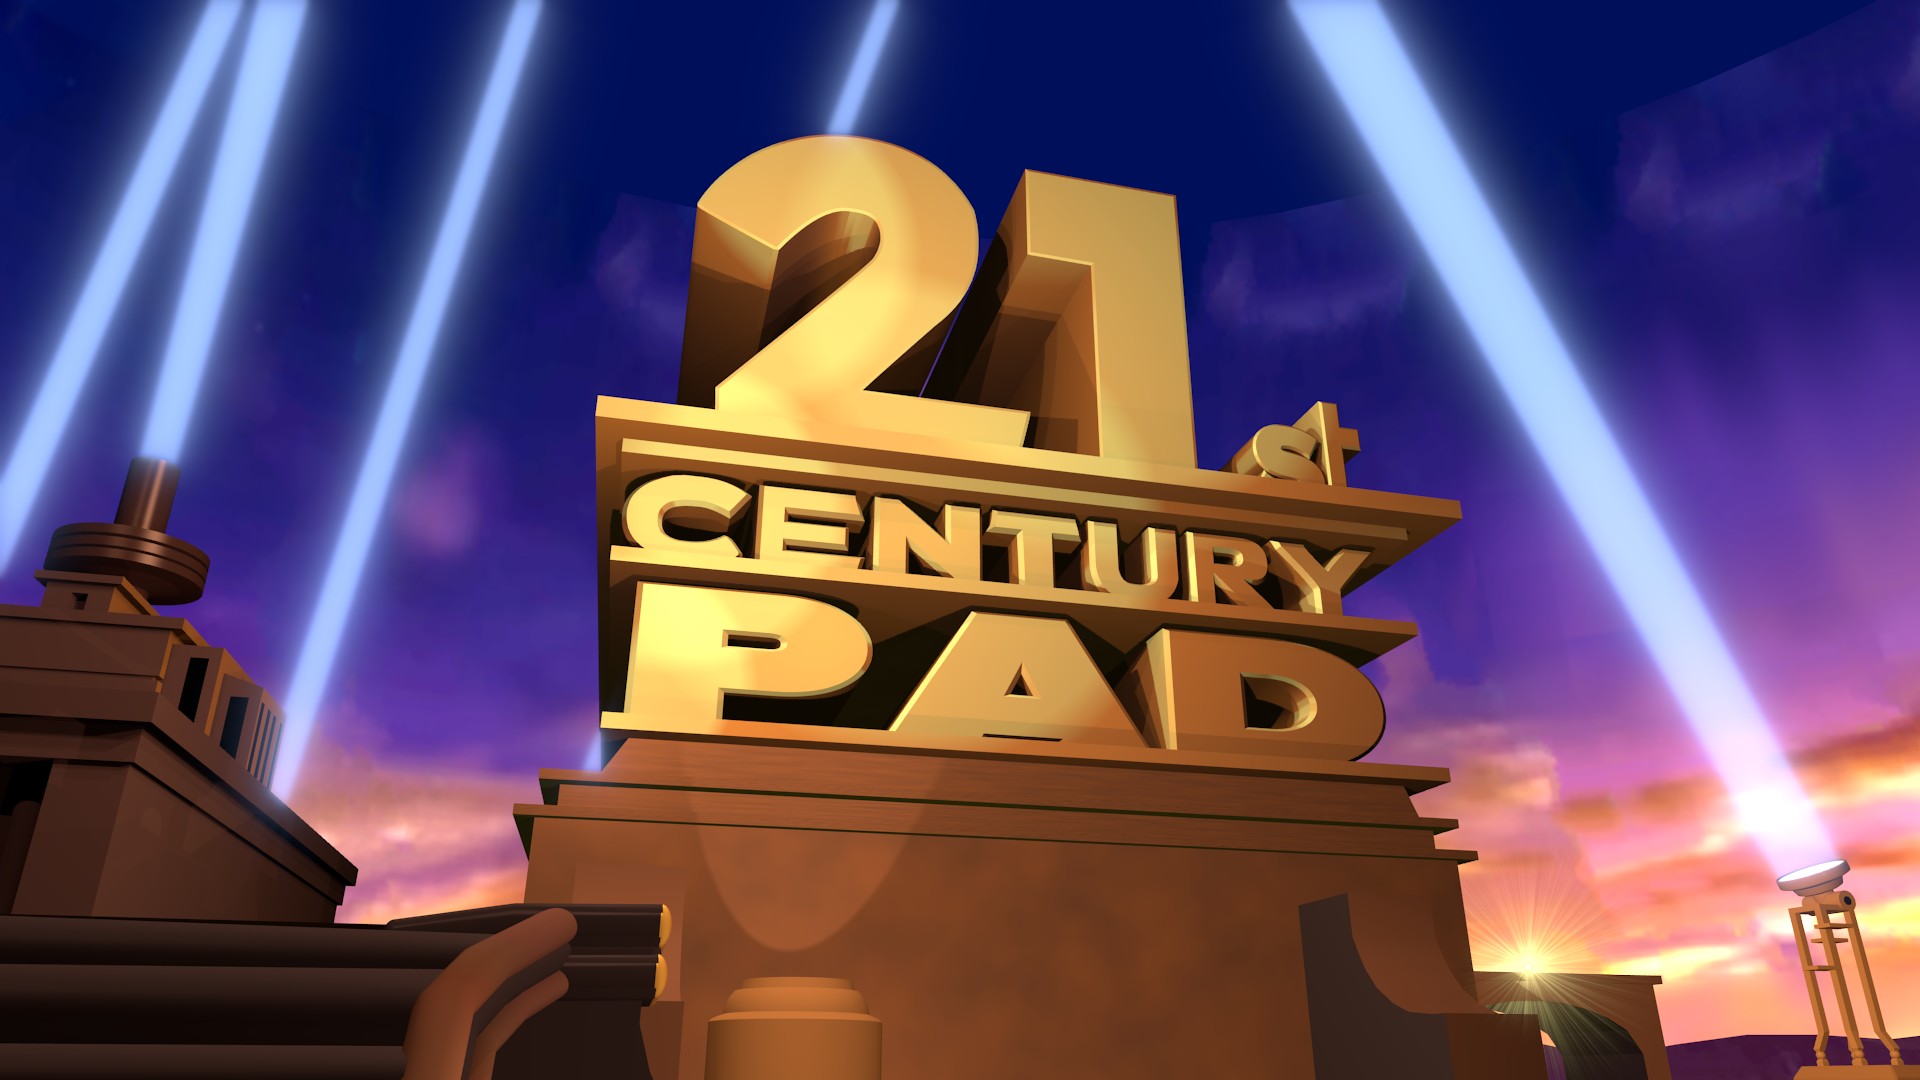
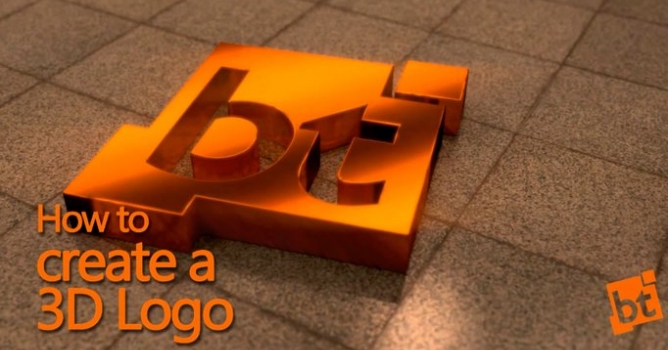
How to Make a 3D Spinning Logo in Blender Basics
Hope this tutorial helps. Send me your finished animations on IG @kartiiierr LINKS----- Blender Download ...
Transforming 2D Images into 3D Models
Turning a 2D logo into a 3D model in Blender is a creative process that adds depth and dimension to your design. This transformation involves several key steps, each contributing to the final, polished 3D model that brings your logo to life.
- Extruding the Logo: Begin by selecting your traced logo. Extrude the logo to add depth, creating a basic 3D model. Adjust the extrusion depth to match the desired thickness of your logo.
- Adding Detail with Modifiers: Use Blender’s modifiers, such as the Bevel modifier, to add complexity and refine the edges of your logo for a more polished look.
- Applying Solidify Modifier: To give your logo volume and solidity, apply the Solidify modifier. This step is crucial for logos that will be viewed from multiple angles.
- Smoothing the Surface: Apply a Subdivision Surface modifier to smooth out the model\"s surface, giving it a more refined appearance.
- Customizing Materials: Select your 3D logo and start applying materials. Choose colors and textures that align with your brand identity. Blender\"s material editor allows for detailed customization, including glossiness, transparency, and reflection.
- Setting Up the Scene: Place your 3D logo within a scene, adding appropriate lighting and background elements to complement its design. Experiment with different lighting setups to highlight the logo’s features.
- Rendering the Logo: Finally, render your scene. Choose your render settings based on the desired quality and output format. High-resolution renders will capture the details and textures of your 3D logo, making it ready for use in various media.
By following these steps, you can transform any 2D logo into a dynamic 3D model in Blender, enhancing its visual impact and making it stand out.

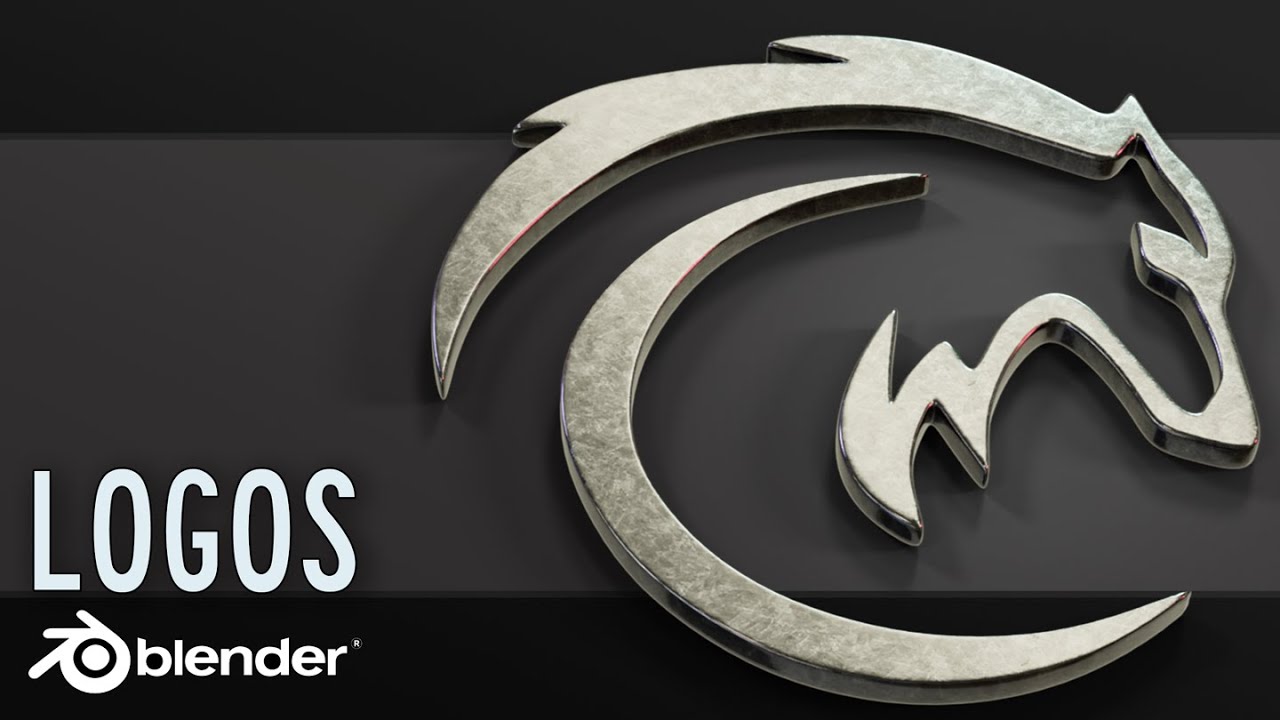
Applying Textures and Materials for Realism
Enhancing your 3D logo with textures and materials is crucial for achieving a realistic and visually appealing result. This step in the Blender modeling process allows you to simulate real-world surfaces, from metallic finishes to soft, diffuse materials. Follow these detailed steps to apply textures and materials to your 3D logo in Blender.
- Selecting Materials: In Blender\"s Material Properties, start by adding a new material to your logo. This serves as the base for further customization.
- Configuring Surface Properties: Adjust the material\"s color, specular highlights, and roughness to match the desired appearance of your logo. For reflective surfaces, consider increasing the specular intensity.
- Applying Textures: To add textures, switch to the Shader Editor and use nodes to combine images, patterns, or procedural textures with your base material. Textures can enhance the logo’s detail and realism.
- Mapping Techniques: Use UV mapping to accurately apply textures to your logo\"s surface. This ensures that the texture aligns correctly with your 3D model.
- Experiment with Shaders: Explore different shaders, such as the Principled BSDF, to achieve various effects like metallic sheen, transparency, or emission for parts of your logo that should glow.
- Lighting Considerations: Adjust your scene\"s lighting to complement the materials and textures. Proper lighting can highlight the textures and materials, making the logo more dynamic.
- Previewing and Adjusting: Regularly preview your work in the Rendered view mode to see how the materials and textures look under different lighting conditions. Make adjustments as needed to achieve the best possible result.
By carefully selecting and applying materials and textures, you can significantly enhance the realism and appeal of your 3D logo, making it not just a symbol but a piece of art.

_HOOK_
Lighting and Camera Setup for the Perfect Shot
Mastering the lighting and camera setup in Blender is essential for showcasing your 3D logo in the best light. This section guides you through optimizing these elements to enhance the visual appeal of your 3D logo.
- Choosing the Right Lighting: Start by selecting a lighting setup that complements your logo’s design. Three-point lighting is a versatile choice that highlights the logo\"s features without casting harsh shadows.
- Positioning Your Lights: Place the key light, fill light, and back light strategically around your logo to achieve the desired effect. Adjust the intensity and color of each light to match the mood you want to convey.
- Setting Up the Camera: Position the camera to capture your logo from the best angle. Consider the rule of thirds and other composition principles to create a visually appealing shot.
- Adjusting Camera Settings: Tweak the camera settings, such as focal length and depth of field, to enhance the focus on your logo and add a professional touch to your images.
- Previewing and Adjusting: Use Blender’s rendered preview to test how your logo looks under the current lighting and camera setup. Make adjustments as needed to ensure your logo looks its best.
- Rendering Settings: Before final rendering, check your render settings to ensure they are optimized for quality and efficiency. Consider resolution, sampling rates, and output formats that best suit your project needs.
By carefully adjusting the lighting and camera setup, you can significantly improve the visual impact of your 3D logo, making it not just seen, but truly noticed and appreciated.
Rendering Your 3D Logo for High-Quality Output
Rendering is the final step in bringing your 3D logo to life, transforming your model into a high-quality image or animation. This process in Blender requires attention to detail and understanding of rendering settings to achieve the best results. Follow these steps to render your 3D logo effectively.
- Choose the Right Renderer: Blender offers different rendering engines like Eevee and Cycles. Select the one that suits your needs based on speed and realism.
- Configure Render Settings: In the Render Properties, adjust settings such as resolution, samples, and performance to optimize quality and rendering time.
- Set Up Output Options: Choose your output format, including image formats like PNG or JPEG for stills, or video formats for animations. Also, specify the destination folder for your rendered files.
- Lighting and Material Checks: Before rendering, ensure that all materials and lighting are correctly set up to reflect your logo\"s intended appearance.
- Camera Placement: Position the camera to capture the best view of your logo. Experiment with different angles and compositions to showcase your logo effectively.
- Preview Your Work: Use Blender\"s rendered preview feature to get an idea of how your final render will look. Make any necessary adjustments before the final render.
- Rendering Your Logo: Once satisfied with all settings, click on the render button to start the process. For animations, ensure that all frames are correctly set up in the timeline before rendering.
Rendering your 3D logo in Blender can be a rewarding process, culminating in a high-quality representation of your design. By carefully adjusting your settings and considering the final output, you can achieve stunning results that showcase your logo in the best possible way.
Post-Processing Tips and Tricks
After rendering your 3D logo in Blender, post-processing can further enhance its appeal and effectiveness. These tips and tricks will help you refine your logo for a professional finish.
- Color Correction: Utilize Blender\"s Compositor to adjust colors, brightness, and contrast to ensure your logo pops and matches your brand\"s color palette.
- Adding Effects: Consider adding effects like glare or bloom to make certain elements of your logo stand out. This can be especially effective for logos with a futuristic or high-tech feel.
- Sharpening Details: Use the compositor\"s sharpen nodes to enhance the clarity and crispness of your logo, making every detail visible.
- Background Customization: Experiment with different backgrounds or create a transparent background for versatility in various media.
- Layering Elements: For more complex logos, layering different elements in the compositor can add depth and interest.
- Animation Touch-ups: If your logo is animated, consider adding motion blur for a smoother transition between frames or tweaking the timing for dynamic effect.
- Final Quality Check: Always render a final high-quality version of your logo and review it in detail. Look for any artifacts or issues that could detract from its overall impact.
By applying these post-processing techniques, you can elevate your 3D logo, ensuring it not only represents your brand effectively but also stands out in a crowded marketplace.
Animating Your 3D Logo for Dynamic Presentations
Animating your 3D logo adds a dynamic touch that can significantly enhance its impact. In Blender, the animation process involves keyframing movements, adding effects, and fine-tuning timing to create engaging presentations. Follow these steps to animate your 3D logo effectively.
- Setting Up Your Animation Workspace: Switch to the Animation workspace in Blender to access all the tools you\"ll need for animating your logo.
- Adding Keyframes: Decide on the animation\"s start and end points. Insert keyframes for your logo\"s position, rotation, and scale at these points to define the movement.
- Animating Camera Movements: To add interest, animate the camera\"s position and focus. This can create a dynamic entry or exit for your logo.
- Using the Graph Editor: Refine your animation\"s timing and smoothness with the Graph Editor. Adjusting the bezier curves can make the animation more fluid.
- Adding Effects: Blender allows you to add special effects, such as particles or glow, to your logo animation for extra flair.
- Previewing Your Animation: Regularly preview your animation to ensure it flows as intended. Make adjustments as necessary for timing and impact.
- Rendering Your Animation: Once satisfied, render your animation. Ensure your render settings are optimized for animation to achieve high-quality results.
Animating your 3D logo in Blender can transform a static image into a captivating feature of your brand\"s visual identity, making it memorable and engaging for your audience.
Advanced Techniques for Professional Results
For those looking to elevate their 3D logo designs in Blender beyond the basics, mastering advanced techniques is key. These methods enhance realism, add complexity, and provide that professional edge to your creations.
- Node-Based Material Creation: Dive deeper into Blender\"s node editor for materials. Create complex, layered materials that react realistically to light and environment.
- High Dynamic Range Imaging (HDRI) for Realistic Lighting: Use HDRI backgrounds to simulate realistic environmental lighting. This technique provides natural light reflections and shadows on your logo.
- Particle Systems for Special Effects: Implement particle systems to add effects like smoke, fire, or a disintegrating logo for dynamic presentations.
- Sculpting for Fine Details: Utilize Blender\"s sculpting tools to add intricate details to your logo, enhancing its texture and depth.
- Rigging for Animation: If your logo design involves moving elements, learn rigging techniques to animate parts of your logo smoothly.
- Compositing for Post-Production Polish: Use Blender’s compositing tools to add the final touches to your render, such as glare, bloom, or color grading for cinematic quality.
- Simulations for Realism: Incorporate physics simulations like fluid, cloth, or soft body dynamics to add movement and realism to your logo.
These advanced techniques require time and practice to master but can significantly enhance the quality and impact of your 3D logo designs in Blender.
_HOOK_
READ MORE:
Resources for Further Learning and Inspiration
To enhance your skills in creating 3D logos in Blender and stay inspired, exploring a variety of resources is crucial. Whether you\"re a beginner looking to learn the basics or an experienced user seeking advanced techniques, the following resources offer valuable insights and inspiration.
- Blender Official Tutorials: The Blender Foundation provides a comprehensive range of tutorials for users of all levels on their official website and YouTube channel.
- Online Courses and Workshops: Platforms like Udemy, Coursera, and Blender’s own Blender Cloud offer in-depth courses that cover everything from the fundamentals to advanced 3D modeling techniques.
- YouTube Tutorials: YouTube is an excellent source for free tutorials. Channels like Blender Guru, CG Geek, and Ducky 3D specialize in Blender tutorials that are both informative and engaging.
- Blender Community Forums: Joining forums such as Blender Artists and the Blender subreddit can provide you with support, feedback, and inspiration from fellow Blender enthusiasts.
- Books and E-books: For those who prefer written guides, there are several books and e-books available that cover Blender\"s capabilities in creating 3D art, including logo design.
- BlenderNation: BlenderNation offers daily news, articles, tutorials, and showcases of Blender projects, which can be a great source of inspiration and new learning material.
Utilizing these resources can significantly improve your 3D modeling skills in Blender, helping you create more sophisticated and professional-looking 3D logos.
Embarking on the journey of creating a 3D logo in Blender opens up a world of creativity and professional growth. Harness these skills to bring your unique vision to life and elevate your brand\"s identity.