Topic how to make 3d logos in blender: Discover how to transform simple 2D designs into stunning 3D logos in Blender with our easy-to-follow guide, perfect for beginners eager to elevate their graphic skills.
Table of Content
- How can I create 3D logos in Blender?
- Getting Started
- Creating the 3D Model
- Refining Your Logo
- Adding Textures and Lighting
- Finalizing Your 3D Logo
- Creating the 3D Model
- Refining Your Logo
- Adding Textures and Lighting
- Finalizing Your 3D Logo
- YOUTUBE: Create Your 3D Logo in Blender in Just One Minute
- Refining Your Logo
- Adding Textures and Lighting
- Finalizing Your 3D Logo
- Adding Textures and Lighting
- Finalizing Your 3D Logo
- Finalizing Your 3D Logo
- Introduction to 3D Logo Design in Blender
- Essential Tools and Interface Overview
- Importing Your 2D Logo into Blender
- Converting 2D Images to 3D Models
- Adding Depth and Dimension to Your Logo
- Applying Materials and Textures for Realism
- Lighting and Rendering Your 3D Logo
- Exporting Your Final 3D Logo Design
- Tips and Tricks for Professional Results
How can I create 3D logos in Blender?
To create 3D logos in Blender, follow these steps:
- Open Blender on your computer.
- Set the viewpoint to Z by clicking on the appropriate option.
- Click on Add in the menu, then select Image and choose Reference in the upper lefthand corner.
- Add the image of your logo that you want to convert into 3D.
- Adjust the settings and angles as needed to align the image properly.
- Begin modeling the logo in 3D by creating shapes and extruding them based on the reference image.
- Use Blender\'s tools and features to add depth, textures, and colors to your 3D logo.
- Continue refining and adjusting the logo until you are satisfied with the final result.
- Once you are done, you can render the 3D logo in Blender to create a high-quality image or animation.
READ MORE:
Getting Started
- Open Blender and remove the default plane.
- Go to the View menu and select \"Background Image..\" then click on \"Use Background Image\" and load your logo file.
- Adjust your viewport to Z to align with the logo\"s orientation.
Creating the 3D Model
- Use the Add→Image→Reference option to import your 2D logo.
- Place Bezier curves around the logo\"s contours for precise modeling.
- Convert the traced outline into a mesh and begin the extrusion process to give depth to your logo.
Refining Your Logo
After converting your logo into a 3D model, it\"s time to refine and add details for a professional finish. Use mesh cleaning techniques to smooth out edges and improve the overall look of your logo.

Adding Textures and Lighting
Enhance your 3D logo by applying textures and setting up lighting. These steps will bring your logo to life, making it ready for presentations, animations, or any digital platform.
_HOOK_
Finalizing Your 3D Logo
- Once satisfied with the model and textures, adjust the camera angles for the best view.
- Render your 3D logo to see the final product.
- Export your creation for use in various media formats.
Tips for Success
- Experiment with different lighting setups to highlight your logo\"s best features.
- Use high-resolution images for textures to ensure quality in close-ups.
- Regularly save your project to avoid losing progress.
Creating 3D logos in Blender opens up a world of possibilities for branding and visual representation. Follow these steps to start making your own 3D logos today!

Creating the 3D Model
- Use the Add→Image→Reference option to import your 2D logo.
- Place Bezier curves around the logo\"s contours for precise modeling.
- Convert the traced outline into a mesh and begin the extrusion process to give depth to your logo.

Refining Your Logo
After converting your logo into a 3D model, it\"s time to refine and add details for a professional finish. Use mesh cleaning techniques to smooth out edges and improve the overall look of your logo.

Adding Textures and Lighting
Enhance your 3D logo by applying textures and setting up lighting. These steps will bring your logo to life, making it ready for presentations, animations, or any digital platform.
Finalizing Your 3D Logo
- Once satisfied with the model and textures, adjust the camera angles for the best view.
- Render your 3D logo to see the final product.
- Export your creation for use in various media formats.
Tips for Success
- Experiment with different lighting setups to highlight your logo\"s best features.
- Use high-resolution images for textures to ensure quality in close-ups.
- Regularly save your project to avoid losing progress.
Creating 3D logos in Blender opens up a world of possibilities for branding and visual representation. Follow these steps to start making your own 3D logos today!

_HOOK_
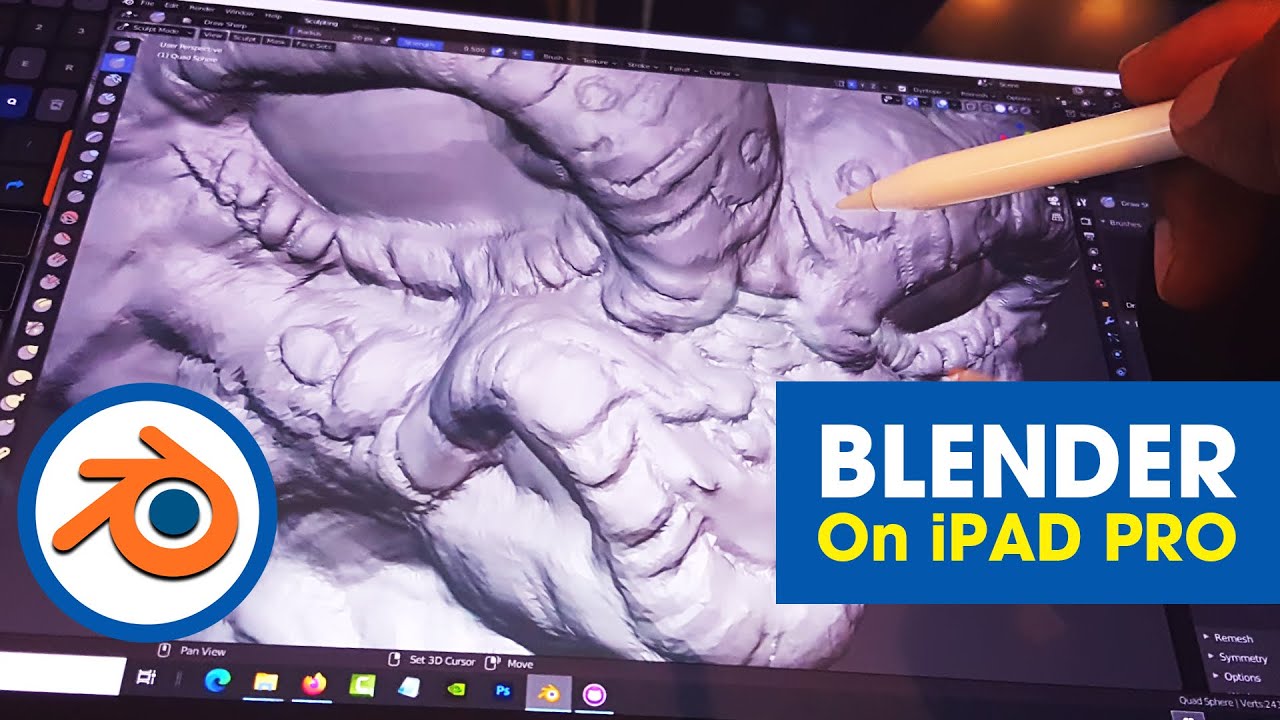
Create Your 3D Logo in Blender in Just One Minute
Blender: \"Discover the endless possibilities of creating stunning visual masterpieces with Blender! From intricate animations to realistic simulations, this video will showcase the power and versatility of Blender in bringing your imagination to life.\" 3D Logos: \"Elevate your brand to new heights with captivating 3D logos that will leave a lasting impression on your audience. Watch this video to see how 3D logos can add depth, sophistication, and a touch of creativity to your brand identity.\"
Refining Your Logo
After converting your logo into a 3D model, it\"s time to refine and add details for a professional finish. Use mesh cleaning techniques to smooth out edges and improve the overall look of your logo.

Adding Textures and Lighting
Enhance your 3D logo by applying textures and setting up lighting. These steps will bring your logo to life, making it ready for presentations, animations, or any digital platform.
Finalizing Your 3D Logo
- Once satisfied with the model and textures, adjust the camera angles for the best view.
- Render your 3D logo to see the final product.
- Export your creation for use in various media formats.
Tips for Success
- Experiment with different lighting setups to highlight your logo\"s best features.
- Use high-resolution images for textures to ensure quality in close-ups.
- Regularly save your project to avoid losing progress.
Creating 3D logos in Blender opens up a world of possibilities for branding and visual representation. Follow these steps to start making your own 3D logos today!
_HOOK_
Finalizing Your 3D Logo
- Once satisfied with the model and textures, adjust the camera angles for the best view.
- Render your 3D logo to see the final product.
- Export your creation for use in various media formats.
Tips for Success
- Experiment with different lighting setups to highlight your logo\"s best features.
- Use high-resolution images for textures to ensure quality in close-ups.
- Regularly save your project to avoid losing progress.
Creating 3D logos in Blender opens up a world of possibilities for branding and visual representation. Follow these steps to start making your own 3D logos today!
Introduction to 3D Logo Design in Blender
Creating 3D logos in Blender opens a world of possibilities for branding and visual design. Blender, a powerful open-source 3D creation suite, offers tools for modeling, rendering, and texturing that can transform any 2D logo into a dynamic 3D model. This section will guide you through the basics of 3D logo design in Blender, from importing your 2D design to adding the final touches that will make your logo stand out.
- Understanding Blender\"s Interface: Familiarize yourself with Blender’s interface to navigate and utilize its comprehensive toolset effectively.
- Preparing Your 2D Logo: Ensure your logo is in a compatible format (e.g., SVG) for smooth importing into Blender.
- Importing and Converting to 3D: Learn how to import your 2D logo and use Blender\"s tools to convert it into a 3D model.
- Modeling Techniques: Explore basic modeling techniques to add depth and dimension to your logo.
- Materials and Textures: Apply materials and textures to give your logo a unique look and feel.
- Lighting and Rendering: Understand lighting setups and rendering options to showcase your logo in the best light.
- Exporting Your Design: Export your final design in a format suitable for web or print use.
With practice and creativity, Blender can be your go-to tool for creating eye-catching 3D logos that elevate your brand\"s identity.
Essential Tools and Interface Overview
Embarking on your 3D logo design journey in Blender starts with familiarizing yourself with its comprehensive toolset and interface. Blender offers a versatile environment for creating professional-quality 3D logos. Here\"s a breakdown of the essential tools and interface elements you\"ll need to get started:
- 3D Viewport: The main area where you model, animate, and visualize your projects.
- Object Mode and Edit Mode: Use Object Mode to select and manipulate whole objects and Edit Mode for modifying individual components.
- Mesh Tools: Essential for shaping your logo, including extrude, scale, and rotate functions.
- Materials and Texturing: Apply colors, textures, and reflections to give your logo a unique look.
- Lighting: Enhance your logo with lighting effects to add depth and realism.
- Rendering Engine: Finalize your logo with Blender\"s powerful rendering options to create high-quality images.
These tools and features are fundamental in transforming a simple 2D logo into a dynamic 3D model. By mastering these elements, you\"ll be well on your way to producing eye-catching logos that stand out.
Importing Your 2D Logo into Blender
Transforming your 2D logo into a 3D masterpiece begins with importing it into Blender. This process is straightforward and sets the stage for your creative work. Follow these steps to start your 3D logo design journey:
- Prepare Your 2D Logo: Ensure your logo is in a compatible format (such as SVG or PNG) for Blender.
- Open Blender: Launch Blender and select \"File\" > \"Import\" to choose the appropriate file type for your logo.
- Adjust the Scale and Position: Once imported, you may need to adjust the scale and position of your logo within the 3D viewport to work comfortably.
- Convert to Mesh: For more complex editing capabilities, convert your logo from a curve to a mesh by selecting it, then pressing \"Alt+C\" and choosing \"Mesh from Curve/Meta/Surf/Text\".
By following these steps, your 2D logo will be ready for the transformative process of becoming a 3D logo in Blender. This foundational step is crucial for the next phases of modeling, texturing, and rendering your logo.
Converting 2D Images to 3D Models
After importing your 2D logo into Blender, the next crucial step is converting it into a 3D model. This transformation process breathes life into your design, adding depth and dimension that elevate its impact. Follow these detailed steps to achieve a compelling 3D logo:
- Create a New Mesh Object: Start by adding a new mesh object (e.g., a plane) that will serve as the base for your logo.
- Trace the Logo: Use Blender\"s modeling tools to trace your imported 2D logo. This can be done by editing the mesh object to match the logo\"s shape.
- Extrude to Add Depth: Select the traced outline of your logo and extrude it to add the desired level of thickness, thereby transforming it from a flat image into a 3D model.
- Refine the Model: Use additional Blender tools to refine the shape, smooth out edges, and make necessary adjustments to accurately represent your logo.
- Apply Materials and Textures: Enhance your 3D logo by applying materials and textures. This step involves selecting appropriate colors, reflections, and surface characteristics to make your logo visually appealing.
This process, while it may seem intricate, is made intuitive with Blender\"s user-friendly interface and comprehensive toolset. By meticulously converting your 2D image to a 3D model, you\"re setting the stage for a logo that stands out in any digital or physical space.
_HOOK_
Adding Depth and Dimension to Your Logo
Transforming your 2D logo into a 3D object is a crucial step in creating a visually striking and memorable brand identity. By adding depth and dimension, your logo can significantly enhance its appeal. Follow these steps to give your logo the depth it deserves:
- Adjusting Extrusion: Begin by extruding the 2D outline of your logo to add thickness. This step is fundamental in converting flat images into 3D models.
- Modifying Bevel: Apply a bevel to the edges for a smoother, more polished look. Beveling adds a professional touch by softening sharp edges.
- Creating Depth with Layers: Utilize layers to create different levels of depth within your logo. This technique can highlight certain elements, making your logo more dynamic.
- Applying Materials: Choose materials that reflect light differently to emphasize depth. Metallic or glossy finishes can enhance the 3D effect.
- Lighting Effects: Proper lighting can dramatically impact the perception of depth. Experiment with different lighting angles and intensities to accentuate the three-dimensional aspects of your logo.
By meticulously applying these techniques, you can transform a simple logo into a compelling 3D model that captures attention and communicates your brand\"s message powerfully.
Applying Materials and Textures for Realism
Once you\"ve converted your 2D logo into a 3D model, the next step to bring it to life is by applying materials and textures. This process adds realism and vibrancy, making your logo truly stand out. Follow these steps to enhance your 3D logo:
- Select Your Logo: In Object Mode, select your 3D logo model to begin applying materials.
- Open the Materials Tab: Navigate to the Materials tab in the Properties panel. Click \"New\" to create a new material.
- Choose a Base Color: Start with the base color. This should match your logo’s primary color or the effect you wish to achieve.
- Adjust Material Properties: Experiment with different settings such as Specularity, Roughness, and Metallic to achieve the desired look. Each adjustment can significantly affect how light interacts with the surface of your logo.
- Apply Textures: For added detail, apply textures by going to the Texture tab and selecting \"New\". Choose from various texture types to simulate real-world materials.
- Utilize Nodes for Advanced Texturing: For more control over textures and effects, use Blender’s node editor to mix and create complex materials.
By carefully selecting materials and textures, you can enhance the depth, realism, and appeal of your 3D logo. This process is crucial for creating a logo that not only looks professional but also captures the essence of your brand.
Lighting and Rendering Your 3D Logo
Lighting and rendering are the final steps to bring your 3D logo to its full glory. These elements are key to showcasing your logo in the best possible light, making it ready for presentation or integration into various media. Follow these steps to effectively light and render your 3D logo in Blender:
- Set Up the Lighting: Begin by adding light sources to your scene. Consider using three-point lighting for a balanced look, with a key light, fill light, and back light to highlight your logo\"s dimensions.
- Adjust Light Properties: Fine-tune the properties of each light source, including intensity, color, and distance, to achieve the desired effect on your logo.
- Select a Camera Angle: Position the camera to capture your logo from the best angle. Experiment with different positions and angles to find the most flattering view.
- Choose Rendering Settings: Navigate to the Render tab to select your rendering engine (e.g., Cycles or Eevee) and adjust settings such as resolution, samples, and output format.
- Render Your Logo: With everything set up, click on the Render button to create the final image of your logo. This process may take some time depending on your settings and the complexity of the scene.
Proper lighting and rendering not only highlight the best features of your 3D logo but also ensure it looks professional and ready for any application. With these steps, your logo will be prepared to make a striking impact.
Exporting Your Final 3D Logo Design
After perfecting your 3D logo with detailed modeling, realistic materials, and optimal lighting, the final step is exporting your design for use across various media. This ensures your logo can be effectively utilized in digital or print formats. Follow these steps to export your masterpiece:
- Choose the Right Format: Blender supports various export formats. For most applications, exporting as an OBJ or FBX file is recommended for 3D purposes, while SVG or PNG is ideal for 2D renders.
- Set Up the Export Options: Navigate to File > Export and select your format. Adjust the export settings according to your needs, such as scale, texture options, and object selection.
- Finalize and Save: Once you\"ve configured the export options, click \"Export\" to save your file. Ensure you choose a memorable location and file name for easy access.
Exporting your 3D logo properly is crucial for maintaining the quality and versatility of your design. By following these steps, you\"ll ensure your logo is ready for any application, from web design to printed materials, showcasing your brand in the best light.
READ MORE:
Tips and Tricks for Professional Results
To elevate your 3D logo designs in Blender to a professional level, consider incorporating these tips and tricks. They can significantly enhance the quality and appeal of your creations, making them stand out:
- Use Reference Images: Having a reference image can guide your modeling process, ensuring accuracy and proportionality in your design.
- Keep It Simple: Start with simple shapes and add details gradually. This approach makes it easier to manage and edit your logo.
- Focus on Lighting: Good lighting can make a big difference in how your logo looks. Experiment with different lighting setups to highlight the best features of your logo.
- Experiment with Camera Angles: Try different camera angles to find the most flattering view for your logo, showcasing its 3D effect and depth.
- Optimize Materials and Textures: Spend time fine-tuning materials and textures. Even minor adjustments can significantly impact the realism and attractiveness of your logo.
- Use Blender\"s Compositing Tools: After rendering, use Blender’s compositing tools to polish your logo further. Adjusting contrast, saturation, and adding effects can enhance the overall look.
- Continuous Learning: Blender is updated regularly with new features and tools. Stay updated and continuously learn to improve your skills.
By following these tips, you\"ll be better equipped to create 3D logos that not only look professional but also effectively convey your brand\"s identity. Remember, practice and experimentation are key to mastering Blender and achieving outstanding results.
Embarking on your journey to create 3D logos in Blender can transform your designs, giving them depth and impact. With patience and creativity, you\"ll craft logos that captivate and impress, showcasing your skill and vision.
_HOOK_