Topic 3d logo blender: Discover the art of 3D logo creation with Blender, and transform your branding into a captivating visual experience. Master Blender"s tools to bring your logo designs to life and set your brand apart in the digital world.
Table of Content
- What are some techniques for creating a 3D logo in Blender?
- Getting Started with 3D Logos
- Advanced Tools and Features
- Creating Impactful Branding
- YOUTUBE: How to Make a 3D Spinning Logo in Blender | Blender Basics
- Advanced Tools and Features
- Creating Impactful Branding
- Creating Impactful Branding
- Introduction to 3D Logo Design with Blender
- Why Choose Blender for Your 3D Logo Creation
- Step-by-Step Guide to Creating Your First 3D Logo
- Transforming 2D Logos into 3D Models
- Texturing and Coloring Your 3D Logo
- Animating Your 3D Logo for Maximum Impact
- Rendering and Exporting Your 3D Logo
- Advanced Techniques in 3D Logo Design
- Resources for Learning More about 3D Design in Blender
- Success Stories: Inspiring 3D Logo Projects Created with Blender
What are some techniques for creating a 3D logo in Blender?
Creating a 3D logo in Blender can be achieved using various techniques. Here are some steps you can follow:
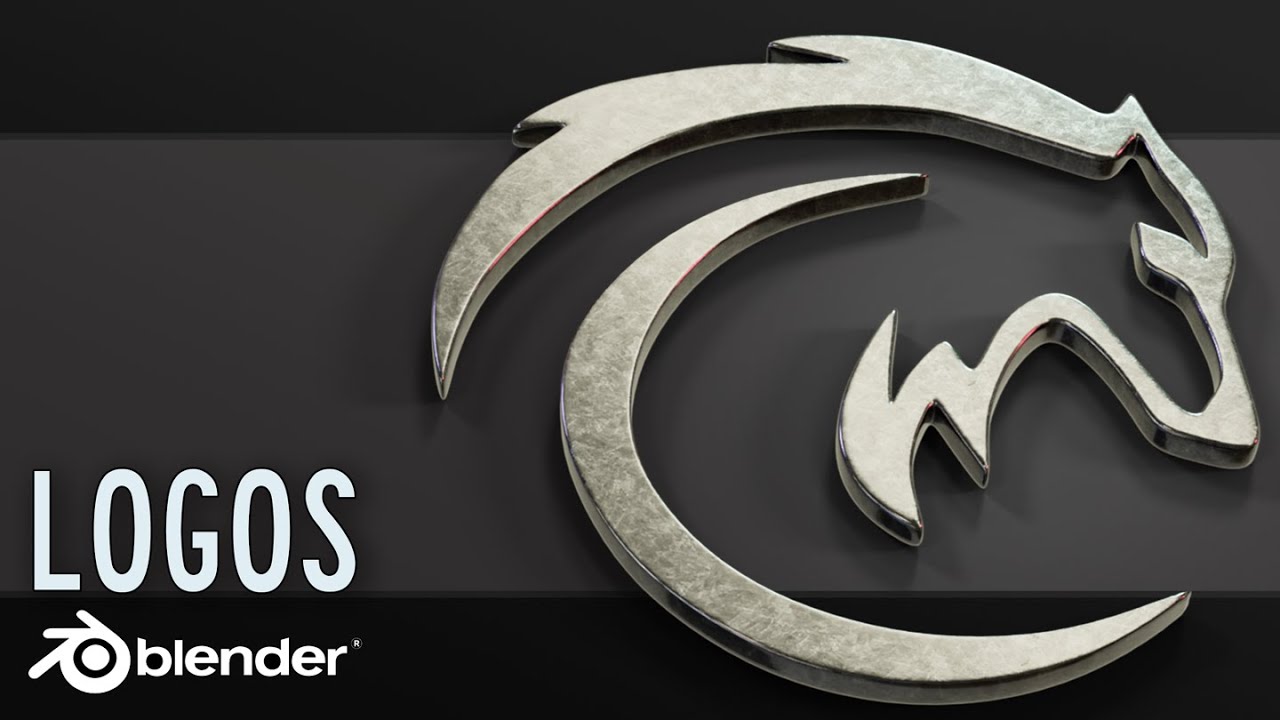
- Start by importing a 2D vector file (such as an SVG file) into Blender.
- Once the 2D file is imported, you can convert it into a 3D model by extruding the shapes. This will give your logo depth and dimension.
- Use the Bevel tool to add rounded edges to your logo, giving it a more polished look.
- Experiment with different materials and textures to give your logo the desired appearance. You can adjust the color, shininess, and roughness of the materials to achieve the desired effect.
- Add lighting to your scene to enhance the visibility and realism of your 3D logo. Position the lights strategically to highlight different aspects of the logo.
- Finally, render your 3D logo using Blender\'s rendering engine. You can adjust the resolution, sampling, and output settings to get the best quality render.
READ MORE:
Getting Started with 3D Logos
Beginners can quickly learn the basics of Blender, including interface navigation and tool utilization, to start transforming 2D logos into their 3D counterparts. Tutorials and courses are widely available to guide you through the process, ensuring a smooth transition from 2D to 3D.
Key Techniques
- Converting 2D images to 3D models
- Mastering procedural nodes for intricate designs
- Animating logos for captivating effects
Advanced Tools and Features
For those looking to dive deeper, Blender offers advanced sculpting tools, N-Gon support, and dynamic subdivision. Procedural nodes, in particular, are a game-changer for creating complex and customizable 3D logos.
Online Resources and Courses
- Comprehensive video courses for mastering 3D logo creation
- Step-by-step tutorials for logo animation
- Community forums and marketplaces for additional support and resources
Creating Impactful Branding
Whether you\"re enhancing your personal brand or designing for clients, 3D logos can significantly impact your visual identity. By leveraging Blender\"s capabilities, you can produce logos that stand out in today\"s crowded digital landscape.
| Feature | Description |
| 2D to 3D Conversion | Easily transform flat images into detailed 3D models. |
| Procedural Nodes | Utilize powerful nodes for complex and customizable textures. |
| Animation | Bring logos to life with dynamic animations for any platform. |
With the right approach and Blender\"s comprehensive toolset, creating and animating 3D logos can be an exciting journey into 3D design. Embrace the challenge and watch your digital creations captivate your audience!
How to Make a 3D Spinning Logo in Blender | Blender Basics
Tutorial: Discover an informative and engaging tutorial that will teach you valuable skills in just a few minutes. Let us guide you through step-by-step instructions to help you master new techniques effortlessly. Quick: Looking for a fast-paced and efficient way to learn something new? Our quick video will provide you with all the essential information in a concise and easy-to-follow format. Watch now for a rapid learning experience!
Make Your 3D Logo in Blender in a Minute! Blender3D
Become a pro in blender with me I\'ll show you how to Model Your 3d Logo in blender.. So If you are a beginner in blender you can ...
Advanced Tools and Features
For those looking to dive deeper, Blender offers advanced sculpting tools, N-Gon support, and dynamic subdivision. Procedural nodes, in particular, are a game-changer for creating complex and customizable 3D logos.
Online Resources and Courses
- Comprehensive video courses for mastering 3D logo creation
- Step-by-step tutorials for logo animation
- Community forums and marketplaces for additional support and resources

_HOOK_
Creating Impactful Branding
Whether you\"re enhancing your personal brand or designing for clients, 3D logos can significantly impact your visual identity. By leveraging Blender\"s capabilities, you can produce logos that stand out in today\"s crowded digital landscape.
With the right approach and Blender\"s comprehensive toolset, creating and animating 3D logos can be an exciting journey into 3D design. Embrace the challenge and watch your digital creations captivate your audience!
Creating Impactful Branding
Whether you\"re enhancing your personal brand or designing for clients, 3D logos can significantly impact your visual identity. By leveraging Blender\"s capabilities, you can produce logos that stand out in today\"s crowded digital landscape.
| Feature | Description |
| 2D to 3D Conversion | Easily transform flat images into detailed 3D models. |
| Procedural Nodes | Utilize powerful nodes for complex and customizable textures. |
| Animation | Bring logos to life with dynamic animations for any platform. |
With the right approach and Blender\"s comprehensive toolset, creating and animating 3D logos can be an exciting journey into 3D design. Embrace the challenge and watch your digital creations captivate your audience!