Topic blender textures tutorial: Dive into the world of 3D design with our Blender Textures Tutorial, guiding you through creating stunning, realistic textures to elevate your models and animations to the next level.
Table of Content
- Understanding Blender Textures
- Tutorial Highlights
- Practical Applications
- What is the best Blender textures tutorial available online?
- YOUTUBE: How to Texture Paint Like a Pro in Blender: Easy Beginner\'s Guide with Ucupaint
- Tutorial Highlights
- Practical Applications
- Practical Applications
- Introduction to Blender Textures
- Getting Started with Blender for Texturing
- Understanding Basic Texture Types and Their Uses
- Step-by-Step Guide to Applying Textures in Blender
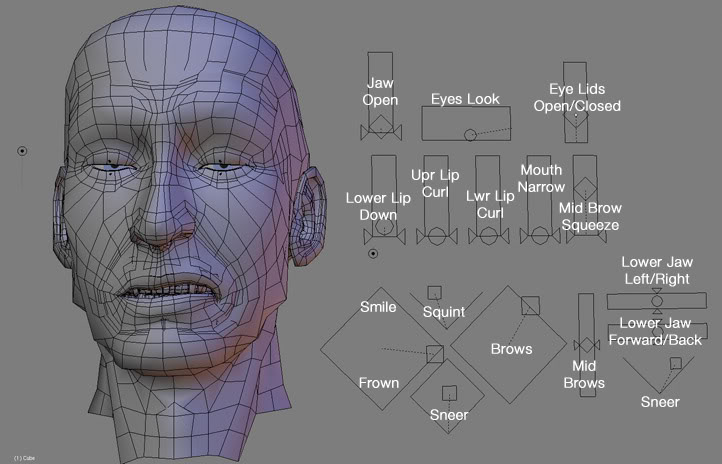
- Advanced Techniques for Realistic Texturing
- Creating Your Own Textures from Scratch
- Utilizing Blender\"s Texture Painting Tools
- Applying UV Mapping Techniques for Better Texturing
- Optimizing Textures for Game Assets and Animation
- Common Texturing Problems and How to Solve Them
- Resources for Further Learning and Inspiration
Understanding Blender Textures
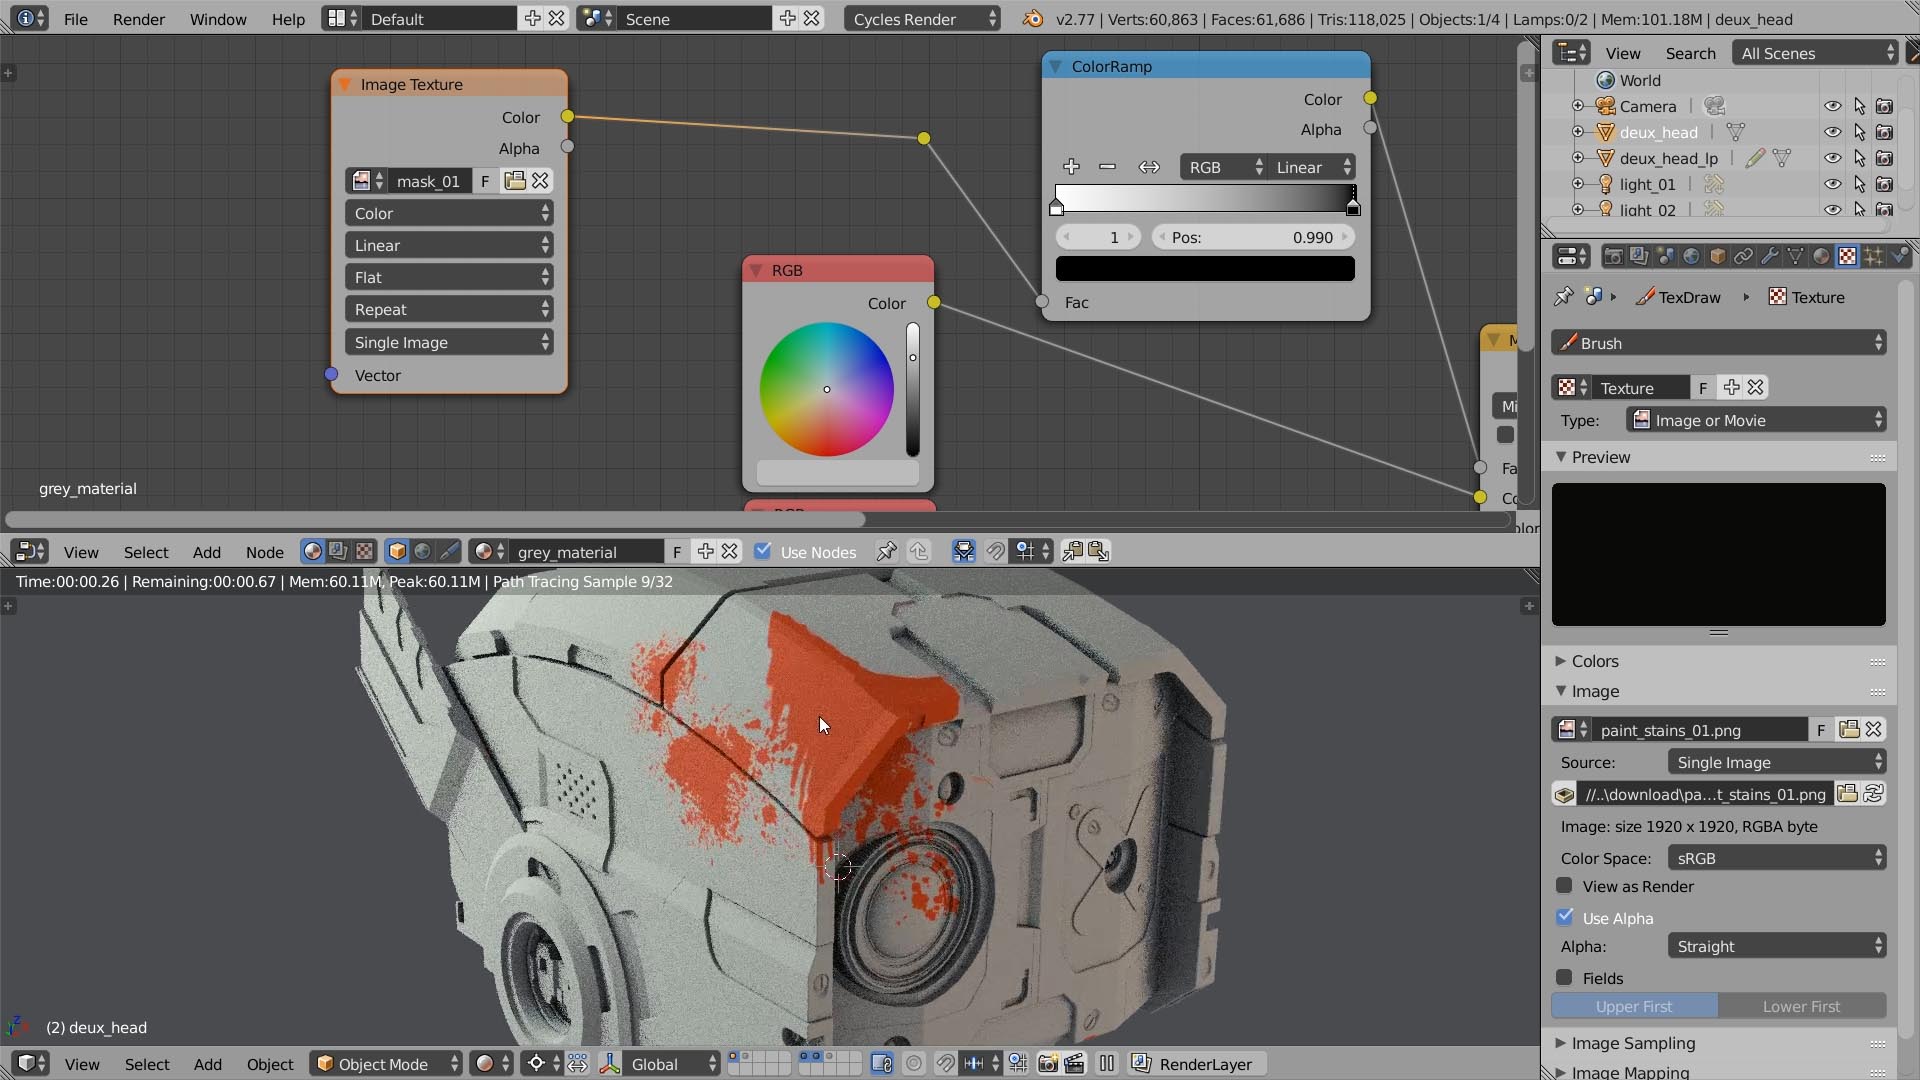
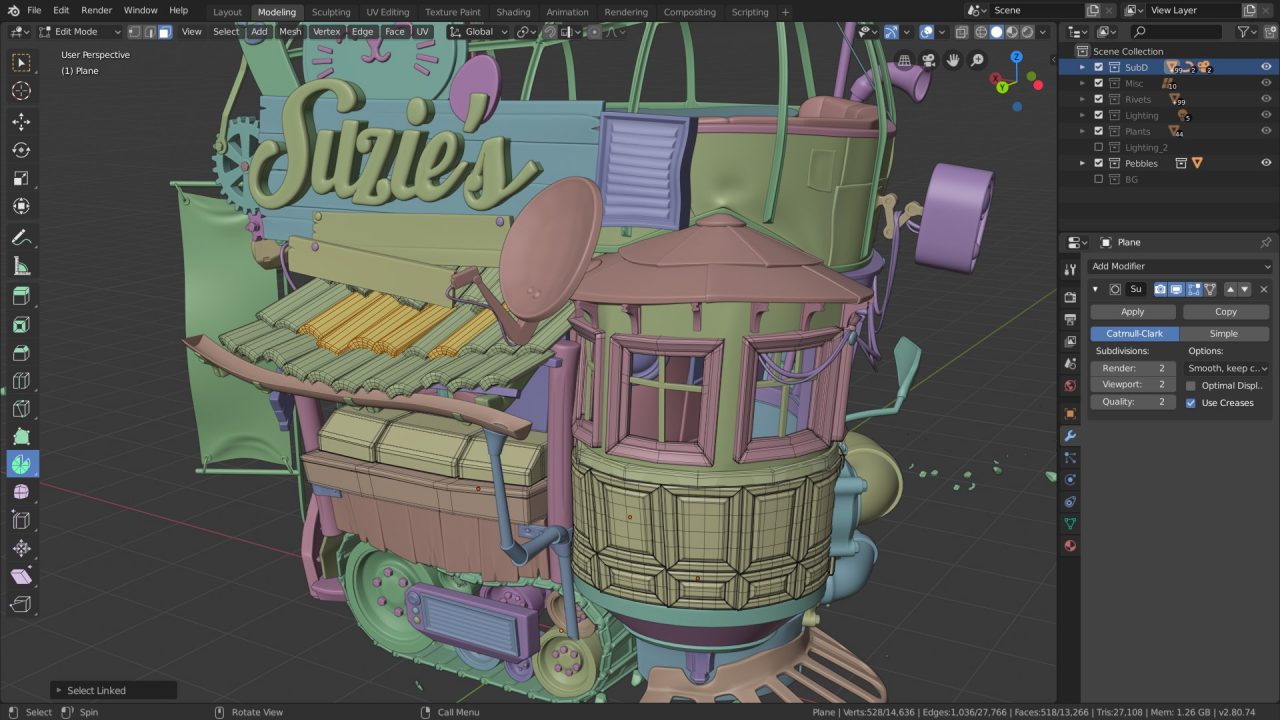
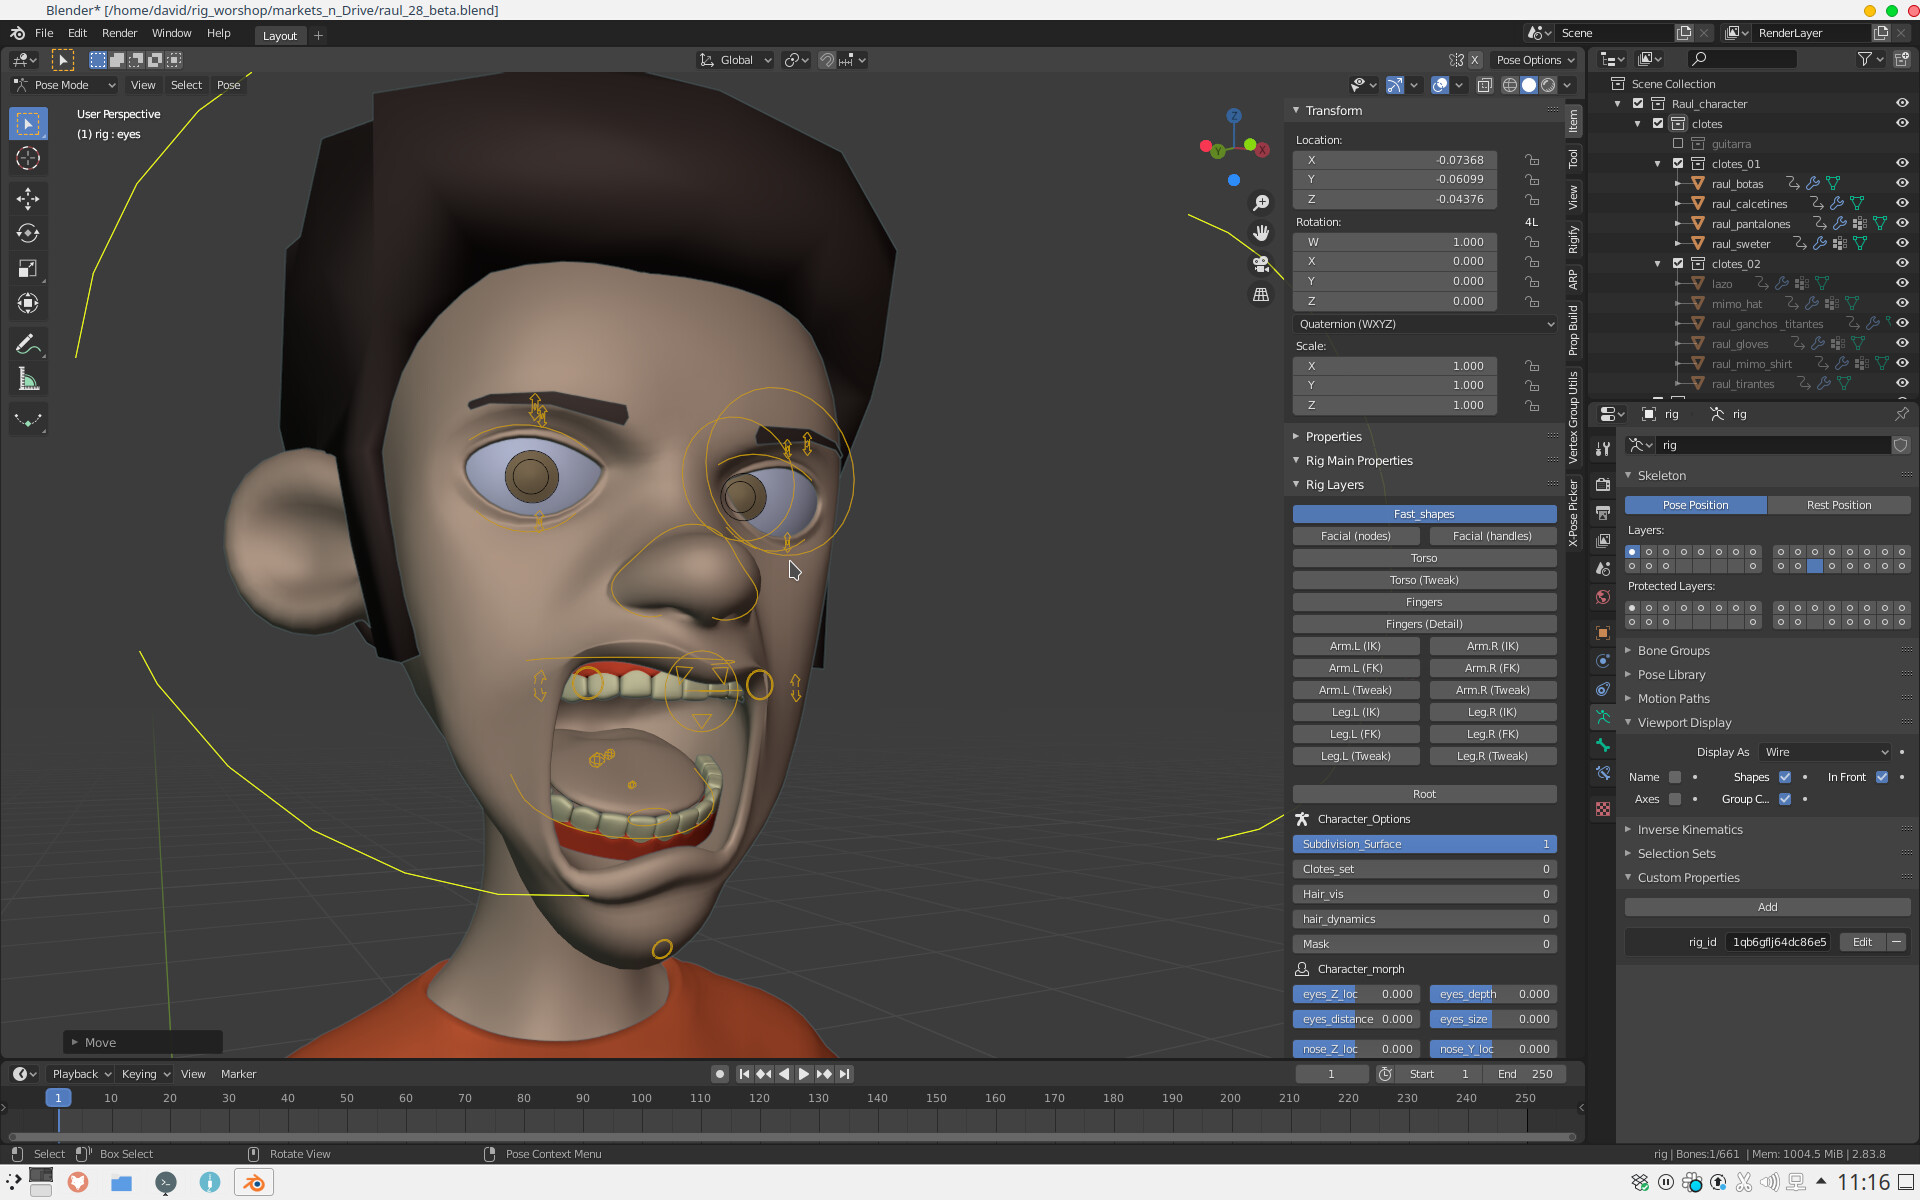
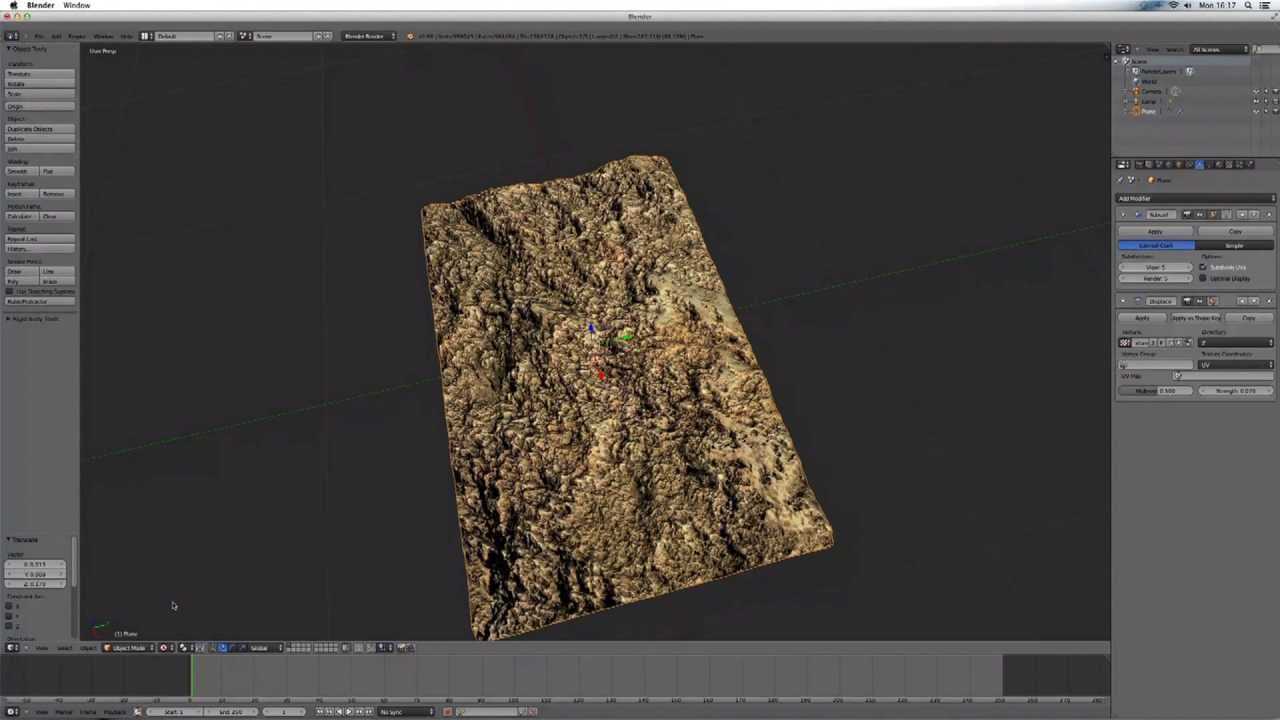
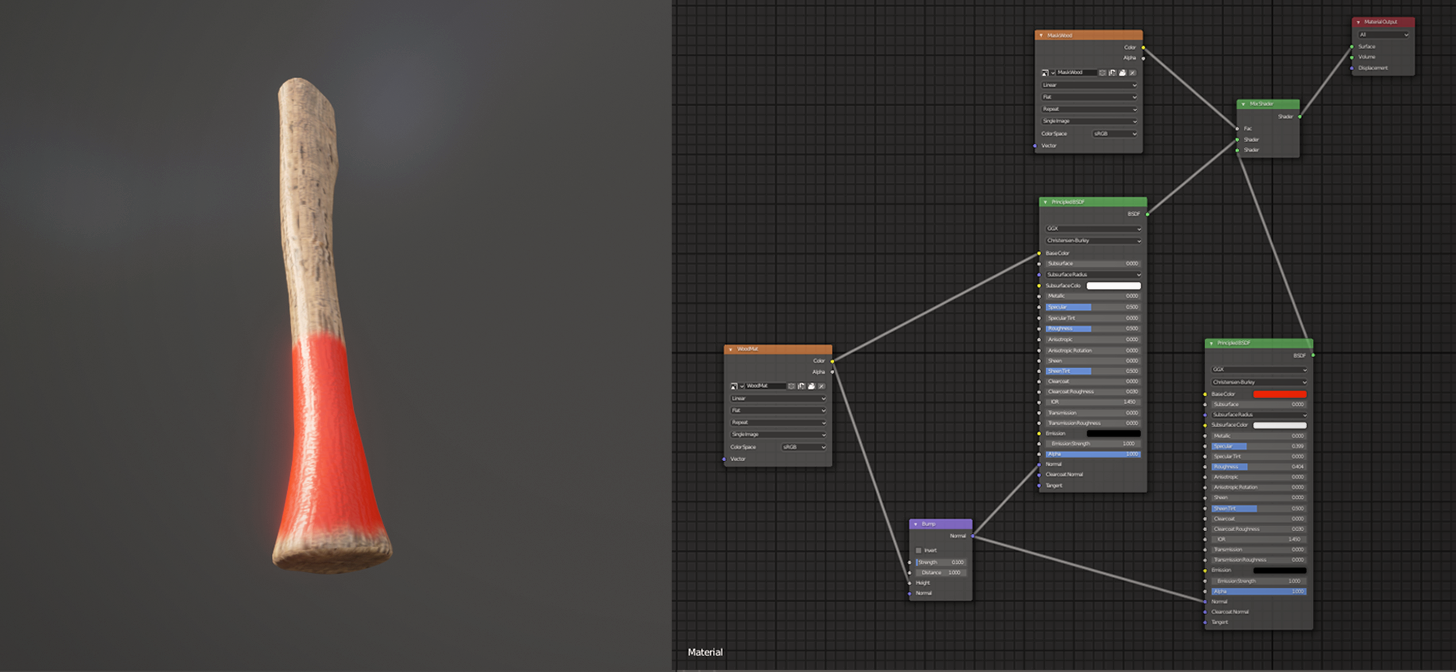
Textures in Blender can transform your 3D models from flat and dull to intricate and detailed. Whether you\"re aiming for realism or a specific artistic style, mastering textures is essential.
Getting Started with Textures
- Introduction to texture application in Blender.
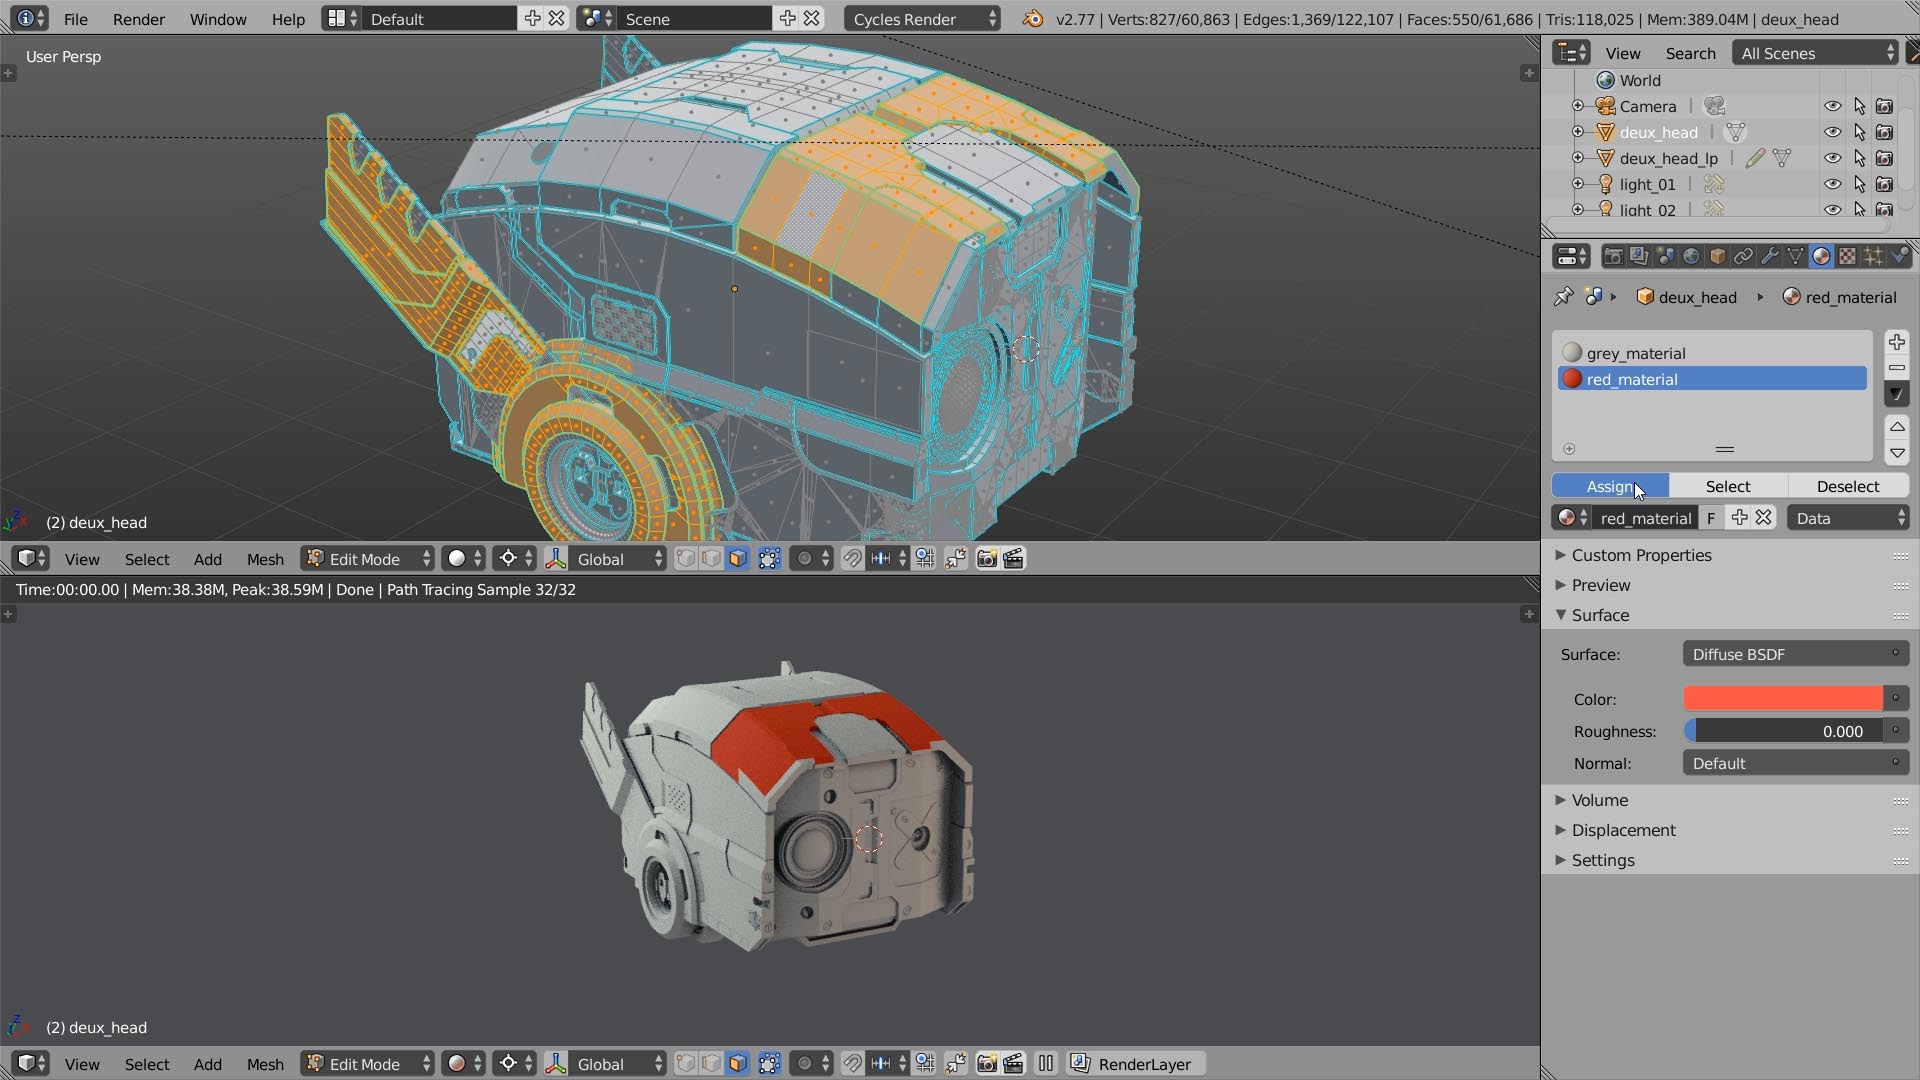
- Step-by-step guide to assigning materials and textures.
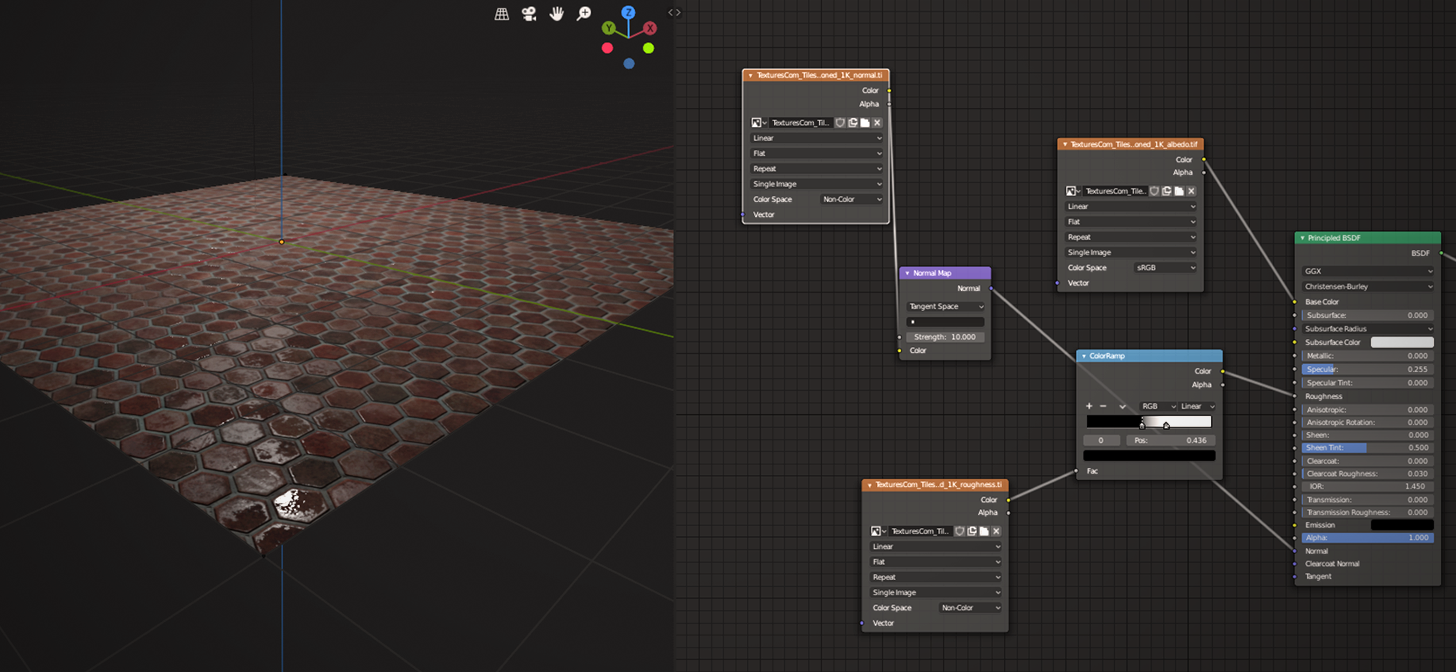
- Basics of UV mapping and image texture application.
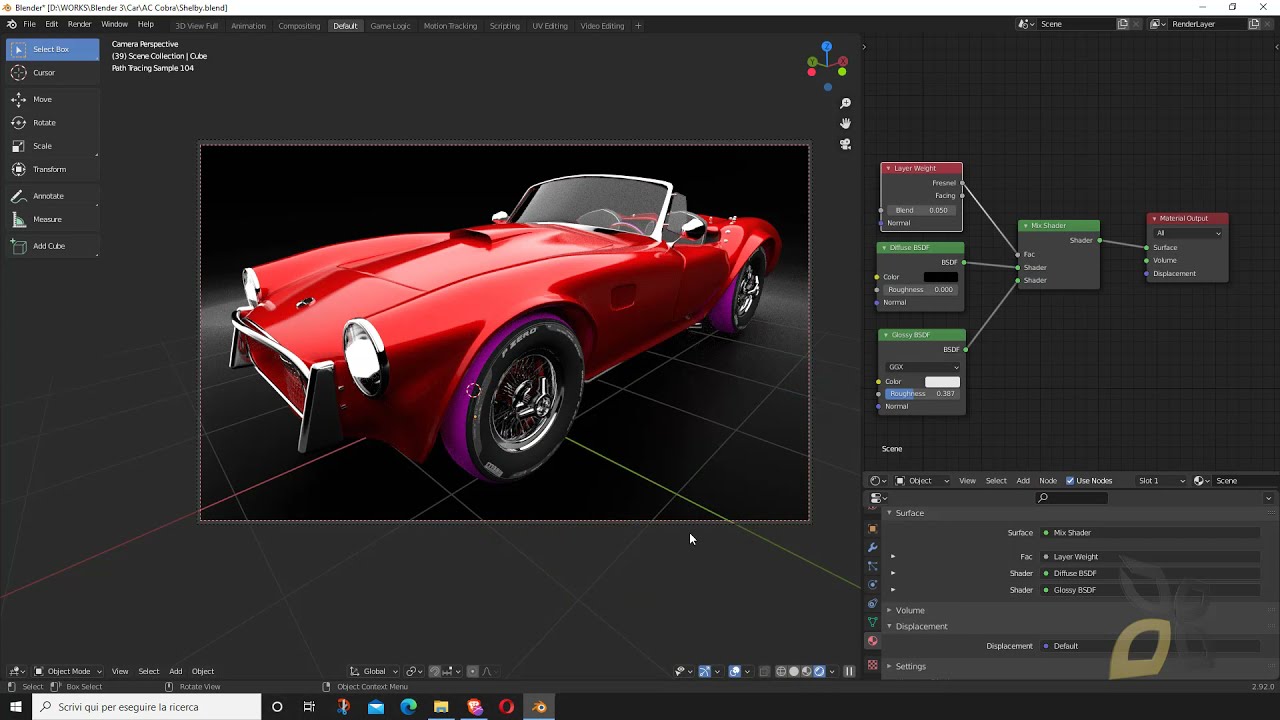
Advanced Texturing Techniques
- Procedural texturing for dynamic material creation.
- Texture painting to manually create or enhance textures.
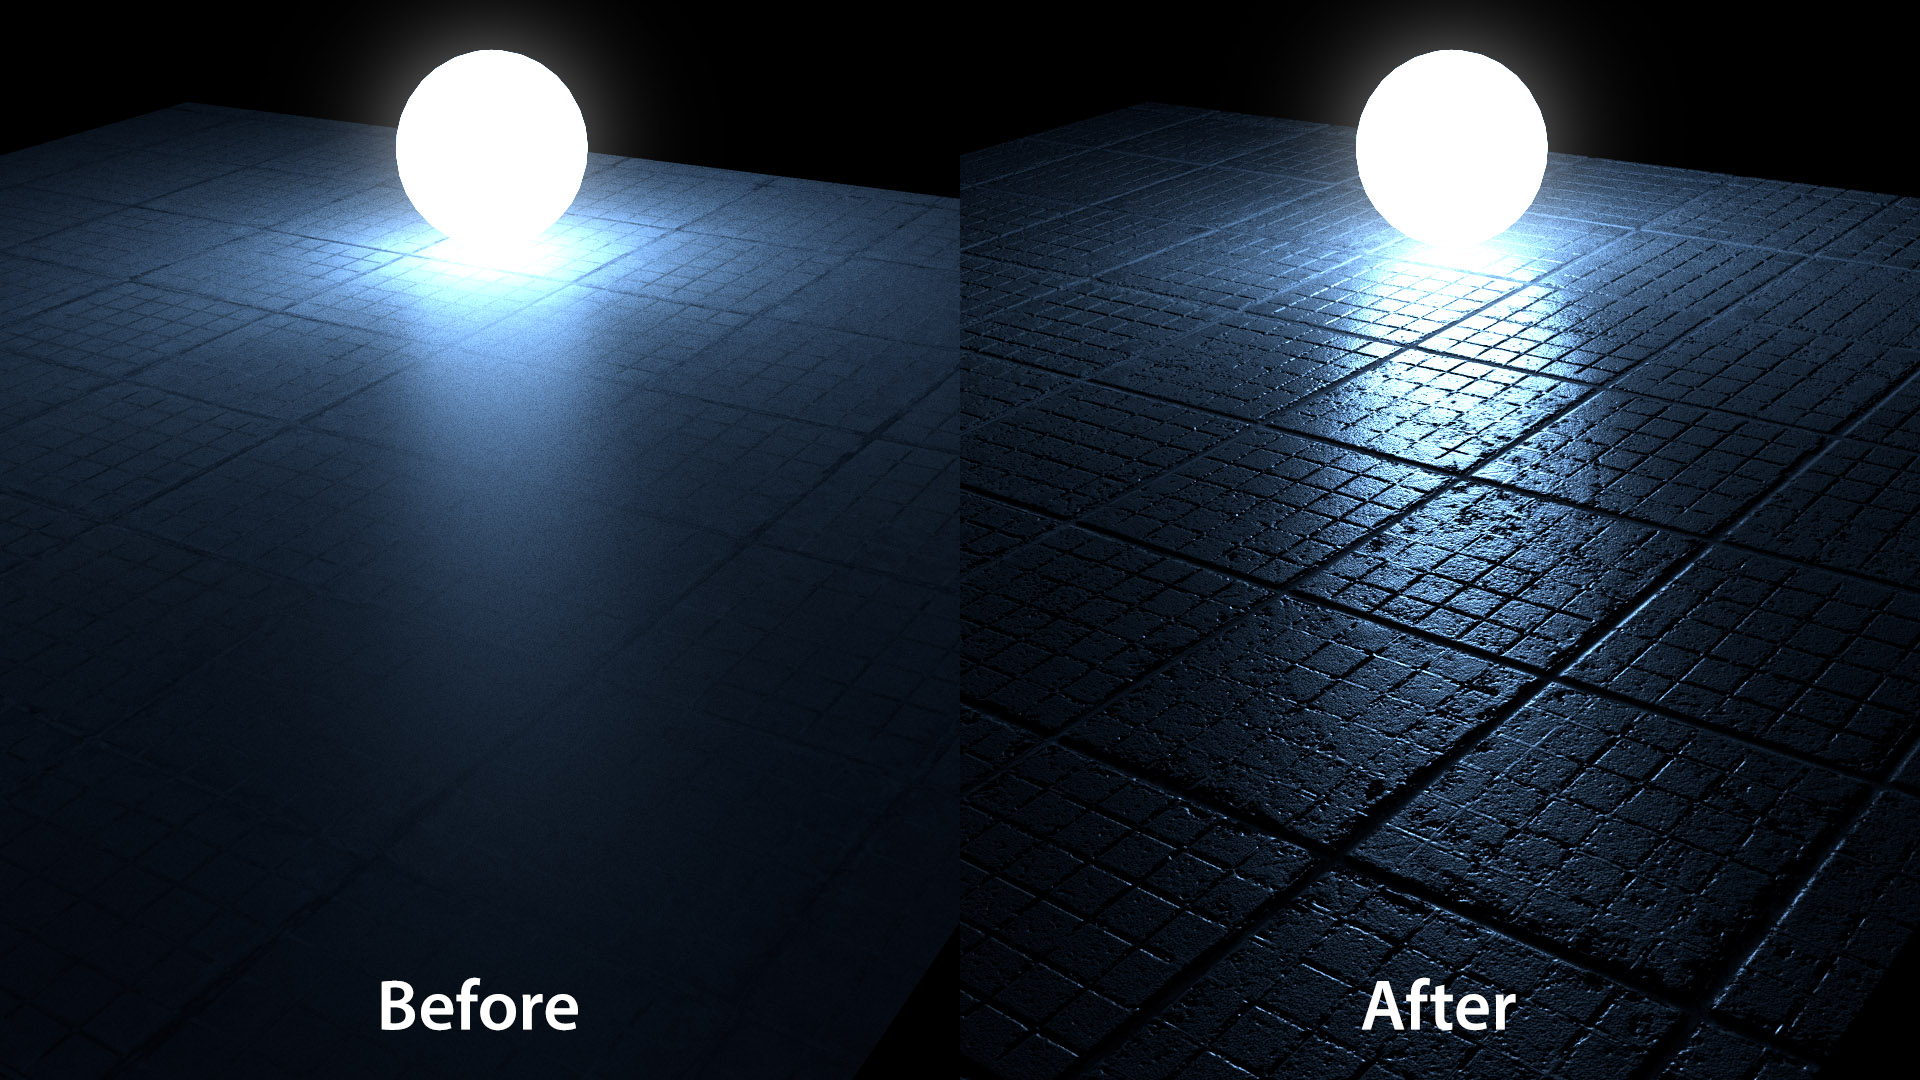
- Realistic texturing for photorealistic material effects.
READ MORE:
Tutorial Highlights
- How to add textures in Blender for beginners.
- Comprehensive guide to UV mapping and texture painting.
- Tips for achieving realistic materials and effects.
Practical Applications
These tutorials cover a wide range of applications, from simple color application to creating complex materials using procedural textures and PBR (Physically Based Rendering) techniques.
| Tutorial Focus | Key Techniques | Difficulty Level |
| Basic Texture Application | UV Mapping, Image Textures | Beginner |
| Texture Painting | Direct Painting on 3D Models | Intermediate |
| Realistic Materials | Procedural Texturing, PBR | Advanced |
By exploring these tutorials, you\"ll gain the skills to bring your 3D models to life with compelling textures and materials, making your Blender projects stand out.
What is the best Blender textures tutorial available online?
The best Blender textures tutorial available online can be found on the official Blender website. Here is a detailed breakdown of the steps to access this tutorial:
- Visit the official Blender website by typing \"blender.org\" in your web browser.
- Navigate to the \"Support\" section of the website.
- Look for the \"Tutorials\" or \"Learning\" tab on the support page.
- Search for the specific tutorial on texturing and mapping within the available resources.
- Click on the tutorial link to access the detailed step-by-step guide on creating textures in Blender.
By following these steps, you will be able to find the best Blender textures tutorial online provided by the official Blender website.
How to Texture Paint Like a Pro in Blender: Easy Beginner\'s Guide with Ucupaint
Procedural Textures: Dive into the fascinating world of procedural textures in this eye-opening video! Discover how digital artists create complex and realistic textures seamlessly, making your designs stand out like never before. Object Material: Explore the magic of object materials in this captivating video! Uncover the secrets behind realistic material rendering and learn how to make your 3D objects come to life with incredible detail and authenticity.
Add A Texture to An Object - Blender Tutorial
If you\'d like to help support my channel, please consider making a donation! It helps more than you know ...
Tutorial Highlights
- How to add textures in Blender for beginners.
- Comprehensive guide to UV mapping and texture painting.
- Tips for achieving realistic materials and effects.
_HOOK_
Practical Applications
These tutorials cover a wide range of applications, from simple color application to creating complex materials using procedural textures and PBR (Physically Based Rendering) techniques.
By exploring these tutorials, you\"ll gain the skills to bring your 3D models to life with compelling textures and materials, making your Blender projects stand out.
Practical Applications
These tutorials cover a wide range of applications, from simple color application to creating complex materials using procedural textures and PBR (Physically Based Rendering) techniques.
| Tutorial Focus | Key Techniques | Difficulty Level |
| Basic Texture Application | UV Mapping, Image Textures | Beginner |
| Texture Painting | Direct Painting on 3D Models | Intermediate |
| Realistic Materials | Procedural Texturing, PBR | Advanced |
By exploring these tutorials, you\"ll gain the skills to bring your 3D models to life with compelling textures and materials, making your Blender projects stand out.