Topic blender 3d modeling: Discover the limitless possibilities of Blender 3D modeling, a free, open-source software that transforms your creative ideas into stunning 3D artwork, animations, and more, empowering artists and designers of all skill levels.
Table of Content
- Key Features of Blender\"s Modeling Tools
- Getting Started with Blender
- Why Choose Blender?
- Getting Started with Blender
- Why Choose Blender?
- Why Choose Blender?
- Introduction to Blender 3D Modeling
- How to create realistic 3D models using Blender for 3D modeling?
- YOUTUBE: Creating a Character in Blender - Step-by-Step Guide
- Key Features and Tools in Blender
- Getting Started with Blender: Installation and Setup
- Basic Modeling Techniques for Beginners
- Advanced Modeling and Sculpting Techniques
- Texturing and Materials: Bringing Your Models to Life
- Animation and Rigging Essentials
- Rendering and Exporting Your Models
- Community and Learning Resources
- Comparing Blender with Other 3D Modeling Software
- Real-World Applications of Blender in Industries
- Tips and Tricks for Efficient Modeling in Blender
- Future Developments and Updates in Blender
Key Features of Blender\"s Modeling Tools
- Keyboard shortcuts for fast workflow
- Edge slide, collapse, and dissolve
- Grid and Bridge fill
- Python scripting for custom tools and add-ons
- Automatic operations with modifiers for non-destructive editing
READ MORE:
Getting Started with Blender
Blender is compatible with Windows 11, 10, and 8.1, and supports Intel Arc with driver version 101.3430 or newer. It\"s designed for both beginners and advanced users, offering an API for Python scripting to customize the application and create specialized tools.
Learning Resources
- Official Blender Tutorials: Short, clear, and concise videos covering every corner of Blender\"s interface and concepts.
- Beginner Guides: Step-by-step instructions on creating 3D models, perfect for newcomers.
- Advanced Modeling Techniques: In-depth series for building high-resolution characters for video games or movies.

Why Choose Blender?
Blender\"s versatility and power make it a go-to tool for artists, designers, and 3D enthusiasts alike. Its extensive toolset allows for the creation of complex digital sculptures and animations, supporting the digital production pipeline at various stages. Whether for hobby projects or professional film and game development, Blender pushes the boundaries of 3D art and storytelling.
_HOOK_
Why Choose Blender?
Blender\"s versatility and power make it a go-to tool for artists, designers, and 3D enthusiasts alike. Its extensive toolset allows for the creation of complex digital sculptures and animations, supporting the digital production pipeline at various stages. Whether for hobby projects or professional film and game development, Blender pushes the boundaries of 3D art and storytelling.

Introduction to Blender 3D Modeling
Blender 3D modeling is a cornerstone of digital creation, offering a versatile platform for creating high-quality 3D content. This powerful, open-source software suite encompasses the full 3D pipeline, enabling artists and designers to model, animate, simulate, and render their visions with precision and creativity.
With its comprehensive toolset, Blender supports a wide range of projects, from simple models to complex scenes for movies and video games. Its user-friendly interface and extensive community resources make it accessible to both beginners and professionals.
- Free and Open-Source: Blender is completely free to use for any purpose, including commercial projects.
- Comprehensive 3D Pipeline: Covers everything from modeling and rigging to simulation and rendering.
- Extensive Modelling Tools: Offers a wide array of modeling tools for creating, editing, and transforming 3D objects.
- Community Support: A large and active community provides tutorials, forums, and shared projects to help users learn and grow.
Blender\"s commitment to accessibility, combined with its powerful capabilities, makes it a prime choice for anyone looking to dive into the world of 3D modeling. Whether you\"re a hobbyist looking to explore your creative potential or a professional seeking robust modeling solutions, Blender offers the tools and flexibility needed to bring your ideas to life.

How to create realistic 3D models using Blender for 3D modeling?
To create realistic 3D models using Blender for 3D modeling, follow these steps:
- Start by launching Blender on your computer.
- Begin by modeling the basic shape of your object using Blender\'s modeling tools such as extrude, loop cuts, and sculpting.
- Refine the details of your model by adding textures and materials to create realistic surfaces.
- Utilize Blender\'s powerful lighting tools to set up realistic lighting for your scene.
- Use Blender\'s Cycles Render Engine for ultra-realistic rendering by setting up materials, textures, lighting, and camera angles.
- Experiment with different rendering settings and output formats to achieve the desired look for your 3D model.
- Finally, once you are satisfied with your model, you can export it in various file formats for use in other 3D software or for showcasing your work.
Creating a Character in Blender - Step-by-Step Guide
Character: Dive into the captivating world of diverse characters that will inspire, entertain, and resonate with you on a deep level. Watch the video to witness the complexity and growth of each character unfold. Lighting: Step into a mesmerizing visual experience as lighting sets the mood, enhances the atmosphere, and brings every scene to life in the most enchanting way possible. Watch the video to see the magic of lighting transform the screen.
Key Features and Tools in Blender
Blender is renowned for its vast array of features and tools, designed to cater to all aspects of 3D modeling and digital creation. Its comprehensive suite enables artists to bring their visions to life with unparalleled precision and flexibility.
- Modeling and Sculpting: Blender offers advanced modeling tools like N-Gon support, edge slide, inset, grid fill, and sculpting tools with dynamic topology, allowing for intricate detail and realistic textures.
- Animation and Rigging: Equipped with features for character animation, including rigging tools, inverse kinematics, and shape keys, Blender makes character animation intuitive and efficient.
- Simulation: Simulate real-world physics with fluid, smoke, hair, and cloth simulations, creating stunningly realistic animations and effects.
- Rendering: Blender\"s powerful rendering engines, Cycles and Eevee, offer fast, real-time viewport preview and photorealistic rendering capabilities.
- Compositing and Post-Processing: Integrated compositing tools allow for video editing, color grading, and effects, enabling a full post-production workflow within the software.
- Python Scripting: For those who wish to customize and automate their workflow, Blender provides an extensive API for scripting with Python.
- Extensibility: A robust collection of add-ons and plugins can extend Blender\"s functionality, offering tools and features for specific needs.
These key features, along with a user-friendly interface and an active community, make Blender a powerful tool for artists, animators, and designers. Whether creating simple models or complex scenes, Blender provides all the tools necessary for high-quality 3D production.
Blender 3D Modeling and Lighting Tutorial by Polygon Runway
Let\'s have some fun with modeling and lighting the full isometric coffee shop scene in Blender. Interested in making illustrations ...
Getting Started with Blender: Installation and Setup
Embarking on your 3D modeling journey with Blender begins with a straightforward installation and setup process. This powerful, open-source software is compatible with various operating systems, including Windows, macOS, and Linux, ensuring accessibility for creators worldwide. Follow these steps to get Blender up and running on your system:
- Download Blender: Visit the official Blender website and download the version compatible with your operating system. Blender regularly updates its software, so ensure you\"re getting the latest version for the best experience.
- Installation: Run the installer and follow the on-screen instructions. For Windows users, this typically involves agreeing to the license, selecting an install directory, and completing the setup wizard. Linux and macOS users might need to unzip the package and move it to the desired location.
- Launch Blender: After installation, open Blender. You\"ll be greeted with the default screen, which includes a 3D viewport, timeline, and other panels depending on your version.
- Customize Preferences: Go to Edit > Preferences to adjust Blender\"s settings to your liking. This can include input devices, add-ons, theme colors, and more, tailoring the software to your workflow.
- Explore Tutorials: Before diving into your first project, consider exploring Blender\"s extensive range of tutorials. These resources are invaluable for beginners and cover everything from basic navigation to complex modeling techniques.
With Blender installed and set up, you\"re now ready to begin creating. Whether you\"re interested in animation, modeling, rendering, or game creation, Blender\"s comprehensive toolset supports a wide array of creative endeavors. Happy modeling!
_HOOK_
Basic Modeling Techniques for Beginners
Starting your journey into 3D modeling with Blender can be both exciting and overwhelming. Here are some fundamental techniques to help beginners create their first 3D models with confidence. These basic skills form the foundation of 3D modeling and will serve you well as you progress.
- Understanding the Interface: Familiarize yourself with Blender\"s interface, including the 3D viewport, object mode, edit mode, and the properties panel. Navigation through these areas is key to efficient modeling.
- Adding and Mod
- ifying Objects: Learn how to add basic shapes (meshes) to your scene, such as cubes, spheres, and cylinders. Practice moving, scaling, and rotating these objects to understand how they can be manipulated within the 3D space.
- Editing Meshes: Enter edit mode to modify the vertices, edges, and faces of your meshes. This is where the real modeling happens. Start with simple tasks like extruding faces, adding loop cuts, and using the subdivision surface modifier to smooth out your models.
- Using Modifiers: Get to know the modifier stack, which allows you to apply complex transformations to your objects non-destructively. Modifiers like Mirror, Solidify, and Subdivision Surface are excellent for beginners to experiment with.
- Materials and Texturing: While not strictly modeling, applying basic materials and textures can help visualize your models better. Explore how to assign different colors and materials to parts of your mesh.
Remember, practice is key to mastering Blender\"s modeling tools. Start with simple projects, such as modeling everyday objects, to build your skills gradually. Utilize Blender\"s vast online community and resources for tutorials and support as you learn. With patience and creativity, you\"ll soon be on your way to creating more complex and detailed 3D models.
Advanced Modeling and Sculpting Techniques
As you progress beyond the basics of 3D modeling in Blender, a world of advanced techniques opens up, offering greater detail and realism in your creations. These methods require a good understanding of Blender\"s more sophisticated tools and features. Here\"s an exploration of some advanced modeling and sculpting techniques that can elevate your 3D artwork.
- Topology and Edge Flow: Mastering the art of creating clean topology is crucial for models that deform well in animation. Learn to direct edge flow to support the form and function of your model, especially around joints and areas of high deformation.
- Sculpting with Dynamic Topology: Blender\"s sculpt mode offers dynamic topology, allowing you to sculpt without worrying about the underlying mesh. This technique lets you add detail locally where needed, making it ideal for organic models like characters and creatures.
- Hard Surface Modeling: For mechanical or man-made objects, hard surface modeling techniques come into play. Utilize modifiers like Booleans for precise cuts and joins, and learn to add supporting edge loops to maintain sharp edges when applying subdivision surface modifiers.
- Retopology Tools: For high-detail sculpts or complex models, retopology is a process of creating a new, cleaner mesh that captures the essential form with fewer polygons. Blender includes tools like the Shrinkwrap modifier and the QuadriFlow remesh to facilitate this process.
- UV Unwrapping and Texturing: Advanced texturing begins with proper UV unwrapping, ensuring that textures align correctly on your model. Blender\"s UV editing tools allow for precise control, and its node-based material system enables complex material creation.
- Shader and Material Creation: Dive into Blender\"s node-based shader system to create custom materials. This can involve layering textures, adjusting material properties, and even using procedural textures to generate detail dynamically.
These advanced techniques, while more complex, provide the tools necessary to create professional-grade models and sculptures in Blender. With practice, you can achieve high levels of detail and realism, pushing the boundaries of digital art and 3D modeling.
Texturing and Materials: Bringing Your Models to Life
Texturing and applying materials are essential steps in 3D modeling that breathe life into your creations, making them look realistic or stylized according to your vision. Blender offers a comprehensive set of tools for texturing and material creation, allowing artists to achieve the desired effects. Here\"s how to enhance your models with textures and materials in Blender.
- Understanding Materials: Materials define the color, shininess, transparency, and texture of your models. Start by adding a new material to your object in the Material Properties panel and customize its properties using Blender\"s Principled BSDF shader for a wide range of materials.
- UV Unwrapping: For textures to correctly map to your model, UV unwrapping is necessary. This process involves projecting your 3D model\"s surface onto a 2D plane to define how a texture wraps around the model. Use Blender\"s UV editing tools to lay out the UV map efficiently.
- Applying Textures: With your UV map ready, you can apply image textures to your model. These can be photographs, digital paintings, or procedural textures generated within Blender. Connect your textures to the material using the Shader Editor for detailed control over how they influence the material\"s appearance.
- Procedural Texturing: For more dynamic and customizable textures, explore Blender\"s procedural texturing capabilities. Procedural textures are mathematically generated within Blender and can be infinitely customized without the need for UV maps, offering unique and flexible texturing options.
- Bump and Normal Mapping: Add depth and detail to your textures with bump and normal mapping. These techniques simulate surface irregularities without the need for additional geometry, enhancing the realism of your materials with minimal impact on performance.
- Shader Nodes: Dive deeper into material creation with Blender\"s node-based shader system. Combine different nodes to create complex materials with varied properties like subsurface scattering, glossiness, and more, giving your model a highly detailed and realistic appearance.
By mastering texturing and materials in Blender, you can significantly improve the visual quality of your 3D models, making them more compelling and lifelike. Whether you\"re working on a personal project or professional work, these skills are essential for any 3D artist.
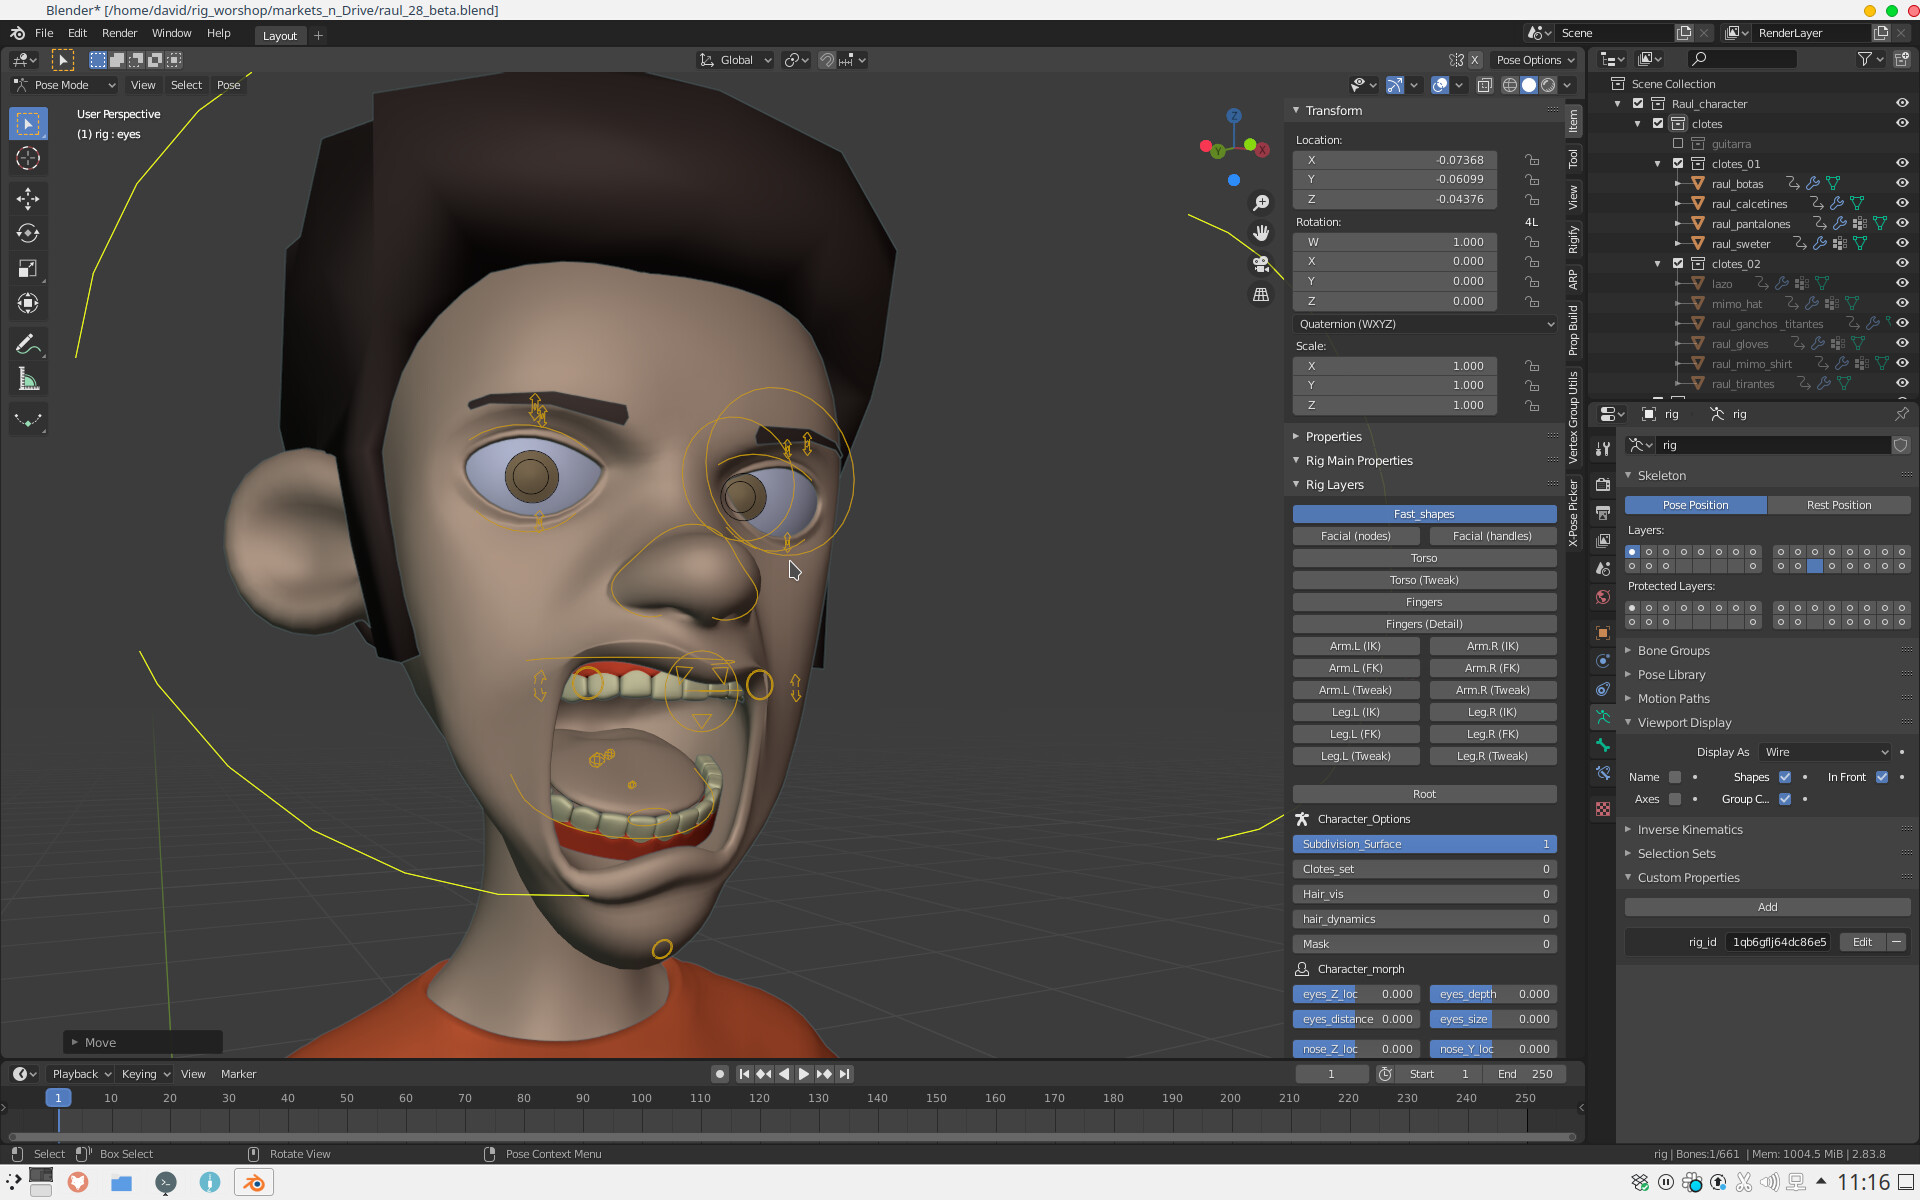
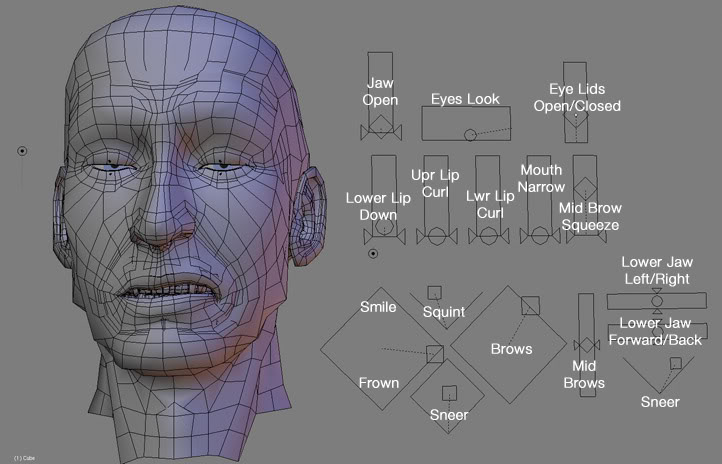
Animation and Rigging Essentials
Animation and rigging are pivotal in bringing characters and objects to life in Blender. These processes allow for the creation of complex movements and animations, adding depth and dynamism to your 3D models. Here\"s a foundational guide to understanding and applying animation and rigging techniques in Blender.
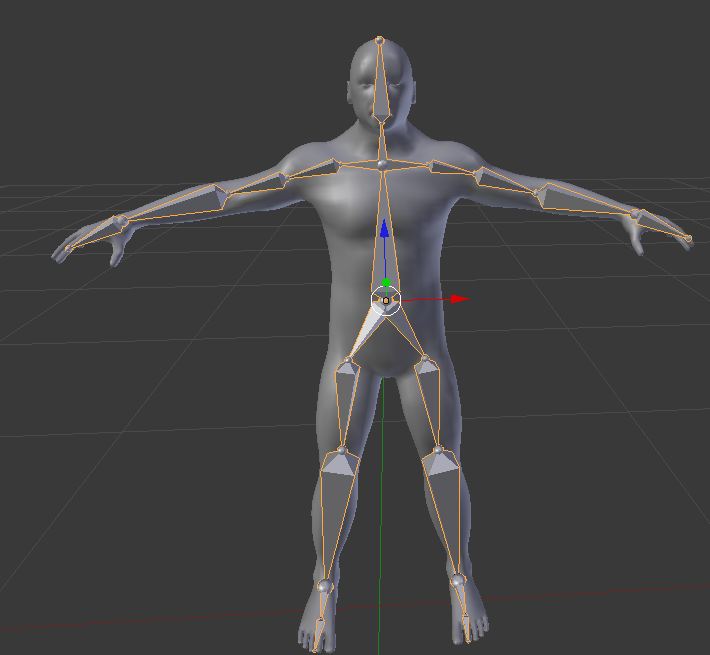
- Rigging Basics: Rigging is the process of creating a skeleton (armature) for a model so it can be animated. Start by adding bones to your model, ensuring they are correctly placed to mimic real-world skeletal structures for characters or appropriate pivot points for objects.
- Weight Painting: This step involves defining how the vertices of your model are influenced by the bones of the rig. Use weight painting tools to control the deformation of your model during animation, allowing for smooth and realistic movements.
- Creating Animations: With a rigged model, begin animating by setting keyframes in Blender\"s Timeline or Dope Sheet. Keyframes can be set for any property, including position, rotation, and scale, to define how an object or character moves over time.
- Using Inverse Kinematics (IK): IK simplifies the animation process by allowing you to manipulate the end effector of a chain of bones, and the rest of the chain adjusts accordingly. This is particularly useful for animating limbs and ensuring natural movements.
- Animation Curves: Fine-tune your animations with the Graph Editor, where you can adjust the interpolation and timing of your keyframes using animation curves. This control is essential for creating smooth transitions and dynamic animations.
- NLA Editor for Complex Animations: For more complex sequences, Blender\"s Nonlinear Animation (NLA) Editor allows you to layer and blend different actions. This is ideal for creating intricate animations without cluttering your timeline with keyframes.
Understanding the essentials of animation and rigging in Blender opens up endless possibilities for storytelling and visual expression. Whether you\"re animating a simple object or a complex character, these tools and techniques provide the foundation for bringing your creations to life.
Rendering and Exporting Your Models
Rendering transforms your 3D models into high-quality images or animations, while exporting allows you to use your creations in other applications or platforms. Mastering these final steps in Blender ensures your work can be shared and appreciated in its best form. Follow these guidelines to efficiently render and export your models.
- Setting Up the Render: Choose your render engine in Blender—Cycles for photorealistic rendering or Eevee for real-time rendering. Adjust the render settings according to the quality and speed you need, including resolution, sampling, and light settings.
- Camera Placement: Position your camera carefully to capture the desired view of your model. Adjust the camera\"s focal length, depth of field, and composition settings to enhance the visual appeal of your render.
- Lighting and Materials: Ensure your materials and textures are correctly set up for the chosen render engine. Fine-tune your scene\"s lighting to highlight the details of your model and create the intended atmosphere.
- Rendering Animations: For animations, specify the frame range, output format (e.g., AVI, MPEG), and destination folder. Use Blender\"s Render Animation button to start rendering your animation sequence.
- Exporting Models: To use your models in other software, choose the appropriate export format from Blender\"s File > Export menu. Common formats include OBJ, FBX, and STL, depending on your needs for animation, 3D printing, or game development.
- Post-Processing: After rendering, you may want to perform post-processing to adjust colors, contrast, or add effects. Blender\"s Compositor offers a range of tools for enhancing your renders directly within the software.
Rendering and exporting are critical steps in the 3D modeling process, allowing you to showcase your work in its final form. With Blender\"s powerful rendering engines and flexible export options, you can create stunning visuals and animations ready for any platform or purpose.
_HOOK_
Community and Learning Resources
The Blender community is a vibrant and supportive ecosystem, offering a wealth of resources for learners of all levels. Whether you\"re just starting out or looking to advance your skills, these resources can help you on your journey. Explore the following avenues to learn, share, and connect with fellow Blender enthusiasts.
- Official Blender Tutorials: The Blender Foundation provides an extensive collection of tutorials on its website and YouTube channel, covering everything from basics to advanced techniques.
- Online Forums and Communities: Blender Artists and the Blender Community on Reddit are great places to ask questions, share your work, and receive feedback from experienced users.
- Blender Network: Connect with professional Blender artists and studios through the Blender Network, ideal for finding collaborators or career opportunities.
- Blender Cloud: Subscription-based Blender Cloud offers project files, tutorials, and assets. It\"s a great way to learn from professional projects.
- Workshops and Conferences: Participate in Blender workshops and conferences, such as the Blender Conference, to learn from experts and network with the community.
- Books and E-Books: Numerous books and e-books are available for those who prefer structured learning. These range from beginner guides to in-depth explorations of specific Blender features.
- Video Tutorials: YouTube and Vimeo host thousands of free tutorials from Blender enthusiasts and professionals. These videos can be a great way to learn at your own pace.
Engaging with the Blender community and utilizing the available resources can significantly enhance your learning experience. The community is known for its willingness to help newcomers and share knowledge, making Blender not just a tool, but a gateway to a global creative network.
Comparing Blender with Other 3D Modeling Software
Blender is one of many options available for 3D modeling, animation, and rendering. It stands out for several reasons, but it\"s important to understand how it compares to other popular software in the field. Here\"s a comparison to help you understand Blender\"s position in the landscape of 3D modeling software.
- Cost: Blender is completely free and open-source, making it accessible to everyone. This contrasts with other high-end software like Autodesk Maya or 3ds Max, which require paid licenses.
- Features: Blender offers a comprehensive suite of tools for 3D modeling, animation, rendering, video editing, and more, rivaling the capabilities of other professional-grade software.
- User Interface: Blender\"s user interface has been redesigned to be more intuitive, though it may still present a learning curve for new users. Other software might have more standardized interfaces, but Blender\"s is highly customizable.
- Community Support: The Blender community is notably active and supportive, providing an abundance of tutorials, forums, and free resources. While other software also has strong communities, Blender\"s open-source nature fosters a unique sense of sharing and collaboration.
- Professional Use: Blender is used by professionals and hobbyists alike, with its use in professional environments growing rapidly. It\"s increasingly seen as a viable alternative to industry standards for various applications, from indie game development to animation studios.
- Learning Curve: Like any powerful software, Blender has a learning curve, but it\"s mitigated by extensive learning resources. Other software may offer more specialized tools that can simplify certain tasks but might lack Blender\"s versatility.
When choosing 3D modeling software, consider your specific needs, budget, and the kind of community and resources you want access to. Blender offers a powerful, cost-effective option with a strong community, making it an excellent choice for many artists and designers.
Real-World Applications of Blender in Industries
Blender\"s versatility extends far beyond personal projects and hobbyist endeavors. Its comprehensive suite of tools makes it a valuable asset in various industries. From film production to architectural visualization, Blender\"s capabilities facilitate a wide range of professional applications.
- Animation and Film: Blender is used to create animated shorts, feature films, and visual effects. Its powerful animation tools and ability to handle complex scenes make it suitable for both independent filmmakers and large studios.
- Game Development: Game designers utilize Blender for creating detailed 3D models, environments, and animations for video games. Its compatibility with major game engines like Unity and Unreal Engine enhances its utility in the gaming industry.
- Architectural Visualization: Architects and designers use Blender to bring their visions to life, creating detailed 3D models and renderings of architectural projects, helping clients visualize the final product.
- Product Design and Prototyping: Blender assists designers in visualizing new products with its modeling and rendering capabilities. It\"s used for creating realistic 3D models of products, which can be used for marketing or further development.
- Scientific Visualization: Researchers and scientists use Blender to create 3D visualizations of complex data, from biological processes to astronomical phenomena, making it easier to analyze and communicate scientific findings.
- Education: Educational institutions incorporate Blender into their curriculum, teaching students the principles of 3D modeling, animation, and digital art. Its free and open-source nature makes it accessible to schools and universities worldwide.
- Virtual Reality (VR) and Augmented Reality (AR): Blender is used to create content for VR and AR experiences, allowing for the creation of immersive environments and interactive experiences.
Blender\"s application in these industries demonstrates its robustness and flexibility as a 3D modeling tool. Its continuous development, driven by a dedicated community, ensures that Blender remains at the forefront of digital creation technology.
Tips and Tricks for Efficient Modeling in Blender
Maximizing efficiency in Blender can significantly enhance your 3D modeling workflow, saving time and improving the quality of your projects. Here are some expert tips and tricks to help you model more effectively in Blender.
- Use Keyboard Shortcuts: Blender is known for its extensive use of keyboard shortcuts. Learning these can drastically speed up your workflow. Start with basics like \"G\" to move, \"S\" to scale, and \"R\" to rotate.
- Customize Your Workspace: Blender allows you to customize and save multiple workspaces for different tasks, such as modeling, sculpting, or texturing. Tailor these spaces to your needs to keep tools readily accessible.
- Implement Modifiers: Modifiers can automate and simplify complex modeling tasks. Use the Mirror modifier for symmetrical models, the Subdivision Surface modifier for smoothing, and the Boolean modifier for creating complex shapes.
- Master Mesh Modeling Tools: Blender\"s mesh modeling tools are powerful. Practice using extrude, loop cut, inset, and bevel to add complexity and detail to your models efficiently.
- Utilize Add-ons: Blender supports a wide range of add-ons that can extend its functionality. Explore and install add-ons like LoopTools or BoolTool to enhance your modeling capabilities.
- Learn to Use the Sculpting Tools: For organic models, sculpting can be more efficient than traditional vertex manipulation. Familiarize yourself with the sculpting brushes and DynTopo for dynamic topology changes.
- Keep Your Mesh Clean: Efficient modeling also means maintaining a clean topology. Use tools like Merge, Limited Dissolve, and Clean Up to keep your mesh tidy, ensuring better performance and easier editing.
- Optimize Viewport Performance: For complex scenes, manage your viewport performance by using layers or collections to hide elements not currently being worked on, and simplify viewport shading settings.
By integrating these tips and tricks into your Blender workflow, you can enhance your productivity and focus more on the creative aspects of your projects. Remember, efficiency in modeling comes with practice and familiarity with the tools at your disposal.
READ MORE:
Future Developments and Updates in Blender
Blender\"s development is ongoing, with its open-source nature allowing for constant improvements and updates. The Blender Foundation and its global community of contributors are committed to enhancing Blender\"s capabilities, ensuring it remains at the forefront of 3D modeling, animation, and rendering technology. Here are some areas where future developments and updates are anticipated:
- Performance Improvements: Continuous efforts to optimize Blender\"s performance, making it faster and more efficient, especially in areas like rendering and viewport responsiveness.
- Enhanced Modeling Tools: Introduction of new and improved modeling tools to streamline workflows and increase precision in creating detailed 3D models.
- Advancements in Sculpting: Updates to sculpting tools and brushes, along with improvements in dynamic topology for more intuitive and detailed sculpting processes.
- More Realistic Rendering: Upgrades to the Cycles rendering engine and Eevee real-time renderer to produce even more photorealistic results and support advanced lighting and shading techniques.
- Better Animation Features: Enhancements in rigging and animation tools to offer more control and flexibility, making character animation and motion graphics more expressive and easier to create.
- Increased Compatibility: Further development of file import/export functionalities to ensure seamless integration with other software and hardware, enhancing Blender\"s usability in professional pipelines.
- Expanded VR/AR Support: Ongoing integration of VR and AR capabilities, allowing artists to directly interact with and create 3D content in immersive environments.
- Community and Education: Continued investment in the Blender community and educational resources, including tutorials, documentation, and online courses, to support users of all skill levels.
As Blender evolves, it will continue to incorporate feedback from its user base, ensuring that it meets the needs of both hobbyists and professionals in the 3D creative industry. Keep an eye on the official Blender website and community forums for the latest news and updates.
Embark on a journey of creativity and innovation with Blender 3D modeling. This powerful tool unlocks endless possibilities, empowering you to bring your visions to life. Join the vibrant community and start creating today!
_HOOK_