Topic blender render tutorial: Unlock the secrets of 3D visualization with our Blender Render Tutorial, designed to guide beginners and advanced users through the exciting world of Blender rendering.
Table of Content
- Understanding Blender Rendering
- Step-by-Step Tutorials
- Resources and Community Support
- What is the best Blender render tutorial for beginners?
- YOUTUBE: Beginners Guide to Rendering in Blender
- Step-by-Step Tutorials
- Resources and Community Support
- Resources and Community Support
- Introduction to Blender and Rendering
- Choosing the Right Rendering Engine: Eevee vs. Cycles
- Getting Started with Blender Rendering
- Basic Rendering Techniques for Beginners
- Advanced Rendering Techniques for Realistic Outputs
- Texturing and Material Creation in Blender
- Lighting in Blender: Techniques for Realism
- Rendering Animations in Blender
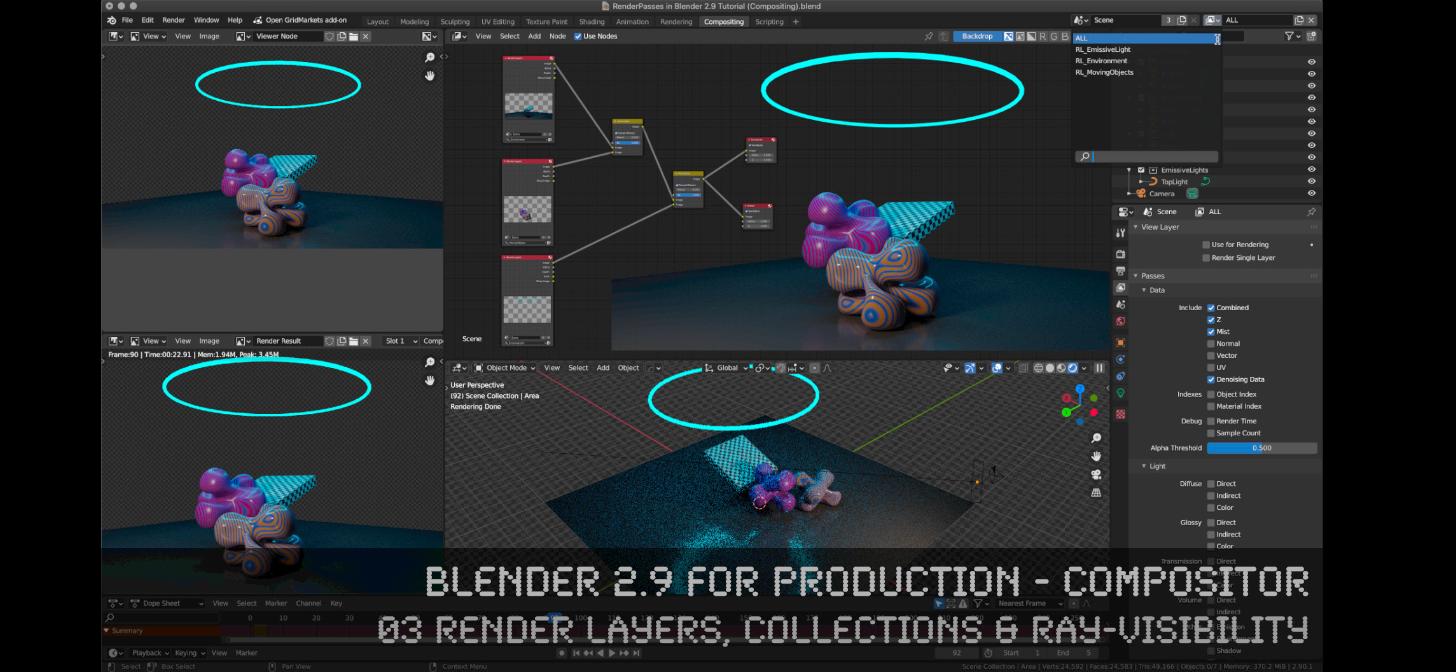
- Post-Processing and Compositing with Blender
- Optimizing Render Settings for Speed and Quality
- Common Rendering Issues and How to Solve Them
- Resources for Learning More: Communities, Tutorials, and Courses
Understanding Blender Rendering
Blender offers multiple rendering engines, with Eevee and Cycles being the most popular. Each engine has its unique features and use cases, from real-time rendering in Eevee to the photorealistic outputs of Cycles.
Getting Started with Blender Rendering
- Press F12 to render a still image or Ctrl+F12 for animation.
- Explore rendering settings to optimize your scene\"s visual quality and render time.
- Learn the basics of lighting, texturing, and compositing for more realistic outputs.
Advanced Rendering Techniques
- Master the art of material and texture creation to enhance your scenes.
- Experiment with lighting setups to bring your renders to life.
- Utilize Blender\"s compositing nodes for post-processing effects.

READ MORE:
Step-by-Step Tutorials
From beginner-friendly introductions to advanced explorations of Blender\"s capabilities, our tutorials guide you through every step of the rendering process.
Beginner Guides
- Introduction to Blender\"s Interface and Basics of 3D Rendering
- Simple Projects to Get Started with Blender Rendering
- Tips and Tricks for Efficient Rendering Workflows
Advanced Projects
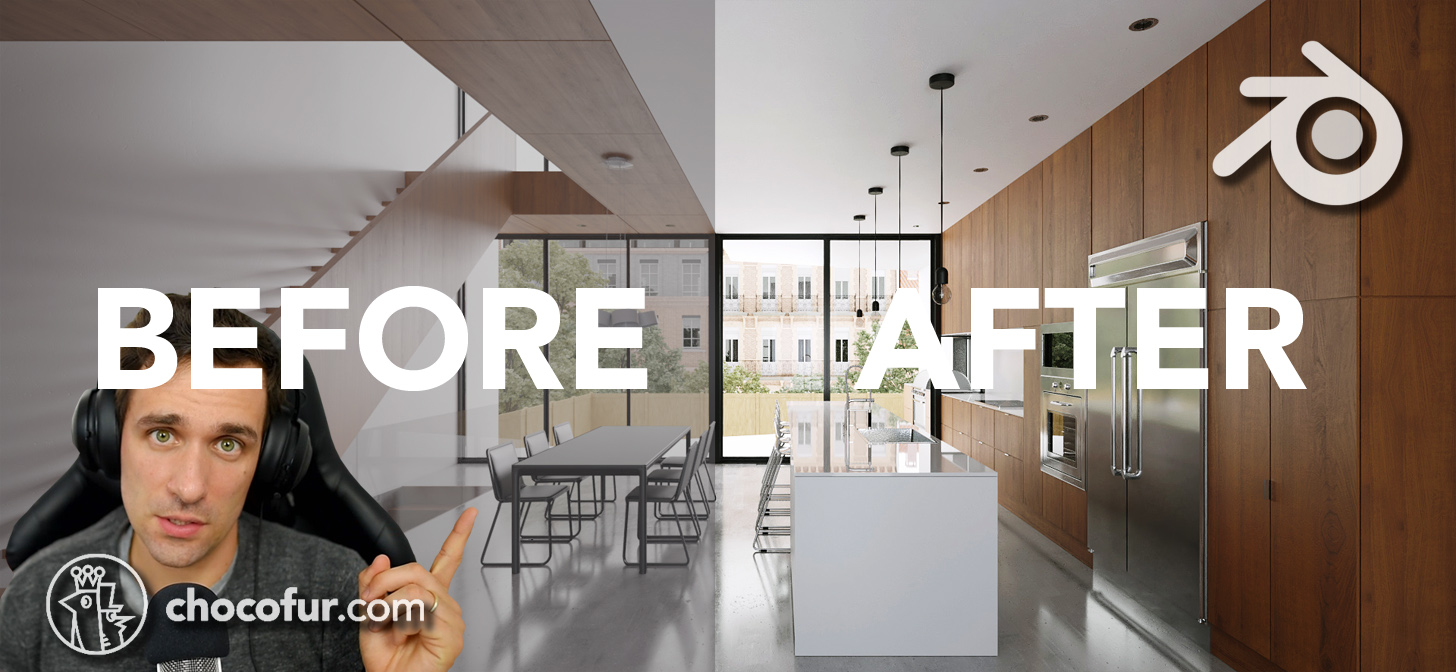
- Creating Photorealistic Renders with Cycles
- Real-Time Rendering with Eevee: Techniques and Tips
- Complex Scene Setup and Optimization Strategies
Resources and Community Support
Join the Blender community to share your projects, get feedback, and find inspiration. Access a wealth of resources, from free tutorials to forums and workshops, to enhance your rendering skills.
| Tutorial | Difficulty Level | Engine Used |
| Rendering with Eevee | Beginner | Eevee |
| Photorealistic Interiors with Cycles | Intermediate | Cycles |
| Advanced Compositing Techniques | Advanced | N/A |
With these tutorials, you\"re well on your way to mastering Blender rendering. Dive into the resources, practice regularly, and unleash your creative potential!
What is the best Blender render tutorial for beginners?
For beginners looking to learn Blender rendering, one of the best tutorial series available is the official Blender Guru tutorial series. This tutorial covers everything from setting up scenes to adjusting lighting and materials for stunning renders. Here is a step-by-step guide to get you started:
- Start by downloading and installing Blender from the official website.
- Watch the beginner tutorials on the Blender Guru website to familiarize yourself with the interface and basic tools.
- Once you are comfortable with the basics, move on to the rendering tutorials which cover topics such as setting up cameras, adding textures, and using different rendering engines.
- Experiment with simple scenes first, like a basic cube with different materials, to practice applying textures and lighting.
- As you gain confidence, try more complex scenes and explore advanced features like volumetrics and compositing.
Remember, practice makes perfect, so don\'t be afraid to experiment and try new things. Blender rendering can be complex, but with patience and the right tutorials, you\'ll be creating beautiful renders in no time!
Beginners Guide to Rendering in Blender
Rendering: Marvel at the stunning visuals achieved through advanced rendering techniques in this video. Experience the beauty of digital art brought to life with intricate details and vibrant colors. Witness the magic of technology! Tutorial: Explore a step-by-step tutorial in this video that will guide you through mastering a new skill or technique. Learn valuable tips and tricks from experts in the field, making complex tasks simple and accessible. Empower yourself with knowledge and creativity.
Step-by-Step Tutorials
From beginner-friendly introductions to advanced explorations of Blender\"s capabilities, our tutorials guide you through every step of the rendering process.
Beginner Guides
- Introduction to Blender\"s Interface and Basics of 3D Rendering
- Simple Projects to Get Started with Blender Rendering
- Tips and Tricks for Efficient Rendering Workflows
Advanced Projects
- Creating Photorealistic Renders with Cycles
- Real-Time Rendering with Eevee: Techniques and Tips
- Complex Scene Setup and Optimization Strategies
_HOOK_
Resources and Community Support
Join the Blender community to share your projects, get feedback, and find inspiration. Access a wealth of resources, from free tutorials to forums and workshops, to enhance your rendering skills.
With these tutorials, you\"re well on your way to mastering Blender rendering. Dive into the resources, practice regularly, and unleash your creative potential!
Resources and Community Support
Join the Blender community to share your projects, get feedback, and find inspiration. Access a wealth of resources, from free tutorials to forums and workshops, to enhance your rendering skills.
| Tutorial | Difficulty Level | Engine Used |
| Rendering with Eevee | Beginner | Eevee |
| Photorealistic Interiors with Cycles | Intermediate | Cycles |
| Advanced Compositing Techniques | Advanced | N/A |
With these tutorials, you\"re well on your way to mastering Blender rendering. Dive into the resources, practice regularly, and unleash your creative potential!