Topic how to use blender as a video editor: Discover the power of Blender for video editing, a free tool that elevates your storytelling with professional-grade features, from basic cuts to complex VFX, all without breaking the bank.
Table of Content
- How can I start editing videos using Blender as a video editor?
- Understanding Blender\"s Interface for Video Editing
- Setting Up Your Project in Blender
- Importing and Organizing Media
- Basic Video Editing Techniques
- Advanced Video Editing Features
- Adding and Editing Audio in Blender
- YOUTUBE: Blender as a Video Editor - It\'s Actually Really Good!
- Color Correction and Grading
- Adding Text and Titles
- Using Effects and Transitions
- Animation and Motion Graphics
- Rendering and Exporting Your Final Video
- Best Practices for Efficient Video Editing in Blender
- Learning Resources and Community Support
How can I start editing videos using Blender as a video editor?
To start editing videos using Blender as a video editor, follow these steps:
- Open Blender software on your computer.
- From the main screen, locate the top taskbar and find \'File\'.
- Click on \'File\' and then choose \'New\' followed by \'Video Editing\'.
- This action will open the video editing interface within Blender.
- Import the video files you want to edit by clicking on \'Add\' or alternatively dragging and dropping the files into the interface.
- Arrange the video clips on the sequencer timeline in the desired order.
- You can perform various editing tasks such as cutting, trimming, adding transitions, effects, and text by using the tools available in Blender\'s video editing features.
- Preview your video edit by using the playback controls.
- Once you are satisfied with your editing work, you can export your edited video by clicking on \'File\' >> \'Export\' and selecting the desired video format and settings.
READ MORE:
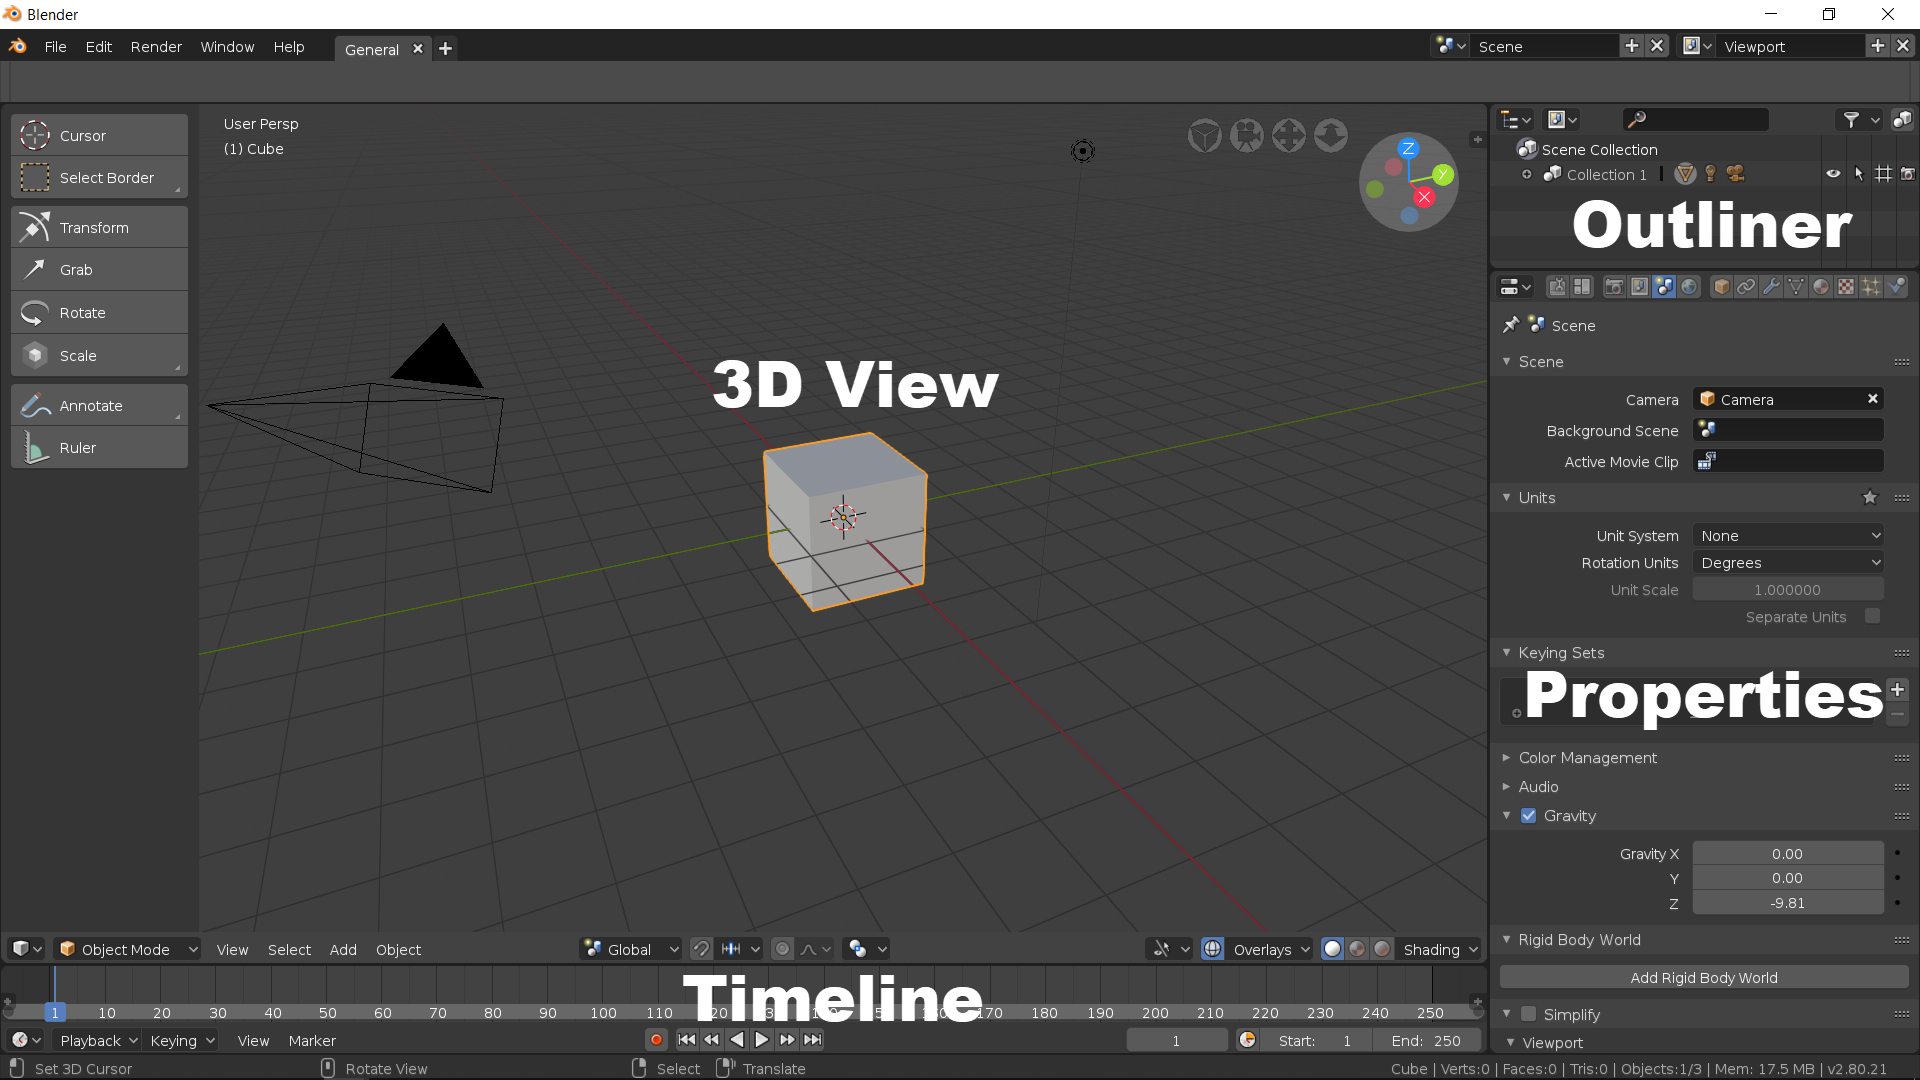
Understanding Blender\"s Interface for Video Editing
Blender\"s interface might seem daunting at first, but its structured design caters to both novice and experienced video editors. Familiarizing yourself with the layout and tools is the first step to mastering video editing with Blender.
- Default Screen Layout: Upon opening Blender for video editing, you\"ll encounter the default screen layout tailored for 3D modeling. Switching to the Video Editing layout is essential for accessing the video editing workspace.
- Switching to Video Editing Layout: To switch, find the layout dropdown menu at the top of the screen. Select \"Video Editing\" from the list. This action changes the interface to display the Video Sequence Editor (VSE).
- Video Sequence Editor (VSE): The VSE is your central hub for video editing in Blender. It consists of a preview window, a sequencer for arranging clips, and panels for adjusting properties and effects.
- Timeline: At the bottom of the VSE, the timeline allows you to navigate through your video, set the start and end points of your project, and keyframe animations.
- Preview Window: The preview window displays the output of the sequence editor. You can play back your project here to review your edits in real time.
- Properties Panel: To the right, the properties panel offers control over render settings, effects, and clip properties. Adjusting these settings lets you fine-tune your video\"s appearance and behavior.
- Adding Media: Importing media is done through the sequencer. You can add video clips, images, and audio by using the \"Add\" menu or simply dragging and dropping files into the sequencer.
- Customizing the Interface: Blender allows for a high degree of customization. You can adjust the layout to better suit your workflow by moving and resizing panels.
Understanding these core components of Blender\"s video editing interface lays the foundation for efficient and creative video projects. As you become more comfortable with the environment, you\"ll find that Blender is a powerful tool for bringing your visual stories to life.

Setting Up Your Project in Blender
Setting up your project correctly in Blender is a crucial first step to streamline your video editing workflow. Here’s how to do it:
- Open Blender and Select the Video Editing Workspace: Launch Blender. From the top menu, choose \"File\" > \"New\" > \"Video Editing\". This loads the video editing layout, providing you with all the tools and panels needed for video editing.
- Adjust Your Scene Settings: Before importing your media, adjust the scene settings to match your project requirements. Go to the Properties panel, select the \"Output Properties\" tab, and set your desired resolution, frame rate, and aspect ratio.
- Set Up the Output Format: In the same \"Output Properties\" tab, choose your file format under the \"Output\" section. For video editing, formats like FFmpeg video are recommended due to their flexibility and support for various codecs. Also, set the file path where your final video will be saved.
- Configure Audio Settings: If your project includes audio, switch to the \"Audio\" tab in the Properties panel. Here, you can set the audio codec, bitrate, and volume. Ensure the audio settings are compatible with your video format.
- Save Your Project: It’s a good practice to save your project file before starting your editing work. Go to \"File\" > \"Save As\", choose your desired location, and give your project a name. Remember to save your work frequently to avoid data loss.
With these steps, your Blender project is now set up and ready for video editing. Remember, taking the time to properly configure your project settings at the beginning can save you a lot of hassle later on, ensuring a smoother editing process.

Importing and Organizing Media
Once your project is set up, the next step in Blender\"s video editing process involves importing and organizing your media files. This step is crucial for maintaining an efficient workflow. Here’s how to handle it:
- Switch to the Video Sequencer: Ensure you are in the Video Editing workspace. The sequencer is where you\"ll import and arrange your media files.
- Import Your Media: To add media files, go to \"Add\" > \"Movie\" (for video files), \"Sound\" (for audio files), or \"Image\" (for photos and image sequences). Navigate to the location of your files, select them, and click \"Add Movie Strip\" or the relevant option for your media type.
- Organize Your Media on the Timeline: After importing, your media will appear as strips on the timeline. Click and drag the strips to arrange them in the desired order. You can also cut, duplicate, or delete strips as needed to organize your project.
- Use Channels to Layer Your Media: Blender allows you to place media in different channels (layers). This is useful for layering video clips, adding titles, or overlaying effects. Higher channels will be displayed over lower ones, so plan your layers accordingly.
- Create Meta Strips for Complex Edits: If you have a section of your project that includes multiple strips (video, audio, effects) that you want to move together, you can group them into a Meta Strip. Select the strips, then press Ctrl+G. This simplifies moving and editing grouped elements.
- Use the Preview Region to Scrub Through Your Edit: The Preview Region at the top right allows you to scrub through your edit and preview the sequence in real-time. Use it to check the timing and placement of your media.
- Save Your Project Frequently: As you import and organize your media, remember to save your project frequently to prevent any loss of work.
By following these steps, you can effectively import and organize your media in Blender, setting a solid foundation for your video editing project. Proper organization is key to a smooth editing process, helping you manage your assets efficiently and focus on the creative aspects of your project.

Basic Video Editing Techniques
Mastering basic video editing techniques in Blender is essential for creating polished projects. These foundational skills allow you to manipulate footage, adjust timing, and enhance the overall flow of your video. Here’s a guide to get you started:
- Cutting and Trimming Clips: To cut a clip, position the playhead where you want to make the cut and press \"K\" (for a soft cut) or \"Shift+K\" (for a hard cut). This splits the clip into two parts, allowing you to remove or rearrange sections. To trim, select the end of a clip and drag it to the desired length.
- Adding Transitions: Transitions can smooth the change from one clip to another. To add a transition, overlap two clips on adjacent channels, then go to \"Add\" > \"Effect Strip\" > \"Cross\" (or another transition type). Adjust the duration and properties in the Effect Strip panel.
- Adjusting Clip Speed: To change the speed of a clip, select it and go to \"Add\" > \"Effect Strip\" > \"Speed Control\". In the properties panel, adjust the speed factor or check \"Stretch to input strip length\" to fit a specific duration.
- Applying Filters and Effects: Blender includes several effects like color correction, blur, or glow. To apply an effect, select your clip and choose \"Add\" > \"Effect Strip\", then select the desired effect. Customize the effect settings in the properties panel.
- Working with Audio: You can cut, trim, and adjust the volume of audio clips similarly to video clips. For precise adjustments, keyframe the volume in the properties panel to change it over time.
- Keyframing for Animation: Keyframing allows you to animate properties of video clips or effects. Move the playhead to the frame where you want the change to begin, change the property (like opacity or position), and press \"I\" to insert a keyframe. Repeat at another point to create animation.
- Rendering Previews: To check your work without rendering the entire project, go to \"View\" > \"Viewport Render Animation\". This renders a quick preview of the current view, helping you assess edits without waiting for a full render.
By mastering these basic video editing techniques in Blender, you\"ll be well-equipped to tackle a wide range of projects, from simple edits to more complex compositions. Practice these skills to improve your efficiency and creativity in video editing.

_HOOK_
Advanced Video Editing Features
Blender offers a range of advanced video editing features that allow for sophisticated project development. These features can help you create more complex and visually appealing videos. Here’s an overview of some advanced techniques you can use:
- Compositing and Node-Based Editing: Blender\"s node-based compositing allows for complex visual effects creations. In the Compositing workspace, you can combine different video clips, images, and effects using nodes to create intricate compositions.
- Color Grading: To enhance the visual aesthetic of your video, Blender provides advanced color correction and grading tools. Use the \"Color\" node in the Compositing workspace to adjust the colors, contrast, and brightness of your footage for a professional look.
- Masking and Rotoscoping: For detailed editing, such as removing objects from footage or applying effects to specific areas, Blender offers masking and rotoscoping tools. Create masks in the Movie Clip Editor and use them in the Compositor or Sequencer to apply effects selectively.
- 3D Integration: One of Blender\"s unique features is the seamless integration of 3D elements into video projects. You can create 3D models, animations, and effects in Blender and incorporate them into your video editing timeline for dynamic results.
- Tracking and Stabilization: Blender includes motion tracking tools that allow you to track objects in video footage. This feature is useful for adding visual effects to moving objects or stabilizing shaky footage by tracking and compensating for camera movements.
- Multi-Camera Editing: For projects with footage from multiple cameras, Blender enables multi-camera editing. You can switch between different camera angles easily in the Sequencer to create dynamic scenes and coverages.
- Custom Transitions and Effects: Beyond the built-in transitions and effects, Blender allows you to create custom transitions and effects using its animation and compositing capabilities. This opens up endless creative possibilities for personalized project enhancements.
- Python Scripting for Automation: For repetitive tasks or custom effects, Blender supports Python scripting. This allows you to automate aspects of the video editing process, creating scripts for custom transitions, effects, or batch processing operations.
These advanced features make Blender a powerful tool for video editing, enabling creators to push the boundaries of their projects. Whether you’re working on a short film, a music video, or any other video project, Blender’s advanced features can help you achieve a high level of polish and creativity.
Adding and Editing Audio in Blender
Audio is a critical component of video editing, adding depth and emotion to your visual content. Blender provides tools for adding and editing audio tracks alongside your video. Here’s how you can work with audio in Blender:
- Importing Audio Files: To add an audio file to your project, go to \"Add\" > \"Sound\" in the Sequencer. Navigate to the location of your audio file, select it, and click \"Add Sound Strip\". Your audio will appear as a waveform in the timeline.
- Synchronizing Audio and Video: Once imported, you can click and drag your audio strips to align them with your video clips. Use the waveform and video preview to match audio cues to visual elements precisely.
- Editing Audio Clips: Blender allows you to cut, trim, and duplicate audio clips similar to video editing. To adjust the volume of an audio strip, select it and adjust the volume slider in the Strip properties panel.
- Adding Fade In and Fade Out: For smooth audio transitions, you can add fade-in and fade-out effects. Keyframe the volume of your audio strip at the beginning and end, gradually increasing or decreasing the volume to create a fading effect.
- Creating Sound Effects: You can layer multiple sound strips to create complex soundscapes or effects. Use Blender\"s built-in effects or import custom sound effects to enhance the auditory experience of your project.
- Mixing Audio Tracks: For projects with multiple audio tracks, Blender\"s VSE (Video Sequence Editor) allows you to mix these tracks. Adjust the volume and pan settings for each strip to balance the audio in your project.
- Animating Audio Properties: Blender enables you to animate audio properties like volume and pitch over time. Insert keyframes for these properties at different points on the timeline to dynamically change the audio throughout your video.
- Exporting with Audio: Ensure your final render includes audio by checking the \"Audio Codec\" settings in the Output properties. Choose an appropriate codec and bitrate to match your project\"s needs and ensure the audio exports correctly with your video.
By integrating audio editing into your Blender workflow, you can create more engaging and polished videos. Whether you’re working with dialogue, music, or sound effects, Blender’s audio editing tools provide the flexibility and control needed to achieve your creative vision.
Blender as a Video Editor - It\'s Actually Really Good!
Blender: Explore the endless possibilities of creating stunning 3D animations, models, and visual effects with Blender. Unleash your creativity and bring your ideas to life in this exciting and powerful software. Video Editing: Dive into the world of video editing and learn how to craft captivating videos that tell a story and make an impact. Discover the tools and techniques to enhance your editing skills and produce professional-looking videos.
How to Edit Video with Blender 2.90 - Basics Walkthrough for Beginners
In this video I go over how to set up a new video edit project and the required settings, importing files, and the basics of cutting and ...
Color Correction and Grading
Color correction and grading are essential processes in video editing that enhance the visual quality of your footage, making it more vibrant and consistent. Blender offers powerful tools for color adjustment and grading, allowing you to fine-tune the look of your project. Here’s a step-by-step guide:
- Accessing the Color Tools: To start color correcting, switch to the \"Compositing\" workspace. Here, you\"ll use nodes to adjust colors. Add a \"Movie Clip\" node to import your footage, then connect it to a \"Viewer\" node to see your changes in real time.
- Basic Color Correction: Use the \"Color Balance\" node to adjust the shadows, midtones, and highlights of your clip. Adjusting these parameters can help correct underexposed or overexposed footage and balance the overall color tone.
- Color Grading for Mood: To create a specific mood or style, add a \"Hue Saturation Value\" node. Play with the hue to change the color tone, saturation to adjust the intensity of colors, and value to control the brightness.
- Using Curves for Precision: The \"RGB Curves\" node is a powerful tool for fine-tuning the contrast and color balance. You can adjust the curves for each color channel (Red, Green, Blue) individually to achieve the desired look.
- Applying LUTs: For a more streamlined color grading process, you can apply LUTs (Look-Up Tables). LUTs are preset color profiles that can instantly give your footage a professional-grade appearance. Import the LUT file using the \"Color Lookup Table\" node.
- Matching Shots: When working with footage from different sources, use color correction to match the shots. Compare two clips side by side, and adjust the color settings until they seamlessly blend together.
- Previewing Your Work: Always preview your color-corrected footage in the \"Compositor\". Adjust your monitor settings to ensure accurate color representation, and consider exporting a test clip to view it on different devices.
- Finalizing the Grade: Once satisfied with your color correction and grading, connect the final node to a \"Composite\" node for rendering. Ensure your render settings are correctly configured to include the color adjustments in your exported video.
Through color correction and grading, you can dramatically improve the visual impact of your video, making it more engaging for your audience. Blender\"s comprehensive suite of color tools provides everything you need to bring your creative vision to life.
Adding Text and Titles
Text and titles play a crucial role in video production, providing context, enhancing storytelling, and engaging the audience. Blender\"s versatile tools allow you to create dynamic text and titles for your projects. Follow these steps to add text and titles to your video in Blender:
- Creating a Text Object: In the 3D Viewport, switch to the \"Layout\" workspace. Press \"Shift+A\" to add a new object, and select \"Text\" from the menu. This creates a 3D text object that you can customize.
- Editing Text: With the text object selected, press \"Tab\" to enter edit mode. You can now type your text. Exit edit mode by pressing \"Tab\" again when you\"re done.
- Customizing Font and Style: In the \"Properties\" panel, go to the \"Data\" tab (represented by an \"A\"). Here, you can change the font, adjust the size, set the alignment, and apply other stylistic options like bold or italic.
- Animating Text: Blender allows you to animate text for more dynamic titles. With your text object selected, insert keyframes for properties like location, rotation, and scale at different points in your timeline to create animation.
- Adding to Video Sequence Editor: Render your animated text as a movie clip. Then, switch to the \"Video Editing\" workspace and use \"Add\" > \"Movie\" to import your text animation onto the timeline. Position it over your footage as needed.
- Using Text Effects: To enhance your titles, consider adding effects like shadows, glow, or color gradients. This can be done in the 3D Viewport using materials and lighting to style your text before rendering.
- Exporting for Use in Video: Once your text or title is ready and positioned in the Video Sequence Editor, make sure it\"s included in your final render. Check your output settings to ensure the text layer is visible in the exported video.
By incorporating text and titles into your Blender projects, you can significantly improve the viewer\"s understanding and enjoyment of your video. Whether for opening titles, captions, or closing credits, Blender provides the tools you need to create professional-quality text elements.

Using Effects and Transitions
Adding effects and transitions in Blender can significantly enhance the visual appeal and flow of your video projects. Here’s how to incorporate these elements effectively:
- Accessing the Video Sequence Editor: Start by switching to the Video Editing layout from the top menu to access the Video Sequence Editor (VSE). This workspace provides all the tools needed for video editing.
- Adding Transitions: To add a transition between clips, place two clips next to each other in the timeline. Then, select the end of the first clip and the beginning of the second clip, go to the Add menu, and choose the type of transition (e.g., Cross, Wipe, Fade) you want to apply.
- Customizing Transitions: After adding a transition, you can customize its duration and behavior by adjusting the handles or properties in the properties panel. Experiment with different settings to achieve the desired effect.
- Applying Effects: Blender offers a variety of effects, such as color correction, blur, or glow, which can be added from the Add menu under the Effects Strip section. Select your clip and then choose the effect you wish to apply.
- Adjusting Effects Parameters: Once you\"ve added an effect strip, you can modify its parameters in the properties panel to fine-tune the appearance. This includes adjusting intensity, duration, and other specific settings related to the effect.
- Animating Effects: To animate an effect parameter, hover over the parameter field and press \"I\" to insert a keyframe at the current frame. Move to another frame, change the parameter value, and press \"I\" again to create an animation for that effect.
- Previewing Transitions and Effects: Use the timeline controls to play back your project and see how the transitions and effects look in real-time. Make adjustments as needed until you achieve the desired outcome.
Remember, the key to effective use of effects and transitions is subtlety and purpose. Each should enhance the storytelling or visual appeal of your video without becoming distracting. Experiment with different effects and transitions to discover what works best for your project.

_HOOK_
Animation and Motion Graphics
Blender is not only powerful for video editing but also for creating stunning animations and motion graphics. This section will guide you through the basics of animating objects and creating motion graphics in Blender for your video projects.
- Understanding Keyframes: Keyframes are the foundation of animation in Blender. They mark the start and end points of any animation, defining the position, rotation, scale, or any other property of an object at a specific frame. To create an animation, you simply set keyframes at different points in the timeline for the properties you wish to animate.
- Creating Simple Animations: Select the object you want to animate, move to the frame where you want the animation to start, change the property (such as location or rotation), and press ‘I’ to insert a keyframe. Move to another frame, change the property again, and insert another keyframe. Blender will interpolate the movement between these keyframes, creating an animation.
- Using the Graph Editor: For more control over your animations, use the Graph Editor. It displays the animation curves that represent the changes in properties over time. You can adjust these curves to fine-tune the timing and speed of your animations.
- Animating Text: Blender allows you to animate text for titles, credits, or other graphical elements. You can animate each letter individually or the whole text block for dynamic effects. Use the font properties to adjust the font type, size, and style, and animate these properties over time for creative effects.
- Incorporating Motion Graphics: Use Blender’s powerful 3D tools to create motion graphics. This includes creating shapes, extruding 2D objects into 3D, and using modifiers for procedural animations. Combine these with the VSE for unique video content.
- Using Particles and Simulations: For complex motion graphics, consider using Blender’s particle systems and physics simulations. These can be used to create effects like fire, smoke, water, or crowds, adding a new layer of depth to your videos.
- Exporting Animation for Video: Once your animations or motion graphics are complete, you’ll need to render them out and incorporate them into your video project. Render the animations as image sequences or video files, then import these back into the VSE for final editing.
Animation and motion graphics in Blender can elevate your video projects to a professional level. Start with simple animations, and gradually explore the more complex features Blender offers. Practice and experimentation are key to mastering these skills.

Rendering and Exporting Your Final Video
Rendering and exporting are crucial steps in the video editing process, transforming your project into a final video file. This section outlines the steps to render and export your video in Blender, ensuring high-quality results.
- Setting Up the Render Properties: First, go to the Properties panel and select the Render Properties tab. Here, you can choose the output resolution, frame rate, and the rendering engine. For most video projects, the Eevee engine is sufficient and faster than Cycles, but Cycles can be used for higher quality if needed.
- Choosing the Output Format: In the Output Properties tab, set the file format for your video. Blender supports various formats, including AVI, MPEG, and Quicktime. For compatibility and quality, MP4 format with H.264 codec is widely recommended.
- Configuring Audio Encoding: Don’t forget to include audio in your final video. In the same Output Properties tab, scroll down to the Audio section and choose the audio codec. AAC is a good choice for most projects, offering a balance between quality and file size.
- Specifying Output Location: Specify the directory where you want to save the rendered video. It’s a good practice to create a dedicated folder for your project\"s renders to keep everything organized.
- Performing a Test Render: Before rendering the entire project, perform a test render of a short segment to check the video and audio quality. Adjust any settings if necessary to ensure the final output meets your expectations.
- Rendering the Video: Once you’re satisfied with the setup, go to the Render menu and select Render Animation, or press Ctrl+F12. Blender will start rendering your project frame by frame, which can take a while depending on the complexity of your project and the power of your computer.
- Monitoring the Render Process: Blender provides a progress bar and estimated time remaining for the render. You can stop the render at any time if you need to make adjustments.
- Exporting Your Video: After rendering, Blender automatically combines the frames into the video file format you selected. Locate the file in the output directory you specified earlier, and your video is ready for viewing, sharing, or further processing.
Remember, rendering is a resource-intensive process. Close unnecessary applications to free up system resources and ensure a smoother rendering experience. With patience and careful attention to these steps, you’ll be able to produce professional-quality videos with Blender.
Best Practices for Efficient Video Editing in Blender
To maximize efficiency and produce high-quality video content using Blender, it\"s important to follow certain best practices. These guidelines will help streamline your editing process and enhance your final product.
- Organize Your Project: Before starting your edit, organize your media files in Blender’s Video Sequence Editor. Use separate channels for video clips, audio, and effects. Naming your strips and channels clearly can save you time during editing.
- Use Proxies for High-Resolution Footage: Editing high-resolution footage can be demanding on your system. Use Blender’s proxy feature to create lower resolution copies of your clips for smoother playback during editing. You can switch back to the original high-res clips for rendering.
- Learn Keyboard Shortcuts: Blender has numerous keyboard shortcuts that can significantly speed up your editing process. Familiarize yourself with these shortcuts for actions such as cutting strips, moving frames, and applying effects.
- Start with a Rough Cut: Begin your editing process by assembling a rough cut. Focus on the narrative flow without worrying about the fine details. This approach allows you to structure your story effectively before diving into detailed editing.
- Apply Color Correction and Grading: Consistent color and lighting are key to a professional-looking video. Use Blender’s color correction tools to match shots from different sources and apply color grading to achieve the desired mood and style.
- Optimize Your Render Settings: Experiment with Blender’s render settings to find a balance between render quality and time. Consider rendering your project in segments if you’re working on a particularly long or complex video.
- Back Up Your Work Regularly: Video editing can be a lengthy process, and losing progress due to a crash or mistake can be frustrating. Save your project frequently and consider using Blender’s auto-save feature to automatically back up your work.
- Engage with the Blender Community: The Blender community is a valuable resource for learning and troubleshooting. Don’t hesitate to seek advice from forums and tutorials if you encounter challenges during your editing process.
Following these best practices will not only improve your efficiency when using Blender for video editing but also enhance the quality of your final videos. Remember, mastering video editing in Blender takes time and practice, so be patient and continually seek to refine your skills.
READ MORE:
Learning Resources and Community Support
Embarking on the journey of video editing with Blender can be both exciting and challenging. Fortunately, there is a wealth of learning resources and community support available to help you master this powerful tool. Here are some recommendations to get you started:
- Official Blender Tutorials: The Blender Foundation provides an extensive collection of official tutorials covering all aspects of Blender, including video editing. These tutorials are a great place to start for beginners and also offer advanced tips for experienced users.
- Blender Community Forums: Blender Artists and the Blender Community Forum are platforms where you can ask questions, share your work, and get feedback from other Blender users. It\"s a great way to connect with others and solve common problems.
- Online Courses and Workshops: Platforms like Udemy, Coursera, and Skillshare offer courses on Blender, ranging from basic video editing to complex 3D modeling and animation. These courses often provide structured learning paths and practical projects.
- YouTube Channels: Many experienced Blender users and instructors share their knowledge through YouTube channels. These can be an excellent resource for visual learners, offering tutorials, tips, and project walkthroughs.
- Blender Documentation: Don’t overlook the official Blender manual. It\"s a comprehensive guide to all features and tools within Blender, including the Video Sequence Editor. The manual is regularly updated to reflect the latest version of the software.
- Books: There are several books available that focus on Blender for video editing and animation. These books can serve as a reference guide and provide in-depth tutorials and exercises.
- Blender Conferences and Meetups: Attending Blender conferences or local meetups can be a great way to learn from experts and network with other Blender users. These events often feature workshops, presentations, and showcases of new features.
Utilizing these resources and engaging with the Blender community can significantly accelerate your learning process. Whether you\"re a complete beginner or looking to enhance your skills, the support and knowledge you need are readily available. Keep practicing, stay curious, and don\"t be afraid to ask for help when you need it.
Unlock the full potential of your creative projects with Blender, a versatile video editor that offers a seamless blend of advanced features and community support. Start transforming your visions into reality today!