Topic blender face sculpting: Unlock the secrets of Blender face sculpting with our comprehensive guide, designed to transform beginners into skilled digital sculptors, ready to create stunning, lifelike portraits.
Table of Content
- Getting Started with Face Sculpting
- Advanced Sculpting Techniques
- Advanced Sculpting Techniques
- Introduction to Face Sculpting in Blender
- Can you recommend any tutorials or resources for learning advanced techniques in Blender face sculpting?
- Choosing the Right Tools for Face Sculpting
- YOUTUBE: Blender Sculpting Tutorial for Beginners - Stylized Head Sculpt
- Step-by-Step Process for Sculpting a Face
- Advanced Techniques in Face Sculpting
- Texturing and Detailing for Realism
- Rigging and Animating Sculpted Faces
- Common Challenges and Solutions in Face Sculpting
- Resources for Learning More About Face Sculpting
- Community and Support for Blender Artists
Getting Started with Face Sculpting
Begin your sculpting journey by selecting a reference image to guide your proportions and starting with a basic model. Switch to Sculpt Mode to access various sculpting tools like brushes for adding, subtracting clay, and smoothing surfaces. Familiarize yourself with brush types and experiment with their settings for desired effects.
Essential Tools and Techniques
- Face Sets: Use the draw face set brush for creating and modifying face sets, which are essential for organizing your sculpting process.
- Multiresolution Modifier: Enhance your model by subdividing its mesh for detailed sculpting, allowing for intricate features and textures.
- Dynamic Topology: Opt for dynamic topology to add or remove details dynamically, aiding in the creation of complex surfaces without pre-defined mesh density.
READ MORE:
Advanced Sculpting Techniques
Advance your sculpting by mastering UV mapping and texturing, which bring your sculptures to life with realistic colors and patterns. Rigging and weight painting are also crucial for animating your characters, enabling them to move and express naturally.
Creating Realistic Textures and Animations
- Utilize UV mapping to unwrap your model and optimize the UV layout to minimize stretching.
- Create or import high-quality textures to avoid pixelation, applying them to your model for enhanced realism.
- Construct a skeleton for your character through rigging, and use weight painting to refine how the mesh deforms around bones.
With practice and exploration of Blender\"s extensive features, you can create detailed and expressive face sculptures. Embrace the challenge and let your creativity flow!

Introduction to Face Sculpting in Blender
Face sculpting in Blender is a transformative process that leverages the power of digital tools to bring artistic visions to life. This journey begins with understanding the fundamental aspects of Blender, a versatile 3D modeling and rendering software. Known for its advanced tools and features, Blender facilitates the creation of highly realistic face sculptures, making it an invaluable resource for artists and designers alike.
To embark on face sculpting, one must start with a reference image to guide the proportions and features of the desired sculpture. The next step involves choosing or creating a basic model, preferably with a neutral expression, to serve as the foundation for sculpting. Blender\"s Sculpt Mode then becomes the playground, offering a variety of brushes and tools designed for adding, subtracting, and refining clay, enabling the sculptor to shape and detail the face with precision.
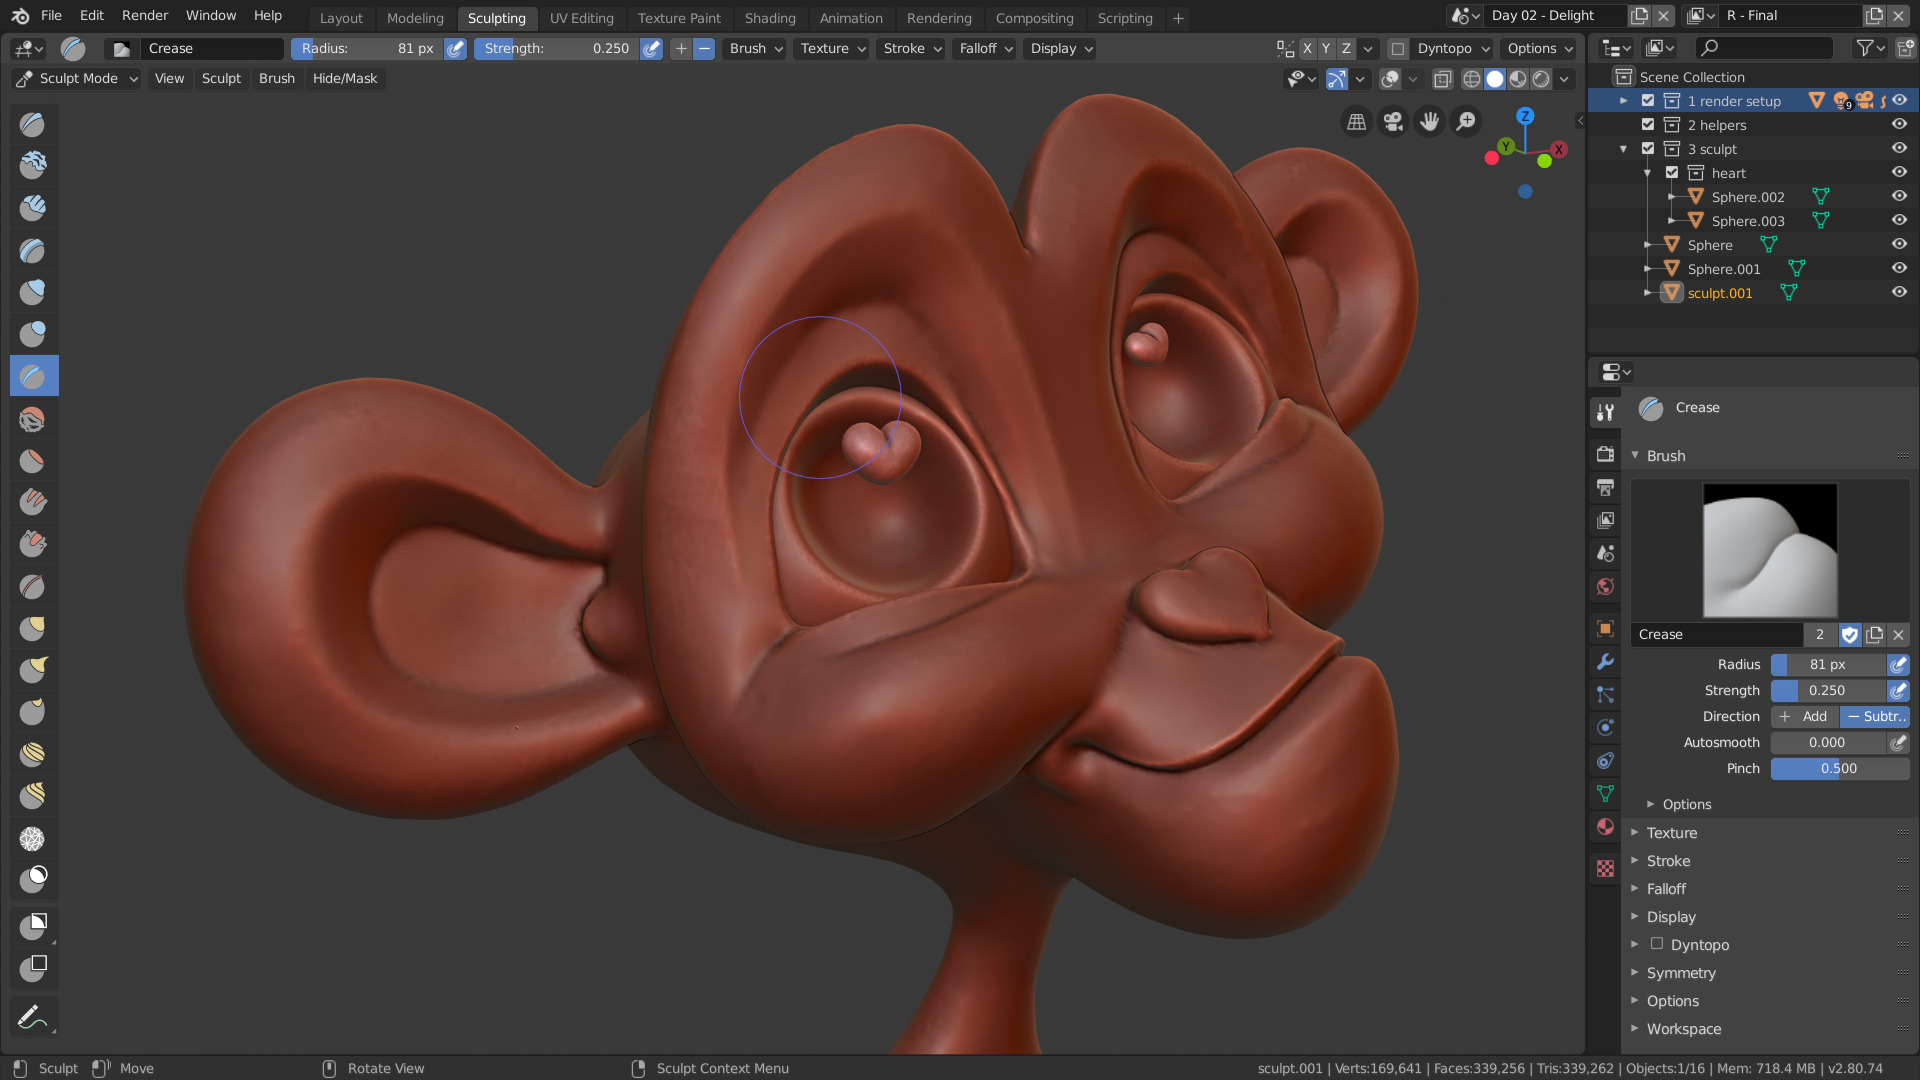
- Tools and Techniques: Sculpting in Blender is supported by an array of brushes, including Crease, Clay Strips, Pinch, Grab, and Smooth, among others. Each brush has its unique application, allowing for the meticulous crafting of facial features and textures.
- Dynamic Topology: A standout feature in Blender is its dynamic topology system, known as dyntopo. This method facilitates the seamless addition and removal of details on the fly, ensuring that sculptors can work without constraints, allowing for the organic evolution of their creations.
- Multi-res Sculpting and Mirrored Sculpting: Blender supports multi-resolution sculpting, which enables artists to work on different levels of detail simultaneously. Mirrored sculpting ensures symmetrical features, enhancing efficiency and accuracy in the sculpting process.
Whether refining the hair detailing through dedicated tutorials or exploring the nuances of facial features like lips, nose, and eyes, Blender offers structured learning paths for both novices and experts. The journey through face sculpting is not just about mastering the tools but also about understanding the artistry behind bringing a digital face to life, from conceptual research to final model production.
Embrace the challenge of face sculpting in Blender, where the only limits are your imagination and creativity. With practice and exploration, you can unlock the potential to create stunning, lifelike sculptures that capture the essence of human expression.
Can you recommend any tutorials or resources for learning advanced techniques in Blender face sculpting?
Here are some recommended tutorials and resources for learning advanced techniques in Blender face sculpting:
- Blender Face Sculpting Tutorial for Beginners: This tutorial covers the basics of face sculpting in Blender and is perfect for those starting out.
- Advanced Face Sculpting Techniques in Blender: This tutorial delves into more advanced techniques for creating realistic faces in Blender.
- Blender Official Website: The official Blender website offers documentation, tutorials, and resources for all levels of Blender users, including face sculpting techniques.
- CG Cookie: CG Cookie is a great resource for Blender users, offering in-depth courses and tutorials on various topics, including face sculpting.
_HOOK_
Choosing the Right Tools for Face Sculpting
Choosing the right tools for face sculpting in Blender is crucial for achieving the desired realism and detail in your sculptures. Blender offers a comprehensive set of built-in tools and brushes tailored for sculpting intricate facial features, alongside a wide array of addons to enhance your sculpting workflow.
- Brushes and Sculpting Tools: Blender\"s Sculpt Mode provides an array of brushes such as Crease, Clay Strips, Pinch, Grab, Smooth, and Mask. These tools are essential for adding, subtracting, and refining the digital clay to shape your sculpture.
- Dynamic Topology: Also known as Dyntopo, this feature allows for dynamic tessellation sculpting, which adds or removes details on-the-fly, enabling you to sculpt without worrying about the mesh\"s initial topology.
- Multi-res Sculpting and Mirrored Sculpting: Multi-res support allows working on different levels of detail, while mirrored sculpting ensures symmetrical modifications, speeding up the sculpting process for facial features.
In addition to Blender\"s native tools, several addons can significantly enhance your sculpting capabilities:
- Speedsculpt: Offers functions to speed up sculpting, including quick posing of characters and decimate modifier to reduce mesh resolution.
- Sculpt Layers: Allows creating different detail layers that can be toggled on and off, enabling faster sculpting without overloading your CPU.
- Auto-Rig Pro: Streamlines the rigging process post-sculpting, essential for posing or animating your sculpted characters.
- Retopoflow: Facilitates mesh customization and detail management, essential for optimizing your sculptures for animation or game engines.
Integrating these tools and addons into your Blender workflow will not only improve the efficiency of your sculpting process but also elevate the quality of your final sculptures. Whether you\"re a beginner or an experienced sculptor, taking the time to familiarize yourself with these tools will be invaluable in your digital sculpting endeavors.
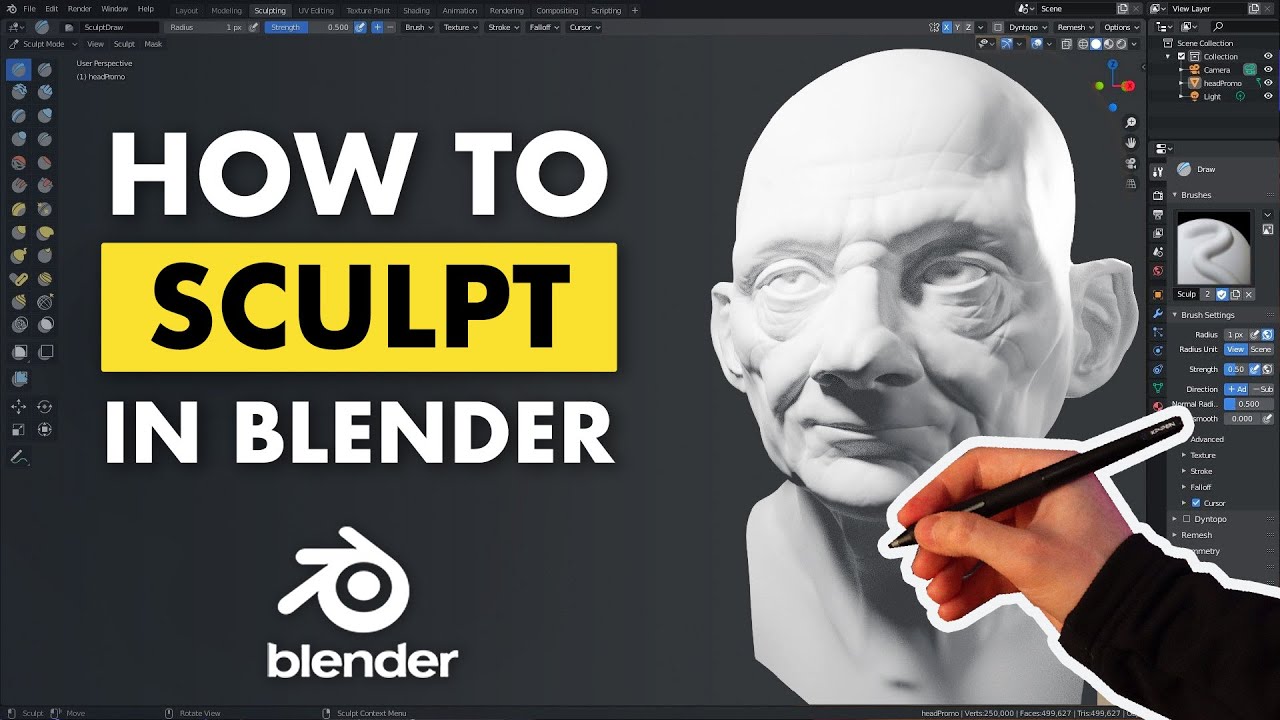
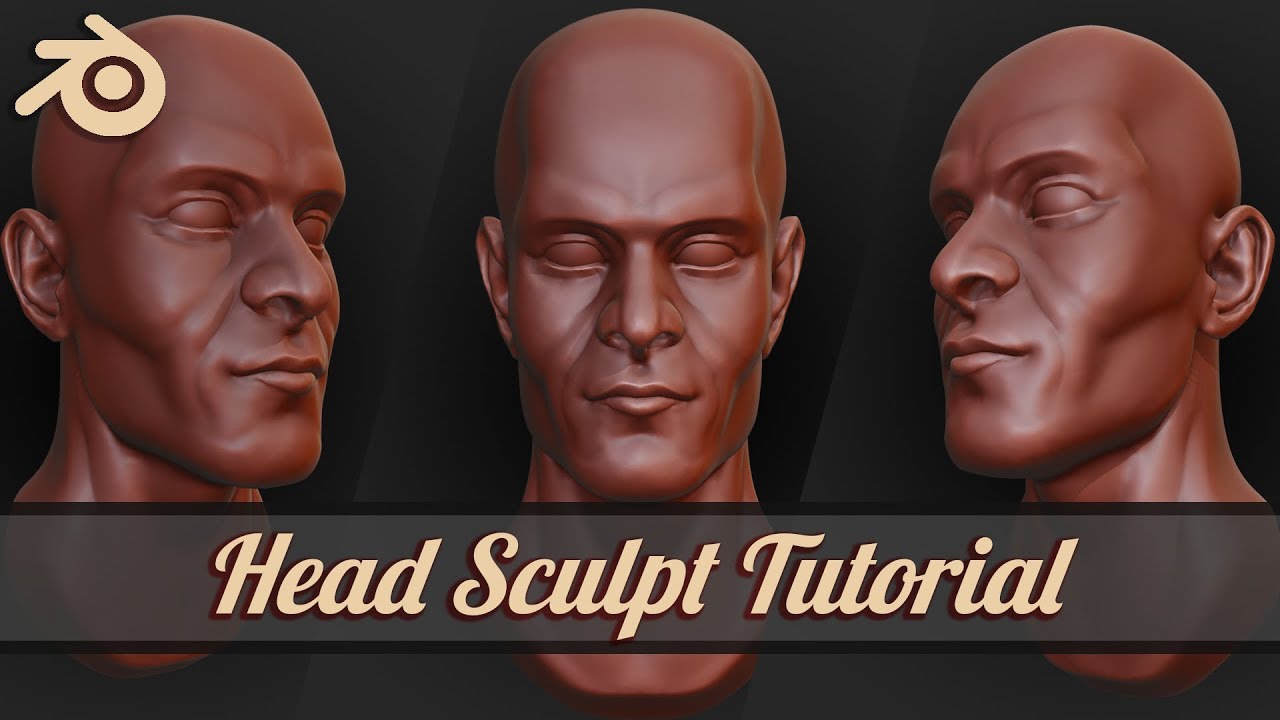
Blender Sculpting Tutorial for Beginners - Stylized Head Sculpt
Tutorial: Dive into our engaging tutorial video where we break down complex concepts into simple, easy-to-follow steps. Let us guide you through the learning process and unlock new skills effortlessly. Face: Uncover the secrets to achieving flawless skin and mastering the art of makeup in our captivating video all about the face. Enhance your natural beauty and learn expert tips and tricks.
Sculpting a Face - Blender Tutorial
blender #blender3d #blendertutorial #animation #blenderanimations #sculpting #3d.
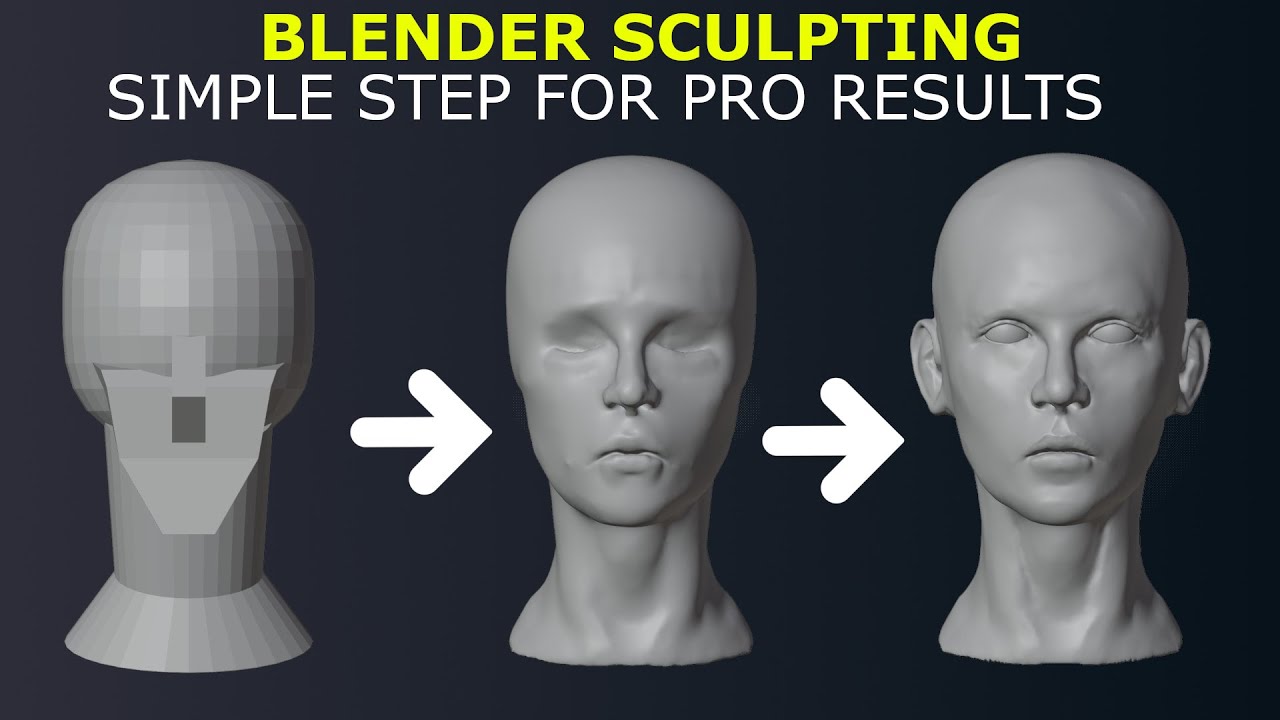
Step-by-Step Process for Sculpting a Face
Creating a realistic face sculpture in Blender involves a methodical approach, starting with the basics and gradually adding complexity and detail. Here\"s a simplified step-by-step guide to help you navigate through the process.
- Setting Up Your Workspace: Begin with a clear reference image to guide the proportions and features of the face you aim to sculpt. Utilize a basic model, such as a subdivided cube, as your starting point.
- Applying the Multiresolution Modifier: This modifier is essential for subdividing your model into smaller, more manageable faces, which you can sculpt individually for greater detail.
- Starting Sculpt Mode: Access Sculpt Mode and select your preferred sculpting tool. Brushes like Add, Smooth, Sharpen, and Texture are invaluable for adding volume, smoothing surfaces, defining features, and adding skin textures.
- Blocking Out Basic Shapes: Use the Add Brush to apply clay to the basic structure of the face, focusing on prominent features such as the forehead, cheekbones, and jawline.
- Refining Features: With the basic shape in place, switch to finer brushes to detail individual facial features—eyes, nose, mouth, and ears—keeping symmetry and proportion in mind.
- Adding Details and Textures: Employ the Texture Brush to introduce finer details like pores and wrinkles, enhancing the realism of your sculpture.
- Final Adjustments: Use the Smooth and Sharpen Brushes to refine edges and features, ensuring a natural and realistic appearance.
Throughout the sculpting process, constantly compare your sculpture to your reference image, adjusting proportions and details as needed. Experiment with different brush settings and techniques to achieve the desired level of realism and detail.
Remember, sculpting is an iterative process. It requires patience and practice to develop the skills necessary for creating lifelike digital sculptures. Don\"t be afraid to experiment and learn from each attempt, as every project brings you one step closer to mastering the art of face sculpting in Blender.

Advanced Techniques in Face Sculpting
Mastering advanced techniques in Blender for face sculpting can elevate your digital artistry to new heights, enabling the creation of highly realistic and detailed characters. These advanced methods leverage Blender\"s robust feature set to refine and enhance the sculpting process.
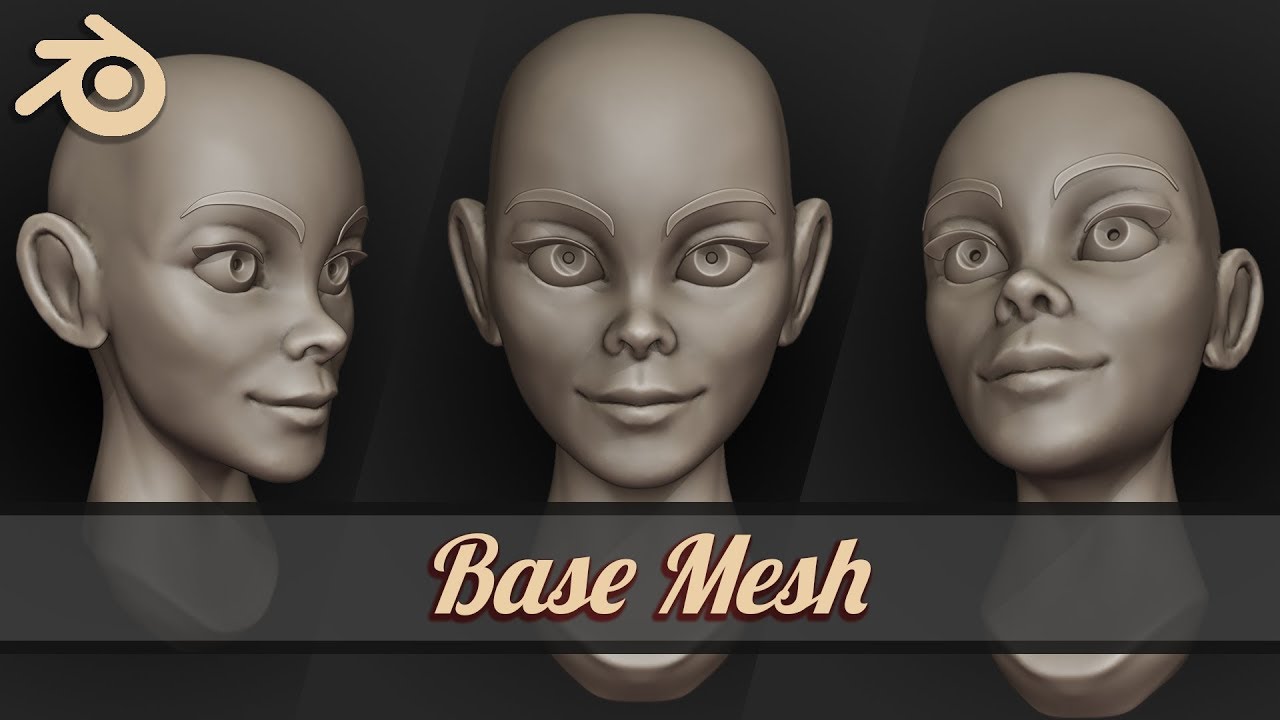
- Base Meshes and Blocking: Start with a base mesh to save time and establish correct proportions, shapes, and topology right from the beginning. A well-constructed base mesh should have an even quad-only topology optimized for subdivision sculpting.
- Design Blocking: Focus on the 3D design process of a realistic human character, which is crucial for setting the groundwork before diving into technical execution and detailing. This initial stage involves more freeform and broad changes to sculpting, emphasizing the character\"s general shape and proportions.
- Utilizing Face Sets: Face sets are instrumental for managing different parts of your mesh during sculpting. They allow for efficient hiding, masking, and segmenting of the model, which can significantly improve both performance and workflow efficiency. Face sets can be created from masked areas or edit mode selections, providing a versatile way to work with complex sculpts.
- Dynamic Topology (Dyntopo): Dyntopo allows for dynamic tessellation of the mesh during sculpting. This feature is essential for adding intricate details without the need for a densely subdivided mesh from the start.
- Sculpting Details and Asymmetry: For realism, introduce asymmetry early in the sculpting process. Focusing on asymmetrical details can enhance the lifelikeness of your characters, especially in facial features.
- Retopology and Layering: After sculpting, retopology is used to create a clean, animation-ready mesh. This step is crucial for the technical execution of the character, including rigging and animation.
Advanced face sculpting in Blender is a blend of artistic skills and technical knowledge. By starting with a solid base mesh, utilizing face sets for efficiency, employing dynamic topology for details, and understanding the importance of asymmetry and retopology, artists can achieve impressive realism in their digital creations.

Texturing and Detailing for Realism
Texturing and detailing are pivotal steps in bringing a sculpted face to life in Blender. These processes involve applying high-quality textures, creating variations in the skin, and adding fine details like pores and wrinkles to achieve a realistic look. Here\"s how to approach texturing and detailing for realism.
- Understanding Facial Anatomy: Begin by studying facial anatomy and identifying key landmarks. This foundational knowledge aids in accurately placing textures and details corresponding to the underlying bone and muscle structure.
- Base Sculpting and UV Mapping: Sculpt the base mesh, ensuring proper topology that supports the detailed texturing process. Follow this by UV mapping your character, which is crucial for accurate texture placement.
- Alpha Texturing: Utilize alphas to introduce fine details such as pores and wrinkles onto your sculpt. This can be achieved by sculpting these details directly onto the model or by using bump maps to simulate texture depth.
- Baking Textures: Employ tools like XNormal to bake essential textures from your high-poly model to the low-poly version. This process captures the detailed information necessary for realistic rendering.
- Creating Variations: Generate variations in the skin texture using software like Photoshop or Krita. These variations can include color changes, specular maps to simulate skin oiliness, and displacement maps for additional depth.
- Applying Textures: Apply the created textures to your model in Blender, adjusting the material settings to achieve the desired realism. This includes setting up subsurface scattering to mimic light passing through skin.
- Detailing with Texturing.xyz: For ultra-realistic skin detail, consider using resources like Texturing.xyz. These multi-channel faces provide high-resolution details that can significantly enhance the realism of your character\"s skin.
- Facial Hair and Peach Fuzz: Use Blender’s particle system for hair grooming to add eyebrows, eyelashes, and facial hair. Adding these elements contributes greatly to the overall realism of the character.
- Final Material Setup: Conclude by setting up the character’s material in Cycles, plugging in all the textures correctly to shade your character realistically.
Mastering texturing and detailing requires patience and practice, but by following these steps and employing advanced techniques, you can create highly realistic facial sculptures in Blender.
Rigging and Animating Sculpted Faces
Rigging and animating sculpted faces in Blender transforms static models into expressive characters capable of conveying emotions and delivering performances. The process leverages Blender\"s robust tools for facial rigging, including shape keys and armatures, to create a versatile and dynamic facial animation setup.
- Understanding Facial Rigging: Facial rigging involves creating a control system, known as a rig, that allows for the manipulation of a character\"s facial expressions. This system includes an armature that controls the movement of the mesh to produce various facial expressions.
- Faceit Add-on: Faceit is an all-in-one facial rigging, motion capture, and animation Add-on for Blender that offers a semi-automatic and non-destructive workflow. It guides users through creating facial shape keys perfectly adapted to the model\"s topology, simplifying the rigging process.
- Basic Rigging Process: Start with a well-prepared 3D model of the character\"s head, ensuring the mesh is symmetrical and topologically sound. Add an armature, which is essentially the skeleton, and link it to parts of the mesh. Use weight painting to bind the mesh to the armature, indicating how different parts should move in response to the bones.
- Using Shape Keys: Shape keys are essential for achieving complex facial expressions. They allow for more specific adjustments and movements that armatures alone cannot achieve. Rigging involves creating and applying these shape keys to control facial expressions dynamically.
- Advanced Techniques: For more detailed facial animations, incorporating dynamic wrinkle systems can add a layer of realism by simulating facial movements\" subtle changes. Custom expressions and puppeteering systems can also enhance the animation process, making it more intuitive and efficient.
- Preparing for Animation: Once the rigging is complete, animators can use the control rig to animate facial expressions. This involves manipulating the rig to achieve the desired expressions and movements, which can then be fine-tuned for natural and lifelike animations.
Rigging and animating sculpted faces is a complex but rewarding process. With Blender\"s comprehensive tools and resources like Faceit, artists can bring their characters to life with expressive and realistic facial animations. Practice, patience, and creativity are key to mastering this art form.
_HOOK_
Common Challenges and Solutions in Face Sculpting
Face sculpting in Blender presents a unique set of challenges that can perplex both beginners and experienced users. Here, we outline some common problems encountered during face sculpting and offer solutions to overcome these hurdles effectively.
- Reference and Proportions: A common starting point issue is selecting an appropriate reference image. Choosing a clear, front-facing photo helps in maintaining accurate proportions of the face you wish to sculpt. It\"s crucial not to rely solely on a perfect likeness but to use the reference as a guide for general proportions.
- Managing Normals: A notorious problem is the appearance of black stripes or creases along model edges, often visible when using the Subdivision Surface modifier. This issue typically arises from normals facing the wrong direction. Recalculating normals (Ctrl+N in Edit mode) usually fixes this by aligning them outward.
- Disappearing Objects: Objects or parts of the mesh going missing can be frustrating. This often results from accidental hiding (H key) or moving to different layers. Unhiding everything (Alt+H) and ensuring visibility across all layers by pressing the Tilde (~) key can help retrieve missing elements.
- Interface and Performance Issues: Blender\"s reliance on OpenGL can sometimes result in a glitchy interface or slow performance, particularly with outdated video drivers. Updating your graphics card drivers and adjusting Blender\"s Window Draw Method can improve performance and resolve display issues.
- Edge Loop Selection Problems: Especially prevalent on Linux systems, the Alt+right-click shortcut for edge loop selection might not work due to window manager conflicts. Using Shift+Alt+right-click or reassigning window manager shortcuts can offer a workaround.
- Background Image Visibility: If your reference background image disappears when changing views, it could be due to being in a view where background images are not displayed (like perspective view). Ensuring you\"re in the correct orthogonal view (side, front, top) where the image is set to display can solve this.
Face sculpting is a complex process that requires patience and practice. By addressing these common challenges with the suggested solutions, you can streamline your workflow and focus on the creative aspects of sculpting in Blender.

Resources for Learning More About Face Sculpting
Embarking on the journey of face sculpting in Blender can be both exciting and challenging. Fortunately, a wealth of resources is available to guide beginners and advanced users alike. Here are some curated tutorials and courses to enhance your sculpting skills:
- A Complete Beginner\"s Guide: A comprehensive YouTube tutorial that covers everything you need to know to start sculpting in Blender. It\"s perfect for those new to sculpting or Blender.
- Sculpting for Beginners Tutorial: Another beginner-friendly tutorial on YouTube that introduces you to the basic tools and features needed for sculpting in Blender.
- Anatomy and Form in Blender - Sculpting Course: This course goes deeper into sculpting a character from start to finish, with a focus on anatomy and form, making it ideal for those who want to create more lifelike sculptures.
- Official Blender Tutorials: Blender.org offers an array of tutorials, including ones focused on modeling and sculpting. These tutorials range from fundamental Blender functionalities to more specific sculpting techniques.
These resources provide a solid foundation for mastering face sculpting in Blender. They offer insights into basic and advanced techniques, helping you develop the skills necessary to bring your digital creations to life.
READ MORE:
Community and Support for Blender Artists
The Blender community is vast and supportive, offering a multitude of resources for artists of all skill levels. Whether you\"re seeking advice, feedback on your work, or looking to connect with fellow Blender enthusiasts, there\"s a space for you.
- Blender.org Support: Blender\"s official website provides extensive support through documentation, tutorials, and FAQs. The user manual, available in several languages, is constantly updated by volunteers. Additionally, Blender Studio offers training materials, and their official YouTube channel features tutorials and guides.
- Community Forums: Blender Artists Forum and Blender Stack Exchange are excellent places to ask questions, share knowledge, and connect with other Blender users. These platforms host a wealth of information on everything from troubleshooting to advanced sculpting techniques.
- Chat Rooms: Blender.chat houses various channels, including #blender-coders for development support and #support for general community chat, providing real-time assistance and discussion opportunities.
- Global Communities: Blender\"s reach is global, with independent groups and users all around the world. The Blender community page lists resources in multiple languages, including English, Spanish, French, Japanese, and many more, making it easy to find a community where you can feel at home.
- Specialized Platforms: Websites like BlenderNation offer updates on Blender\"s development, new tutorials, and community news. Blender.Today allows users to submit stories and participate in weekly live streams.
- Content Sharing: Platforms like Blend Swap and Right Click Select provide spaces for artists to share their work and ideas under Creative Commons licenses, fostering collaboration and creativity within the community.
Engaging with the Blender community can greatly enhance your sculpting journey, providing support, inspiration, and opportunities for growth. Don\"t hesitate to dive in and explore the wealth of resources available to you.
Embark on a journey of creativity with Blender face sculpting, where every brush stroke brings your digital dreams closer to reality. Join a vibrant community eager to support and inspire as you unlock the full potential of your artistic vision.