Topic blender sculpting tutorial: Embark on a creative journey with our Blender Sculpting Tutorial, designed to unlock your potential in 3D art and bring your imaginative visions to life with ease and precision.
Table of Content
- Beginner Tutorials
- Advanced Tutorials
- Specialized Techniques
- Course Recommendations
- Advanced Tutorials
- Specialized Techniques
- Course Recommendations
- Specialized Techniques
- Course Recommendations
- Course Recommendations
- What are the best Blender sculpting tutorials available online?
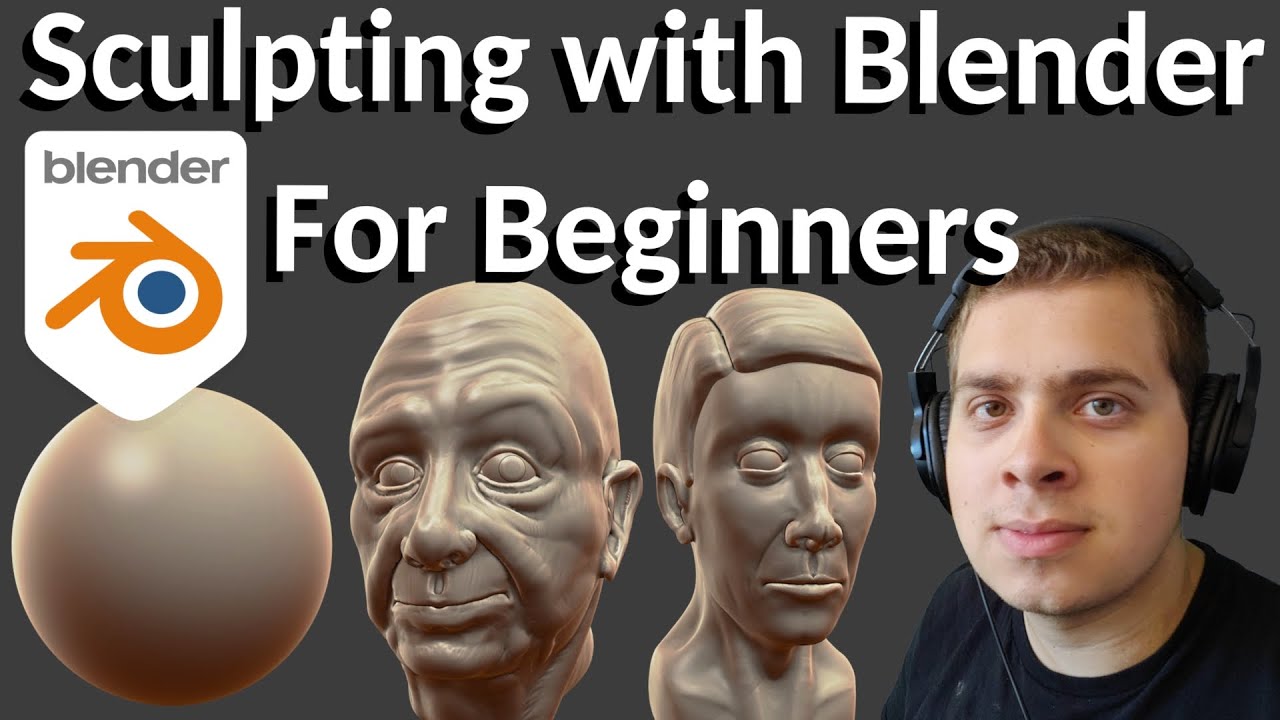
- Introduction to Blender Sculpting
- YOUTUBE: Blender Sculpting Tutorial for Beginners - Stylized Head Sculpt
- Getting Started with Blender for Sculpting
- Essential Tools and Brushes for Sculpting in Blender
- Basic Sculpting Techniques for Beginners
- Advanced Sculpting Techniques for Creating Detailed Models
- Speed Sculpting Techniques in Blender
- Dynamic Topology Sculpting for Flexibility
- Texturing and Painting in Blender Sculpting
- Finalizing Your Sculpt: From Sculpt to Render
- Learning Resources and Tutorials for Further Exploration
Beginner Tutorials
- Getting Started with Sculpting in Blender: An introduction to the basic tools and features necessary for beginners.
- Basic Sculpting Operations: Learn how to use Blender\"s sculpting tools to create detailed models, including techniques for making fur with the Bubble brush.
- Quick Start Guide to Sculpting in Blender: A concise video tutorial to get you sculpting in Blender quickly.
READ MORE:
Advanced Tutorials
- Full Advanced Creature Creation Workflow: Dive into a comprehensive guide on creating creatures in Blender, covering base mesh creation, sculpting techniques, and auto-retopology.
- Stylized Character Workflow: Discover the fundamentals of sculpting stylized characters, focusing on the most used tools and brushes.
Specialized Techniques
- Speed Sculpting in Blender: Enhance your 3D modeling skills with speed sculpting techniques for character and creature design.
- Sculpting with Dynamic Topology: Learn how dynamic topology, or dyntopo, allows for a more flexible sculpting process by adding and removing details on the fly.
Course Recommendations
- The Ultimate Blender 3D Sculpting Course: A comprehensive course from A-Z on 3D sculpting with Blender, perfect for those who want to learn everything from the basics to more advanced techniques.
Advanced Tutorials
- Full Advanced Creature Creation Workflow: Dive into a comprehensive guide on creating creatures in Blender, covering base mesh creation, sculpting techniques, and auto-retopology.
- Stylized Character Workflow: Discover the fundamentals of sculpting stylized characters, focusing on the most used tools and brushes.

_HOOK_
Specialized Techniques
- Speed Sculpting in Blender: Enhance your 3D modeling skills with speed sculpting techniques for character and creature design.
- Sculpting with Dynamic Topology: Learn how dynamic topology, or dyntopo, allows for a more flexible sculpting process by adding and removing details on the fly.

Course Recommendations
- The Ultimate Blender 3D Sculpting Course: A comprehensive course from A-Z on 3D sculpting with Blender, perfect for those who want to learn everything from the basics to more advanced techniques.

Course Recommendations
- The Ultimate Blender 3D Sculpting Course: A comprehensive course from A-Z on 3D sculpting with Blender, perfect for those who want to learn everything from the basics to more advanced techniques.
_HOOK_
What are the best Blender sculpting tutorials available online?
There are several excellent Blender sculpting tutorials available online that can help you improve your skills. Here are some of the best ones:
- Blender Beginner Course by Keelan Jon: This course is perfect for beginners and covers the basics of Blender sculpting.
- Blender Guru\'s Donut Tutorial: While this tutorial is known for its donut modeling, it also includes sculpting techniques that are great for beginners.
- Grant Abitt\'s Sculpting Tutorial: This tutorial is highly recommended for those looking to improve their sculpting skills in Blender.
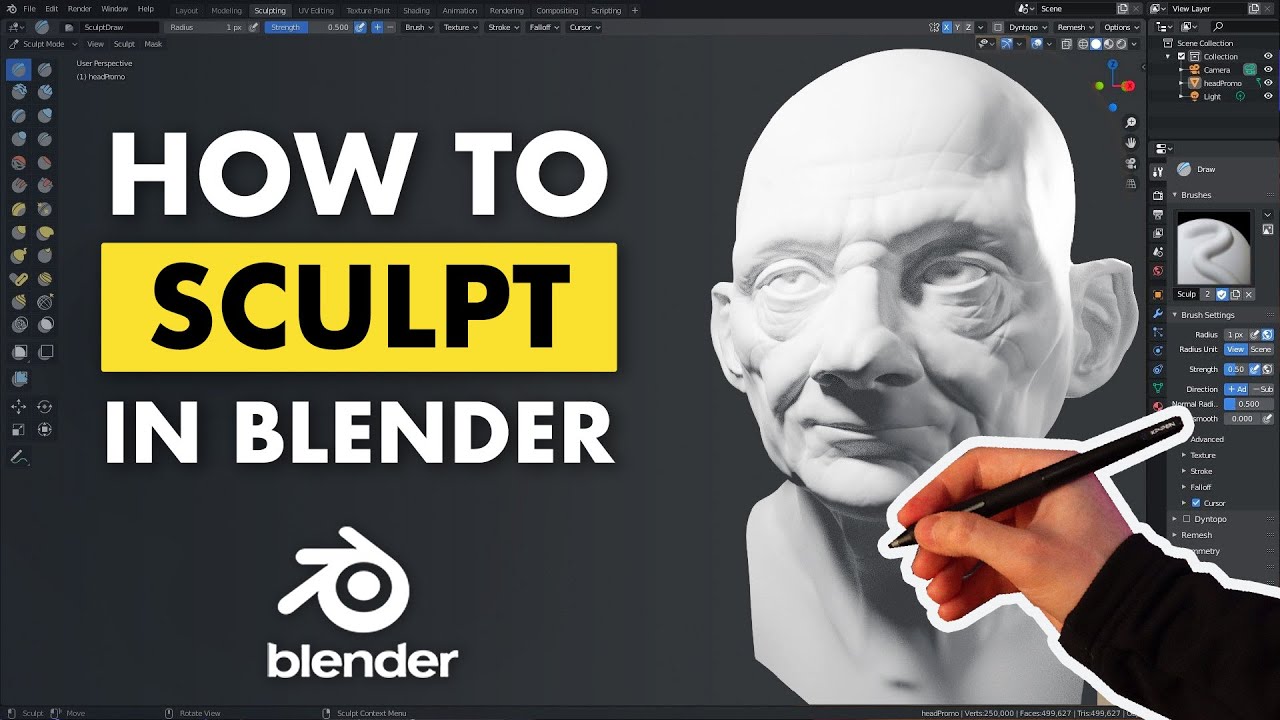
Introduction to Blender Sculpting
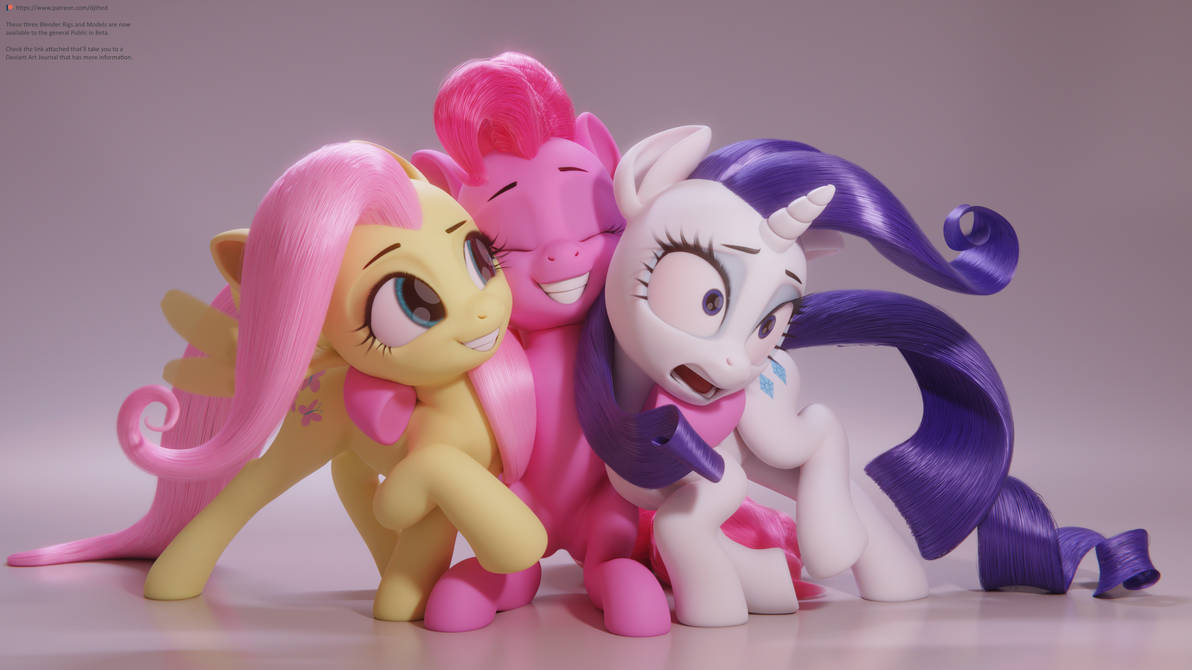
Blender Sculpting opens a world of possibilities for creators, allowing the transformation of virtual clay into detailed 3D models. This technique, akin to traditional clay sculpting, offers unparalleled control and creativity in the digital realm. Whether you\"re sculpting fantastical creatures, intricate characters, or detailed environments, Blender provides all the tools you need.
- Understanding Blender\"s Interface: Familiarize yourself with the sculpting environment, including the viewport, tools, and brushes.
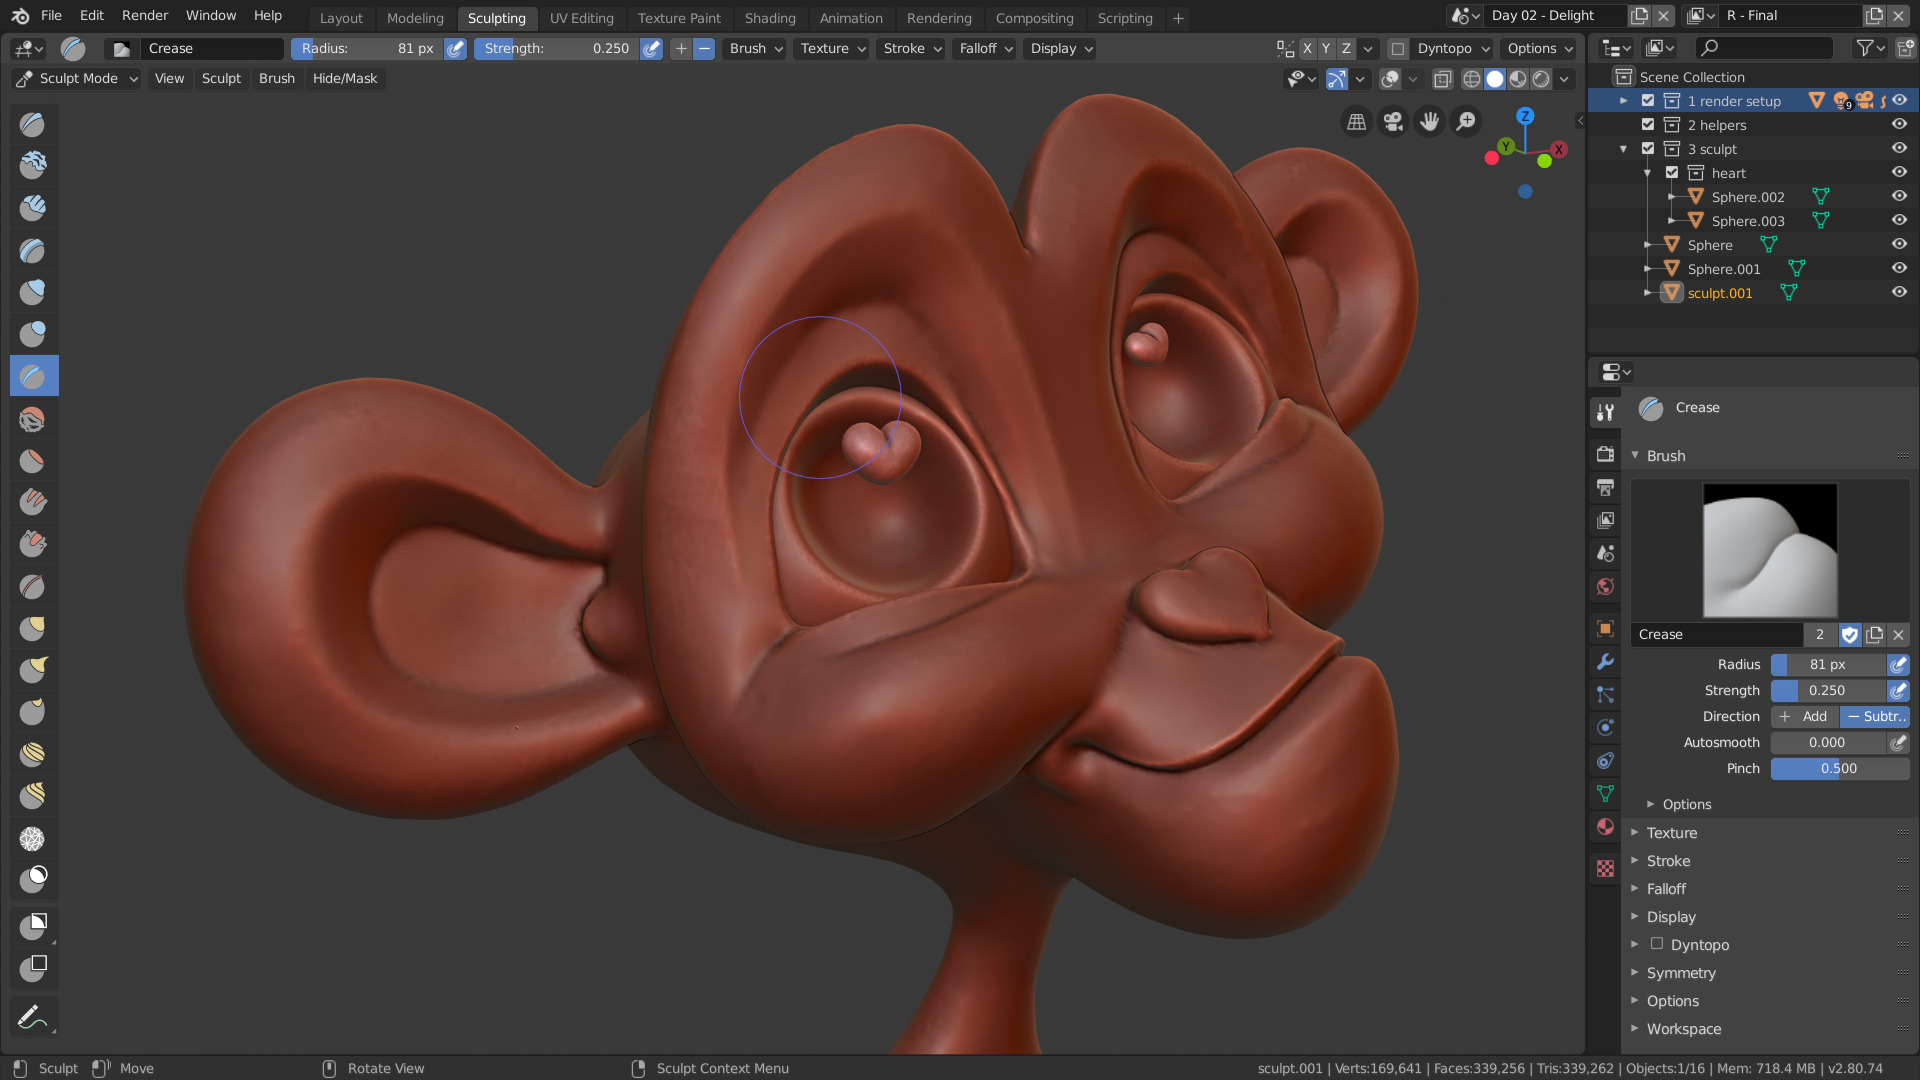
- Basic Tools and Brushes: Learn about the foundational tools such as the Grab, Crease, Smooth, and SculptDraw brushes, and how they can be used to start shaping your models.
- Dynamic Topology (Dyntopo): Discover how dynamic topology adds or removes detail to your mesh on-the-fly, allowing for a flexible sculpting process.
- Advanced Sculpting Techniques: Explore more complex techniques such as masking, layering, and the use of alphas for adding intricate textures and details.
- Practical Applications: From character design to abstract art, see how Blender\"s sculpting tools can be applied to a wide range of projects.
Starting with a simple sphere, you\"ll learn how to manipulate and transform your mesh into complex shapes and designs. This section will guide you through the initial steps of understanding Blender\"s sculpting tools, setting the foundation for your journey into 3D sculpting.
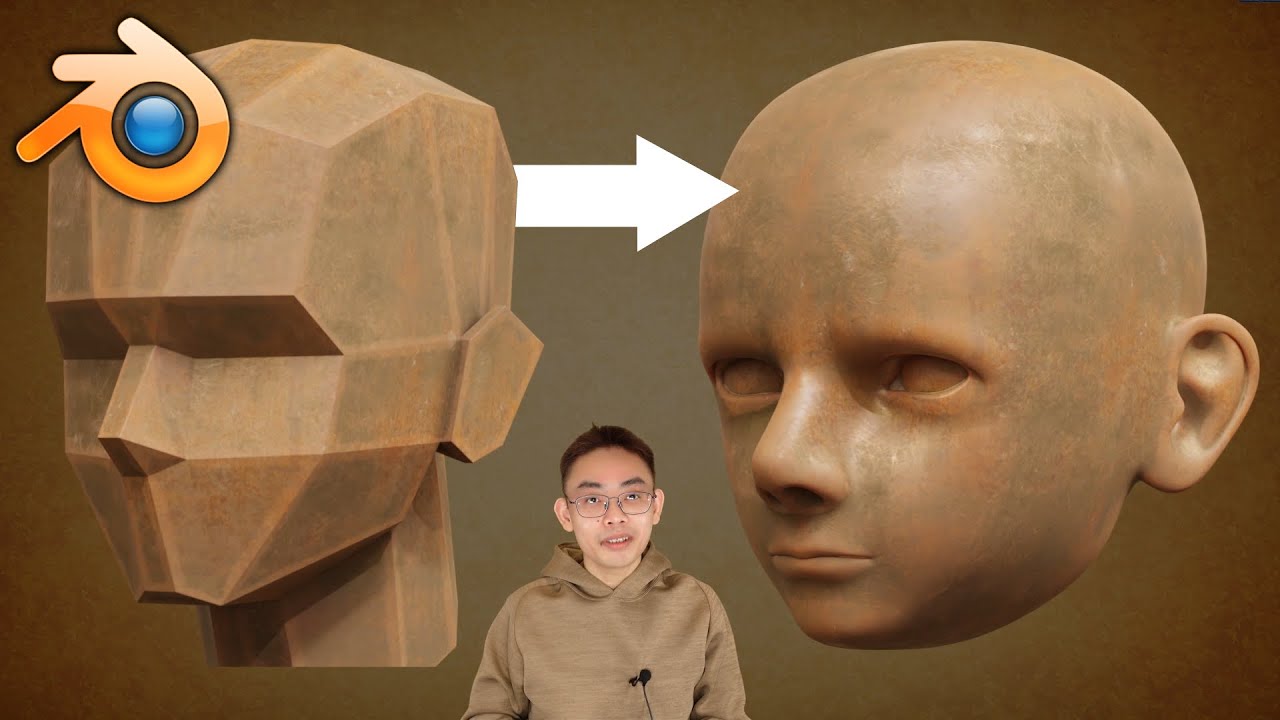
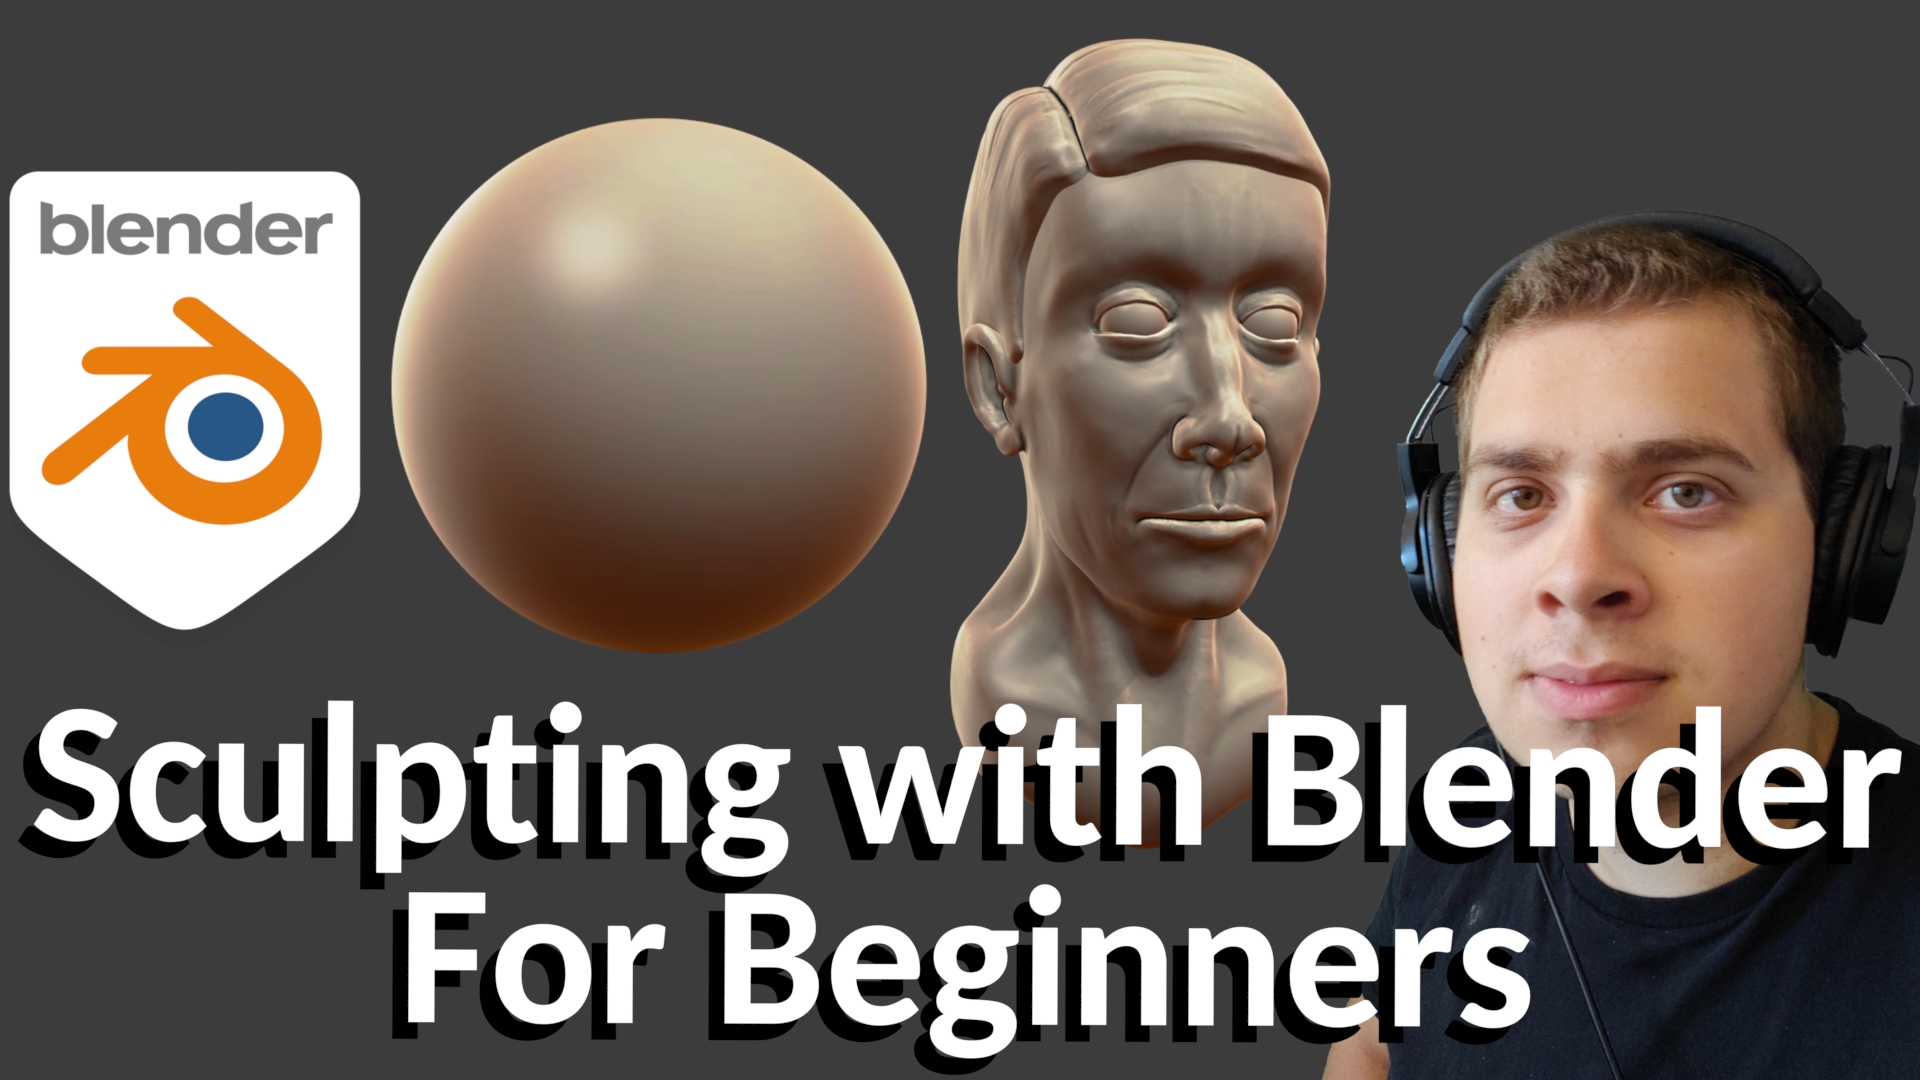
Blender Sculpting Tutorial for Beginners - Stylized Head Sculpt
Beginner: \"Perfect for new learners, this video provides clear and easy-to-follow instructions for beginners wanting to dive into the world of [topic]. Build your skills and confidence with this helpful guide!\" Stylized: \"Step into a world of creativity and flair with this stylized video showcasing unique and eye-catching [topic]. Explore innovative design techniques and artistic expressions that will inspire and captivate your imagination.\"
Sculpting with Blender For Beginners
Welcome to my Blender Beginner Sculpting Tutorial! In this tutorial, you will learn all the basic tools and features you will need to ...
Getting Started with Blender for Sculpting
Embarking on your sculpting journey with Blender begins with understanding the basics of the software and its sculpting capabilities. This section covers everything you need to know to set up your workspace and start sculpting with confidence.
- Download and Install Blender: Ensure you have the latest version of Blender installed to access all the newest features and tools for sculpting.
- Understanding the Blender Interface: Get acquainted with Blender’s user interface, focusing on the sculpt mode where you\"ll spend most of your time creating.
- Setting Up Your Workspace: Learn how to customize your workspace for sculpting, including the arrangement of tools, brushes, and options for efficiency.
- Navigation and Basic Controls: Master the navigation within the viewport, including zoom, pan, and rotate, to sculpt with precision.
- Selecting the Right Brush: Introduction to the different types of sculpting brushes available in Blender and their purposes.
- Creating a Base Mesh: Start with a simple shape that you can sculpt into more complex forms. This could be as simple as a sphere or cube.
- Sculpt Mode Overview: Dive into the sculpt mode, exploring its features and how to dynamically add or subtract from your mesh.
- Practicing Basic Sculpting Techniques: Begin with simple exercises to get comfortable with sculpting, such as adding bulk, carving details, and smoothing surfaces.
By following these steps, you\"ll be well on your way to creating your first 3D sculpture in Blender. Remember, practice is key to mastering sculpting, so don\"t hesitate to experiment with the tools and techniques you learn.
Essential Tools and Brushes for Sculpting in Blender
Blender sculpting equips artists with a versatile array of tools and brushes designed for creating intricate 3D models. Understanding these tools is key to unleashing your creative potential.
- Brushes: Blender offers a wide range of sculpting brushes, including but not limited to the Crease, Clay Strips, Pinch, Grab, and Smooth brushes. Each brush has a unique effect on the digital clay, allowing for diverse sculpting techniques.
- Dynamic Topology (Dyntopo): A revolutionary feature that adjusts the mesh\"s topology in real-time as you sculpt, enabling detailed creation without the need for a high starting polygon count.
- Symmetrize Tool: Mirrors your sculpting actions across an axis, ensuring symmetrical designs when needed and cutting work time in half for symmetrical objects.
- Masking: Allows selective sculpting by protecting specific areas of your model, enabling finer control over detailed work.
- Remesh: Simplifies the mesh topology, making it easier to add details on a cleaner surface. This tool is essential for managing polygon count and ensuring smooth performance.
- Sculpting Layers: Similar to layers in 2D graphics software, sculpting layers in Blender allow for non-destructive editing, enabling you to experiment with different details and textures without altering the underlying model.
- MultiRes Modifier: Allows you to sculpt on different levels of detail by subdividing your model only where necessary, preserving the original shape while adding complexity in selected areas.
Mastering these tools and brushes is crucial for any aspiring 3D sculptor using Blender. With practice, you can transform simple meshes into intricate sculptures, pushing the boundaries of digital art.
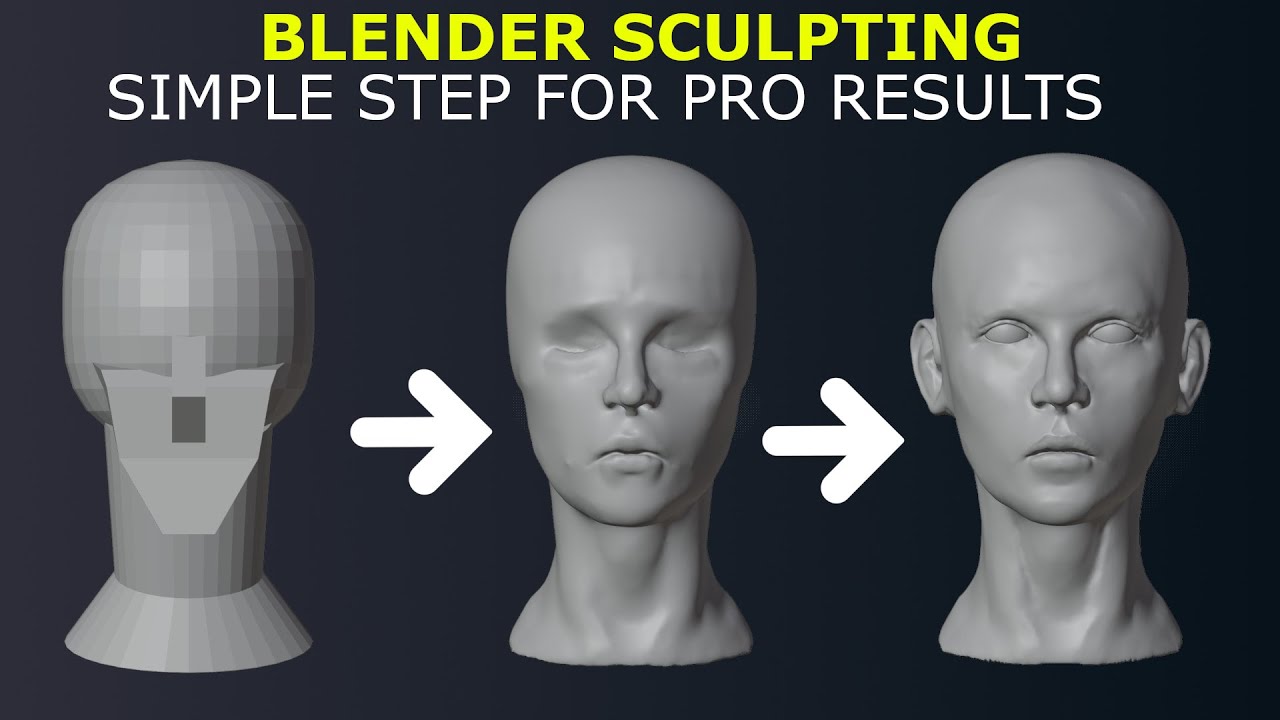
Basic Sculpting Techniques for Beginners
Starting with Blender sculpting can be an exciting journey. This section introduces the fundamental sculpting techniques that every beginner needs to know. By mastering these basics, you\"ll be able to start creating your own 3D sculptures.
- Understanding Sculpting Basics: Familiarize yourself with Blender\"s sculpting mode and learn how to navigate the 3D viewport effectively.
- Choosing the Right Brush: Explore the various brushes available in Blender and understand their specific uses, such as the Grab, Crease, and Smooth brushes for shaping and detailing your sculpture.
- Adding and Subtracting Volume: Learn how to add or subtract volume from your sculpture, a fundamental technique for creating form and structure.
- Using Symmetry: Discover how to use the symmetry option to mirror your sculpting actions, saving time and ensuring consistency when sculpting characters or symmetrical objects.
- Dynamic Topology (Dyntopo): Get to grips with Dynamic Topology, a powerful feature that allows you to add detail to your sculpture without worrying about the mesh structure.
- Smoothing Surfaces: Understand the importance of smoothing in sculpting and how it can be used to refine your models and blend details seamlessly.
- Creating Details: Start adding finer details to your sculpture, such as wrinkles or textures, using specialized brushes and techniques.
These basic techniques form the foundation of Blender sculpting. Practice them regularly to improve your skills and gradually take on more complex projects.
_HOOK_
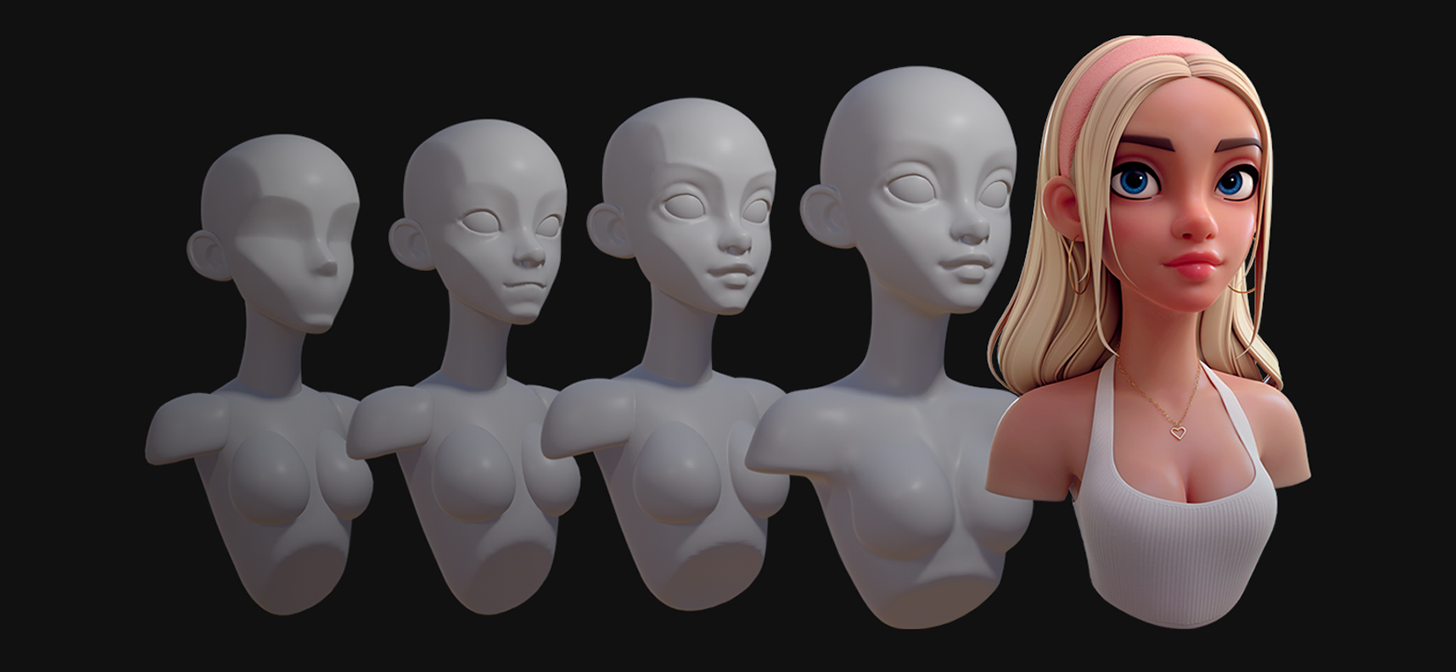
Advanced Sculpting Techniques for Creating Detailed Models
For those ready to push their Blender sculpting skills further, advanced techniques offer the capability to create highly detailed and complex models. This section delves into sophisticated strategies that allow for the creation of intricate textures, realistic features, and dynamic poses.
- Layering and Detailing: Learn how to layer details effectively, using multiple brush strokes and textures to add depth and realism to your models.
- Custom Brushes and Alphas: Discover the power of custom brushes and alphas for creating specific textures and patterns, such as skin pores, scales, or fabric textures.
- Masking for Precision: Utilize masking techniques to sculpt with precision, protecting certain areas of your model while working on others.
- Advanced Dynamic Topology Techniques: Explore advanced Dyntopo settings for finer control over your sculpting process, allowing for detailed work without overloading your model with vertices.
- Hard Surface Sculpting: Delve into techniques for creating hard-surface models within Blender, a method typically used for mechanical or man-made objects.
- Multi-Resolution Sculpting: Learn how to use the MultiRes modifier for high-detail sculpting on complex models without compromising performance.
- Posing and Anatomy: Understand the basics of human or creature anatomy to create more dynamic and realistic poses. Use the Armature system in Blender to pose your models after sculpting.
These advanced techniques require patience and practice to master but are essential for anyone looking to create professional-level sculptures in Blender. As you become more comfortable with these methods, you\"ll find your ability to bring your visions to life in 3D growing exponentially.
Speed Sculpting Techniques in Blender
Speed sculpting in Blender is an excellent way to improve your skills, allowing for rapid creation and iteration of ideas. This section introduces techniques that enable artists to work quickly and efficiently, producing dynamic sculpts in a fraction of the time.
- Setting Up for Speed: Learn how to configure Blender settings for optimal speed sculpting, including brush presets and UI customization for quick access to tools.
- Effective Use of Hotkeys: Mastering Blender\"s hotkeys can significantly speed up your workflow, allowing for quick switching between tools and brushes.
- Starting with Basic Shapes: Begin your sculpt with basic geometric shapes to quickly establish form and volume before adding details.
- Dynamic Topology for Flexibility: Utilize dynamic topology to add detail only where needed, keeping the overall mesh lighter and easier to manipulate.
- Focus on Major Forms First: Concentrate on getting the major forms right before moving on to finer details, to ensure that your sculpt has a solid foundation.
- Using Symmetry to Save Time: Take advantage of Blender\"s symmetry settings to mirror work across the model, halving the time needed for symmetrical designs.
- Time-Limited Sessions: Practice with time-limited sculpting sessions to improve speed and decision-making, forcing you to focus on what\"s essential.
By adopting these speed sculpting techniques, you can enhance your ability to quickly bring your ideas to life, making it an invaluable practice for both beginners and experienced sculptors alike.
Dynamic Topology Sculpting for Flexibility
Dynamic Topology, or Dyntopo, is a transformative feature in Blender that allows sculptors to add or reduce detail in their models dynamically, without the constraints of the mesh\"s initial topology. This flexibility is crucial for artists who wish to focus on the artistry of their work rather than technical limitations.
- Understanding Dyntopo: Learn what Dynamic Topology is and how it revolutionizes the way you can sculpt in Blender by adding geometry only where it\"s needed.
- Activating Dyntopo: A step-by-step guide on how to activate Dynamic Topology in Blender and the implications of its settings on your sculpting workflow.
- Detail Size and Resolution: Master the control of detail size and resolution in Dyntopo, allowing for precision in areas that require high detail while keeping other areas more simplified.
- Brushes and Dyntopo: Understand how different sculpting brushes interact with Dynamic Topology and how to use them effectively to add or subtract detail from your model.
- Managing Performance: Tips on managing Blender\"s performance while using Dyntopo, ensuring a smooth sculpting experience even on complex models.
- Transitioning Between Levels of Detail: Techniques for transitioning between different levels of detail smoothly, ensuring a cohesive and realistic model.
- Finalizing Your Sculpt: Guidance on finalizing your Dyntopo sculpt, including considerations for retopology and preparing your model for texturing and rendering.
Dynamic Topology is an essential tool for any Blender artist looking to push the boundaries of their sculpting projects. It provides the flexibility needed to create highly detailed and organic models, making it a cornerstone technique for professional-level sculpts.
Texturing and Painting in Blender Sculpting
After sculpting your 3D model, the next step is to bring it to life with textures and colors. Texturing and painting in Blender are essential skills for adding realism or artistic flair to your sculptures. This section guides you through the process of texturing and painting your sculpted models in Blender.
- Unwrapping Your Model: Learn how to unwrap your model properly to prepare it for texturing. This process involves mapping the 3D surface of your model to a 2D space to apply textures accurately.
- Texture Painting: Discover how to use Blender\"s texture painting tools to apply colors and textures directly onto your 3D model. This allows for detailed and precise control over the appearance of your sculpture.
- Using Brushes for Detailing: Explore the variety of brushes available for texture painting in Blender, each offering different effects for simulating materials like skin, cloth, metal, and more.
- Adding Materials: Understand the process of adding and configuring materials to your sculpture, which defines how textures interact with light, adding realism to your model.
- Utilizing Nodes for Advanced Texturing: Dive into Blender\"s powerful node editor for advanced texturing techniques, allowing for complex material creation with layers, masks, and procedural textures.
- Lighting and Rendering: A brief overview of how proper lighting and rendering settings can enhance the appearance of your textured and painted model, making it ready for final presentation.
Texturing and painting are where your sculpture truly comes to life, adding color, depth, and emotion to your creations. By mastering these techniques in Blender, you can achieve stunningly realistic or stylistically unique models ready for animation, games, or static display.
Finalizing Your Sculpt: From Sculpt to Render
Transitioning your Blender sculpt from a detailed model to a finalized render involves several key steps. This process is crucial for showcasing your sculpt in the best light, whether for presentation, animation, or 3D printing. Follow these steps to bring your creative vision to full fruition.
- Retopology: Convert your high-poly sculpt into a mesh with a lower polygon count that maintains the original shape. This step is essential for animation and performance optimization.
- UV Unwrapping: Unwrap your model to create a 2D representation of the 3D surface, preparing it for texturing.
- Texturing: Apply textures to add color, depth, and realism to your model. You can paint textures directly in Blender or use image textures.
- Shading and Material Creation: Use Blender’s material properties to define how your model interacts with light, adding realism or achieving a specific artistic look.
- Lighting: Set up lighting to enhance the appearance of your model and highlight details. Experiment with different lighting setups to find what best suits your scene.
- Camera Setup: Position your camera to frame your model effectively. Consider composition principles to create a more engaging render.
- Rendering Settings: Choose the appropriate render engine (e.g., Cycles or Eevee) and adjust settings such as resolution, samples, and noise reduction to get the best quality render.
- Post-Processing: Use Blender’s Compositor or external software to adjust colors, contrast, and add effects to your rendered image.
By carefully executing each of these steps, you can transform your sculpted model into a stunning render that showcases your skill and artistic vision. Whether for portfolio pieces, client presentations, or personal projects, these final touches are what make your sculpt truly stand out.
_HOOK_
READ MORE:
Learning Resources and Tutorials for Further Exploration
Enhancing your Blender sculpting skills requires continuous learning and practice. Below is a curated list of resources and tutorials that cater to both beginners and advanced users, offering insights into various sculpting techniques, workflows, and creative ideas.
- Blender Official Tutorials: The Blender Foundation provides a comprehensive set of tutorials covering all aspects of sculpting, from basic to advanced techniques.
- YouTube Channels: YouTube hosts numerous channels dedicated to Blender tutorials, including beginner sculpting guides, advanced creature creation, and speed sculpting techniques.
- Online Courses: Platforms like Udemy and Skillshare offer structured courses on Blender sculpting, ranging from introductory lessons to in-depth project-based learning.
- BlenderNation: A community-driven website that features tutorials, articles, and daily news about Blender, including user-submitted sculpting tutorials and tips.
- ArtStation and Behance: Explore the work of other artists for inspiration and practical insight into sculpting projects. Some artists also share their workflows and tutorials.
- Blender Artists Forum: Join the Blender community to ask questions, share your work, and get feedback from experienced users.
- Books and eBooks: There are several comprehensive guides and books available that delve into Blender\"s sculpting tools and techniques, suitable for all skill levels.
By exploring these resources, you\"ll gain access to a wealth of knowledge and inspiration that will aid in your development as a Blender sculptor. Whether you\"re looking to refine your skills, tackle new challenges, or simply find inspiration for your next project, these resources are invaluable for artists of all levels.
Embark on your Blender sculpting adventure today and transform your creative ideas into stunning 3D art. With practice and exploration, you\"ll soon master the art of digital sculpting and bring your visions to life.