Topic vray for blender: Unlock the full potential of your 3D projects with V-Ray for Blender, the premier rendering tool that combines versatility with power to deliver stunning visuals effortlessly.
Table of Content
- How to download and install V-Ray for Blender?
- Why Choose V-Ray for Blender
- How to Install V-Ray in Blender
- Setting Up Your First Render with V-Ray
- Understanding V-Ray\"s Advanced Features
- Optimizing V-Ray Settings for Blender
- Common Issues and Solutions in V-Ray for Blender
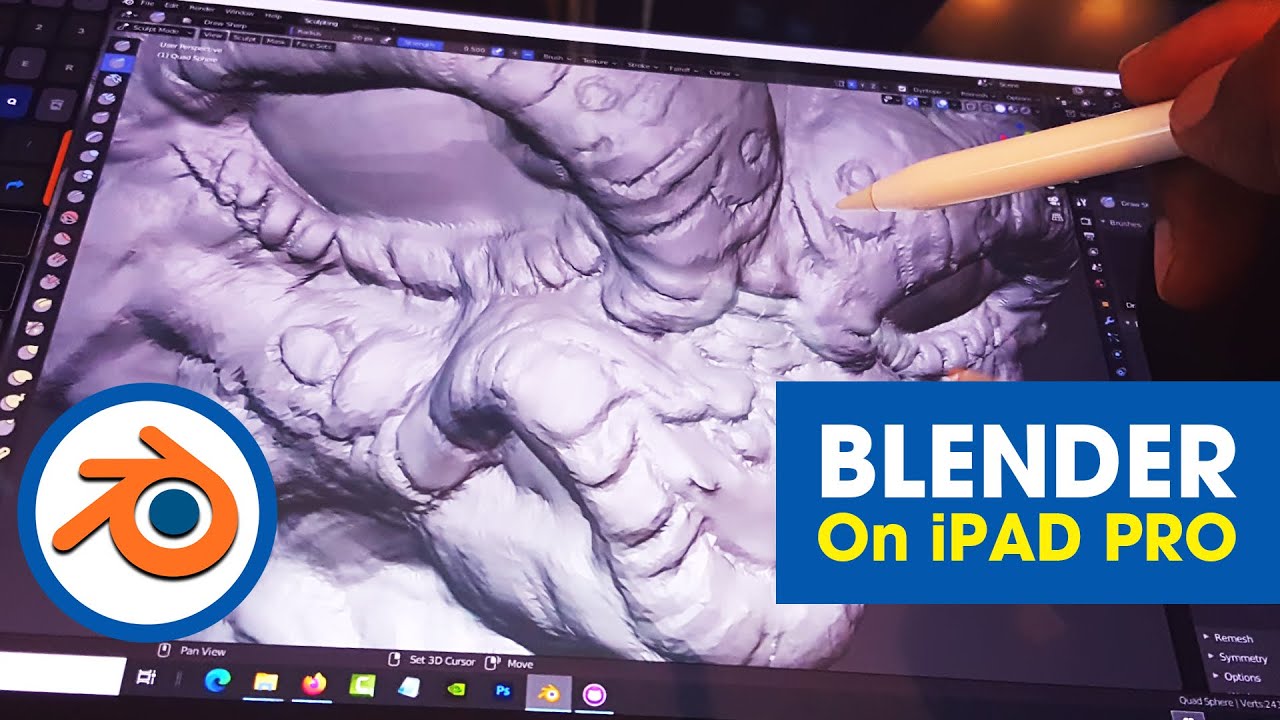
- YOUTUBE: Blender Render engines
- Comparing V-Ray to Other Render Engines for Blender
- Learning Resources and Tutorials for V-Ray in Blender
- Community and Support for V-Ray Users
- Future Updates and Developments in V-Ray for Blender
How to download and install V-Ray for Blender?
To download and install V-Ray for Blender, follow these steps:
- Go to the official Chaos Group website.
- Log in to your account or create a new one if you don\'t have it.
- Access the V-Ray for Blender product page.
- Click on the \"Download\" button to start the download process.
- Once the download is complete, locate the installer file on your computer.
- Double-click the installer file to initiate the installation process.
- Follow the on-screen instructions to complete the installation.
- Once the installation is finished, open Blender.
- In Blender, go to the \"Add-ons\" section of the preferences.
- Click on the \"Install\" button.
- Navigate to the location where you installed V-Ray for Blender and select the V-Ray add-on file.
- Click \"Install Add-on\" to install V-Ray for Blender.
- After the installation is complete, enable the V-Ray add-on by checking the box next to it.
- You may need to restart Blender for the changes to take effect.
- Once Blender restarts, V-Ray should be successfully installed and ready to use.
READ MORE:
Why Choose V-Ray for Blender
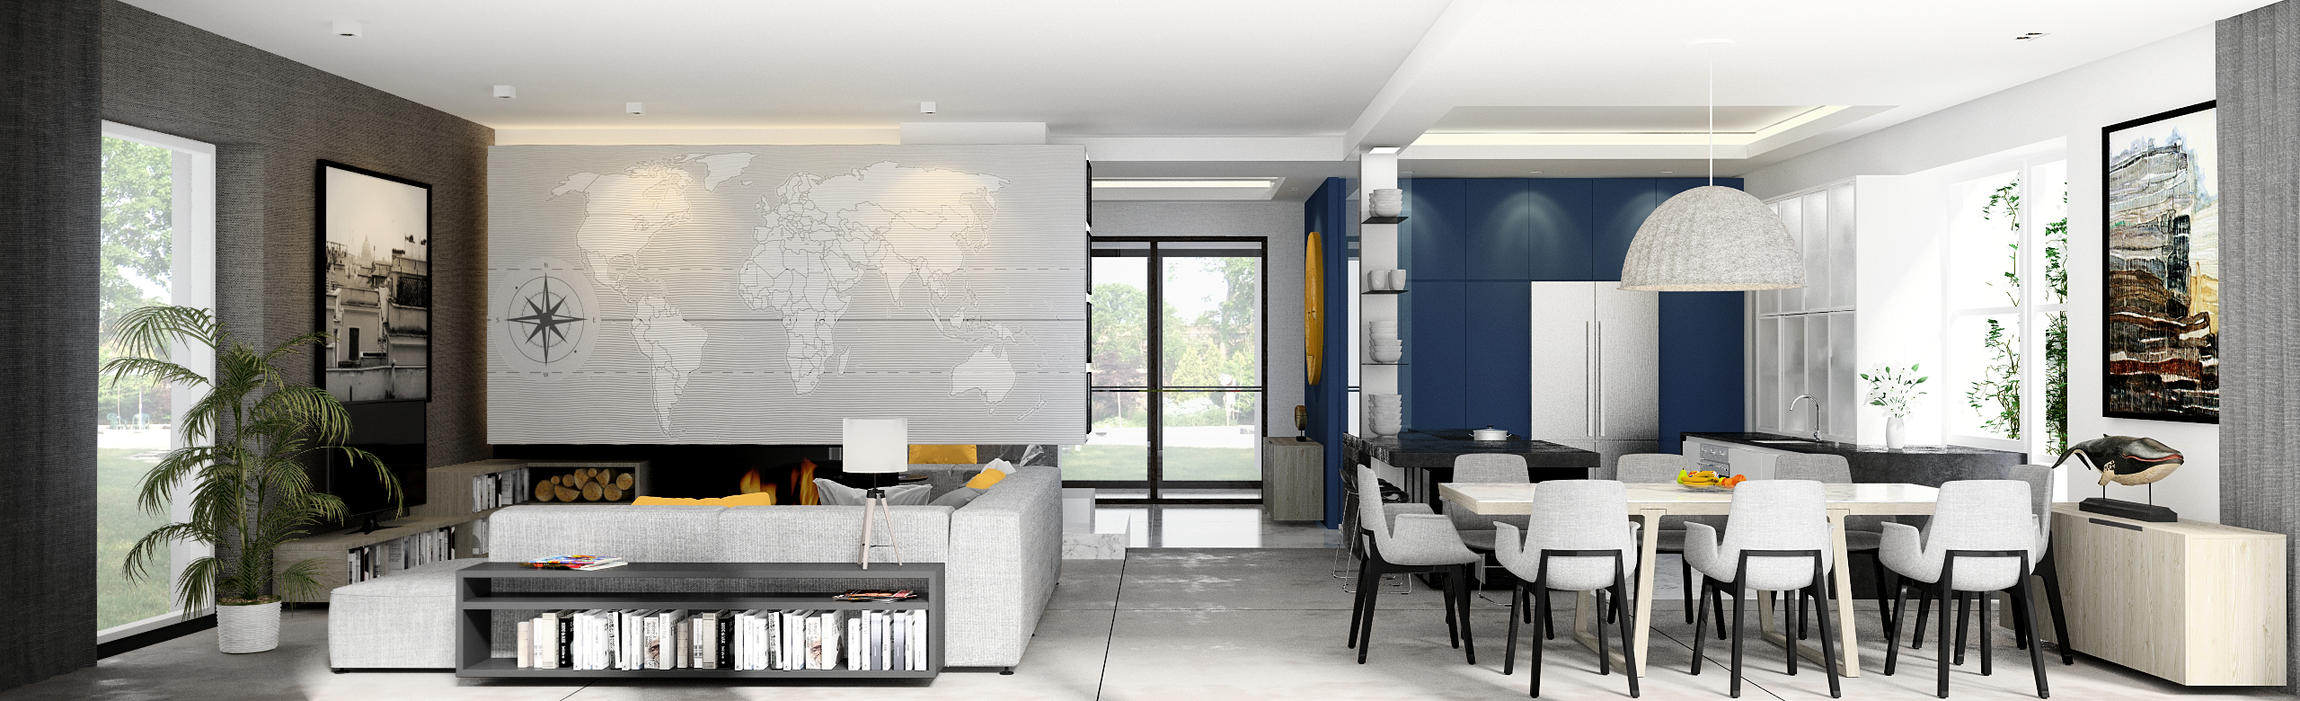
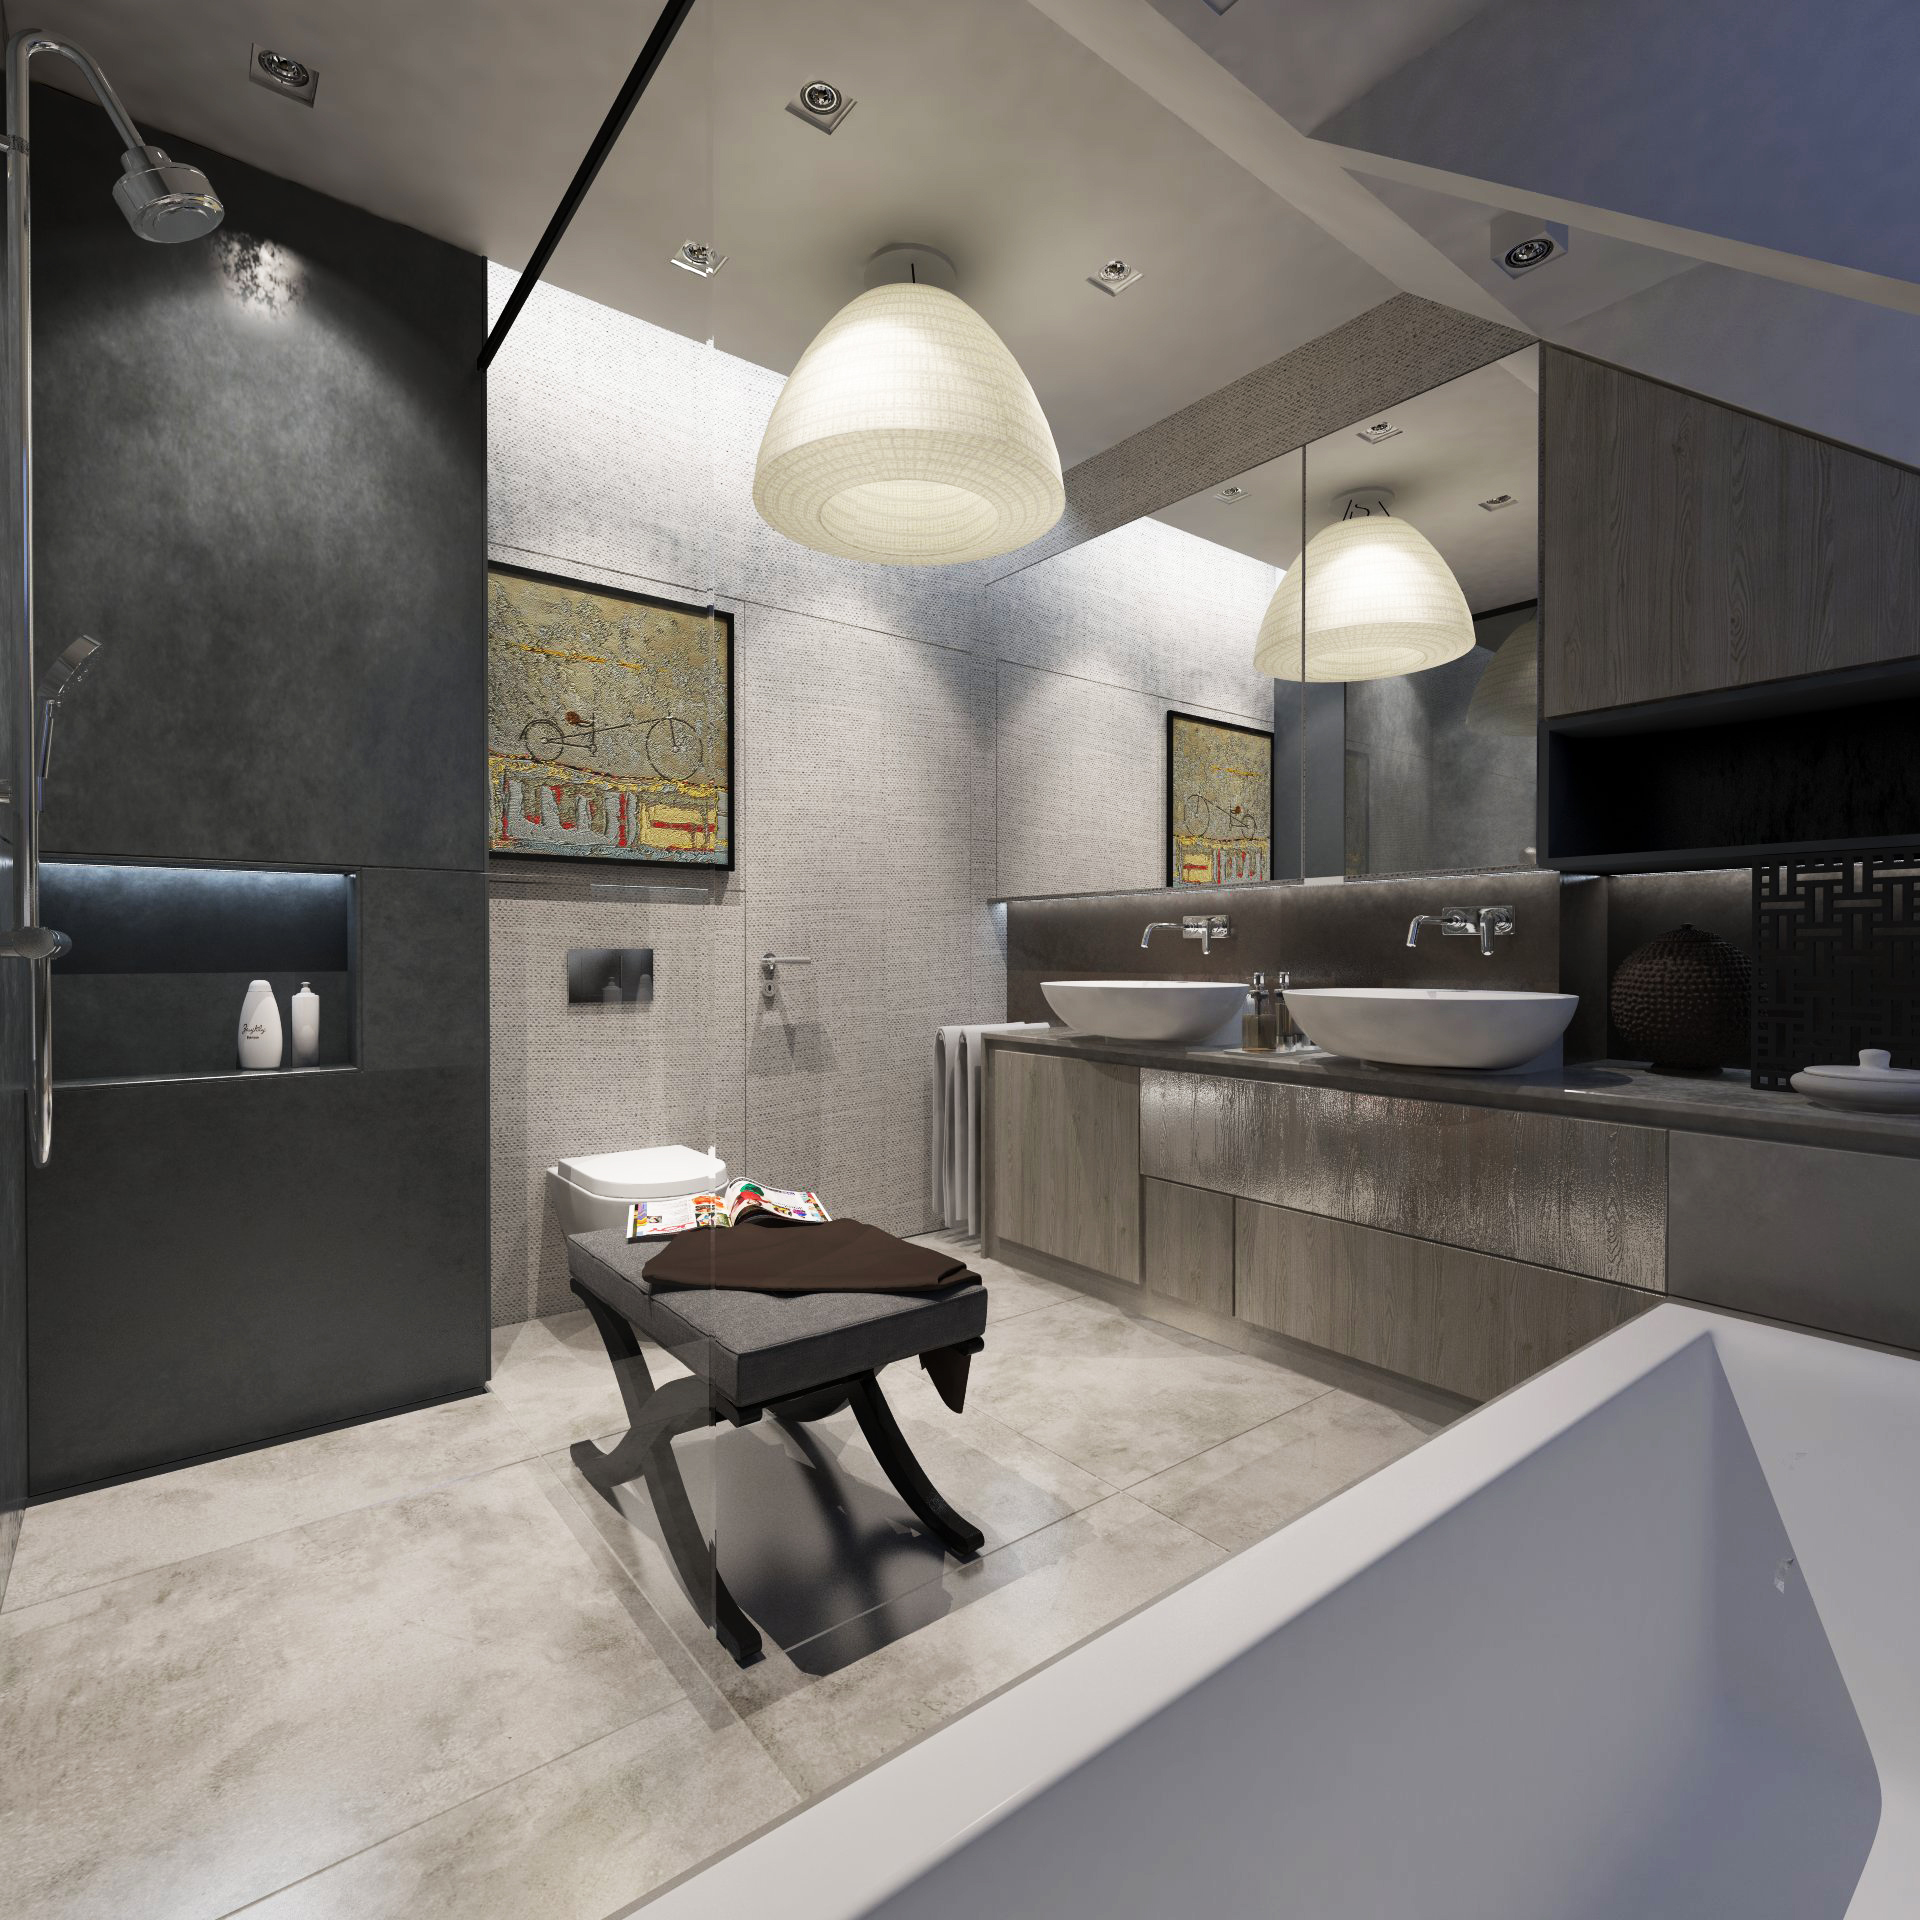
V-Ray for Blender offers unparalleled realism, speed, and simplicity for artists and designers. Its seamless integration into Blender provides a user-friendly experience while delivering high-quality renders with advanced lighting, shading, and rendering techniques. Here are the key reasons to choose V-Ray for Blender:
- Photorealistic Renders: V-Ray\"s advanced ray tracing capabilities produce lifelike images with accurate lighting and materials.
- Efficiency and Speed: Optimized to maximize your hardware\"s performance, V-Ray speeds up workflow and reduces render times.
- Versatile Integration: Perfectly integrates with Blender, supporting its most popular features and plugins.
- Advanced Features: Offers a comprehensive suite of tools, including global illumination, HDR lighting, and physical cameras.
- Flexible Rendering Options: From real-time rendering with V-Ray Vision to photorealistic images, V-Ray caters to all your project needs.
- Large Resource Library: Access to an extensive library of materials, lighting setups, and models to jump-start your projects.
- Community and Support: A vast community and professional support network provide valuable resources and assistance.
Whether you\"re working on architectural visualizations, product designs, or visual effects, V-Ray for Blender empowers you to bring your visions to life with stunning accuracy and realism.

How to Install V-Ray in Blender
Installing V-Ray in Blender enhances your rendering capabilities with advanced features and tools. Follow these steps to seamlessly integrate V-Ray into your Blender workflow:
- Download V-Ray: Visit the official Chaos Group website to download the latest version of V-Ray for Blender compatible with your system.
- Install the V-Ray Plugin: Run the installer and follow the on-screen instructions. Make sure Blender is closed during the installation process.
- Activate V-Ray: After installation, open Blender and navigate to the Preferences menu. Under the Add-ons tab, search for V-Ray, and check the box to enable it.
- Enter License Information: When prompted, enter your license information to activate V-Ray. If you\"re using a trial version, follow the instructions provided to start your trial.
- Configure V-Ray as the Render Engine: In Blender, go to the render settings and select V-Ray from the render engine dropdown menu to set it as the default render engine.
- Update Settings: Customize the V-Ray settings according to your project needs. Explore the V-Ray tab in the render settings to adjust quality, lighting, materials, and more.
- Begin Rendering: With V-Ray set up, you\"re ready to start rendering your projects. Utilize V-Ray\"s tools and features to create stunning, photorealistic renders.
This straightforward installation process integrates V-Ray into Blender, providing you with advanced rendering capabilities to bring your creative visions to life.
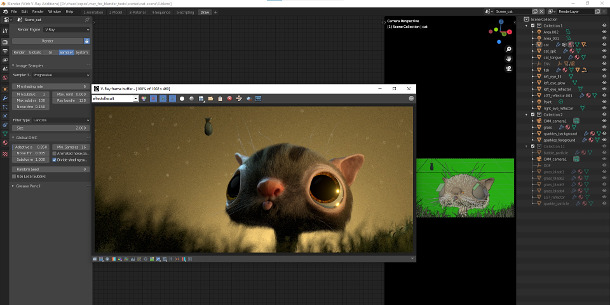
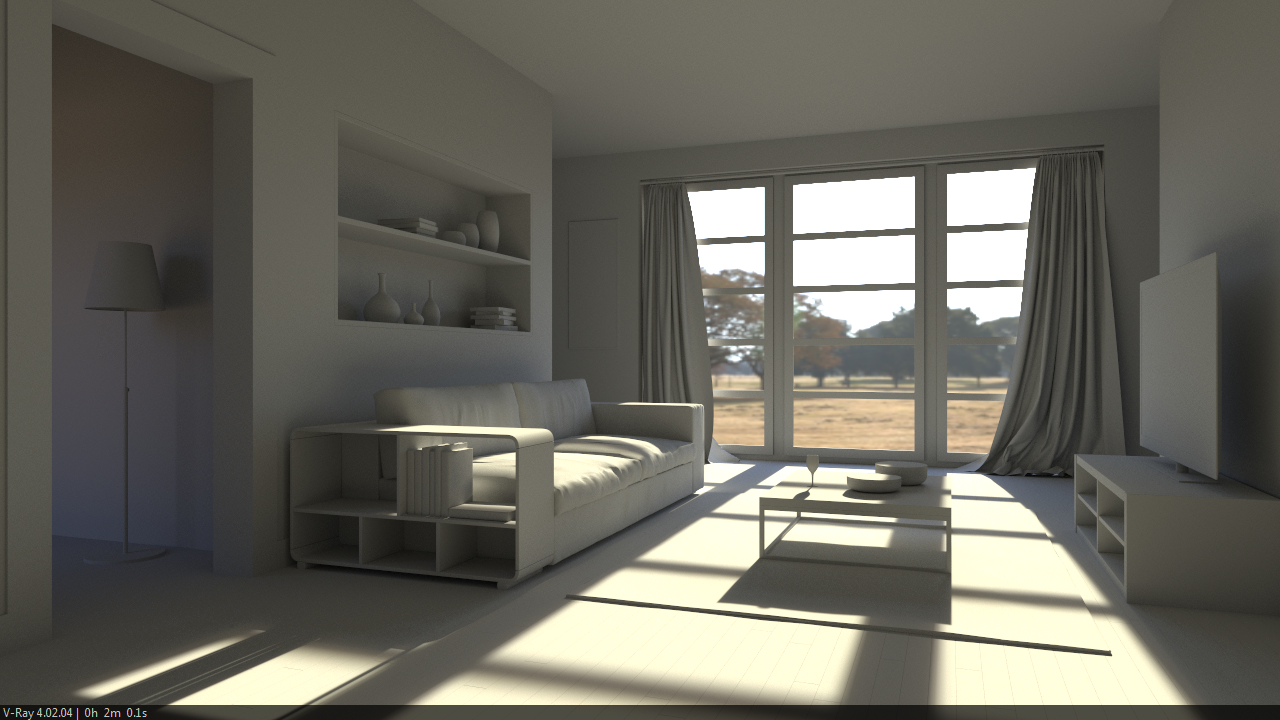
Setting Up Your First Render with V-Ray
Embarking on your first rendering project with V-Ray in Blender is an exciting step towards producing high-quality visuals. Follow this guide to ensure a smooth setup and a successful render:
- Choose Your Scene: Start with a simple scene to familiarize yourself with V-Ray\"s settings. Open your Blender project or create a new scene.
- Select V-Ray as Render Engine: In Blender\"s render settings, choose V-Ray from the dropdown menu as your rendering engine.
- Adjust Camera Settings: Position your camera to capture the desired view of your scene. With V-Ray, you can use physical camera settings to enhance realism.
- Set Up Lighting: Add V-Ray lights to your scene for realistic lighting effects. Experiment with different types and settings to achieve the desired mood.
- Apply Materials: Utilize V-Ray\"s material library or create your own materials to apply to objects in your scene for lifelike textures and finishes.
- Configure Render Settings: Access the V-Ray settings panel to customize your render settings. Adjust aspects like quality, resolution, and render elements based on your project needs.
- Start a Test Render: Before committing to a full render, conduct a test render to preview your scene. Use the V-Ray Frame Buffer (VFB) for real-time feedback and adjustments.
- Analyze and Adjust: Evaluate your test render for any necessary adjustments in lighting, materials, or settings to improve the final outcome.
- Perform the Final Render: Once satisfied with your setup and test renders, execute the final render. Save your rendered image from the VFB for post-processing or sharing.
This step-by-step guide will help you navigate through your first rendering experience with V-Ray in Blender, leading to impressive results that showcase your creative talents.
Understanding V-Ray\"s Advanced Features
V-Ray for Blender is equipped with a suite of advanced features designed to enhance your rendering capabilities and achieve photorealistic results. Understanding these features allows you to fully leverage V-Ray\"s potential in your projects:
- Global Illumination: Simulates realistic lighting conditions by calculating indirect light bouncing between surfaces. Techniques like irradiance mapping and light cache are available to speed up renders while maintaining high quality.
- Physical Cameras: Replicates real-world camera behavior, including aperture, shutter speed, and ISO settings, offering more control over depth of field and motion blur effects.
- VRayMtl: A versatile shader for creating a wide range of materials, offering control over aspects like reflection, refraction, and glossiness to produce lifelike textures.
- HDRI Lighting: Supports high dynamic range imaging for lighting scenes, allowing for more accurate representation of light intensities and colors.
- V-Ray Proxy: Manages high-polygon meshes efficiently by allowing the rendering of detailed objects without overloading the Blender viewport.
- V-Ray Frame Buffer: Offers advanced controls for color correction, comparison, and layer management directly within the render window.
- Ray Traced Reflections and Refractions: Provides highly realistic reflections and refractions, enhancing the realism of glass, water, and other transparent materials.
- Adaptive Lights: Optimizes rendering times by focusing computational power on the most important lights in the scene.
- V-Ray Fur and Grass: Easily create realistic fur, grass, and other fibrous materials, complete with dynamic properties for natural movement.
- Render Elements: Allows for the rendering of separate layers (e.g., shadows, reflections) for greater post-processing control in compositing software.
By mastering these advanced features, you can push the boundaries of your creative work, rendering images and animations that stand out for their realism and detail.
_HOOK_
Optimizing V-Ray Settings for Blender
Optimizing V-Ray settings for Blender can significantly improve your rendering times while maintaining high-quality results. Here are key strategies to enhance your rendering workflow:
- Adjust the Quality Presets: Start with V-Ray\"s default quality presets and adjust according to your needs. Lower settings for test renders and higher for final productions.
- Use Adaptive Lights: Enable the Adaptive Lights feature to speed up render times in scenes with multiple light sources by focusing on the most contributing lights.
- Optimize Render Settings: Tweak global illumination settings, such as irradiance map and light cache, to balance between render quality and speed.
- Manage Ray Depth: Reduce the maximum ray depth for reflections and refractions to decrease computation without significantly impacting visual quality.
- Implement Denoising: Use V-Ray\"s built-in denoiser or third-party tools to clean up noise in post-processing, allowing for lower quality settings during rendering.
- Proxy Objects and Instancing: Use V-Ray proxy objects to handle high-polygon models efficiently and instance repeating objects to save memory.
- Texture Optimization: Optimize texture sizes and formats to prevent excessive memory use, especially for scenes with a large number of textures.
- Batch Rendering: Utilize batch rendering for multiple views or animations to streamline the rendering process, saving time and resources.
- Hardware Considerations: Ensure your hardware is optimized for rendering; investing in a powerful GPU can significantly reduce render times with V-Ray\"s GPU rendering options.
By applying these optimization techniques, you can achieve faster render times without compromising the quality of your V-Ray for Blender projects.

Common Issues and Solutions in V-Ray for Blender
Even with its advanced capabilities, users may encounter some common issues when using V-Ray for Blender. Here\"s how to address these challenges effectively:
- Rendering is Too Slow: Optimize render settings by reducing quality presets for test renders, using adaptive lights, and managing global illumination settings efficiently.
- Noisy Renders: Increase the quality settings, use V-Ray\"s denoising tools, or adjust the light settings to reduce noise without significantly increasing render times.
- Materials Not Rendering Correctly: Ensure that materials are set up using V-Ray compatible shaders and textures. Check the V-Ray material settings and ensure they\"re correctly applied to objects.
- Issues with Lighting: Adjust light settings and ensure that all light sources are properly configured for V-Ray. Use V-Ray\"s physical camera settings to achieve realistic lighting effects.
- Crashes or Instability: Verify that you\"re using the latest version of V-Ray and Blender. Check for compatibility and update your drivers. Reduce the complexity of your scene or use proxy objects to manage high-polygon counts.
- Problems with Global Illumination: Tweak the GI settings for a balance between speed and quality. Experiment with different GI engines like irradiance map or brute force for optimal results.
- Textures Not Displaying Properly: Check the texture paths and ensure they are correctly linked. Adjust the UV mapping and texture settings within V-Ray.
Addressing these common issues can help you maintain a smooth workflow and achieve the desired results with V-Ray for Blender, enhancing your rendering projects.
Blender Render engines
\"Discover the power of render engines as we take you on a jaw-dropping visual journey. Watch our video to witness the stunning capabilities and endless possibilities of render engines in transforming your digital creations into lifelike masterpieces.\"
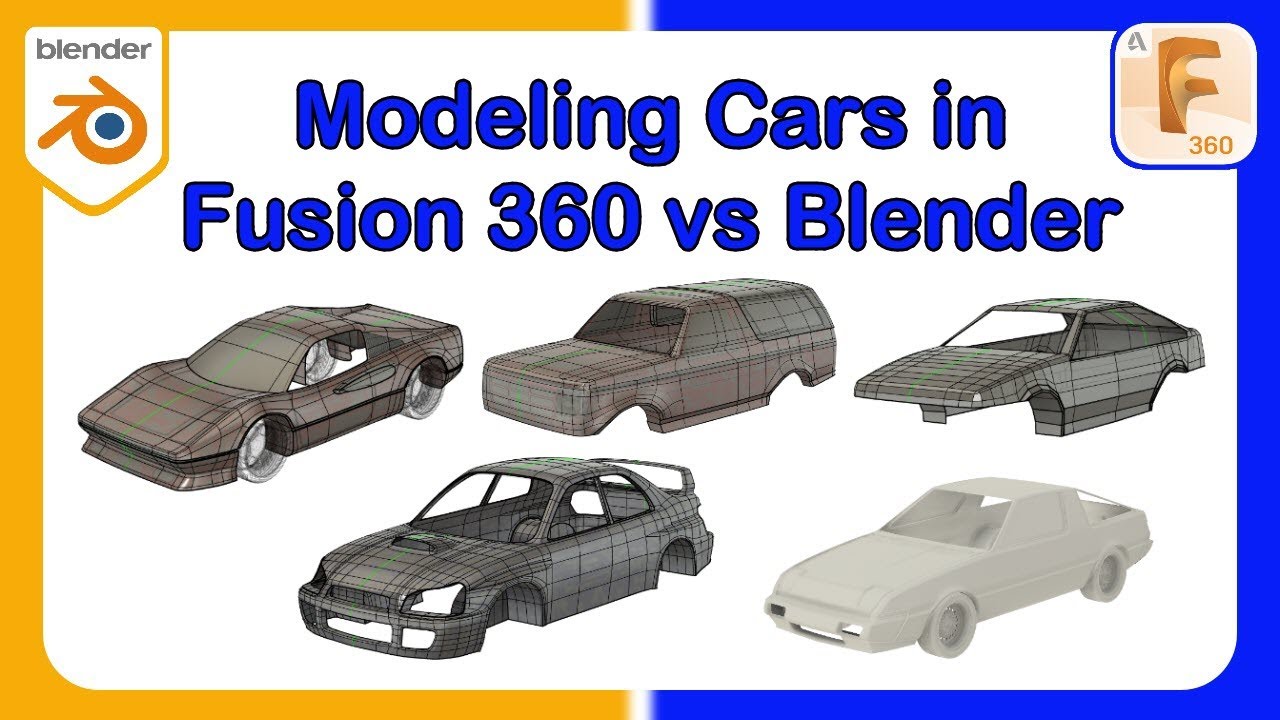
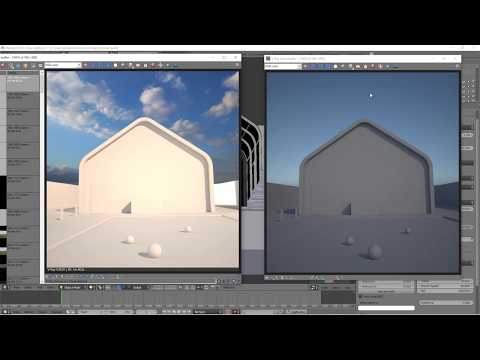
Max to Blender - Cycles vs V-Ray 5
\"Curious about the battle between Cycles and V-Ray? Look no further! Our captivating video dives deep into the world of these two industry-leading render engines, offering a side-by-side comparison to help you determine which one suits your creative needs best. Join us and unravel the mystery behind Cycles vs V-Ray.\"
Comparing V-Ray to Other Render Engines for Blender
Choosing the right render engine is crucial for achieving the desired outcome in your 3D projects. V-Ray offers unique advantages and some limitations when compared to other popular render engines available for Blender:
- Quality and Realism: V-Ray is renowned for its ability to produce photorealistic renders with advanced lighting and shading techniques. It surpasses many engines in realism, especially for architectural visualization and product design.
- Speed and Efficiency: While V-Ray is optimized for speed, especially with its adaptive lights feature, engines like Cycles may offer faster render times for certain projects, thanks to Blender\"s tight integration and optimization.
- Usability and Integration: V-Ray seamlessly integrates with Blender, providing a user-friendly interface and workflow. However, native engines like Eevee and Cycles are directly built into Blender, offering unmatched convenience and stability.
- Feature Set: V-Ray boasts an extensive set of features, including global illumination, physical cameras, and a vast material library, which might be more comprehensive than what\"s available in other engines like Eevee.
- Community and Support: V-Ray has a large, active community and professional support, providing an abundance of learning resources, which is essential for troubleshooting and mastering the engine.
- Cost: V-Ray is a commercial product, and while it offers superior quality and features, free engines like Cycles and Eevee provide a powerful alternative for those on a budget or for projects where photorealism is not the priority.
In conclusion, the choice between V-Ray and other render engines for Blender should be based on your specific project needs, budget, and the level of realism required. Each engine has its strengths, and V-Ray stands out for projects where quality and realism are paramount.

Learning Resources and Tutorials for V-Ray in Blender
To master V-Ray in Blender and take your 3D rendering skills to the next level, a wealth of learning resources and tutorials are available. Whether you\"re a beginner or looking to refine your skills, these resources can guide you:
- Official V-Ray Documentation: Start with the comprehensive guides and tutorials available on the Chaos Group\"s official website. They cover everything from installation to advanced rendering techniques.
- Online Courses and Tutorials: Platforms like Udemy, Coursera, and Lynda offer detailed courses on V-Ray for Blender, catering to various skill levels and specific uses like architectural visualization.
- YouTube Tutorials: YouTube is a treasure trove of free tutorials, with many professional artists sharing their workflows, tips, and tricks for getting the most out of V-Ray and Blender.
- Forums and Community Groups: Joining forums such as BlenderArtists.org or the official V-Ray for Blender forum can provide you with support from a community of users. It\"s a great place to ask questions and share knowledge.
- Books and eBooks: Several publications are dedicated to learning V-Ray and Blender, offering in-depth insights into both basic and advanced rendering techniques.
- Workshops and Webinars: Keep an eye out for workshops and webinars hosted by professionals and educational institutions. These can provide hands-on learning and direct interaction with experts.
Leveraging these resources, you can progressively build your competence in V-Ray for Blender, enabling you to create stunning, photorealistic renders with confidence and efficiency.

Community and Support for V-Ray Users
The V-Ray for Blender community is a vibrant and supportive ecosystem, offering an array of resources for users of all levels. Engaging with the community and accessing the available support can enhance your experience and problem-solving capabilities. Here are key aspects of community and support for V-Ray users:
- Official Forums: The Chaos Group forums are a primary resource for getting help from both the community and official support staff. Users can find answers, share experiences, and discuss workflows.
- Social Media Groups: Facebook, LinkedIn, and Reddit host active V-Ray and Blender groups where users share projects, tips, and tutorials, fostering a collaborative learning environment.
- Local User Groups and Meetups: Participating in local meetups and user groups can provide networking opportunities and the chance to learn from experienced V-Ray users in person.
- Online Tutorials and Blogs: Numerous blogs and websites dedicated to V-Ray and Blender offer tutorials, case studies, and articles that cater to beginners and advanced users alike.
- Training Centers and Workshops: Authorized training centers and online workshops provide structured learning paths for V-Ray, from fundamental principles to advanced techniques.
- Customer Support: For technical issues, licensing, and product assistance, Chaos Group\"s customer support offers direct help through email, phone, and a ticketing system.
- Webinars and Live Streams: Regularly scheduled webinars and live streams by Chaos Group and experienced users offer insights into new features, techniques, and best practices.
By leveraging these community and support resources, V-Ray users can continually enhance their skills, solve complex challenges, and stay connected with the latest in rendering technology.

_HOOK_
READ MORE:
Future Updates and Developments in V-Ray for Blender
The development of V-Ray for Blender is an ongoing process, with Chaos Group committed to improving and expanding its capabilities. Anticipated future updates and developments aim to further integrate V-Ray into the Blender ecosystem, enhancing user experience and rendering quality. Here\"s what users can look forward to:
- Enhanced Real-Time Rendering: With the advancement of real-time rendering technologies, expect V-Ray to offer more robust real-time rendering solutions, making it easier for artists to see near-instantaneous feedback on changes.
- Improved GPU Rendering: Continuous improvements in GPU rendering performance and efficiency will allow users to achieve faster render times with higher quality outputs, making V-Ray more accessible to users with varying hardware setups.
- Better Integration with Blender Features: Future updates aim to enhance compatibility with Blender\"s newest features, ensuring that V-Ray users can take full advantage of Blender\"s capabilities.
- Expanded Material and Asset Library: Expect to see an even larger library of materials and assets, providing users with more options to quickly achieve desired looks and realism in their projects.
- Advanced Lighting and Shading Techniques: Development in lighting and shading models will offer users more tools to create complex, photorealistic lighting scenarios with ease.
- Improved Usability and Workflow: User feedback drives V-Ray\"s development, so expect ongoing improvements in user interface and workflow optimizations to make rendering with V-Ray even more intuitive.
- Community and Educational Resources: Expansion of educational materials and resources to support users in mastering V-Ray and staying updated with new features and best practices.
- Environmental Sustainability: Increased focus on developing sustainable rendering practices, including optimizations that reduce energy consumption and carbon footprint.
These developments reflect Chaos Group\"s commitment to keeping V-Ray at the forefront of rendering technology, ensuring it remains a powerful tool for artists and designers using Blender.
Embrace the power of V-Ray for Blender and unlock new dimensions in your 3D projects, where creativity meets unparalleled realism. Start your journey today and bring your visionary ideas to life with ease and precision.