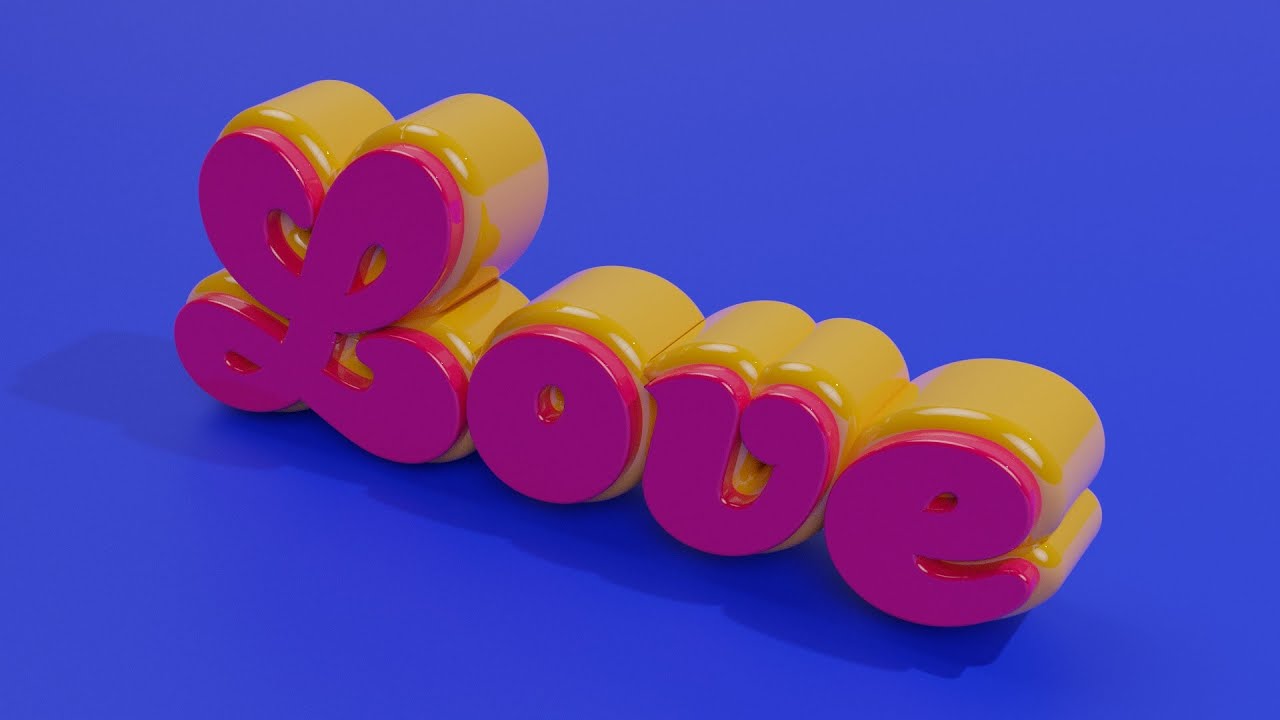
Topic blender text: Explore the art of 3D typography with Blender Text, where creativity meets functionality. Unlock the potential to elevate your projects with dynamic, visually stunning text effects and animations.
Table of Content
- How to edit and convert text in Blender?
- Adding 3D Text
- Animating Text
- Converting Text to Mesh
- Advanced Text Effects
- YOUTUBE: How to Use Text in Blender Tutorial
- Animating Text
- Converting Text to Mesh
- Advanced Text Effects
- Converting Text to Mesh
- Advanced Text Effects
- Advanced Text Effects
- Introduction to 3D Text in Blender
- Step-by-Step Guide to Adding and Customizing Text
- Font Selection and Text Styling Techniques
- Animating Your Text for Impact
- Converting Text to Mesh for Advanced Editing
- Utilizing Modifiers for Creative Text Effects
- Advanced Text Effects with Geometry Nodes and Physics
- Real-World Applications of 3D Text in Blender
- Best Practices and Tips for Text Rendering
- Resources for Further Learning and Inspiration
How to edit and convert text in Blender?
To edit and convert text in Blender, follow these steps:
- Select the text object by clicking on it in the 3D viewport.
- Switch to Edit Mode by pressing the Tab key or by selecting it from the Mode dropdown menu.
- You can now edit the text by clicking on individual characters and using the keyboard to make changes.
- To convert the text to a mesh or curve, select the text object and go to the Object menu at the top of the screen.
- From the Object menu, choose Convert To and then select either Mesh or Curve, depending on your preference.
- Your text is now converted to a mesh or curve object that you can further manipulate in Blender.
READ MORE:
Adding 3D Text
To add 3D text in Blender, start by removing the default cube from the scene. Use \"Shift + A\" to add a text object. This default text object will display the word \"Text,\" which you can then customize.
Customizing Your Text
- Font Selection: Access the font settings to choose a font that matches your project\"s style.
- Text Extrusion: Increase the extrude setting under the Geometry tab to give your text depth and a 3D appearance.
- Bevel and Smoothness: Adjust the bevel depth to soften the edges of your text, creating a more polished look.

Animating Text
Blender offers extensive tools for animating text, from simple transformations to complex animations using modifiers.
Techniques for Text Animation
- Use keyframes to animate text properties like location, rotation, and scale over time.
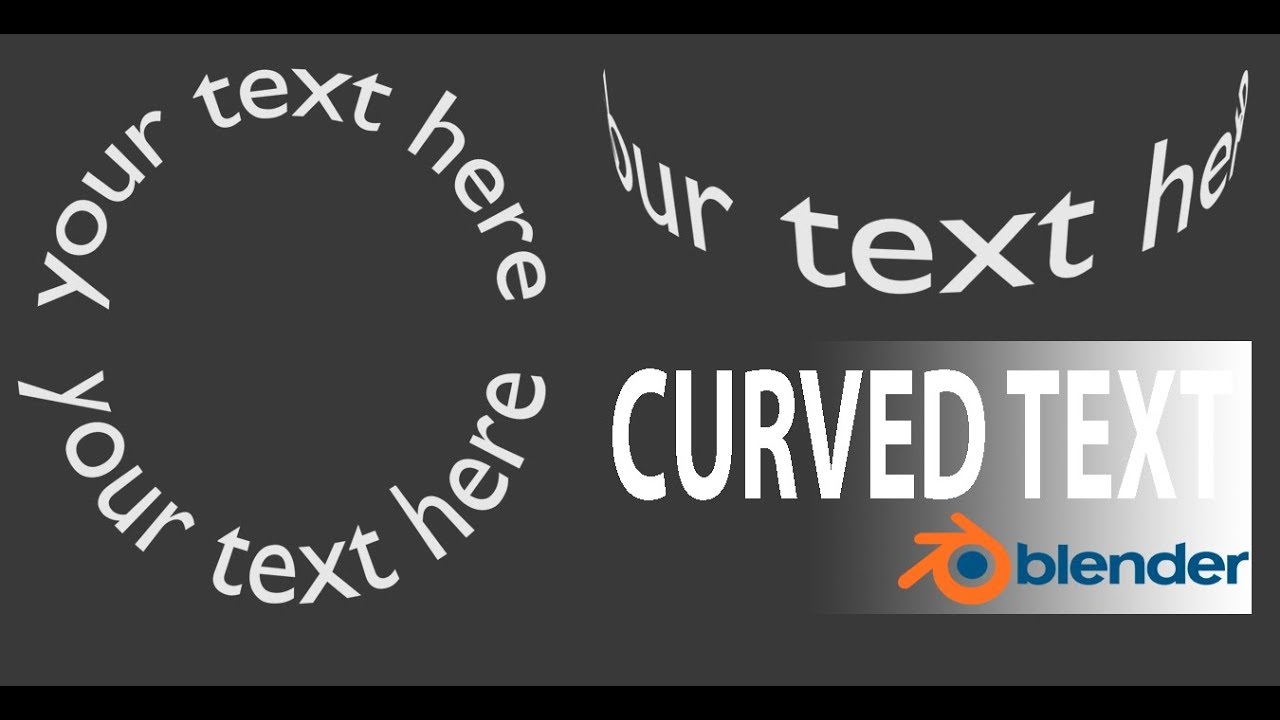
- Apply modifiers for dynamic effects, such as wave, bend, or twist, to add uniqueness to your text animation.
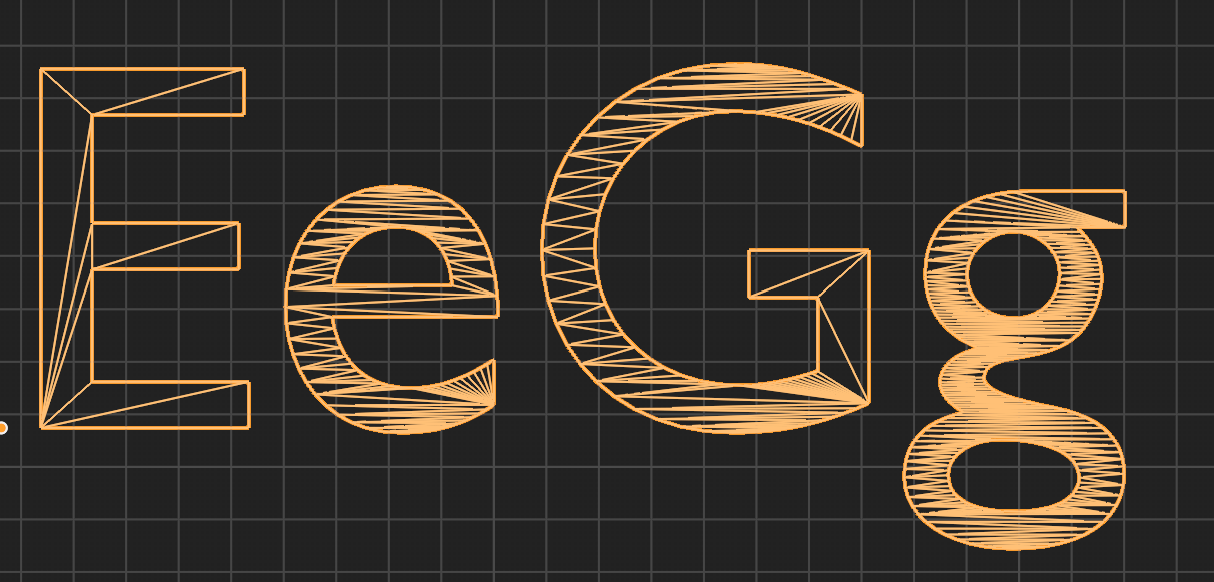
Converting Text to Mesh
For more advanced manipulation, you may convert your text to a mesh. This allows for detailed sculpting, texturing, and the application of complex modifiers.
Steps for Conversion
- Select your text object and convert it to a mesh through the Object menu.
- Once converted, you can edit your text as any 3D object in Blender.

Advanced Text Effects
Explore advanced text effects by utilizing Blender\"s powerful tools, such as geometry nodes for procedural effects or physics properties for simulations.
| Effect | Description | Application |
| Extrude Mesh Node | Turns flat text into 3D by extruding. | Use in combination with the Join Geometry node for complex shapes. |
| Physics Properties | Adds dynamic behaviors to text, like inflation. | Great for creating unique, animated text effects. |
With practice and exploration, these tools and techniques will help you bring your creative visions to life through stunning 3D text in Blender.

_HOOK_
How to Use Text in Blender Tutorial
Tutorial: Discover a step-by-step tutorial that will guide you through mastering a new skill in a fun and engaging way. Unleash your creativity and learn something new today! Everything: Dive into a fascinating video that covers everything you need to know about a particular topic. From beginner tips to advanced techniques, this video has everything you\'re looking for in one place.
3D Text in Blender Everything You Need to Know
This is a beginner\'s tutorial to 3D text in Blender. Add text, edit text and understand the text settings in Blender. I\'ll cover the ...
Animating Text
Blender offers extensive tools for animating text, from simple transformations to complex animations using modifiers.
Techniques for Text Animation
- Use keyframes to animate text properties like location, rotation, and scale over time.
- Apply modifiers for dynamic effects, such as wave, bend, or twist, to add uniqueness to your text animation.

Converting Text to Mesh
For more advanced manipulation, you may convert your text to a mesh. This allows for detailed sculpting, texturing, and the application of complex modifiers.
Steps for Conversion
- Select your text object and convert it to a mesh through the Object menu.
- Once converted, you can edit your text as any 3D object in Blender.

Advanced Text Effects
Explore advanced text effects by utilizing Blender\"s powerful tools, such as geometry nodes for procedural effects or physics properties for simulations.
With practice and exploration, these tools and techniques will help you bring your creative visions to life through stunning 3D text in Blender.

Converting Text to Mesh
For more advanced manipulation, you may convert your text to a mesh. This allows for detailed sculpting, texturing, and the application of complex modifiers.
Steps for Conversion
- Select your text object and convert it to a mesh through the Object menu.
- Once converted, you can edit your text as any 3D object in Blender.
Advanced Text Effects
Explore advanced text effects by utilizing Blender\"s powerful tools, such as geometry nodes for procedural effects or physics properties for simulations.
| Effect | Description | Application |
| Extrude Mesh Node | Turns flat text into 3D by extruding. | Use in combination with the Join Geometry node for complex shapes. |
| Physics Properties | Adds dynamic behaviors to text, like inflation. | Great for creating unique, animated text effects. |
With practice and exploration, these tools and techniques will help you bring your creative visions to life through stunning 3D text in Blender.