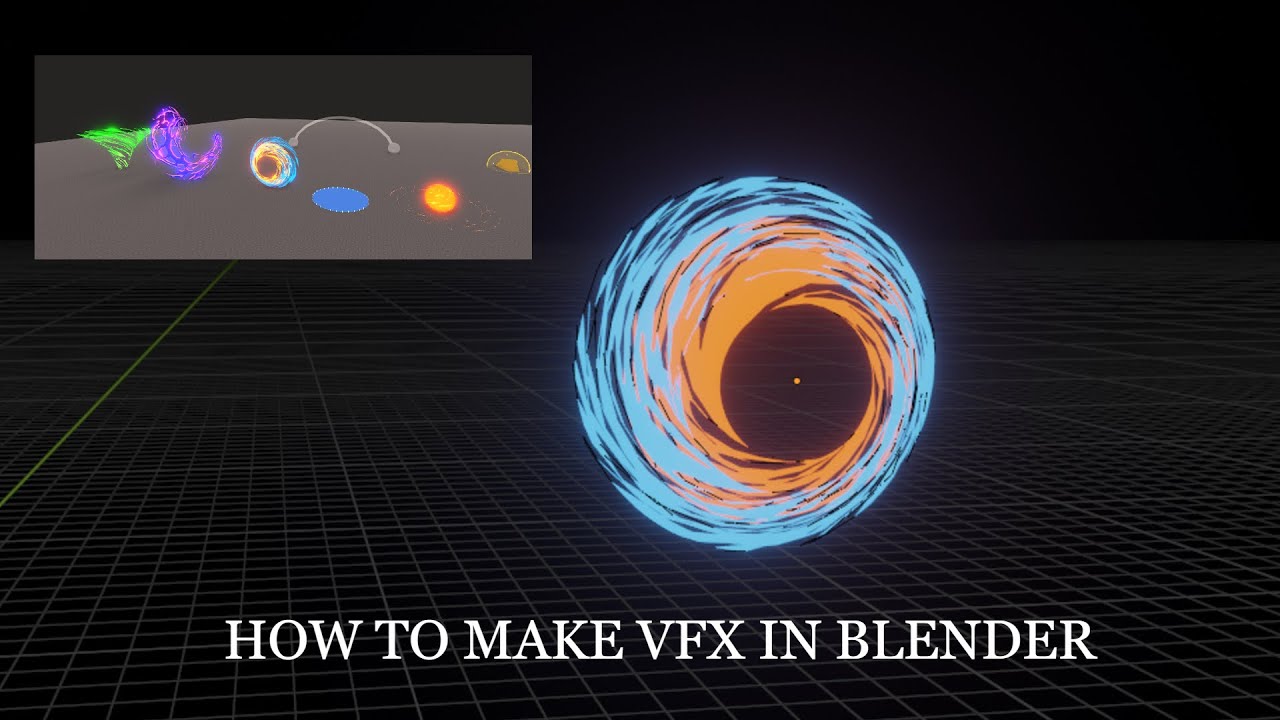
Topic how to make vfx in blender: Discover the thrilling world of VFX creation with Blender, where imagination meets reality. This guide unlocks the secrets to crafting stunning visual effects, empowering you to transform your creative visions into breathtaking digital art.
Table of Content
- How can I create VFX in Blender?
- Key Features for VFX in Blender
- Expanding Your VFX Skills
- YOUTUBE: How to Make Anime Moves in Blender: Easy VFX Tutorial
- Expanding Your VFX Skills
- Introduction to VFX with Blender
- Understanding Blender’s Interface and Tools
- Starting with Basic 3D Modeling Techniques
- Advancing to Animation and Rigging
- Exploring Blender\"s Compositing Capabilities
- Mastering Motion Tracking for VFX
- Implementing Physics Simulations for Realistic Effects
- Creating Stunning Particle Systems and Effects
- Techniques for Effective Lighting and Shading
- Advanced Compositing and Node-Based Editing
- Camera Tracking and Integration with Live Footage
- Optimizing Renders for Visual Effects Work
- Learning from Community and Online Resources
- Conclusion and Next Steps in VFX Creation
How can I create VFX in Blender?
To create VFX in Blender, follow these steps:
- Open Blender and import your footage by going to File > Import > Movie to load your footage into the scene.
- Set up your scene by adding any 3D elements or objects that you want to incorporate into the VFX shot.
- Track your footage to match the camera movements by using Blender\'s camera tracking features. This will help integrate the 3D elements seamlessly into your footage.
- Add any necessary effects or animations to enhance the visual appeal of your VFX shot, such as particle effects, lighting effects, or color grading.
- Adjust the settings and properties of each element in your scene to achieve the desired look and feel for your VFX shot.
- Preview your VFX shot by rendering the final output to see how all elements come together in the composition.
- Make any final tweaks or adjustments as needed to fine-tune the VFX shot to your satisfaction.
- Export your final VFX shot by rendering the animation or image sequence to share or use in your projects.
READ MORE:
Key Features for VFX in Blender
- Compositing with a built-in compositor for post-production without leaving Blender.
- Camera and object tracking for integrating raw footage with 3D scenes.
- Physics-based simulations for cloth, fluids, smoke, particles, and rigid bodies.
- Node-based compositing system for combining different visual elements seamlessly.
Techniques and Tips
- Begin with mastering Blender\"s basics: interface, navigation, and 3D modeling concepts.
- Utilize the powerful Node Editor for advanced compositing and effects.
- Experiment with particle systems for creating realistic effects like fire and smoke.
- Employ Blender’s physics engine for dynamic simulations.
- Optimize renders for balancing quality and rendering time.
Expanding Your VFX Skills
Engage with Blender\"s extensive features for VFX, including animation tools, simulation capabilities, and rendering settings to bring your visual effects to life. Embrace experimentation and practice to enhance your skills and explore new techniques.
Applications of VFX with Blender
| Industry | Application |
| Film and Television | Creating stunning visual effects and realistic environments. |
| Gaming | Enhancing environments, character animations, and special effects. |
| Advertising | Producing eye-catching effects and animated advertisements. |
| Education | Teaching VFX techniques and 3D graphics principles. |
Blender\"s adaptability, control, and powerful toolset make it a preferred software for creating compelling visual effects across various media. Its open-source nature fosters a collaborative community, continuously enhancing its capabilities and making VFX more accessible to everyone.

How to Make Anime Moves in Blender: Easy VFX Tutorial
Dive into the captivating world of anime with stunning visuals, engaging storylines, and vibrant characters. Experience the magic of creativity and imagination in each frame, drawing you in for an unforgettable journey.
How to Make Your First VFX Shot in Blender
Witness the exhilarating moment of the \"first shot\" in this thrilling video, capturing the essence of excitement, skill, and precision in every frame. Watch as the anticipation builds up to that crucial moment of impact.
Expanding Your VFX Skills
Engage with Blender\"s extensive features for VFX, including animation tools, simulation capabilities, and rendering settings to bring your visual effects to life. Embrace experimentation and practice to enhance your skills and explore new techniques.
Applications of VFX with Blender
Blender\"s adaptability, control, and powerful toolset make it a preferred software for creating compelling visual effects across various media. Its open-source nature fosters a collaborative community, continuously enhancing its capabilities and making VFX more accessible to everyone.

Introduction to VFX with Blender
Visual Effects (VFX) in Blender open a world of possibilities for filmmakers, game developers, and artists seeking to bring their imaginative concepts to life. Blender, a powerful open-source 3D creation suite, offers comprehensive tools for creating dynamic and compelling VFX. From basic 3D modeling and animation to advanced compositing and particle systems, Blender equips creators with the ability to craft stunning visual effects for any project.
This introduction aims to guide beginners through the essential steps of starting with VFX in Blender. You\"ll learn about Blender\"s interface, key features for VFX, and get tips for making the most of this versatile software. Whether you\"re looking to add magic to your films, enhance game environments, or simply explore the potential of 3D visual effects, this guide is your first step towards mastering VFX with Blender.
- Understanding Blender\"s Interface: Navigating through Blender\"s comprehensive interface to find the tools you need for your VFX work.
- Basic 3D Modeling and Animation: Creating the foundational elements of your visual effects with Blender\"s modeling and animation tools.
- Particle Systems and Simulations: Adding complexity and realism to your scenes with physics-based simulations and particle effects.
- Compositing and Post-Production: Learning how to blend your visual elements seamlessly with Blender\"s powerful compositing nodes.
- Practical Projects and Examples: Applying what you\"ve learned through step-by-step tutorials and practical exercises designed to enhance your skills.
By the end of this section, you\"ll have a solid understanding of how to navigate Blender and start creating your own VFX. Let\"s embark on this creative journey together, unlocking the full potential of your visual storytelling with Blender.

_HOOK_
Understanding Blender’s Interface and Tools
Blender\"s interface might seem daunting at first, but it is designed to streamline the workflow of artists and developers across various disciplines including VFX, animation, modeling, and rendering. This section aims to demystify Blender\"s interface and highlight key tools essential for creating visual effects, ensuring a smooth start for beginners.
- 3D Viewport: The heart of Blender, where you\"ll spend most of your time. It\"s where you can view and interact with your scene. Use it to model, animate, and preview your work.
- Timeline: Located at the bottom of the default layout. It\"s crucial for animation and VFX, allowing you to control the timing of animations and simulations.
- Outliner: A hierarchical view of all the objects in your scene, making it easy to organize, select, and manage your assets.
- Properties Panel: This panel provides access to all the properties of the selected object, including materials, modifiers, physics properties, and more.
- Node Editor: For compositing and shading, the Node Editor is indispensable. It allows for the creation of complex materials and effects through node-based programming.
- UV/Image Editor: Essential for texturing and UV mapping, this tool allows you to unwrap your 3D models and apply textures accurately.
- Shader Editor: Use this to create and edit shaders for materials using a visual node-based interface, crucial for adding realism to your VFX.
- Video Sequence Editor: For editing video and audio clips directly within Blender, ideal for integrating VFX into video projects.
To navigate Blender efficiently, familiarize yourself with its unique interface and learn the shortcuts. Blender’s flexibility allows you to customize the layout to fit your workflow, enhancing productivity. Start by experimenting with simple projects to understand how each tool contributes to the VFX process. As you grow more comfortable, you’ll find Blender’s interface not just comprehensive but also empowering, enabling you to bring your most ambitious VFX ideas to life.
Starting with Basic 3D Modeling Techniques
3D modeling is the foundation of creating visual effects in Blender. It involves creating the geometric base of any object you want to bring into your digital scene. This section will guide you through the basics of 3D modeling in Blender, providing a solid starting point for your VFX journey.
- Understanding Meshes: Begin by learning about meshes, the most common type of 3D object in Blender. Familiarize yourself with vertices, edges, and faces, the building blocks of any mesh object.
- Basic Modeling Operations: Master the fundamental operations such as extrude, scale, and rotate. These actions allow you to manipulate mesh objects and form complex shapes.
- Adding Modifiers: Explore Blender\"s modifiers to automate tasks and add complexity to your models without permanent changes to the mesh. The Subdivision Surface modifier is particularly useful for smoothing geometry.
- Manipulating Object Origins: Learn how to move an object\"s origin point, which is crucial for rotation and scaling operations, to achieve more control over your modeling workflow.
- Using Proportional Editing: Proportional editing lets you transform selected vertices while influencing surrounding vertices. This is essential for creating organic shapes.
- Modeling with Precision: For technical models, understanding how to use Blender\"s grid, snap, and numeric input features will help you model with accuracy and precision.
- Learning to Use Shaders and Textures: While not strictly modeling, applying basic materials and textures early on can help visualize the final look of your models within the scene.
Begin your modeling projects with simple shapes and gradually move on to more complex models as you become comfortable with Blender’s tools. Practical exercises, like recreating objects from your environment, are excellent for honing your skills. Remember, patience and practice are key to mastering 3D modeling in Blender.

Advancing to Animation and Rigging
As you delve deeper into the world of visual effects with Blender, mastering animation and rigging becomes crucial. This segment explores the essential steps and techniques to breathe life into your 3D models, making them move and interact within your scenes.
- Rigging Basics: Rigging is the process of creating a skeleton (armature) for a model so it can move. Learn to create bones and assign them to parts of your mesh, ensuring natural movement.
- Weight Painting: Discover weight painting to control how different parts of the mesh move in relation to the bones. This is essential for realistic animations.
- Keyframe Animation: Understand the principle of keyframe animation, where you define important positions (keyframes) and Blender interpolates the frames in between.
- Animating with Curves: Use the Graph Editor to refine your animations with curves, giving you control over the speed and timing of movements.
- Using Constraints: Learn how to apply constraints to control the movement of bones and objects, making complex animations easier to manage.
- Non-Linear Animation (NLA): Explore the NLA Editor to mix and match different actions (animations) for your characters, allowing for complex sequences with less effort.
- Physics-Based Animation: Implement physics simulations in your animations for effects like cloth movement, hair dynamics, and rigid body interactions.
Animation and rigging are vast topics that require practice and experimentation. Start with simple exercises, like making a character walk or wave, and gradually progress to more complex movements and interactions. Regularly refer to tutorials and community forums for tips and guidance. The journey from static models to dynamic animations is rewarding, opening up endless possibilities for storytelling and visual effects in your projects.

Exploring Blender\"s Compositing Capabilities
Blender\"s built-in compositor allows for the post-production manipulation of images and videos, enabling artists to create sophisticated visual effects directly within the software. This section introduces the core aspects of compositing in Blender, guiding you through its powerful features and how they can be utilized to enhance your VFX projects.
- Node-Based Compositing: Understand the basics of node-based compositing, a flexible and efficient way to combine different elements into a single image. Learn to use nodes for effects like color correction, blurring, and combining CGI with live footage.
- Layers and Passes: Discover how to use render layers and passes to separate your scene into manageable components, allowing for non-destructive and detailed editing of specific parts of your composition.
- Keying and Masking: Master keying tools for green screen effects and masking techniques to isolate and manipulate parts of your footage or render.
- Tracking and Stabilization: Utilize Blender\"s motion tracking capabilities to integrate 3D elements into live-action footage seamlessly, including options for camera and object tracking.
- Effects and Filters: Experiment with various effects and filters available in the compositor to enhance the visual quality of your scenes or to create specific visual styles.
- Color Grading: Learn about color grading to adjust the mood and tone of your final output, ensuring that your visuals have the desired impact.
- Glare and Lens Effects: Add final touches like glare, lens flares, and other photorealistic effects to make your compositions more dynamic and believable.
Blender\"s compositor is a powerful tool that, when mastered, can significantly elevate the quality of your VFX work. Start with simple compositing tasks and gradually incorporate more complex techniques as you become more familiar with the workflow. Practice regularly and explore the wide range of tutorials and resources available to Blender users to fully leverage the compositor\"s capabilities in your projects.
Mastering Motion Tracking for VFX
Motion tracking is a pivotal skill in VFX, allowing creators to blend CGI elements seamlessly with live footage. Blender offers robust tools for motion tracking, making it accessible for artists to integrate 3D models into video sequences accurately. This section will guide you through the basics of motion tracking in Blender, from tracking footage to applying the motion to your 3D scenes.
- Understanding Motion Tracking: Begin with the fundamentals of motion tracking, learning about tracker types and what makes good tracking footage.
- Setting Up Your Scene for Tracking: Prepare your video footage in Blender, ensuring it\"s ready for tracking by setting the correct scene dimensions and frame rate.
- Tracking Features: Learn how to add trackers to your footage, selecting points that Blender can follow through the sequence. Understand the difference between tracking markers manually and using Blender\"s automatic tracking features.
- Solving the Camera Motion: Once tracking is complete, solve the camera motion to recreate the movement of the physical camera within your 3D scene. This step is crucial for ensuring that CGI elements will move in sync with the footage.
- Object Tracking: Explore object tracking to attach 3D objects to specific parts of your footage, perfect for adding or replacing objects in a scene.
- Integrating 3D Elements: With tracking data applied, import your 3D models into the scene, positioning them according to the solved camera and object tracks.
- Refining and Exporting: Fine-tune your composite with color matching, shadows, and reflections to make the integration of CGI and live footage indistinguishable. Render out your final composite, ready for post-production or direct use in your project.
Motion tracking in Blender can transform how you approach VFX, opening up new possibilities for creative storytelling. Practice with various types of footage to understand the challenges and techniques involved in motion tracking, steadily building your skills towards more complex projects.

_HOOK_
Implementing Physics Simulations for Realistic Effects
Physics simulations are integral to creating realistic VFX in Blender, allowing for the natural interaction of elements like fluids, smoke, fire, and cloth within your scenes. This section will guide you through the process of setting up and utilizing Blender\"s physics simulations to add lifelike dynamics to your visual effects.
- Introduction to Physics Simulations: Familiarize yourself with Blender’s physics properties panel, where you’ll find the settings for various simulations including rigid bodies, fluids, cloth, and smoke.
- Using Rigid Body Simulations: Learn how to apply rigid body physics to objects that need to interact in a realistic manner, such as collisions and falling objects.
- Creating Fluid Simulations: Dive into fluid dynamics to simulate liquids. This involves setting up a domain to define the simulation’s space, and understanding fluid objects and their interactions within the domain.
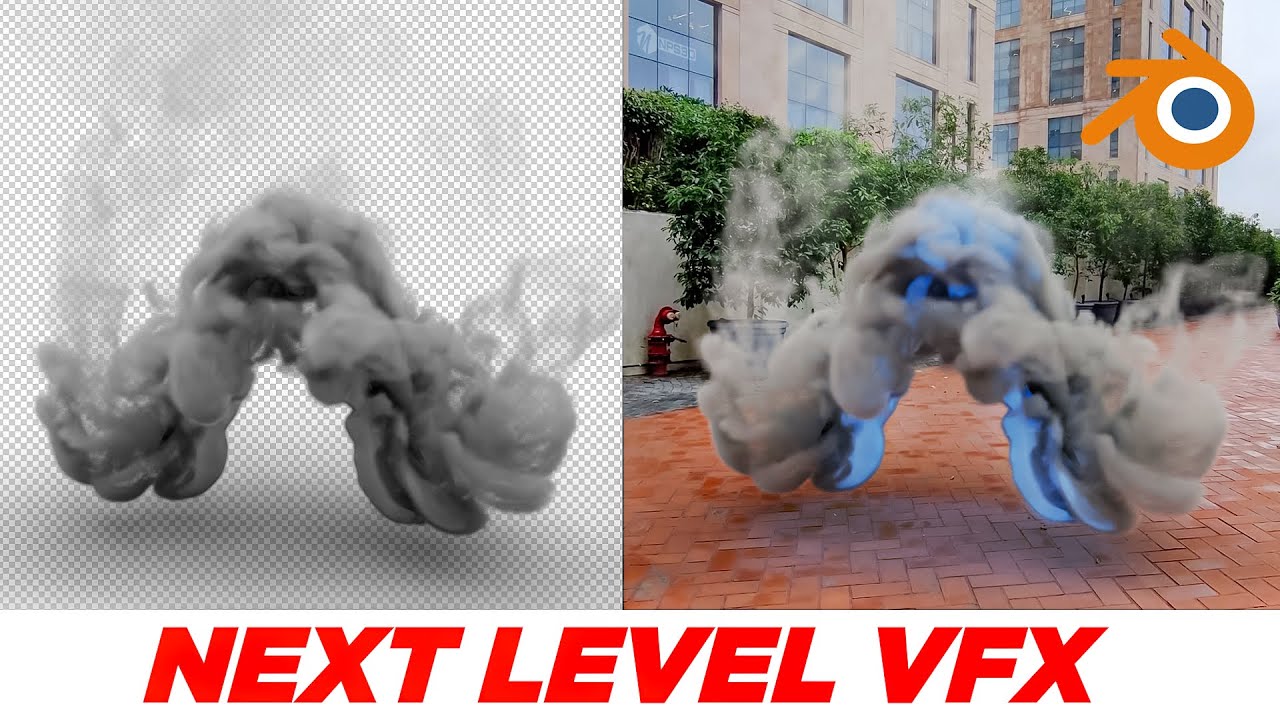
- Simulating Smoke and Fire: Explore how to use Blender’s smoke simulation tools to create fire and smoke effects, adjusting attributes like density, temperature, and velocity to achieve the desired effect.
- Working with Cloth Simulations: Implement cloth physics to give life to fabrics in your scene, adjusting settings for stiffness, damping, and collision to make them behave naturally.
- Particle Systems for Complex Simulations: Combine physics simulations with particle systems to create complex effects such as rain, snow, or debris.
- Optimizing Simulations for Rendering: Learn strategies for optimizing your physics simulations to reduce render times while maintaining high-quality results.
Physics simulations can dramatically enhance the realism and immersion of your VFX projects. By mastering these tools, you can create effects that are not only visually stunning but also grounded in the physical laws of the real world. Start with simple simulations to understand the basics and gradually move on to more complex scenarios as you become more comfortable with Blender\"s physics systems.

Creating Stunning Particle Systems and Effects
Particle systems in Blender are a powerful way to create a wide range of dynamic effects, from simple dust and rain to complex explosions and magical phenomena. This section provides an overview of how to harness Blender\"s particle system to add vibrancy and realism to your VFX projects.
- Introduction to Particle Systems: Begin with an understanding of what particle systems are and how they can be used to simulate various natural and abstract effects in Blender.
- Configuring Particle Emitters: Learn to set up particle emitters, the sources from which particles are generated. This includes adjusting properties like emission rate, lifespan, and initial velocity to shape the overall effect.
- Customizing Particle Properties: Dive into the customization of particle properties to achieve different effects. This involves manipulating size, color, and transparency over the particle\"s lifespan.
- Using Forces and Fields: Explore how to use Blender\"s physics forces and fields to influence the movement and behavior of particles, creating effects like wind, turbulence, and gravity.
- Particle Collision and Interaction: Implement collision and interaction between particles and other objects within the scene to add an extra layer of realism to your effects.
- Integrating Particles with Other Effects: Combine particle systems with other Blender features such as smoke, fire, and fluid simulations for more complex and integrated effects.
- Rendering and Optimization: Understand the best practices for rendering particle systems efficiently while maintaining high visual quality, including the use of instances and particle instancing for complex scenes.
Mastering particle systems in Blender opens up endless possibilities for enhancing your VFX work with dynamic and realistic effects. Start with basic setups to familiarize yourself with the system, then experiment with more advanced configurations as you grow more confident in your skills.
Techniques for Effective Lighting and Shading
Effective lighting and shading are essential for adding depth, realism, and mood to your VFX projects in Blender. This section covers the foundational techniques and considerations for creating compelling lighting setups and applying shaders to achieve the desired visual impact.
- Understanding Lighting Types: Start by familiarizing yourself with the different types of lights available in Blender, including point, sun, spot, and area lights, and how each can be used to illuminate your scene.
- Three-Point Lighting: Learn the classic three-point lighting setup to enhance the dimensionality and detail of your models, consisting of key, fill, and back lights.
- Using HDRIs for Environmental Lighting: Explore how to use High Dynamic Range Images (HDRIs) to simulate realistic environmental lighting, providing a global illumination effect that reflects the complexity of real-world lighting.
- Shading with Materials: Dive into Blender\"s material system to apply shaders that define the surface appearance of your objects. Understand the basics of the Principled BSDF shader for creating a wide range of materials.
- Texturing for Realism: Apply textures to your materials to add detail and realism. Learn how to use Blender\"s texture mapping options to correctly apply images or procedural textures to your models.
- Lighting for Mood: Experiment with lighting color, intensity, and placement to set the mood and atmosphere of your scenes, influencing the emotional response of the audience.
- Optimizing Renders: Implement strategies for optimizing your lighting and shading setups to reduce render times while maintaining visual quality, such as using light portals in indoor scenes or simplifying shaders when possible.
Mastering lighting and shading in Blender can significantly elevate the quality of your VFX work, making your scenes more believable and visually engaging. Practice with different lighting setups and materials to develop an eye for what looks best in your compositions.
Advanced Compositing and Node-Based Editing
Advanced compositing and node-based editing in Blender empower VFX artists to create complex visual effects by combining various elements and effects layers using a non-linear, node-based interface. This section delves into the techniques and workflows for mastering these powerful features.
- Understanding Nodes: Begin with the basics of nodes and how they represent effects, filters, images, and materials in a visual graph. Each node performs a specific function, and you can chain them together to create complex effects.
- Node Editor Overview: Familiarize yourself with the Node Editor interface, learning how to navigate, add nodes, and connect them to build your desired effects.
- Key Node Types: Explore the different types of nodes available, including input, output, color, vector, and filter nodes, and understand their roles in the compositing process.
- Creating Custom Effects: Learn how to combine nodes creatively to produce custom visual effects, such as simulated lighting effects, color grading, and more.
- Utilizing Render Layers and Passes: Discover how to use render layers and passes within the Node Editor to isolate and manipulate specific aspects of your scene independently.
- Integrating Live Footage with CGI: Master techniques for combining live-action footage with CGI elements using the Node Editor, including the use of tracking data for seamless integration.
- Efficiency Tips: Implement strategies for organizing your node setup for efficiency and clarity, such as grouping nodes, using frame nodes, and labeling.
Advanced compositing and node-based editing are at the heart of creating professional-grade visual effects in Blender. By understanding and leveraging these tools, you can significantly enhance the visual impact of your VFX projects. Practice regularly with different node configurations and effects to develop a deep understanding of Blender’s compositing capabilities.
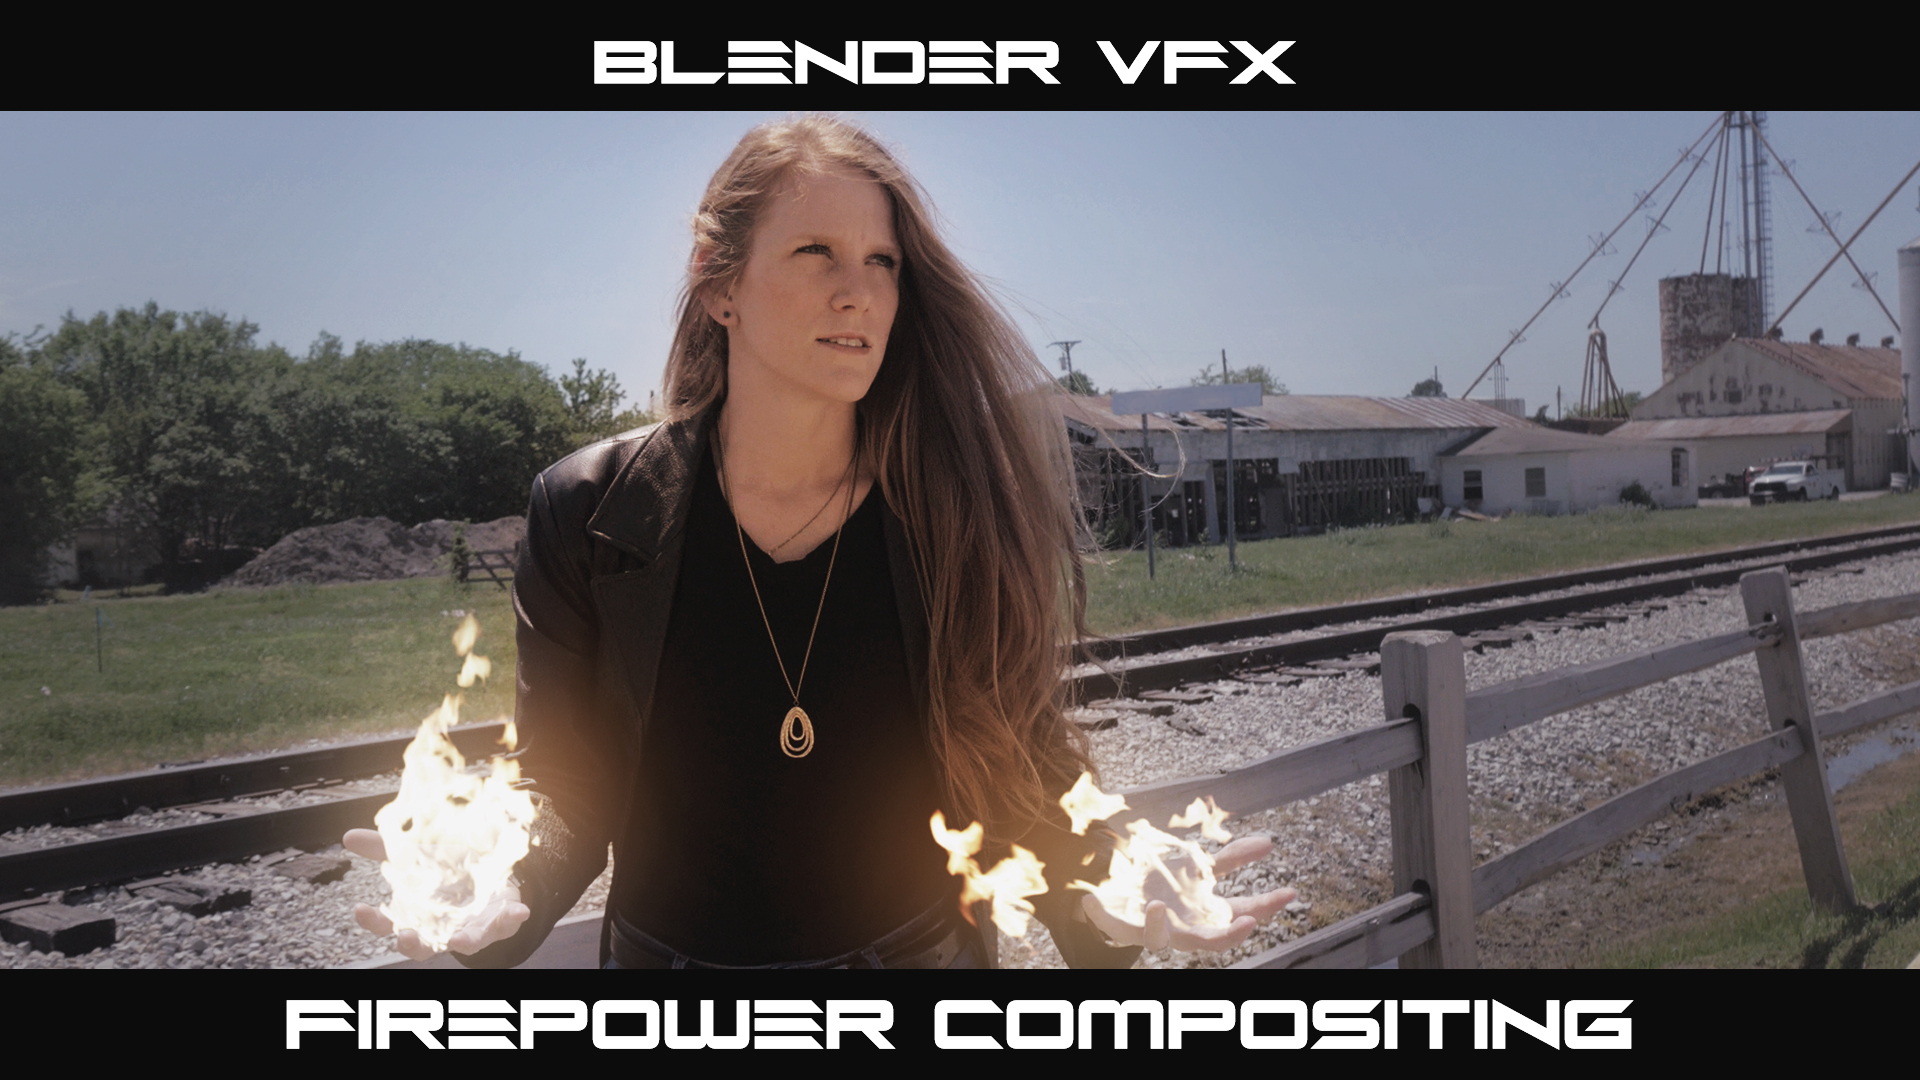
Camera Tracking and Integration with Live Footage
Integrating 3D elements with live footage is a cornerstone of VFX, creating the illusion that CGI objects exist within the same space as the filmed scenes. Blender offers robust tools for camera tracking and integration, allowing you to merge 3D animations with live-action footage seamlessly. This section guides you through the process, from tracking camera movements to combining the elements into a cohesive scene.
- Understanding Camera Tracking: Learn the basics of motion tracking, including setting up your scene for tracking, choosing track points, and using Blender’s Tracker to analyze motion in live footage.
- Solving the Camera Movement: Use the tracking data to solve the camera movement, recreating the original camera path taken during filming within the 3D environment.
- Setting Up the 3D Scene: Match the 3D camera and scene settings to those of the live footage, ensuring that the perspective and scale align perfectly.
- Integrating 3D Elements: Import or create 3D models and place them within your tracked scene, adjusting materials, lighting, and shadows to match the live footage.
- Rendering and Compositing: Render your 3D elements using Blender’s renderer, then composite them with the live footage for a seamless blend, adjusting color, brightness, and contrast for a natural look.
- Refining the Final Output: Apply final touches, such as motion blur and depth of field effects, to integrate the CGI and live footage more convincingly.
Camera tracking and integration with live footage require patience and attention to detail to achieve realistic results. By mastering these techniques in Blender, you can significantly enhance the realism and impact of your VFX projects, creating engaging content that blurs the line between CGI and reality.
_HOOK_
Optimizing Renders for Visual Effects Work
Rendering is a critical phase in VFX production, often demanding considerable computational resources. Optimizing your renders in Blender can significantly reduce render times while maintaining high-quality outputs. This section provides strategies for efficient rendering, ensuring your VFX projects are both stunning and manageable.
- Simplifying Scenes: Reduce render times by simplifying your scene. Remove unnecessary geometry, lower subdivision levels, and optimize the use of textures and materials.
- Using Render Layers: Divide your scene into render layers. This allows for more control over the rendering process and can help isolate complex elements, rendering them separately to save time.
- Optimizing Light Samples: Adjust the number of samples for lights and shadows to find the right balance between render quality and time. Use denoising to maintain quality with fewer samples.
- Viewport Rendering: Use Blender’s viewport rendering for quick previews and tests. This can give you a good approximation of the final look without the need for full renders.
- Adaptive Sampling: Leverage Blender’s adaptive sampling feature to reduce render times. It dynamically adjusts the number of samples in less noisy areas, focusing computing power where it\"s needed most.
- Using Baking: Bake textures and lighting into your scenes. This is especially useful for static elements, reducing the computational load during the final render.
- Render Settings: Experiment with Blender’s render settings, including resolution, tile size, and the use of GPU versus CPU rendering, to optimize performance based on your hardware.
By implementing these optimization techniques, you can streamline your rendering process in Blender, saving time and resources while producing high-quality VFX work. Regularly reviewing and adjusting settings based on the needs of your project can lead to significant improvements in efficiency and output quality.
Learning from Community and Online Resources
The Blender community is vast and supportive, offering a wealth of resources for learners at all levels. Whether you\"re just starting out with VFX in Blender or looking to advance your skills, leveraging online resources and community support can significantly accelerate your learning curve. Here\"s how you can make the most of these resources:
- Official Blender Tutorials: Begin with the tutorials available on Blender’s official website. They cover basics to advanced techniques and are designed by Blender experts.
- Online Forums and Communities: Join forums such as Blender Artists and the Blender subreddit. These platforms allow you to ask questions, share your work, and receive feedback from seasoned professionals.
- Video Tutorials: Platforms like YouTube have thousands of tutorials covering every aspect of Blender. Channels run by Blender enthusiasts and professionals offer insights into specific techniques and workflows.
- Blender Conferences and Meetups: Participating in Blender conferences, either online or in-person, can provide valuable learning opportunities through workshops, presentations, and networking.
- Blender Development Blogs: Following Blender development blogs and websites can keep you updated on the latest features, tips, and tricks directly from the developers.
- Books and E-books: There are numerous books and e-books available that delve into Blender’s capabilities. These can be a great resource for structured learning.
- Blender Courses: Consider enrolling in structured courses offered by educational platforms. These courses often provide a comprehensive curriculum that progresses from basic to advanced topics.
Immersing yourself in the Blender community and making use of the extensive range of online resources available can greatly enhance your VFX skills. Remember, continuous learning and practice, coupled with community engagement, are key to mastering VFX in Blender.
READ MORE:
Conclusion and Next Steps in VFX Creation
Embarking on the journey of VFX creation in Blender is an exciting endeavor that opens up a world of creative possibilities. We\"ve covered foundational aspects such as 3D modeling, animation, compositing, and more, each playing a crucial role in bringing your imaginative visions to life. As you continue to explore and master Blender, remember that the learning process is ongoing and experimentation is key.
- Practice Regularly: Consistent practice is essential. Try to apply the techniques you\"ve learned in small projects to reinforce your skills and understanding.
- Explore Advanced Features: As you become comfortable with the basics, gradually introduce more advanced features into your workflow, such as fluid dynamics, soft body simulations, and advanced node-based compositing.
- Join Community Projects: Participating in community projects or collaborations can provide invaluable experience and feedback, helping you grow as a VFX artist.
- Stay Updated: Blender is continuously evolving, with new features and improvements. Keep yourself updated with the latest versions and community tutorials to leverage the most current tools and techniques.
- Share Your Work: Sharing your work with the Blender community can provide constructive feedback and expose you to new ideas and techniques. It\"s also a great way to build your portfolio and reputation within the community.
In conclusion, the path to becoming proficient in VFX creation with Blender is filled with challenges and discoveries. Embrace each learning opportunity and don\"t be afraid to step outside your comfort zone. The Blender community is a supportive and resourceful network that can help guide you through your journey. Continue to experiment, learn, and create, and you\"ll find that your capabilities in VFX creation will grow exponentially. Good luck on your creative journey!
Embark on a transformative journey with Blender to unleash your creative potential in VFX. This comprehensive guide has equipped you with the skills to bring your visions to life. Continue exploring, learning, and creating—your next masterpiece awaits.