Topic 3 point lighting blender: Discover the secrets of 3 point lighting in Blender to elevate your 3D renders, creating depth, dimension, and drama with our comprehensive guide. Perfect for artists aiming to bring their scenes to life.
Table of Content
- How can I set up 3 point lighting in Blender quickly?
- Components of Three-Point Lighting
- Setting Up Three-Point Lighting in Blender
- Tips for Three-Point Lighting
- Setting Up Three-Point Lighting in Blender
- Tips for Three-Point Lighting
- Tips for Three-Point Lighting
- Introduction to 3 Point Lighting
- Understanding the Components: Key, Fill, and Back Lights
- YOUTUBE: Three Point Lighting Blender 2.80 Fundamentals
- Step-by-Step Guide to Setting Up 3 Point Lighting in Blender
- Advanced Techniques and Tips for 3 Point Lighting
- Common Mistakes and How to Avoid Them
- Real-World Applications of 3 Point Lighting in Blender
- Conclusion: Enhancing Your 3D Renders with Professional Lighting
How can I set up 3 point lighting in Blender quickly?
To set up 3 point lighting in Blender quickly, follow these steps:
- Select the object you want to illuminate with 3 point lighting.
- Go to the 3D Viewport and click on the Add menu.
- Choose Light from the menu options.
- Select 3 Point Lights to add three lights to your scene.
- Adjust the position and settings of the three lights to achieve the desired lighting effect.
- You can adjust the intensity, color, and shadow settings of each individual light to fine-tune the lighting.
- Experiment with the placement and strength of the lights to create a well-balanced and visually pleasing lighting setup.
READ MORE:
Components of Three-Point Lighting
- Key Light: The primary source of light, usually positioned to the side of the camera.
- Fill Light: Used to soften shadows created by the key light, placed on the opposite side.
- Back Light: Positioned behind the subject to create depth and separate it from the background.
Setting Up Three-Point Lighting in Blender
- Position the key light to highlight the subject.
- Adjust the fill light to reduce shadows without eliminating them.
- Place the back light to define the subject\"s edges and enhance three-dimensionality.
Tips for Three-Point Lighting
Experiment with light positioning and intensity to achieve the desired effect. Remember, the key is to balance the lights to create depth and dimension while maintaining natural-looking results.

Setting Up Three-Point Lighting in Blender
- Position the key light to highlight the subject.
- Adjust the fill light to reduce shadows without eliminating them.
- Place the back light to define the subject\"s edges and enhance three-dimensionality.
_HOOK_
Tips for Three-Point Lighting
Experiment with light positioning and intensity to achieve the desired effect. Remember, the key is to balance the lights to create depth and dimension while maintaining natural-looking results.

Tips for Three-Point Lighting
Experiment with light positioning and intensity to achieve the desired effect. Remember, the key is to balance the lights to create depth and dimension while maintaining natural-looking results.

Introduction to 3 Point Lighting
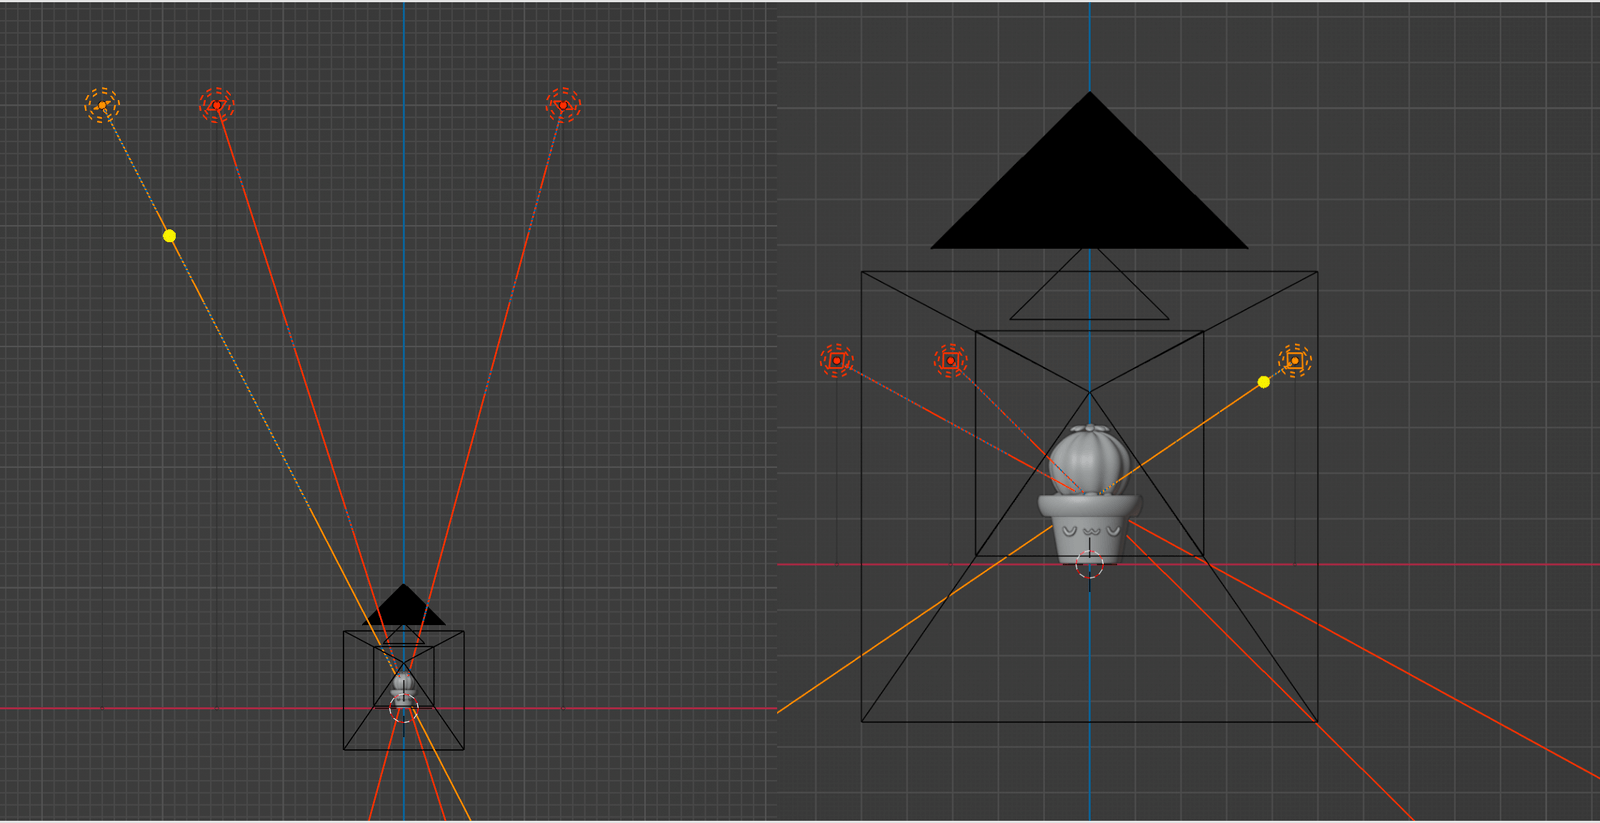
Three-point lighting is a foundational lighting technique used in visual media, including 3D rendering, to create depth and dimension. This technique employs three main light sources: the Key Light, Fill Light, and Rim Light (also known as Back Light). Each plays a specific role in shaping how the subject is viewed. The Key Light serves as the main source of illumination, the Fill Light balances shadows created by the Key Light, and the Rim Light outlines the subject, enhancing separation from the background. This setup is instrumental in achieving a balanced and professional look in renders.
The process begins with ensuring a dark scene to start adding lights. The Key Light, positioned at an angle, casts the most visible shadows and defines the scene\"s overall look. The Fill Light, placed on the opposite side of the Key Light, softens shadows and reveals details. The Rim Light, situated behind the subject, creates a silhouette that distinguishes the subject from the background. By adjusting the intensity, position, and color of these lights, artists can dramatically improve the visual quality of their scenes.
Understanding the roles and strategic placement of these lights is crucial for any 3D artist looking to enhance their renders with realistic and appealing lighting.

Understanding the Components: Key, Fill, and Back Lights
The concept of 3-point lighting is pivotal in both photography and 3D visualization for achieving a well-balanced and professional look in your renders. This technique employs three distinct light sources to illuminate the subject from different angles, each serving a unique purpose to enhance the overall composition. Understanding how to effectively use the key, fill, and back lights is essential for any artist working in Blender.
Key Light
The key light is the primary source of illumination and sets the tone of the scene. Positioned to one side of the camera, it casts strong shadows and defines the shape and texture of the subject. The placement and intensity of the key light can dramatically affect the mood and atmosphere of your render. In Blender, you can simulate a key light using a spotlight or area light, aiming for a natural and directional source that mimics sunlight or a strong artificial light.
Fill Light
The fill light mitigates the shadows created by the key light, reducing contrast and revealing details in the darker areas. It is usually placed on the opposite side of the key light, at a lower intensity. This light should be soft and diffused, avoiding the creation of additional harsh shadows. In Blender, a fill light can be achieved with a wide area light or a softbox shader, ensuring it gently illuminates the shadowed parts without overpowering the key light.
Back Light
Also known as the rim light or hair light, the back light is positioned behind the subject, often at a higher angle. Its purpose is to outline the subject, separating it from the background and adding depth to the scene. This light is typically sharp and focused, creating a subtle glow or halo effect around the edges of the subject. In Blender, a spotlight or a narrow area light can be effective for crafting a distinct back light.
Mastering the interplay between these three lights allows artists to create rich, dynamic, and visually appealing scenes in Blender. By adjusting the position, color, and intensity of each light source, you can simulate a variety of lighting conditions, from soft and natural to dramatic and intense. Experimentation and practice are key to leveraging the full potential of 3-point lighting in your 3D projects.
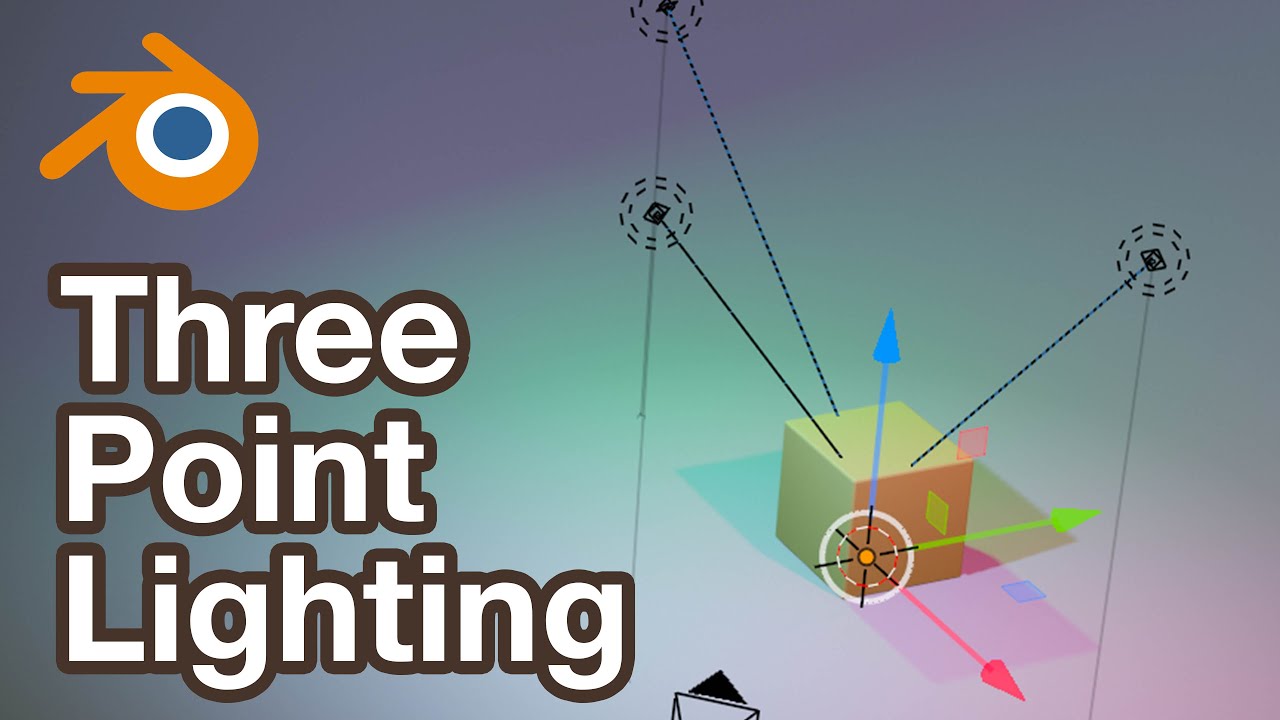
Three Point Lighting Blender 2.80 Fundamentals
Lighting: Step into a world of enchanting visuals with our video on lighting techniques. Learn how to create the perfect ambiance and capture breathtaking moments with the right lighting. Let your creativity shine! Fundamentals: Dive deep into the core principles of photography with our video on fundamentals. Master the basics of composition, exposure, and more to elevate your skills and capture stunning images. Start your photography journey with a strong foundation.
Step-by-Step Guide to Setting Up 3 Point Lighting in Blender
This guide will walk you through the process of setting up a classic 3-point lighting setup in Blender, a powerful tool for creating realistic and dynamic scenes. By following these steps, you will learn how to effectively illuminate your models, enhancing their texture, form, and depth.
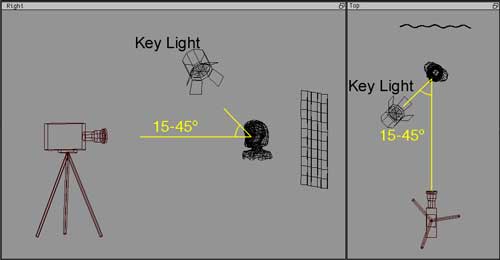
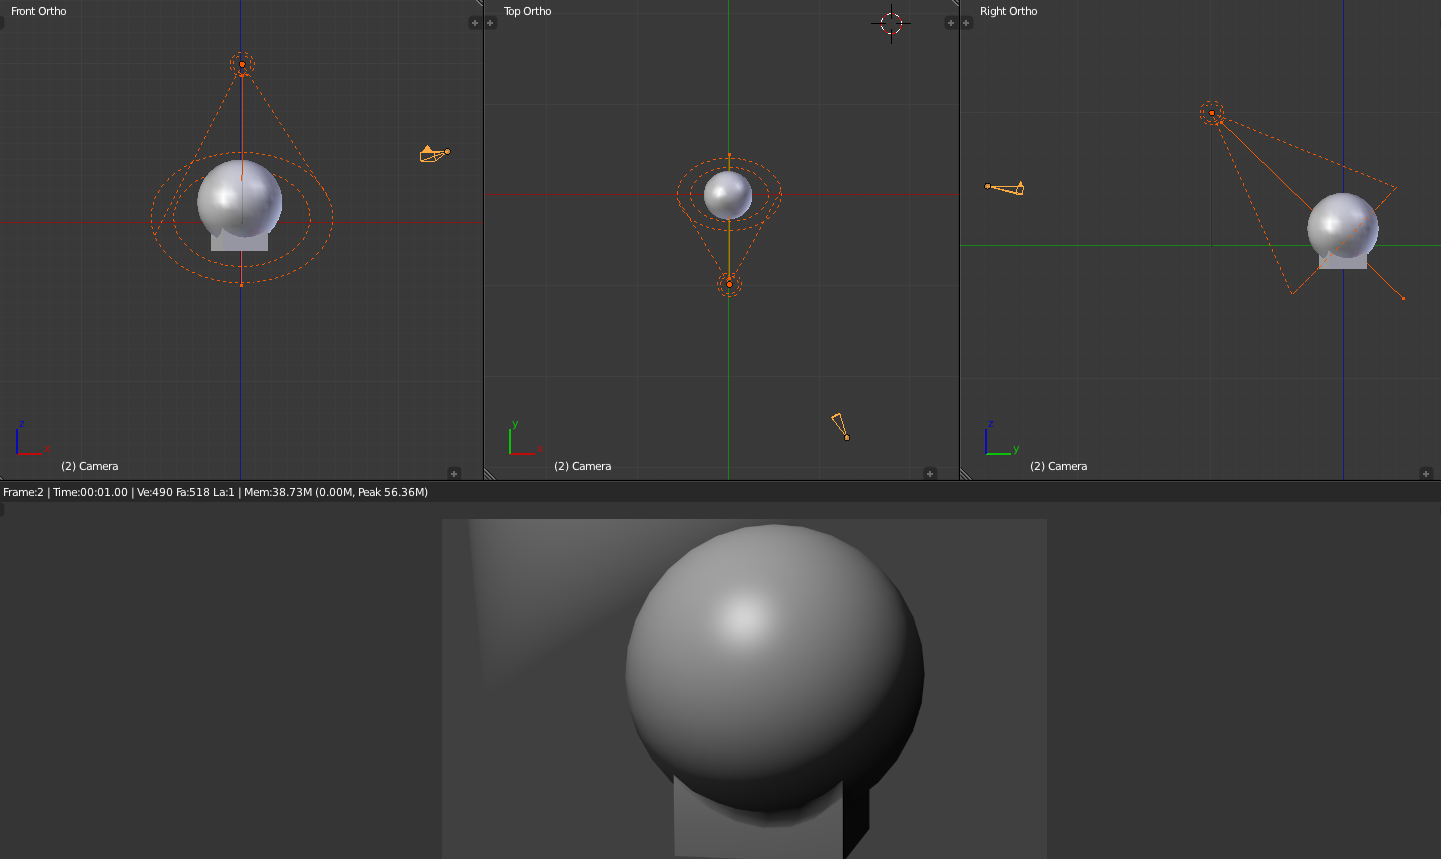
- Start with the Key Light:
- Position your key light, the main source of illumination, at a 45-degree angle to the subject, slightly above the eye level. This light should be the brightest of the three, as it defines the overall look and feel of the scene. You can use a Sun lamp for outdoor scenes or an Area lamp for indoor settings in Blender.
- Add the Fill Light:
- Place the fill light on the opposite side of the key light, filling in shadows created by the key light. Set this light to a lower intensity to avoid washing out the scene. A soft, diffused light works best, achieved by using an Area lamp with a lower energy level or by increasing its size for a softer effect.
- Implement the Back Light:
- The back light, or rim light, should be placed behind the subject, opposite to the camera. This light outlines the subject, separating it from the background and adding a three-dimensional quality. A Spot lamp or Point lamp can be effective, aimed at the back of the subject to create a subtle halo or rim effect.
- Adjust the Intensity and Color:
- Experiment with the intensity and color of each light to achieve the desired mood and effect. Warmer tones can simulate sunlight or indoor lighting, while cooler tones can mimic moonlight or fluorescent lighting. Adjusting the strength and color temperature of your lights can greatly impact the emotion and realism of your scene.
- Refine Shadows and Highlights:
- Use Blender\"s Light Properties panel to refine the shadows and highlights produced by your lights. Adjust the shadow softness, angle, and color to enhance the depth and realism of your scene. You may also want to experiment with the Specular and Diffuse settings to control how light interacts with the surfaces of your subject.
- Preview and Adjust:
- Regularly preview your lighting setup in Rendered view mode. This allows you to see how your lights interact with the scene and make real-time adjustments. Pay attention to the balance of light and shadow, ensuring that your subject is well-lit without losing detail in the highlights or shadows.
- Finalize Your Setup:
- Once you are satisfied with the lighting, make any final adjustments to the placement, intensity, or color of your lights. Remember, lighting is an art form, and there is no one-size-fits-all approach. Feel free to experiment and find what works best for your specific scene and artistic vision.
By following these steps, you can effectively use 3-point lighting in Blender to enhance your 3D models and scenes. Whether you are working on still images or animations, mastering this lighting technique will significantly improve the quality and realism of your renders.

_HOOK_
Advanced Techniques and Tips for 3 Point Lighting
Once you\"ve mastered the basics of 3-point lighting in Blender, you can start exploring more advanced techniques to elevate your work. These tips will help you refine your lighting setups for more dynamic and visually compelling renders.
- Use Color to Evoke Emotion:
- Lighting isn\"t just about illumination; it\"s also a powerful tool for storytelling. Experiment with different colors for your key, fill, and back lights to evoke specific emotions or suggest the time of day. For instance, a warm orange key light can mimic sunset, while a cool blue back light can suggest moonlight, adding depth and mood to your scene.
- Experiment with Gobos:
- Gobos (go-betweens) are objects placed in front of light sources to create patterns or textures in the light. In Blender, you can simulate this effect by using textures in the lamp settings or by physically placing objects between your light source and the subject. This technique can add complexity to your lighting, such as simulating light coming through blinds or foliage.
- Adjust Light Falloff for Realism:
- The way light diminishes over distance can greatly affect the realism of your scene. Blender allows you to control the falloff of each light source. Experimenting with different falloff settings, such as quadratic or linear, can help you mimic real-world lighting conditions more accurately.
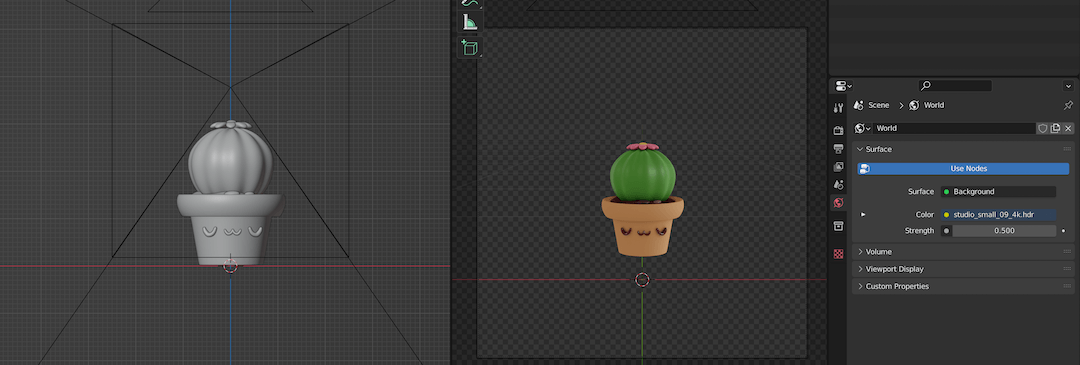
- Incorporate Environmental Lighting:
- In addition to your 3-point lighting setup, consider the impact of environmental lighting. Using HDRI images or ambient light sources can add another layer of realism to your scene. This can simulate the diffuse light of an overcast sky or the varied hues of a sunset, complementing your primary lighting setup.
- Play with Shadows:
- Shadows are as important as the light itself. Adjust the softness and darkness of shadows to match the mood you\"re aiming for. Soft shadows can make a scene feel more natural and gentle, while hard, sharp shadows can create drama and tension. Blender\"s light settings allow you to control shadow softness and contrast easily.
- Use Light Linking for Selective Illumination:
- Blender allows you to link lights to specific objects, enabling you to selectively illuminate parts of your scene. This can be useful for highlighting focal points or creating vignettes, directing the viewer\"s attention exactly where you want it.
- Optimize Your Render Settings:
- Finally, make sure your render settings are optimized to accurately capture your lighting setup. Settings like sample rate, shadow quality, and color management can all impact how your lights appear in the final render. Adjusting these settings can help reduce noise, improve shadow detail, and ensure colors are rendered faithfully.
By incorporating these advanced techniques into your 3-point lighting setups in Blender, you can create more nuanced, emotionally resonant, and visually stunning renders. Remember, the best way to improve is to experiment and practice, so don\"t be afraid to try new approaches and push the boundaries of what you can achieve with lighting.
Common Mistakes and How to Avoid Them
Even with a solid understanding of 3-point lighting, it\"s easy to fall into common traps that can detract from the final quality of your renders in Blender. Here are some typical mistakes and how to steer clear of them, ensuring your lighting enhances rather than diminishes your work.
- Overlighting the Scene:
- A common mistake is using too much light, which washes out details and flattens the scene. To avoid this, carefully balance the intensity of your key, fill, and back lights. Start with lower intensities and gradually increase them until you achieve the desired effect, ensuring you maintain contrast and depth.
- Ignoring the Importance of Shadows:
- Shadows add depth and realism to a scene. Not paying enough attention to the quality and placement of shadows can make your scene look artificial. Use the key light to cast meaningful shadows and adjust the fill light to control their intensity without eliminating them completely.
- Misusing Color Temperatures:
- Light color significantly impacts the mood of your scene. Using inappropriate color temperatures can create an unnatural look. Warm lights (yellow-orange) suggest sunlight or indoor warmth, while cool lights (blue) imply moonlight or fluorescent lighting. Match the color temperature to the scene\"s setting and mood you want to convey.
- Placing Lights at the Wrong Angles:
- Incorrectly angled lights can cause unflattering shadows or fail to properly highlight the form of your subject. Ensure the key light is positioned to define the subject without casting unwanted shadows. The fill and back lights should complement the key light, adding depth and dimension without competing with it.
- Forgetting about the Back Light:
- Skipping the back light can result in subjects that blend into the background, lacking depth. A well-placed back light separates the subject from the background and adds a three-dimensional quality. Position it carefully to achieve a subtle rim light effect.
- Not Adjusting Light Quality:
- The hardness or softness of a light affects shadow edges and the overall texture. Hard lights create sharp, clear shadows, while soft lights produce diffuse shadows. Use softboxes or increase the size of area lights in Blender to soften shadows, especially for portraits or when you desire a more natural look.
- Failing to Experiment:
- One of the biggest mistakes is not taking the time to experiment with different lighting setups. Each scene and subject is unique, requiring adjustments to lighting angles, intensities, and colors. Experimentation is key to understanding how light affects your scene and discovering creative solutions.
Avoiding these common mistakes will help you achieve more professional and visually appealing renders in Blender. Remember, lighting is a powerful tool in visual storytelling, capable of transforming the mood, look, and feel of your scenes. With practice and attention to detail, you can master the art of lighting and bring your 3D creations to life.
Real-World Applications of 3 Point Lighting in Blender
3-point lighting is not just a foundational technique for 3D modeling and animation; it has practical applications across various industries. By understanding how to implement this lighting setup in Blender, professionals and hobbyists alike can enhance their projects, whether for film, animation, product visualization, or virtual reality. Here are some real-world applications where 3-point lighting plays a crucial role.
- Character Modeling and Animation:
- In character modeling and animation, 3-point lighting is essential for showcasing the depth, texture, and form of characters. It helps in creating more lifelike and expressive characters by highlighting details and adding dimensionality, crucial for both games and animated films.
- Product Visualization:
- For product visualization, 3-point lighting helps in creating realistic and appealing representations of products. It\"s used extensively in advertising and marketing to highlight the features of a product, making it more attractive to potential buyers by showcasing the product in the best possible light.
- Architectural Visualization:
- Architectural visualization benefits greatly from 3-point lighting by adding depth and realism to 3D models of buildings and interiors. This technique allows architects and designers to present their projects in a more visually compelling way, helping clients to better understand the spatial and material qualities of their designs.
- Portraiture and Fine Art:
- Artists using Blender for digital portraiture or fine art can apply 3-point lighting to mimic traditional painting techniques, adding a dramatic effect or soft, natural light to their creations. This approach enhances the aesthetic appeal of digital art, making it more engaging and emotionally resonant.
- Virtual Reality (VR) and Augmented Reality (AR):
- In VR and AR, 3-point lighting is crucial for creating immersive environments that feel real. Proper lighting ensures that virtual objects blend seamlessly with the real world in AR applications, or that VR worlds are convincingly lifelike, enhancing the user\"s sense of presence and immersion.
- Educational Content and Tutorials:
- Educational content creators use 3-point lighting in Blender to produce clear, visually appealing instructional materials. Well-lit models and scenes make tutorials more accessible and easier to follow, facilitating learning in fields ranging from science to history.
- Cinematography and Visual Effects:
- In the realm of cinematography and visual effects, 3-point lighting is used to blend 3D elements with live-action footage seamlessly. It helps match the lighting of CGI elements to the environments recorded on film, essential for creating believable scenes in movies and television.
These applications demonstrate the versatility and importance of 3-point lighting in Blender across multiple domains. Mastering this lighting technique opens up a world of possibilities for enhancing visual storytelling, product design, architectural presentations, and beyond.
READ MORE:
Conclusion: Enhancing Your 3D Renders with Professional Lighting
The journey through understanding and applying 3-point lighting in Blender illuminates the profound impact that professional lighting techniques can have on your 3D renders. Whether you\"re a novice exploring the basics or an experienced artist refining advanced skills, the principles of key, fill, and back lighting serve as the cornerstone for bringing depth, dimension, and emotion to your digital creations.
Professional lighting is not just about visibility; it\"s about storytelling, mood setting, and creating an immersive experience for the viewer. By mastering 3-point lighting, you unlock the potential to transform ordinary scenes into extraordinary visuals, enhancing not only the aesthetic quality but also the narrative depth of your projects.
- Focus on Balance: Remember to balance your light sources carefully. The interplay between light and shadow is what defines the form and atmosphere of your scene.
- Experiment and Iterate: Don\"t be afraid to experiment with different lighting setups. Each project is unique, and finding the perfect lighting often requires iteration and adaptation.
- Consider the Mood: Use lighting to set the mood of your scene. Warm or cool lighting can evoke distinct emotions, contributing to the overall impact of your render.
- Keep Learning: The field of 3D rendering and lighting is always evolving. Stay curious and continue to learn about new techniques, tools, and trends in the industry.
In conclusion, 3-point lighting is a powerful tool in your Blender toolkit, essential for anyone looking to produce professional-quality 3D renders. It\"s a fundamental technique that, when applied thoughtfully, can elevate your work from good to great. As you continue to explore the vast possibilities of lighting in Blender, remember that your greatest assets are creativity, experimentation, and a deep understanding of the light\"s role in visual storytelling.
Unlock the full potential of your Blender projects with the art of 3-point lighting, a game-changer for creating stunning, professional-quality 3D renders that captivate and tell compelling stories.