Topic blender game engine tutorial: Embark on a journey to master the Blender Game Engine with our comprehensive tutorial, guiding you from basic concepts to advanced game development techniques, ensuring a solid foundation for creating stunning 2D and 3D games.
Table of Content
- How to start using the Blender Game Engine and the basics of the logic editor window?
- Getting Started
- Advanced Techniques
- Comprehensive Guides and Resources
- YOUTUBE: How to Make Game Models for Beginners from Start to Finish in Blender
- Advanced Techniques
- Comprehensive Guides and Resources
- Comprehensive Guides and Resources
- Introduction to Blender Game Engine
- Setting Up Your Development Environment
- Basics of Game Creation in Blender
- Creating 2D Games with Blender
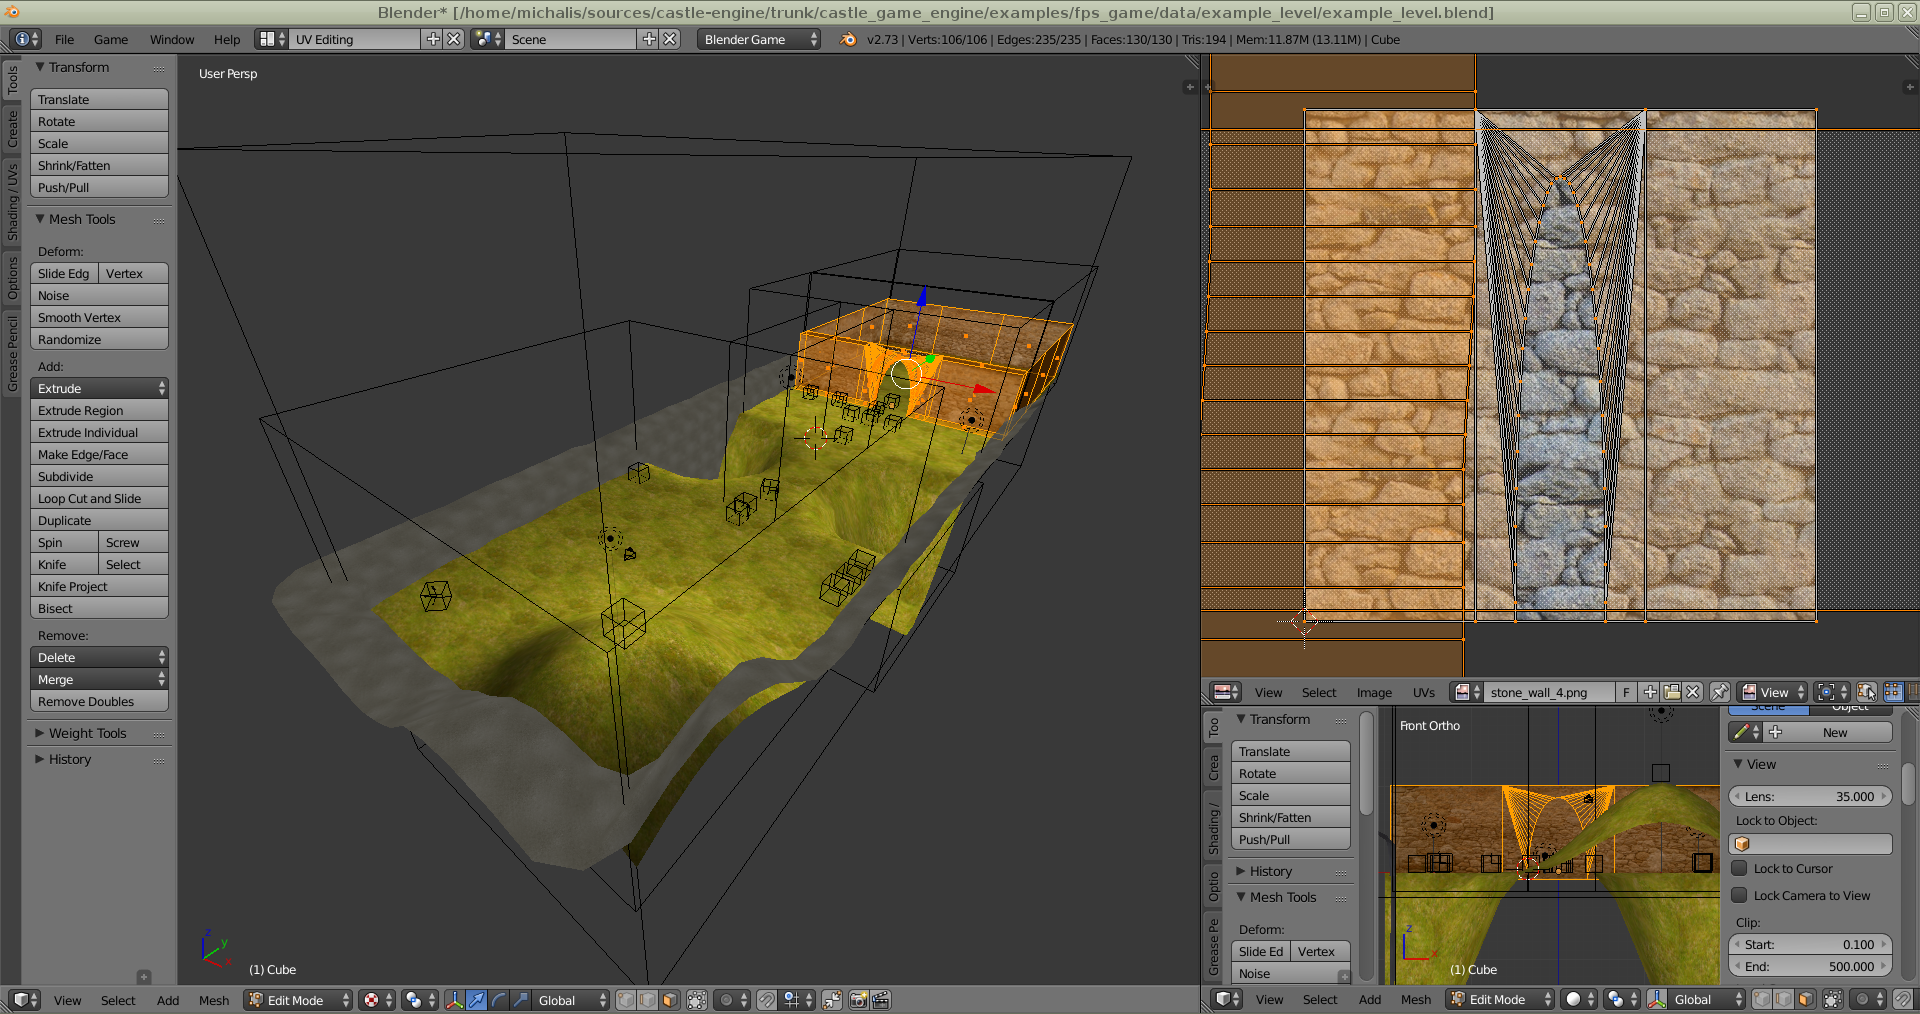
- Designing 3D Games: Assets and Environments
- Implementing Game Logic and Physics
- Character Creation and Animation
- Advanced Techniques: AI and Pathfinding
- Optimizing Your Game for Performance
- Publishing and Sharing Your Game
- Community Resources and Support
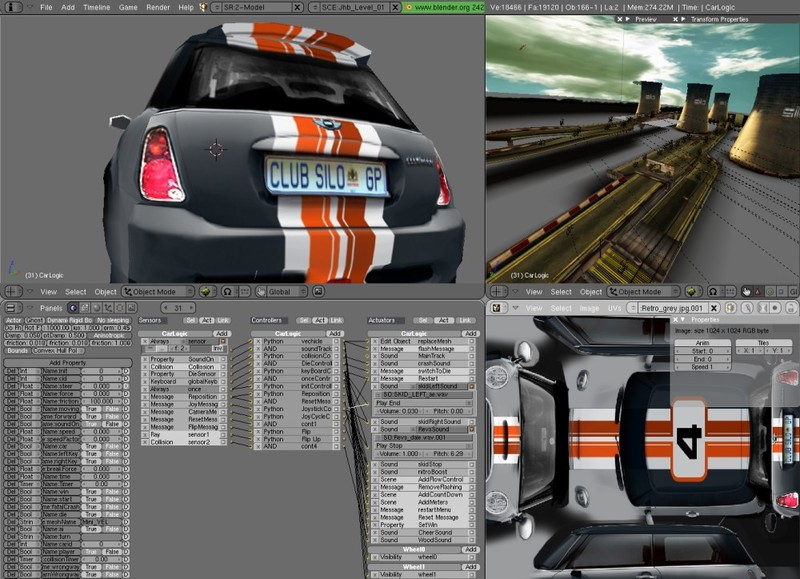
How to start using the Blender Game Engine and the basics of the logic editor window?
To start using the Blender Game Engine and learn the basics of the logic editor window, follow these steps:
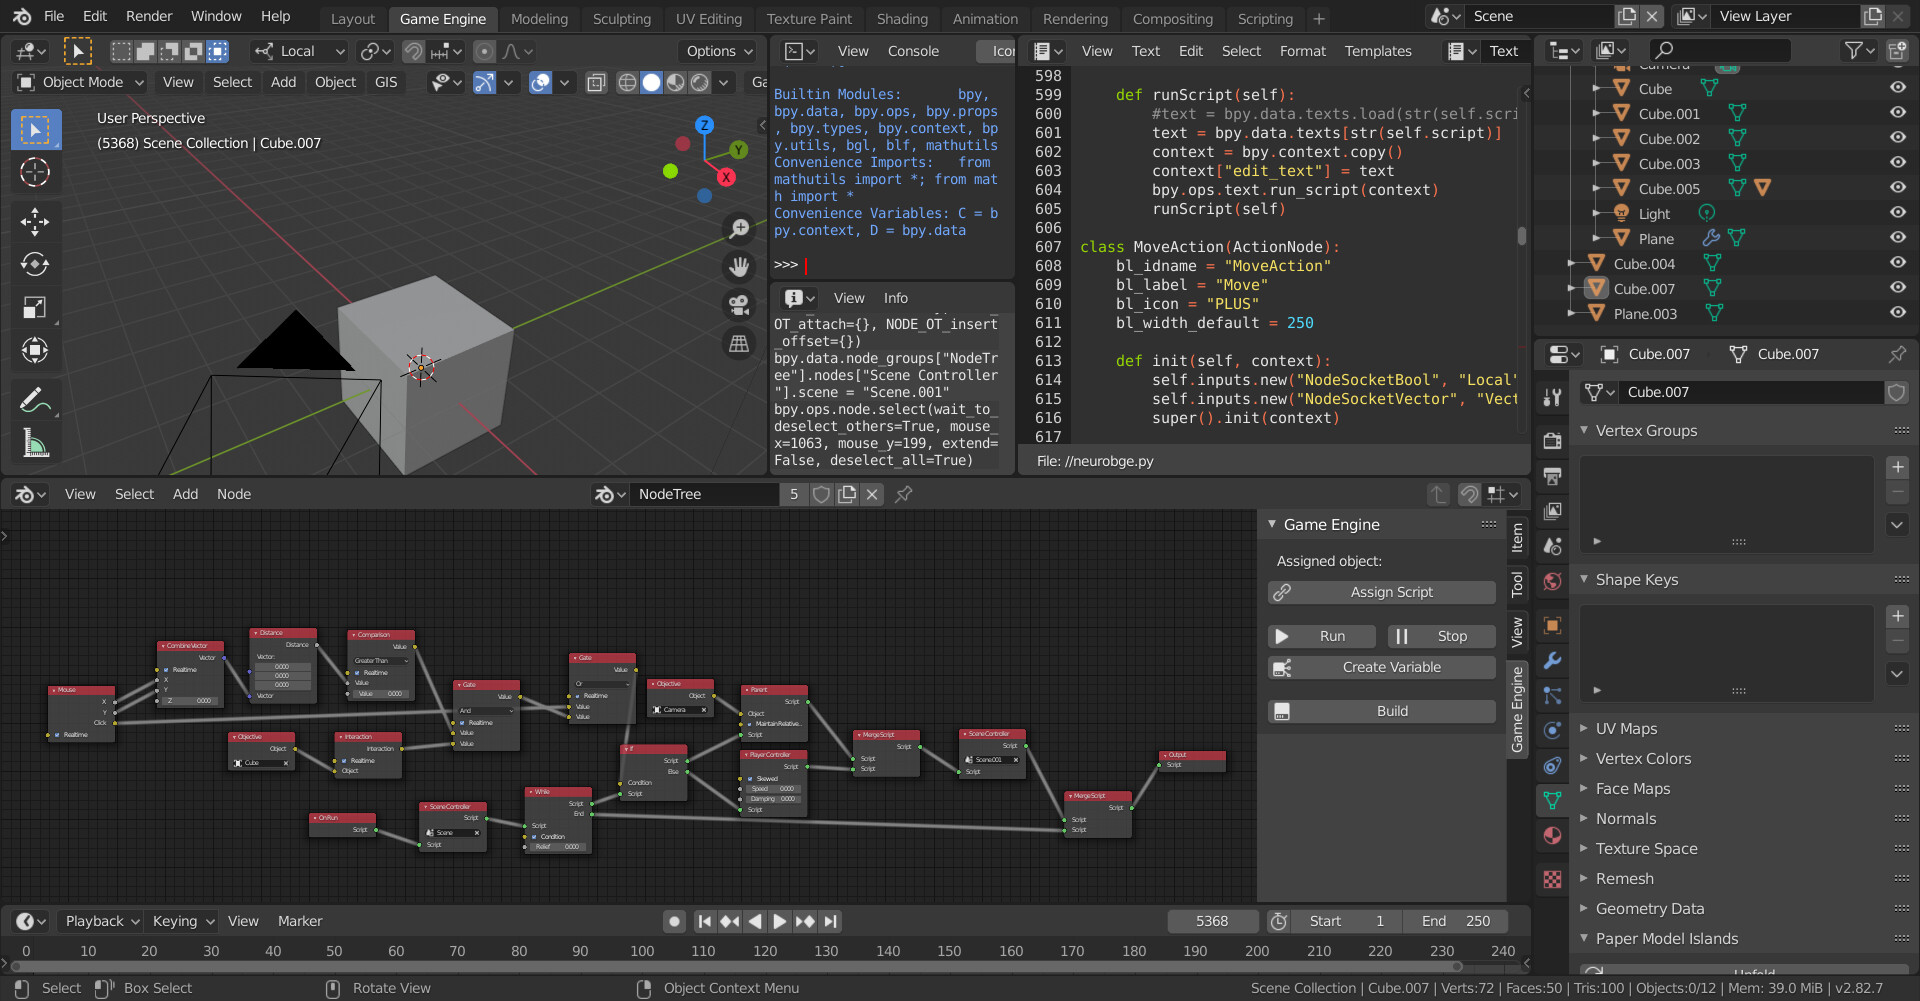
- Open Blender and select the \"Game Logic\" layout.
- You will see different panels such as the 3D viewport, Logic Editor, and Properties Editor.
- In the Logic Editor, you can create logic bricks by clicking on the \"Add\" menu.
- Logic bricks are used to create logic for your game objects without having to write code.
- Connect the logic bricks by dragging from one to another to create the desired behavior.
- Each logic brick represents a different action or condition that can trigger a response in your game.
- Experiment with different logic bricks and connections to see how they affect the behavior of your game objects.
- You can also use Python scripting in the Blender Game Engine for more advanced functionality.
- Once you are comfortable with the basics of the logic editor window, you can start creating more complex game mechanics and interactions.
READ MORE:
Getting Started
- Introduction to Blender Game Engine: A series that guides you through the basics, including the logic editor window, physics, and collisions.
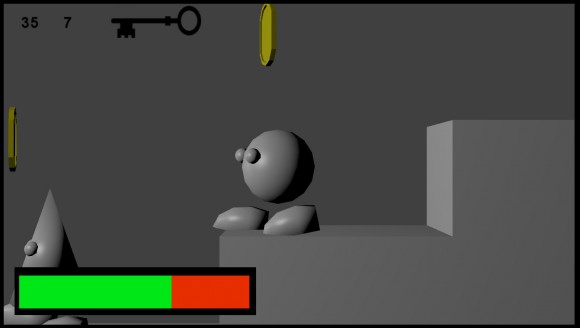
- Blender 2D Game Tutorial: Learn how to create a basic 2D platform game, including player controls, pick-ups, obstacles, and goals.
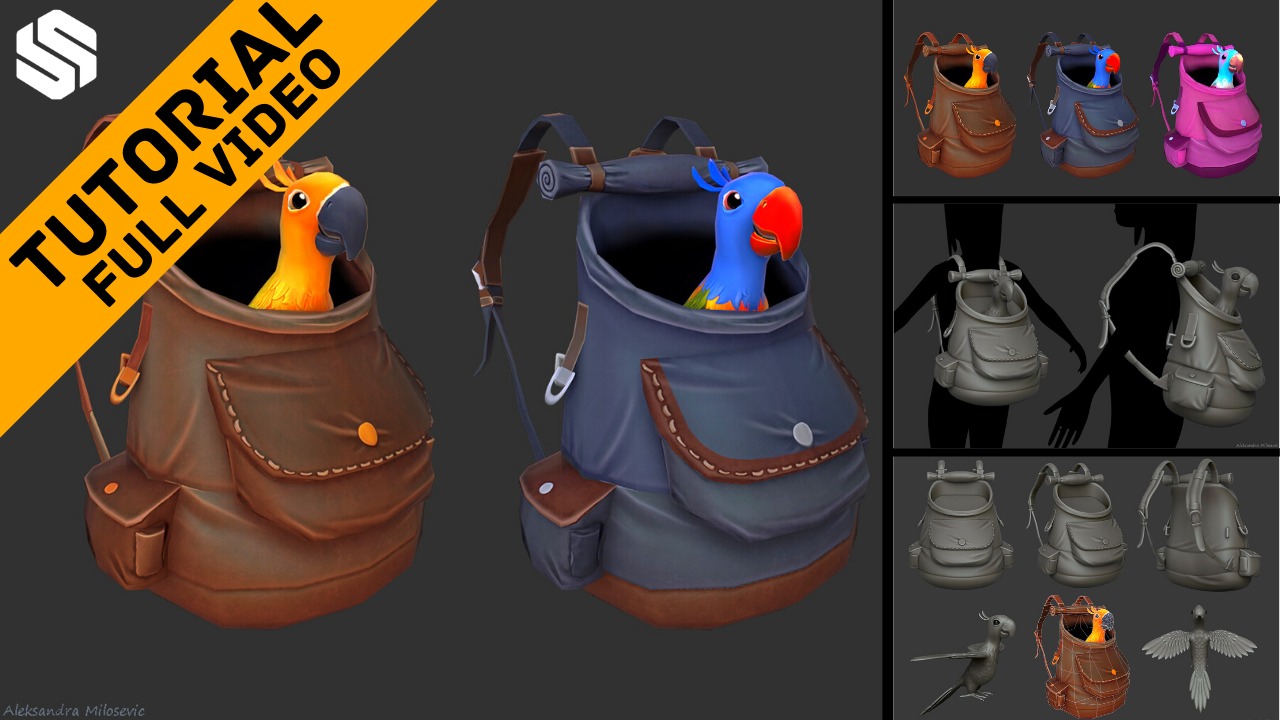
- Game Asset Creation: This 5-hour video course is aimed at beginners, teaching you how to navigate Blender and import your game asset into a popular game engine.

Advanced Techniques
- FPS Setup in Blender Game Engine: Discover how to create a first-person shooter setup, customize controls, and implement game logic.
- AI Pathfinding: Learn how to create an AI pathfinding system in Blender, enhancing your game\"s characters and their interactions within the game world.

Comprehensive Guides and Resources
For those looking to dive deeper, the Blender market and official Blender tutorials offer extensive resources for game development, including books, video series, and detailed guides on character creation and texturing.
Recommended Reading
\"Game Development with Blender\" - A book now available for free, providing a deep dive into the Blender Game Engine and its capabilities for game development.
| Resource Type | Description | Access |
| Video Tutorials | Step-by-step guides on YouTube covering everything from basics to advanced game engine features. | Online |
| Online Courses | Comprehensive video courses for beginners and intermediate users, focusing on game asset creation and Blender navigation. | Blender Studio |
| Books | Detailed guides and textbooks available for free online, covering game development from start to finish using Blender. | GitHub, Blender Market |

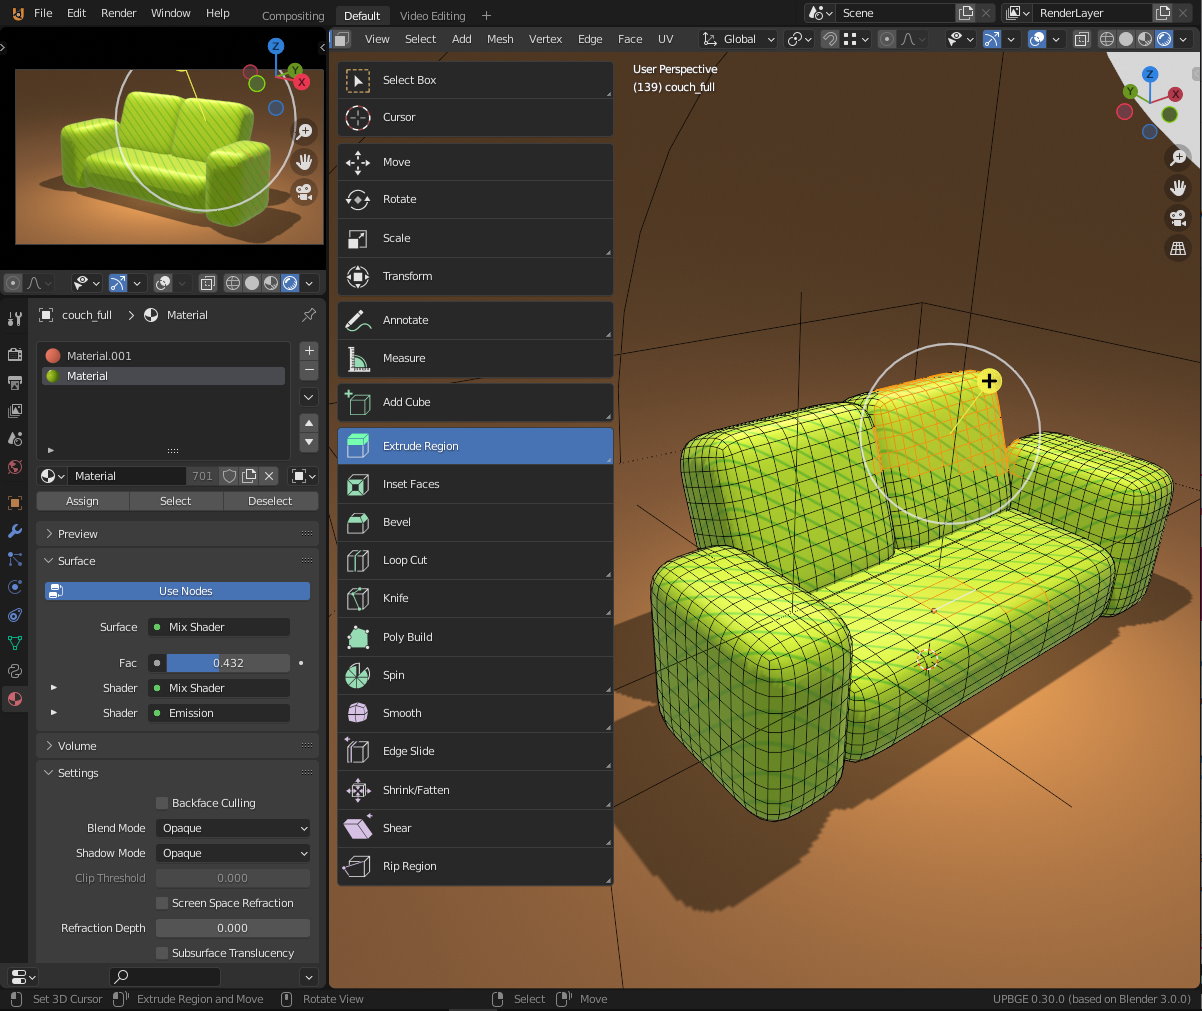
How to Make Game Models for Beginners from Start to Finish in Blender
Modeling: Dive into the glamorous world of modeling with our exciting video showcasing the behind-the-scenes of a high fashion photoshoot. Witness the beauty, creativity, and hard work that goes into creating stunning editorial spreads. Logic: Challenge your mind and expand your critical thinking skills with our captivating video exploring the fascinating world of logic puzzles. Unlock the secrets of strategic reasoning and problem-solving in a fun and engaging way.
Blender Game Engine Basics Tutorial 1: Logic Bricks and Character Movement
In this Blender Game Engine Tutorial #1 I cover: -How to start using the Blender Game Engine + the basics of the logic editor ...
Advanced Techniques
- FPS Setup in Blender Game Engine: Discover how to create a first-person shooter setup, customize controls, and implement game logic.
- AI Pathfinding: Learn how to create an AI pathfinding system in Blender, enhancing your game\"s characters and their interactions within the game world.
_HOOK_
Comprehensive Guides and Resources
For those looking to dive deeper, the Blender market and official Blender tutorials offer extensive resources for game development, including books, video series, and detailed guides on character creation and texturing.
Recommended Reading
\"Game Development with Blender\" - A book now available for free, providing a deep dive into the Blender Game Engine and its capabilities for game development.
| Resource Type | Description | Access |
| Video Tutorials | Step-by-step guides on YouTube covering everything from basics to advanced game engine features. | Online |
| Online Courses | Comprehensive video courses for beginners and intermediate users, focusing on game asset creation and Blender navigation. | Blender Studio |
| Books | Detailed guides and textbooks available for free online, covering game development from start to finish using Blender. | GitHub, Blender Market |