Topic how to make a toon shader in blender: Discover the art of creating toon shaders in Blender, transforming your 3D models into captivating cartoon masterpieces with ease and creativity.
Table of Content
- Introduction to Toon Shading
- Step-by-Step Guide
- Finalizing Your Toon Shader
- Step-by-Step Guide
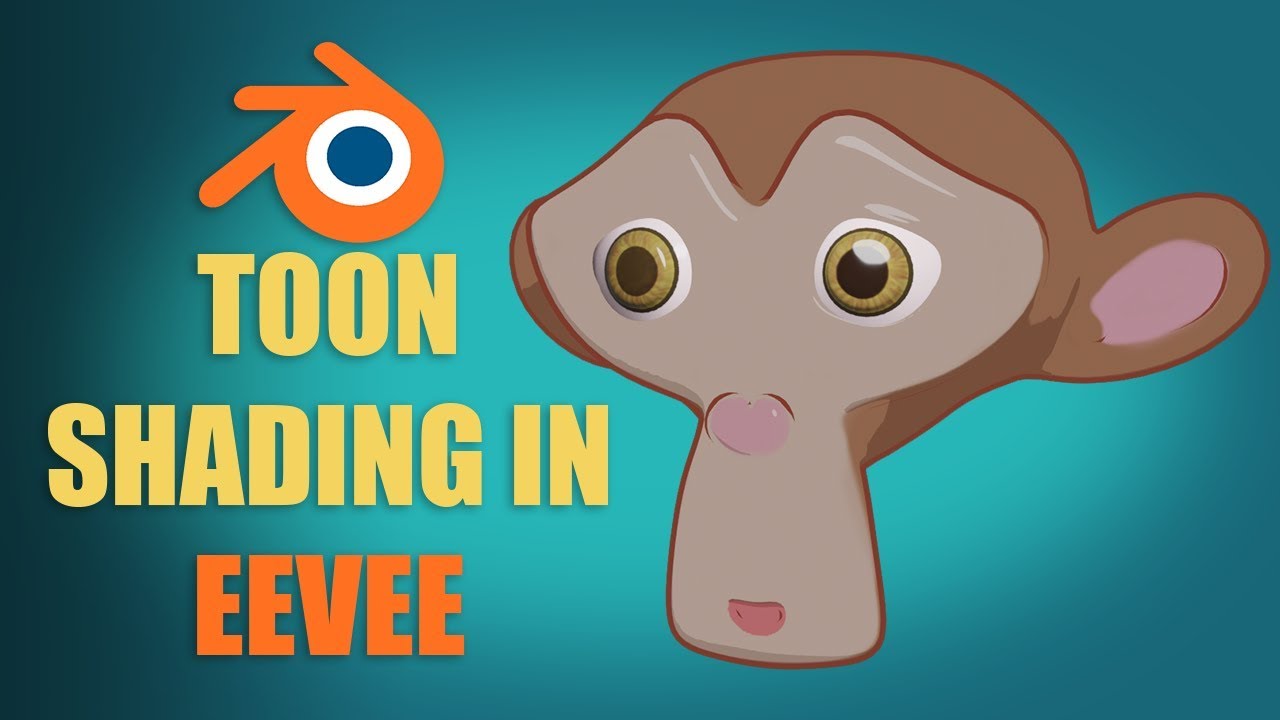
- How to create a toon shader in Blender using EEVEE?
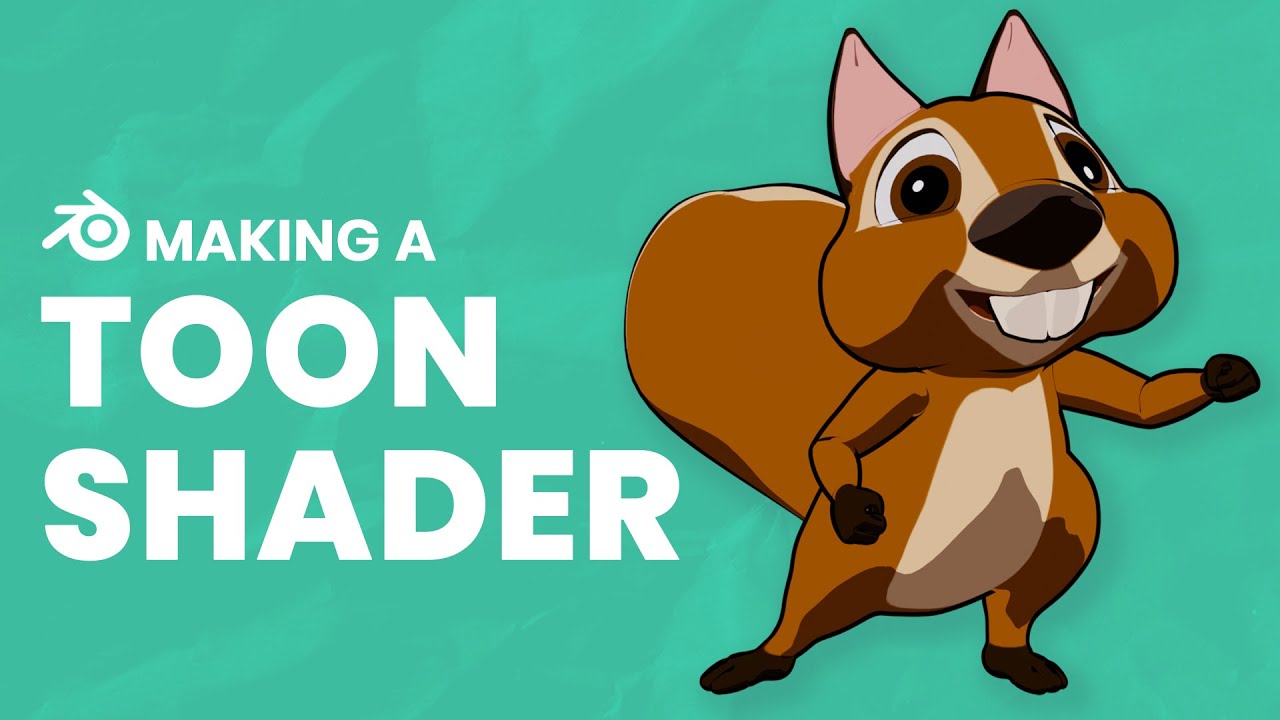
- YOUTUBE: Simple Toon Shader in Blender Eevee
- Finalizing Your Toon Shader
- Finalizing Your Toon Shader
- Introduction to Toon Shading in Blender
- Essential Tools and Settings for Toon Shading
- Step-by-Step Guide to Creating Your First Toon Shader
- Advanced Techniques for Enhancing Toon Shaders
- Common Pitfalls and How to Avoid Them
- Top Tips from Blender Experts
- Real-World Applications of Toon Shading
- Resources for Further Learning
Introduction to Toon Shading
Toon shading, also known as cel shading, is a non-photorealistic rendering technique that simulates the style of a comic book or cartoon. It is commonly used in video games and animations to achieve a stylized, hand-drawn appearance using 3D models.
Starting with the Basics
- Understand the principle of toon shading, focusing on its distinctive features such as bold colors and sharp outlines.
- Begin by setting up a simple shader in Blender\"s Eevee renderer, utilizing basic nodes for color and shading.
Advanced Techniques
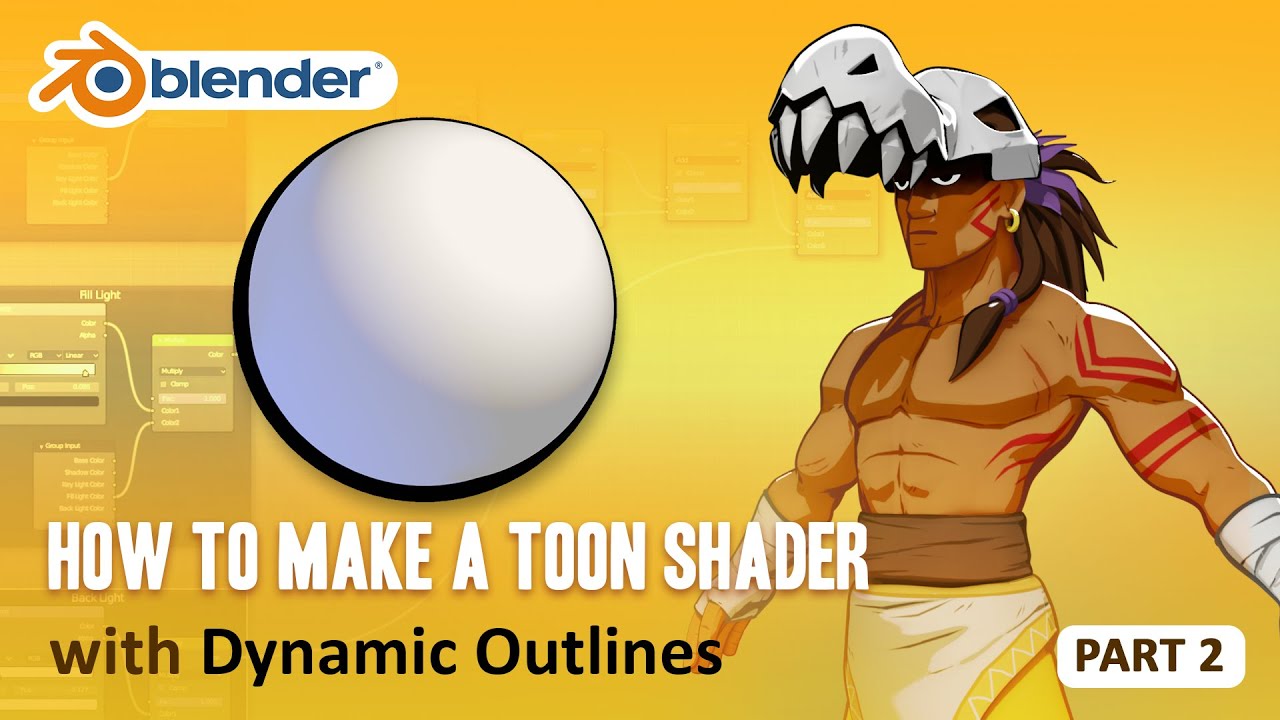
- Learn to enhance your toon shaders with dynamic outlines that react to light intensity and viewing angle.
- Explore methods for incorporating multiple light sources, each with its own color, sharpness, and area coverage.
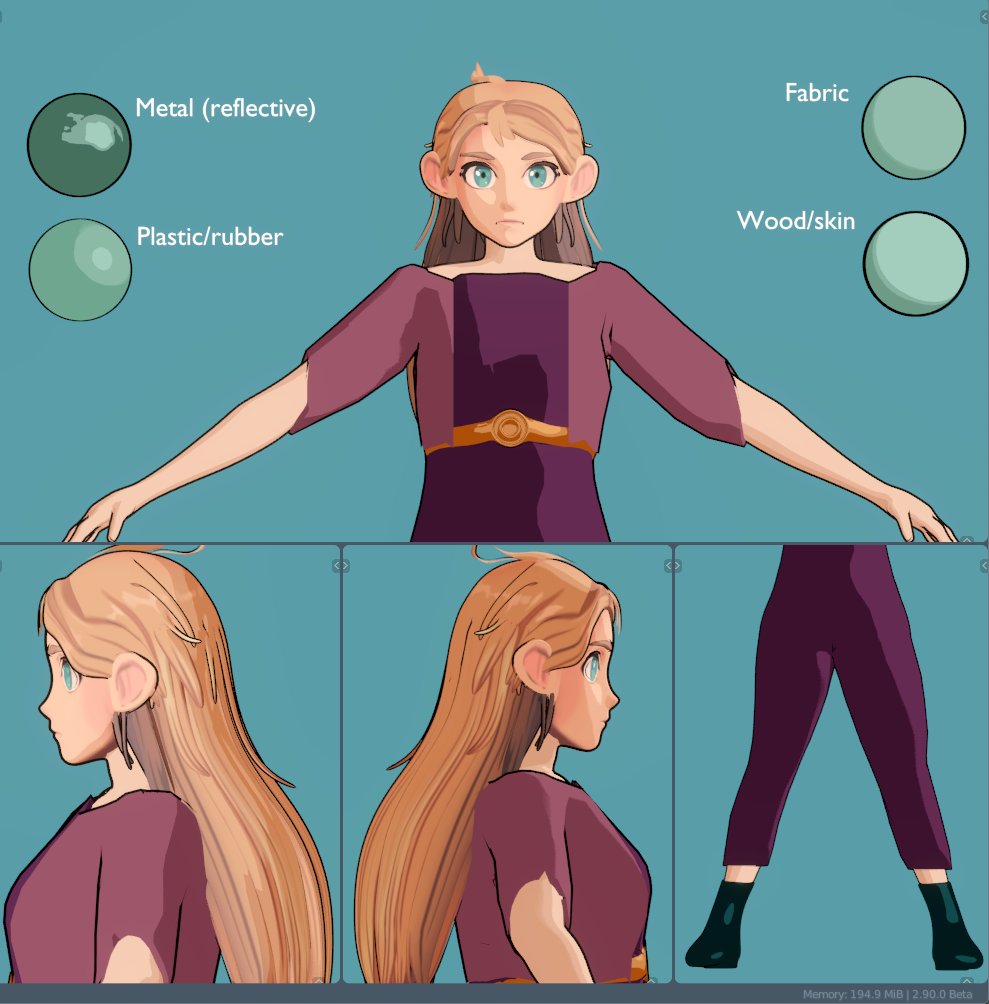
- Discover how to achieve a metallic look within your toon shader for more diverse material representation.
READ MORE:
Step-by-Step Guide
Setting Up Your Scene
Begin by creating a basic 3D model and setting up Blender\"s Eevee renderer for real-time preview of your toon shader.
Creating the Shader
- Use Blender\"s node editor to combine different nodes for material, light, and background inputs.
- Adjust the nodes to achieve the desired toon effect, focusing on color ramps, Fresnel effects, and custom outlines.
Refining the Shader
Experiment with advanced node setups to introduce dynamic outlines and react to multiple light sources, enhancing the cartoon effect.

Finalizing Your Toon Shader
Finalize your toon shader by adjusting settings for rendering in both Eevee and Cycles, ensuring your artwork is ready for presentation or integration into projects.
Tips for Success
- Test your shader with different lighting conditions and camera angles to ensure versatility.
- Keep experimenting with node combinations to discover new effects and improvements.
Step-by-Step Guide
Setting Up Your Scene
Begin by creating a basic 3D model and setting up Blender\"s Eevee renderer for real-time preview of your toon shader.
Creating the Shader
- Use Blender\"s node editor to combine different nodes for material, light, and background inputs.
- Adjust the nodes to achieve the desired toon effect, focusing on color ramps, Fresnel effects, and custom outlines.
Refining the Shader
Experiment with advanced node setups to introduce dynamic outlines and react to multiple light sources, enhancing the cartoon effect.
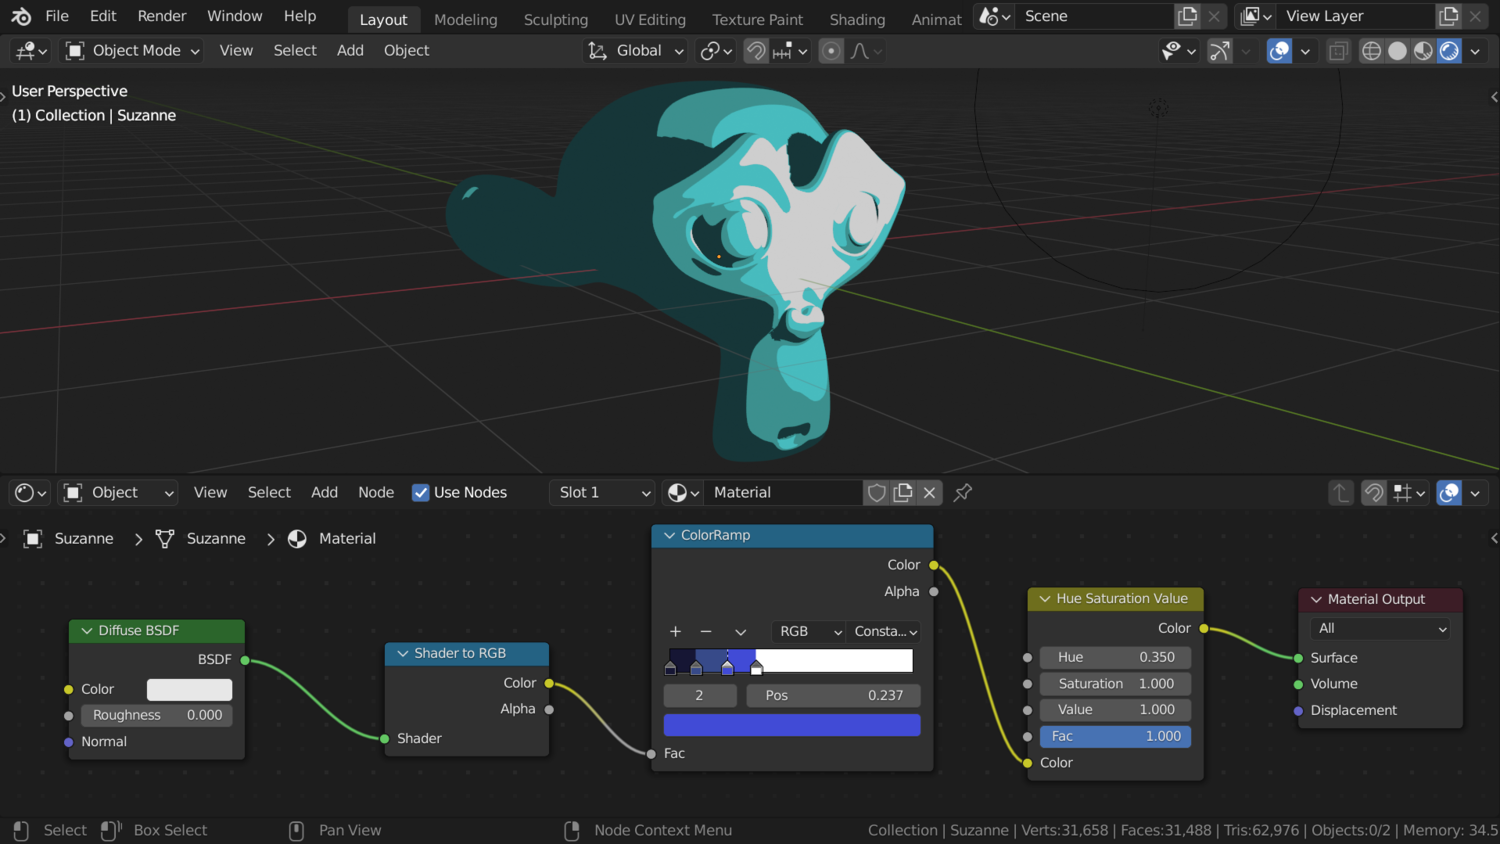
How to create a toon shader in Blender using EEVEE?
To create a toon shader in Blender using EEVEE, follow these steps:
- Open Blender and go to the Shader Editor.
- Add a new material to your object by clicking on the \"New\" button.
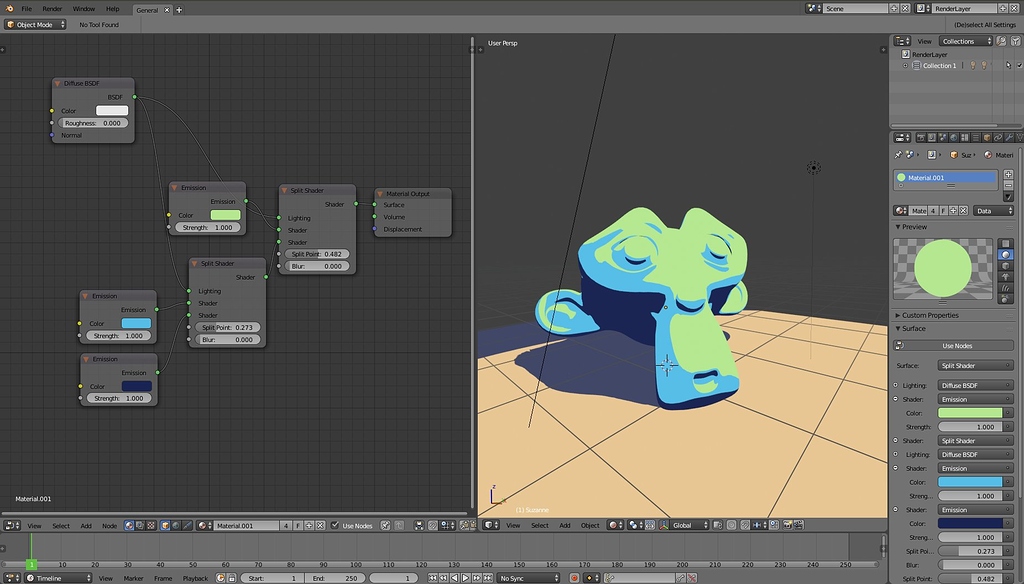
- Switch the shader type to \"Shader to RGB\" in the material settings.
- Add a \"Diffuse BSDF\" node to the Shader Editor.
- Add a \"ColorRamp\" node between the \"Diffuse BSDF\" node and the Material Output node.
- Adjust the ColorRamp to define the color palette for your toon shader. This will determine the number of shades in your shader.
- Connect the ColorRamp\'s output to the \"Base Color\" input of the \"Diffuse BSDF\" node.
- Adjust the interpolation of the ColorRamp to control the smoothness of the shading transitions.
- Add a \"Shader to RGB\" node and connect it to the \"Factor\" input of the ColorRamp. This will allow you to control the overall shading intensity.
- Adjust the settings in the \"Shader to RGB\" node to fine-tune the shading of your toon shader.
- Play around with the settings and colors in the ColorRamp to achieve the desired toon effect for your object.
- Once you are satisfied with the result, you can render your object with the toon shader using EEVEE.
_HOOK_
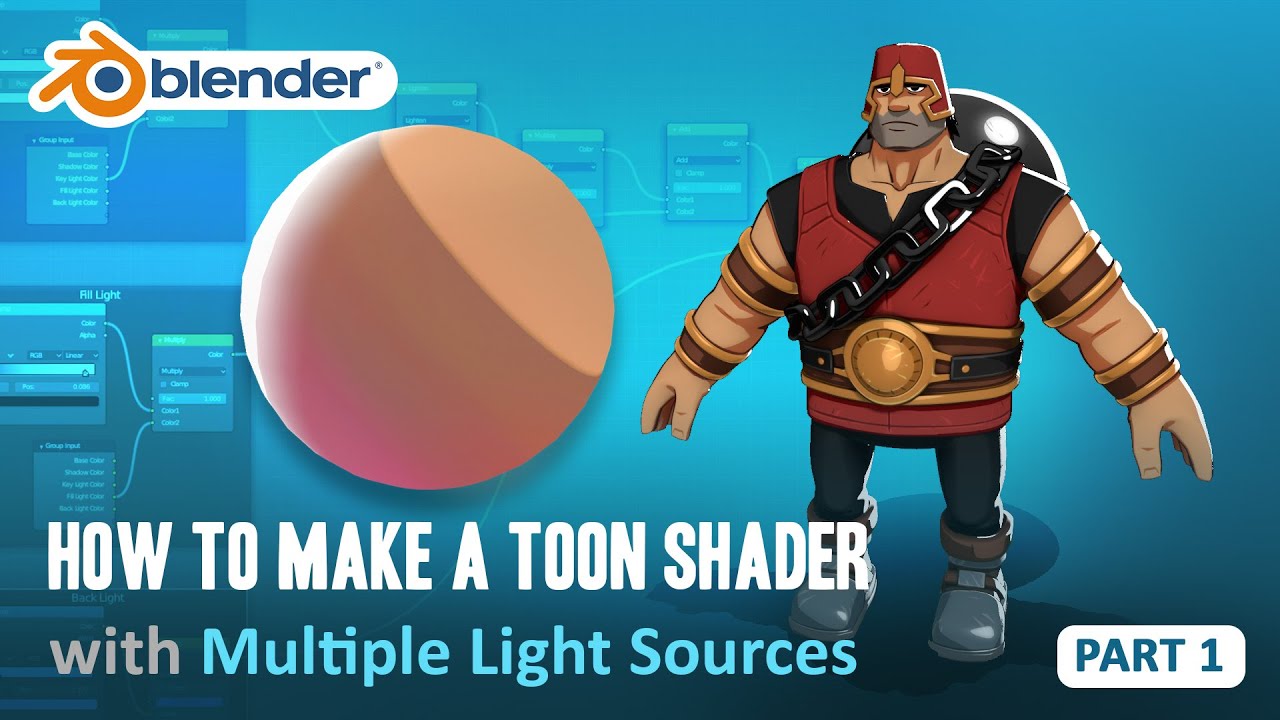
Simple Toon Shader in Blender Eevee
Toon Shader: Immerse yourself in a magical world where fantasy meets reality with the captivating Toon Shader effect. Watch as colors come alive and characters pop off the screen in this enchanting video! Outlines: Delve into the fascinating world of outlines in this mesmerizing video. See how these simple lines can transform ordinary images into compelling works of art, adding depth and intrigue to every frame.
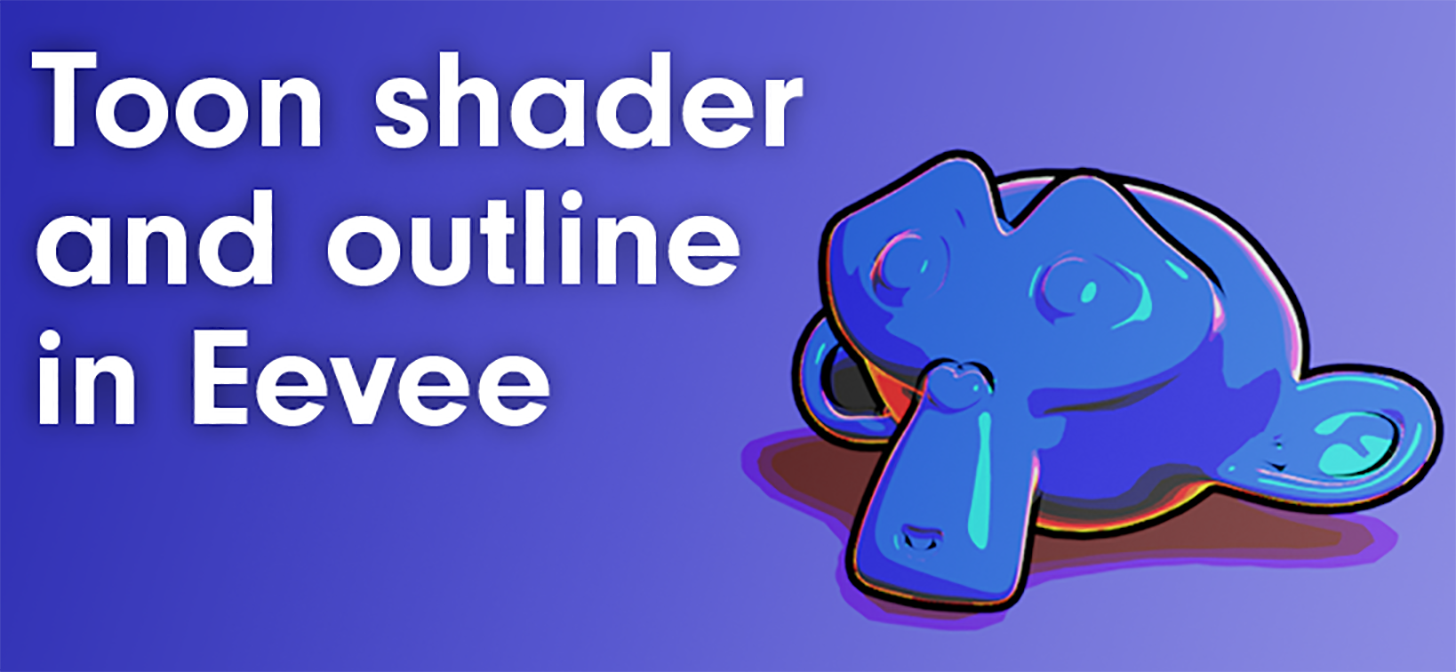
How to make a TOON SHADER and OUTLINES with Eevee BLENDER TUTORIAL
A 5 minutes blender tutorial showing the method I use to create a simple toon material and outlines using eevee. #blender ...
Finalizing Your Toon Shader
Finalize your toon shader by adjusting settings for rendering in both Eevee and Cycles, ensuring your artwork is ready for presentation or integration into projects.
Tips for Success
- Test your shader with different lighting conditions and camera angles to ensure versatility.
- Keep experimenting with node combinations to discover new effects and improvements.
Introduction to Toon Shading in Blender
Toon shading, or cel shading, is a technique used to give 3D models a stylized look reminiscent of comic books or cartoons. This artistic approach emphasizes bold colors, sharp contrasts, and distinct outlines, setting it apart from traditional 3D rendering methods. Blender, a powerful and free 3D creation suite, offers extensive tools and features for creating toon shaders, making it accessible to artists of all levels.
Starting with toon shading in Blender involves understanding its core principles and how to manipulate Blender\"s nodes and materials to achieve the desired cartoon effect. The process includes setting up basic shaders, adjusting lighting for enhanced stylization, and fine-tuning the materials to get the perfect toon look.
- Understanding Shader Nodes: Learn the basics of Blender\"s shader nodes, focusing on the Diffuse, Emission, and Glossy BSDF nodes.
- Lighting and Color: Techniques for choosing the right colors and lighting setups to enhance the toon effect.
- Outline Creation: Methods to create and refine outlines for that classic toon look, including the use of the Freestyle feature in Blender.
- Texturing and Detailing: Tips on adding textures and details that complement the toon shading style without overwhelming the stylized aesthetic.
By following these steps, you can start exploring the creative possibilities of toon shading in Blender, from simple, flat colors to complex scenes with dynamic lighting and textures. The goal is to empower you to bring your artistic visions to life in a distinct and eye-catching manner.
Essential Tools and Settings for Toon Shading
Creating toon shaders in Blender is an exciting process that requires familiarity with specific tools and settings within the software. This section outlines the essential tools and adjustments you\"ll need to start crafting your own toon shaders.
- Shader Editor: The heart of toon shading, where you\"ll create and connect nodes to build your shader.
- Diffuse BSDF: Essential for the base color of your shader, providing the flat color look typical of toon shading.
- Emission Shader: Useful for adding a glow effect to objects, enhancing the cartoon feel.
- Glossy BSDF: For adding specular highlights, giving life to the cartoon characters or objects.
- Freestyle: A Blender feature that allows you to add non-photorealistic outlines to your objects, crucial for achieving the toon shader look.
Additionally, understanding how to adjust lighting and camera settings in Blender is vital for achieving the desired toon effect. Proper lighting can accentuate the flat colors and strong outlines characteristic of toon shading, while camera settings can help in achieving the right framing and perspective for your scenes.
- Lighting Setup: Simple three-point lighting can effectively highlight the toon shader\"s features.
- Camera Settings: Adjusting the camera\"s focal length and aperture can help achieve a more dramatic or stylized effect.
Mastering these tools and settings is the first step towards creating appealing toon shaders in Blender, allowing for a wide range of artistic expressions in your 3D projects.
Step-by-Step Guide to Creating Your First Toon Shader
Embarking on the journey of creating your first toon shader in Blender is an exciting venture. This guide will walk you through the process step-by-step, ensuring you grasp the essentials of toon shading and can apply them to your projects.
- Open Blender and Set Up Your Scene: Start by opening Blender and setting up a basic scene with the object you wish to apply the toon shader to.
- Access the Shader Editor: Switch to the Shader Editor window to start working on your shader. This is where you will build the shader node tree.
- Apply a Material to Your Object: Create a new material for your object. This material will serve as the foundation for your toon shader.
- Construct the Shader Node Tree:
- Begin with a Diffuse BSDF node to establish the base color of your object.
- Add a Shader to RGB node to convert the light information into a color gradient.
- Use a ColorRamp node to create the distinct color bands characteristic of toon shading. Adjust the sliders to control the transition between shades.
- Integrate an Emission shader for any glow effects and a Glossy BSDF for specular highlights if needed.
- Adjust the Material Properties: Experiment with the settings in your shader nodes to achieve the desired toon effect. Pay particular attention to the ColorRamp node, as it greatly influences the toon look.
- Enable Freestyle for Outlines: Go to the Render Properties tab and enable Freestyle to add outlines to your model. Adjust the line thickness and color to suit your style.
- Lighting and Rendering: Adjust the lighting setup to complement your toon shader. A simple three-point lighting setup can highlight the shader’s features effectively. Finally, render your scene to see the toon shader in action.
Following these steps will guide you through creating a basic toon shader in Blender. As you become more comfortable with the process, you can experiment with different node configurations and settings to create a wide range of toon shading effects.

_HOOK_
Advanced Techniques for Enhancing Toon Shaders
After mastering the basics of toon shading in Blender, you can elevate your shaders with advanced techniques. These methods will help you create more dynamic, expressive, and visually appealing toon shaders.
- Custom Edge Detection for Better Outlines: Beyond the Freestyle feature, explore custom edge detection methods using nodes in the Shader Editor to gain more control over the thickness, opacity, and smoothness of outlines.
- Layering Shaders for Depth: Combine multiple shaders using the Mix Shader node to add depth and complexity to your toon shaders. This can introduce variations in color and texture that mimic traditional hand-drawn animation styles.
- Animating ColorRamp for Dynamic Effects: Animate the positions of the ColorRamp sliders to create dynamic color transitions within your toon shader. This technique can be used to simulate changing lighting conditions or to add life to your animations.
- Utilizing Texture Nodes for Added Detail: Incorporate texture nodes to introduce patterns or fine details into your toon shaders. This can add a layer of complexity and realism to stylized works without compromising the toon aesthetic.
- Integrating Ambient Occlusion for Soft Shadows: Use the Ambient Occlusion node to add soft shadows in areas where objects meet, enhancing the three-dimensional feel of your toon shader while maintaining its stylized look.
- Experimenting with Light Paths for Unique Effects: Manipulate light paths within your shader to create unique visual effects, such as selective transparency or glowing edges, further pushing the boundaries of toon shading.
By incorporating these advanced techniques into your toon shaders, you can create more nuanced, vibrant, and expressive 3D art in Blender. Each method offers a way to refine your shaders, making them stand out in both still renders and animations.

Common Pitfalls and How to Avoid Them
While creating toon shaders in Blender is an exciting process, certain common pitfalls can hinder your progress. Recognizing and avoiding these challenges can help ensure your toon shading journey is smooth and successful.
- Overcomplicating the Shader Network: Beginners often build overly complex shader networks. Keep it simple; complexity can be added gradually as you understand how different nodes interact.
- Ignoring the Importance of Light Setup: Lighting plays a crucial role in toon shading. Inadequate lighting can flatten your models. Experiment with different setups to see what best enhances your shader.
- Neglecting Outline Thickness: Outlines that are too thick or too thin can detract from the overall look. Adjust the Freestyle line settings in Blender to find the right balance for your scene.
- Forgetting to Test in Different Scenes: A shader that looks great in one scene might not work well in another. Test your shaders across various scenes to ensure versatility and adaptability.
- Underestimating the Power of ColorRamp: The ColorRamp node is vital for achieving the toon look. Not using it effectively can lead to subpar results. Spend time experimenting with its settings to get familiar with its capabilities.
- Avoiding Feedback: Feedback is crucial for improvement. Share your work with the Blender community to gain insights and suggestions that can refine your shaders.
By being mindful of these pitfalls and actively working to avoid them, you can enhance your toon shading skills and create more compelling and visually appealing artwork in Blender.
Top Tips from Blender Experts
Mastering toon shading in Blender can be significantly enhanced by following advice from seasoned experts. Here are top tips to elevate your toon shaders, directly from professionals in the field.
- Start Simple: Begin with basic shapes and shaders to understand how lighting and color affect the toon look. Gradually increase complexity as you become more comfortable.
- Use References: Study cartoons and illustrations you admire to understand how colors and outlines work together. Apply these observations to your shaders.
- Experiment with Lighting: Don\"t settle for the first lighting setup. Try different configurations to see how they impact the mood and depth of your toon shaders.
- Master the ColorRamp Node: Spend time experimenting with the ColorRamp node. Understanding its nuances can dramatically change the look of your shaders.
- Practice Makes Perfect: Continuously create and refine your shaders. The more you practice, the better you\"ll understand the tools and techniques at your disposal.
- Join the Community: Engage with the Blender community through forums, social media, and user groups. Sharing your work and receiving feedback is invaluable.
- Keep Blender Updated: Blender receives regular updates that can introduce new features or improve existing ones. Staying updated ensures you have the best tools available.
- Learn from Tutorials: There\"s a wealth of tutorials available online, both free and paid. These can provide new insights and techniques for enhancing your toon shaders.
Applying these expert tips can help you refine your toon shading skills, pushing your creative boundaries and helping you produce stunning, professional-quality work in Blender.
Real-World Applications of Toon Shading
Toon shading, with its distinctive style and visual appeal, finds applications across various industries, making it a versatile technique for creators and professionals. Here\"s how toon shading is being used in the real world.
- Video Games: One of the most popular applications, toon shading is used to give games a unique, stylized look that stands out from realistic graphics, enhancing gameplay and user experience.
- Animation and Film: Toon shading transforms 3D models into cartoon-like characters and environments, making it ideal for animated movies, shorts, and series that aim for a hand-drawn aesthetic.
- Advertising and Marketing: Brands use toon shading to create eye-catching, memorable campaigns. Its distinctive style can make products and messages more engaging to a wide audience.
- Educational Content: Educational materials and explainer videos benefit from toon shading by making learning content more appealing and easier to understand for viewers of all ages.
- Virtual Reality (VR) and Augmented Reality (AR): Toon shading is used in VR and AR experiences to create immersive, stylized worlds that are visually distinct from the real world, enhancing user immersion.
- Architectural Visualization: By applying toon shading to architectural models, designers can present projects in a way that is visually simplified, focusing on form and space rather than intricate details.
These applications demonstrate the broad appeal and versatility of toon shading, proving its value in not only entertainment but also in educational, marketing, and design contexts.
READ MORE:
Resources for Further Learning
To excel in creating toon shaders in Blender and expand your knowledge in 3D art, a variety of resources are available. Whether you\"re a beginner or looking to refine your skills, these resources can provide valuable insights and guidance.
- Blender Official Documentation: The comprehensive guide to all Blender features, including detailed sections on shader nodes and rendering techniques.
- Online Tutorials and Courses: Platforms like Udemy, Coursera, and YouTube offer extensive tutorials ranging from beginner to advanced levels, specifically focused on toon shading and Blender skills.
- Blender Community Forums: Engage with other Blender users, share your work, and get feedback. Community forums are great for solving specific problems and learning from others’ experiences.
- Books on Blender: Several books have been written on Blender, offering insights into its tools and techniques, including toon shading. These can be great for offline learning.
- Workshops and Webinars: Keep an eye out for workshops and webinars hosted by Blender experts. These events often dive deep into specific topics, including toon shading.
By utilizing these resources, you can continue to grow as a Blender artist, explore creative possibilities, and push the boundaries of your 3D art with toon shaders.
Embark on your journey to master toon shading in Blender and unlock a world of creative possibilities. With the right tools and techniques, you can bring your unique visions to life and captivate audiences with your art.
_HOOK_