Topic paint texture in blender: Discover the art of paint texture in Blender, a game-changer for 3D artists seeking to elevate their creations with realistic textures and vibrant details. Unlock your creative potential today!
Table of Content
- Getting Started with Texture Painting
- Advanced Techniques
- Tools and Tips
- Practical Applications
- Conclusion
- Advanced Techniques
- Tools and Tips
- Practical Applications
- Conclusion
- Tools and Tips
- How to create paint texture in Blender?
- Practical Applications
- YOUTUBE: How to Texture Paint Like a Pro in Blender: Easy Beginner\'s Guide with Ucupaint
- Conclusion
- Practical Applications
- Conclusion
- Conclusion
- Introduction to Texture Painting in Blender
- Preparing Your Model for Texture Painting
- Basic Texture Painting Techniques
- Advanced Texture Painting Strategies
- Utilizing Brushes and Tools in Blender
- Working with Layers and Masks
- Incorporating Procedural Textures
- Applying Textures to Different Materials
- Texture Painting for Animation and Games
- Tips for Realistic Texture Painting
- Optimizing Workflow in Texture Painting
- Conclusion: Unleashing Your Creativity with Texture Painting
Getting Started with Texture Painting
- Begin by UV unwrapping your model to ensure textures map correctly.
- Access Blender’s texture painting panel to start adding colors and textures.
- Choose the right brush and paint types for your project.
- Experiment with layers and shaders for more complex effects.
READ MORE:
Advanced Techniques
- Use the stencil brush for precise texture application.
- Integrate hand-painted textures for a unique look.
- Explore procedural materials for dynamic textures.

Tools and Tips
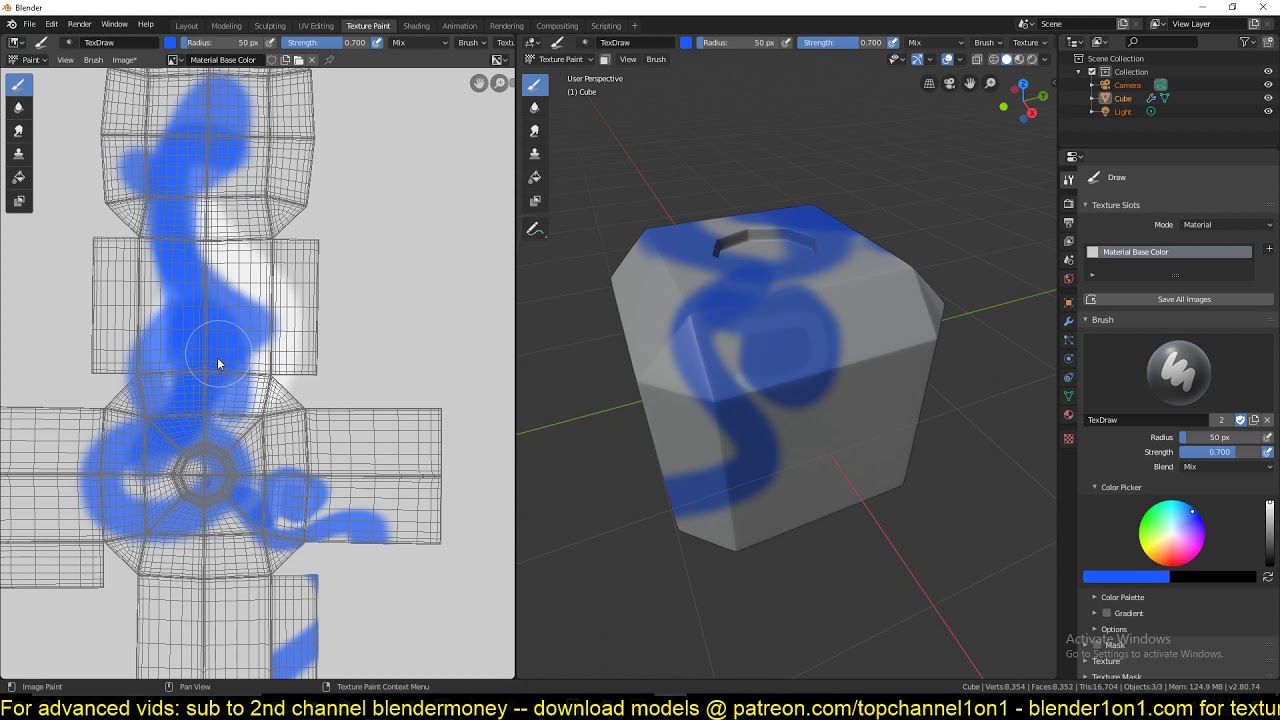
Blender offers a rich set of tools for texture painting, including various brushes, mask tools, and the ability to paint across seams effortlessly. For best results, familiarize yourself with Blender’s texture slots and the UV/Image Editor.
Practical Applications
Texture painting can enhance the realism of your models, add stylized effects for game assets, or even create detailed surfaces for animated characters. Whether you’re working on low-poly models or aiming for photorealistic renders, texture painting is a critical skill in a 3D artist\"s toolkit.
Conclusion
With practice and exploration of Blender\"s comprehensive texture painting tools, artists can achieve stunning, lifelike, or stylized textures on their 3D models. Embrace the creative possibilities and transform your digital art with texture painting.
_HOOK_
Advanced Techniques
- Use the stencil brush for precise texture application.
- Integrate hand-painted textures for a unique look.
- Explore procedural materials for dynamic textures.
Tools and Tips
Blender offers a rich set of tools for texture painting, including various brushes, mask tools, and the ability to paint across seams effortlessly. For best results, familiarize yourself with Blender’s texture slots and the UV/Image Editor.
Practical Applications
Texture painting can enhance the realism of your models, add stylized effects for game assets, or even create detailed surfaces for animated characters. Whether you’re working on low-poly models or aiming for photorealistic renders, texture painting is a critical skill in a 3D artist\"s toolkit.

Conclusion
With practice and exploration of Blender\"s comprehensive texture painting tools, artists can achieve stunning, lifelike, or stylized textures on their 3D models. Embrace the creative possibilities and transform your digital art with texture painting.

Tools and Tips
Blender offers a rich set of tools for texture painting, including various brushes, mask tools, and the ability to paint across seams effortlessly. For best results, familiarize yourself with Blender’s texture slots and the UV/Image Editor.

_HOOK_
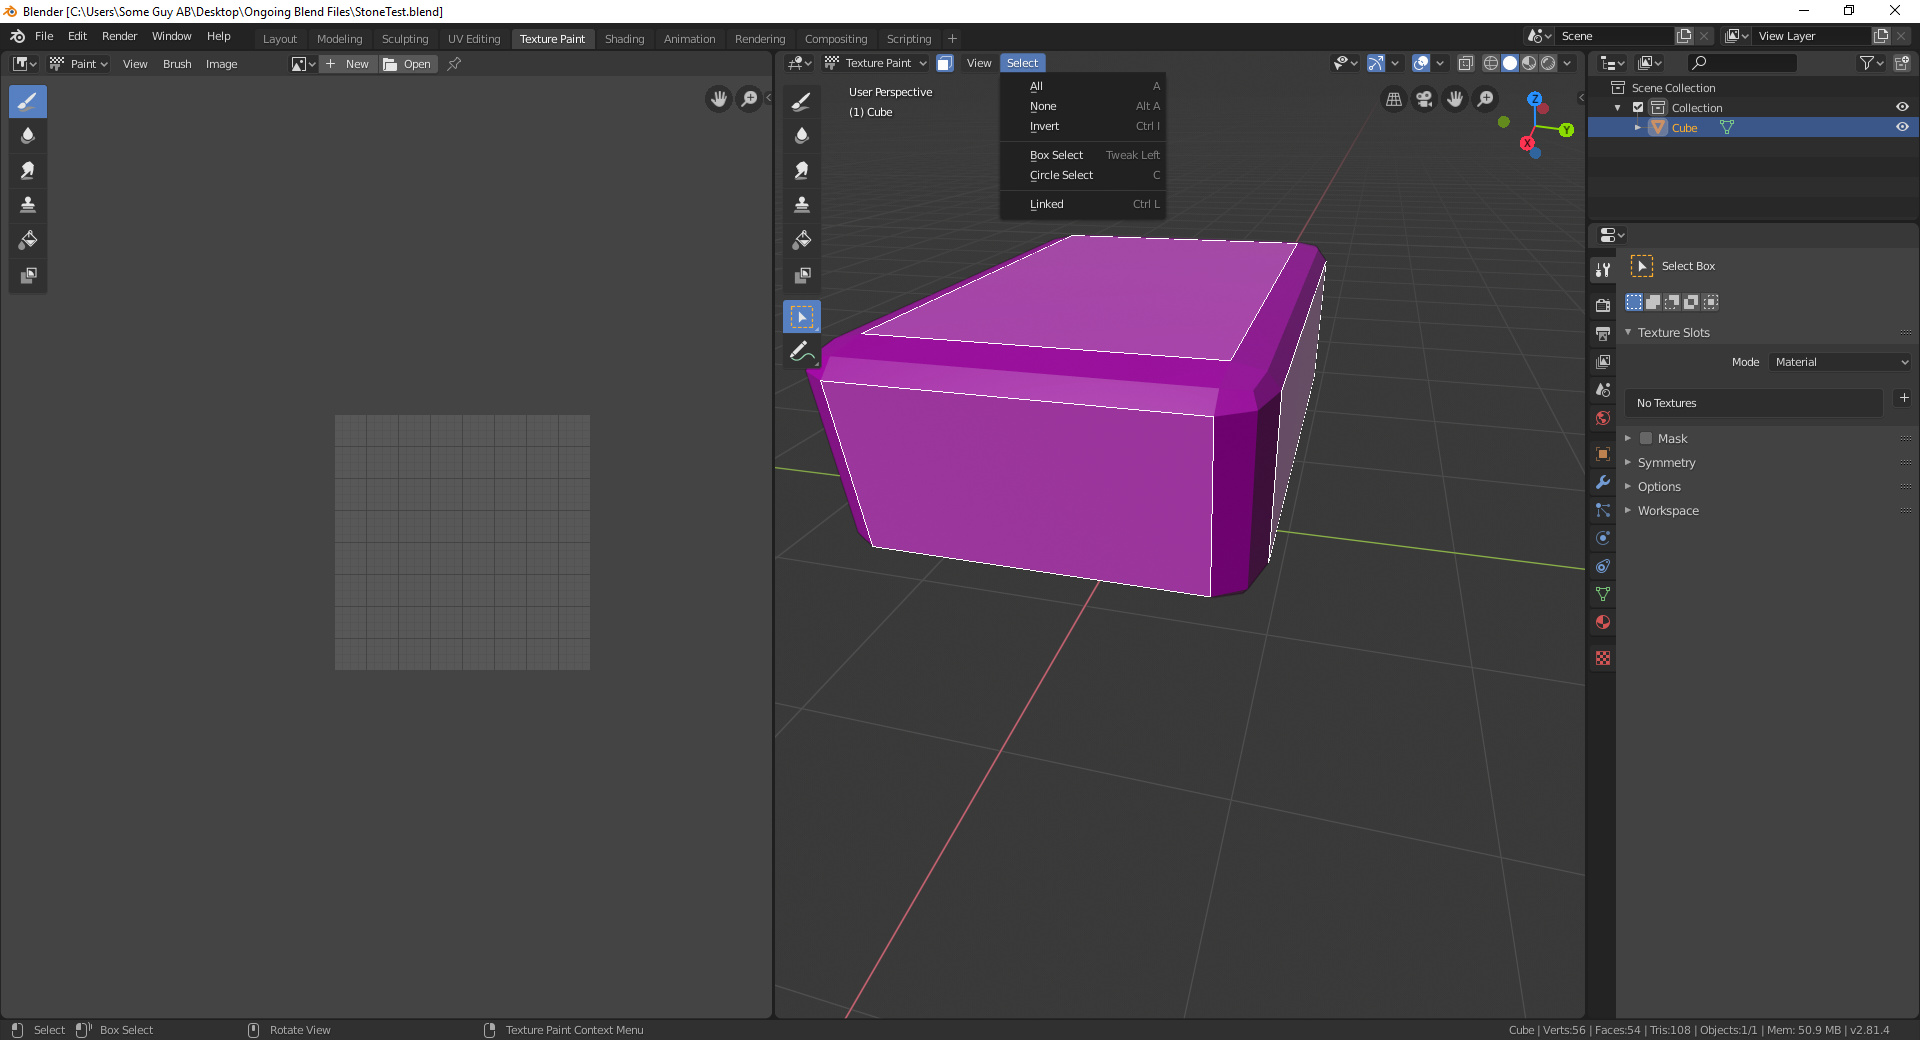
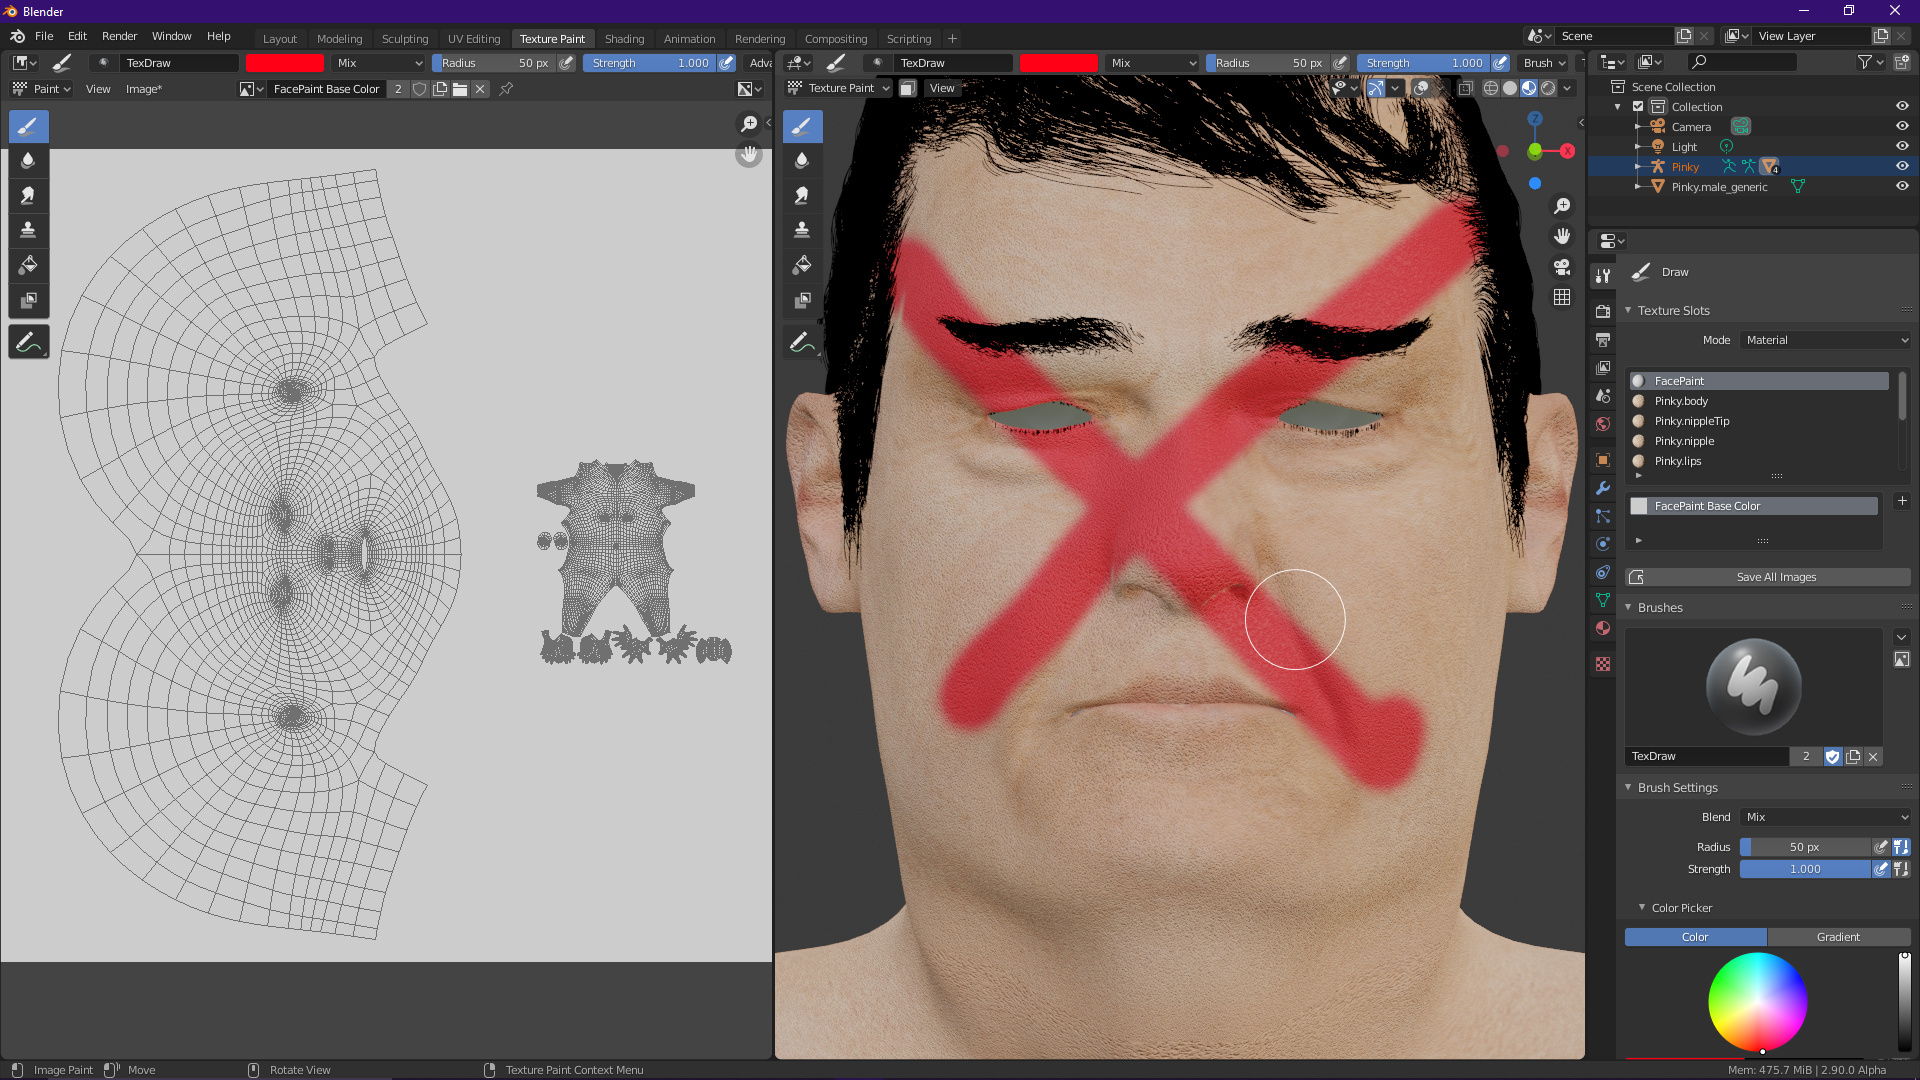
How to create paint texture in Blender?
To create a paint texture in Blender using the Texture Paint mode, follow these steps:
- Open Blender and select the object you want to paint the texture on.
- Switch to the Texture Paint workspace by clicking on the \'Texture Paint\' tab at the top of the screen.
- Ensure that your object has UV maps properly set up for painting. If not, you can unwrap the object by going to \'Edit Mode\', selecting all the faces, and then pressing \'U\' to unwrap.
- Once your UV maps are set up, you can start painting on the object. Choose a brush tool from the toolbar on the left and select a color from the color picker.
- To start painting, simply click and drag on the object in the 3D viewport. Use shortcuts like \'F\' to change the brush size and \'Shift\' to smoothen the brush strokes.
- You can also use texture stencils to paint more intricate designs on the object. Load a stencil image by clicking on the \'Texture\' tab in the toolbar and selecting an image from your computer.
- After you have painted the texture, you can adjust its properties like roughness, specular, and bump mapping in the \'Shader Editor\' workspace.
- Once you are satisfied with the painted texture, you can save it by going to the \'Image\' menu and selecting \'Save Image\'.
Practical Applications
Texture painting can enhance the realism of your models, add stylized effects for game assets, or even create detailed surfaces for animated characters. Whether you’re working on low-poly models or aiming for photorealistic renders, texture painting is a critical skill in a 3D artist\"s toolkit.
How to Texture Paint Like a Pro in Blender: Easy Beginner\'s Guide with Ucupaint
Pro: Discover the pro techniques and strategies in this video that will take your skills to the next level. Learn from the best to become a pro in no time! Quick Start: Get ready to hit the ground running with this quick start guide that will have you up and running in minutes. Start achieving your goals faster with this efficient and easy-to-follow video.
Texture Painting Quick Start Guide Blender
handpainted #blender3d #modelling Learn how to use the texture painting tools within blender by painting this hammer model ...
Conclusion
With practice and exploration of Blender\"s comprehensive texture painting tools, artists can achieve stunning, lifelike, or stylized textures on their 3D models. Embrace the creative possibilities and transform your digital art with texture painting.
Practical Applications
Texture painting can enhance the realism of your models, add stylized effects for game assets, or even create detailed surfaces for animated characters. Whether you’re working on low-poly models or aiming for photorealistic renders, texture painting is a critical skill in a 3D artist\"s toolkit.
Conclusion
With practice and exploration of Blender\"s comprehensive texture painting tools, artists can achieve stunning, lifelike, or stylized textures on their 3D models. Embrace the creative possibilities and transform your digital art with texture painting.
_HOOK_
Conclusion
With practice and exploration of Blender\"s comprehensive texture painting tools, artists can achieve stunning, lifelike, or stylized textures on their 3D models. Embrace the creative possibilities and transform your digital art with texture painting.
Introduction to Texture Painting in Blender
Texture painting in Blender is an essential skill for 3D artists, offering the ability to apply detailed colors and textures directly onto 3D models. This process transforms your models, giving them life and realism that can be adjusted and enhanced to fit any project\"s needs.
- Start by preparing your model with UV unwrapping to ensure textures align correctly on the surface.
- Access Blender’s texture painting tools to begin the creative process of applying your designs.
- Select from a variety of brushes and paint options to achieve the desired effect, whether it be subtle details or bold patterns.
- Understand the importance of layers and masks in creating complex textures that can be edited and refined.
With practice, texture painting in Blender can elevate your 3D models, enhancing their appearance and realism through the application of custom textures and colors. This introductory guide will set you on the path to mastering texture painting, empowering you to breathe life into your digital creations.
Preparing Your Model for Texture Painting
Before diving into the creative process of texture painting in Blender, it’s crucial to properly prepare your 3D model. This preparation ensures that the textures you apply will look as intended on your model. Follow these detailed steps to get your model ready for texture painting.
- Choose Your Model: Start with a model that you want to paint. Ensure it\"s fully modeled and any required sculpting is completed.
- UV Unwrapping: UV unwrap your model to create a 2D representation of the surface. This step is critical for accurately mapping textures onto the model.
- Apply a Base Material: Assign a basic material to your model. This serves as the foundation for your texture paint.
- Create Texture Slots: In the Shader Editor, add texture slots for different types of textures (e.g., base color, bump, specular) that you plan to paint.
- Setup Image Textures: For each texture slot, create a new image texture. This image will be the canvas for your painting.
Following these steps carefully will ensure that your model is optimally prepared for texture painting. This preparation allows for smoother workflow and better results in your texture painting endeavors in Blender.
Basic Texture Painting Techniques
Starting with texture painting in Blender opens up a realm of creative possibilities. To harness the full potential of texture painting, it’s essential to grasp the basic techniques. Here’s a step-by-step guide to get you started:
- Accessing Texture Paint Mode: Switch to Texture Paint mode in Blender to start painting on your model.
- Choosing Brushes: Select from various brushes for different effects. The brush size, strength, and blend mode can be adjusted to suit your needs.
- Applying Base Colors: Begin with applying base colors to your model. This sets the foundation for further detailing.
- Layering: Utilize layers to separate different elements of your texture painting. This allows for non-destructive editing and fine-tuning.
- Simple Textures: Start with simple textures to get a feel for the painting process. Experiment with stencils, alphas, and procedural textures for added detail.
- Masks: Use masks to protect certain areas of your model from being painted. This is useful for adding intricate details without affecting the underlying layers.
Mastering these basic techniques is the first step towards becoming proficient in texture painting in Blender. With practice, you’ll be able to add complexity and realism to your 3D models.
Advanced Texture Painting Strategies
Advancing your texture painting skills in Blender involves mastering a set of sophisticated techniques and tools. These strategies enable you to create more complex and realistic textures, pushing your 3D models to new heights of realism and artistic expression.
- Utilizing Procedural Textures: Learn to combine procedural textures with hand-painted details for dynamic and complex surfaces.
- Painting with Stencils: Use stencils to apply intricate patterns and details with precision, enhancing the realism of your textures.
- Using Layers and Masks Effectively: Master the use of layers and masks to create depth and detail in your texture work, allowing for non-destructive edits.
- Implementing
- Bump and Normal Mapping: Integrate bump and normal mapping to add depth and texture without increasing the polygon count, making your models more performance-friendly.
- Exploring Vertex Painting: Vertex painting can be a powerful tool for adding color variation and details without relying solely on texture maps.
- Advanced Material Effects: Experiment with Blender’s Shader Editor to create complex material effects, such as wear and tear, for more believable textures.
By embracing these advanced strategies, you can significantly enhance the visual quality of your 3D models. Continuous learning and experimentation with Blender’s texture painting tools will allow you to achieve highly detailed and realistic results in your digital artworks.
_HOOK_
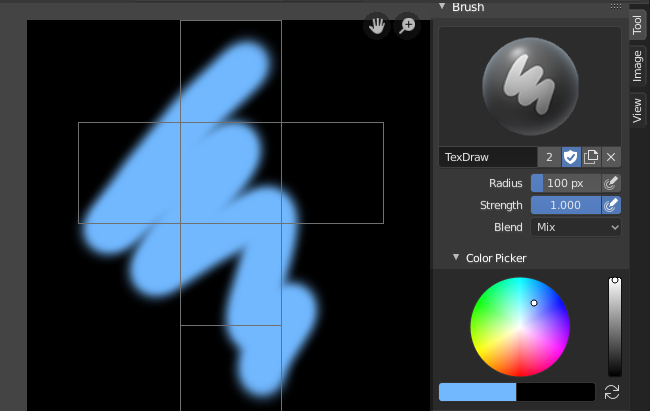
Utilizing Brushes and Tools in Blender
Blender’s texture painting toolkit offers an array of brushes and tools designed to give artists the flexibility and control needed to create detailed textures. Understanding how to effectively use these tools is crucial for achieving the desired results on your 3D models.
- Selecting the Right Brush: Blender provides a variety of brushes for different painting needs. Experiment with brushes like Draw, Soften, Smear, Clone, and Fill to find what works best for your texture.
- Adjusting Brush Settings: Modify brush size, strength, and flow to match the texture detail level you are aiming for. Use the F key to change size and Shift + F for strength.
- Custom Brushes: Create or import custom brushes to achieve unique textures. Blender allows the use of PNG files as brushes for this purpose.
- Texture Masks: Utilize texture masks to add complexity to your textures. Masks can help in creating detailed patterns and effects with precision.
- Using the Stencil Mode: Stencil mode enables precise placement of textures and details, making it easier to apply complex designs and patterns.
Mastering the use of brushes and tools in Blender is essential for any texture painting project. These tools, when used effectively, can help bring your textures to life, adding depth, detail, and realism to your 3D models.
Working with Layers and Masks
Layers and masks in Blender are powerful features for texture painters, allowing for intricate control and flexibility in the creation process. They enable artists to build textures in a non-destructive manner, making adjustments without permanently altering the base texture. Here\"s how to leverage these tools effectively:
- Understanding Layers: Layers in Blender function similarly to layers in digital painting software. Each layer can contain separate elements of your texture, which can be edited independently.
- Creating and Managing Layers: Add new layers for different parts of your texture work. You can manage these layers, rearranging or adjusting their visibility as needed.
- Utilizing Masks: Masks allow you to hide or reveal parts of the layer they are applied to. This is especially useful for adding complex details or textures selectively without affecting the entire layer.
- Blending Modes: Experiment with blending modes for layers to achieve various effects. Blending modes determine how layers interact with each other, offering a range of possibilities from subtle transitions to bold contrasts.
- Adjusting Opacity: Control the transparency of each layer by adjusting its opacity. This is useful for softening effects or creating gradual transitions between layers.
By mastering layers and masks, you can significantly enhance the depth and complexity of your textures. These tools provide a robust framework for experimenting with different looks and styles, empowering you to create detailed and dynamic textures for your 3D models.
Incorporating Procedural Textures
Procedural textures in Blender offer a way to create complex, detailed surfaces without relying solely on image textures. These textures are generated mathematically, providing endless variety and customization. Here\"s how to incorporate procedural textures into your texture painting workflow:
- Understanding Procedural Textures: Procedural textures are created using mathematical algorithms, allowing for dynamic, scalable textures that can be adjusted in real-time.
- Accessing Procedural Textures: In Blender\"s Shader Editor, you can access a range of procedural textures, such as Noise, Voronoi, and Musgrave, to create natural variations and details.
- Combining with Hand-Painted Textures: Procedural textures can be combined with hand-painted textures to add complexity and depth to your models.
- Adjusting Parameters: Each procedural texture comes with a set of parameters that can be adjusted to control the appearance of the texture, from scale and detail to distortion and color.
- Using Nodes for Advanced Control: Utilize Blender’s node system to layer multiple procedural textures, mix them with image textures, and create custom effects through node connections.
Incorporating procedural textures into your texture painting process in Blender can elevate the realism and variety of your textures, offering a powerful tool for creativity and customization.
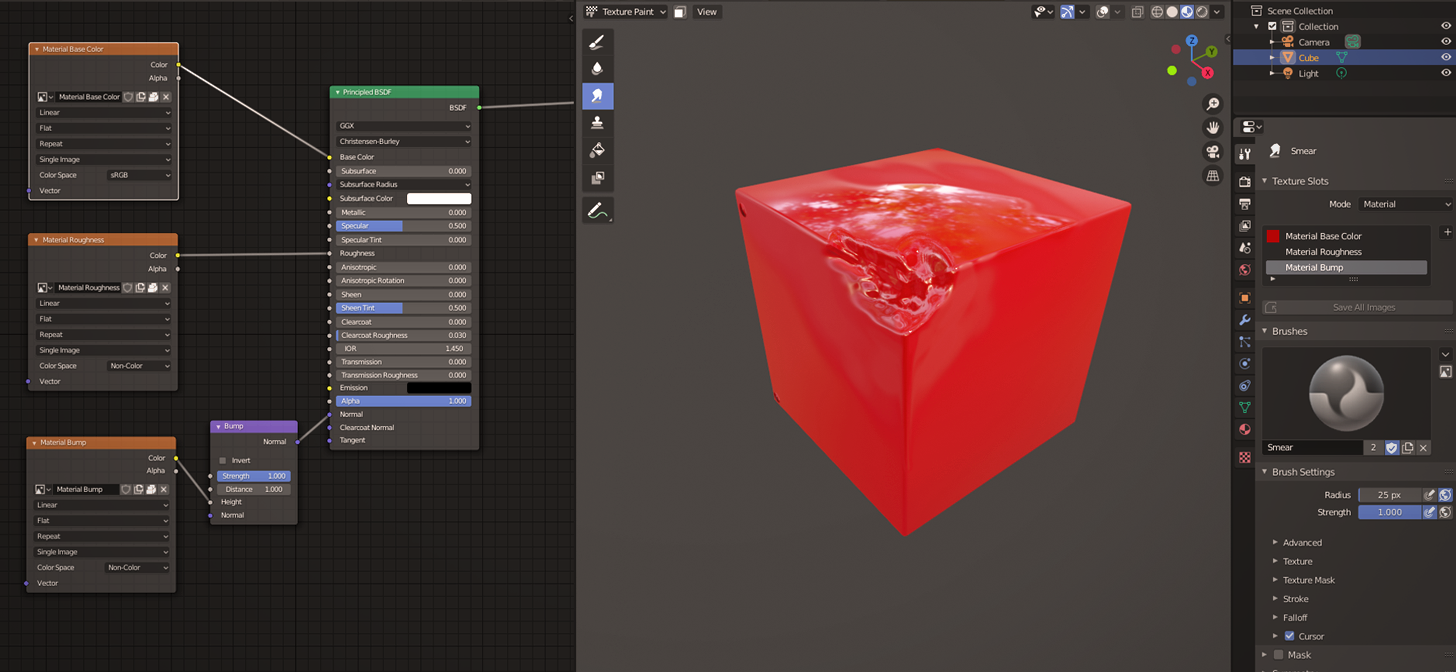
Applying Textures to Different Materials
Applying textures to different materials in Blender can dramatically change the appearance of your 3D models, making them more realistic or stylized according to your project\"s requirements. Here are steps and tips for effectively applying textures to various materials:
- Creating and Assigning Materials: Initially, create a new material for your object. This material acts as the base for your texture application.
- Texture Mapping: Utilize UV mapping to accurately map your textures onto the object. Proper UV unwrapping is essential for the textures to appear correctly.
- Using the Shader Editor: For detailed control over textures, use Blender\"s Shader Editor. Connect image textures to the principled BSDF shader to adjust the material\"s appearance.
- Layering Textures: Apply multiple textures to a single material by layering them in the Shader Editor. Use mix nodes to blend textures together for complex effects.
- Varying Textures Across Different Parts: To apply different textures to various parts of your model, assign multiple materials to the object. Each material can have its unique texture.
- Procedural and Image Textures: Blend procedural textures with image textures for more dynamic and versatile material appearances. This combination can create more complex and realistic surfaces.
By following these steps, you can effectively apply textures to different materials in Blender, enhancing the visual depth and realism of your 3D projects. Experimenting with different techniques and settings will help you achieve the desired results for your textures and materials.
Texture Painting for Animation and Games
Texture painting plays a pivotal role in animation and game development, offering endless possibilities to bring characters, environments, and assets to life. Understanding how to tailor texture painting techniques for these mediums is crucial for achieving optimal results. Here’s how you can leverage Blender\"s texture painting capabilities for animation and gaming projects:
- Optimizing Textures for Performance: For games, it’s essential to balance texture quality with performance. Use optimized UV layouts and consider texture sizes and formats that best suit the game engine requirements.
- Creating Seamless Textures: Seamless textures are vital for both animations and games, ensuring that surfaces appear continuous and natural when tiled or wrapped around models.
- Animating Textures: Utilize Blender’s animation tools to create dynamic textures. This can add realism to environments or characters, such as animating water surfaces or facial expressions.
- Using PBR Materials: Physically Based Rendering (PBR) materials offer realistic shading and lighting for game assets. Blend hand-painted textures with PBR principles to achieve both artistic and lifelike results.
- Exporting Textures for Game Engines: Understand the specific requirements of your target game engine. Ensure textures are correctly exported in formats supported by engines like Unity or Unreal.
- Stylized Texturing: For games and animations seeking a unique artistic look, explore stylized texturing techniques. This involves using hand-painted textures to give a distinctive style and feel.
Applying these techniques in Blender can significantly enhance the visual quality of animations and games, making texture painting a critical skill for developers and artists aiming to produce engaging, high-quality digital experiences.
_HOOK_
Tips for Realistic Texture Painting
Creating realistic textures in Blender is a nuanced art that requires attention to detail, patience, and a good understanding of your tools. Here are essential tips to help you achieve lifelike textures for your 3D models:
- Observe Real-World References: Always start with reference images. Observing real-life textures helps in replicating the intricate details and nuances in your texture painting.
- Layering is Key: Use multiple layers to build up texture complexity. This allows for more control and flexibility in adjusting details without affecting the underlying work.
- Utilize Blender’s Texture Brushes: Blender offers a variety of texture brushes. Experiment with these to add depth and realism to your textures.
- Play with Lighting: Lighting can significantly impact the appearance of textures. Experiment with different lighting setups to see how your texture behaves under various conditions.
- Incorporate Bump and Normal Maps: Bump and normal maps add depth to textures without adding geometry. Use these to simulate the intricacies of surfaces.
- Detail with Stencils: Stencils can help in applying complex patterns or details precisely where you need them, enhancing the realism of your textures.
- Adjust Material Settings: Fine-tune your material\"s settings in Blender’s Shader Editor to reflect realistic surface properties, such as roughness and specularity.
- Experiment with Procedural Textures: Procedural textures can add randomness and detail to your work, making it more lifelike. Blend them with hand-painted textures for best results.
By following these tips and continuously practicing, you can enhance the realism of your texture painting projects in Blender, creating more engaging and believable 3D art.
Optimizing Workflow in Texture Painting
Efficiency in texture painting not only saves time but also enhances the quality of your work. By optimizing your workflow in Blender, you can streamline the texture painting process and focus on creativity. Here are some tips to optimize your texture painting workflow:
- Organize Your Workspace: Customize Blender’s interface to suit your texture painting needs. Arrange panels and tools for easy access to streamline your workflow.
- Utilize Shortcuts: Learn and use Blender’s keyboard shortcuts for texture painting. Shortcuts can significantly speed up your painting process.
- Batch Processing: For repetitive tasks, consider using scripts or batch processing tools available in Blender. This can save time when working on large projects.
- Use Layers Wisely: Organize your texture work into layers. This not only helps in managing complex textures but also in making non-destructive edits.
- Prep Your Models: Ensure your models are properly UV unwrapped and optimized before starting to paint. Good preparation can prevent issues during the painting process.
- Texture Atlases: Use texture atlases to combine multiple textures into a single image. This is particularly useful for game assets, reducing the number of textures needed and improving performance.
- Save Frequently: Regularly save your work to prevent data loss. Consider using Blender’s auto-save feature to automate this process.
- Review and Refine: Periodically review your work from different angles and lighting conditions. This can help identify areas that need refinement or adjustment.
By implementing these strategies, you can enhance the efficiency and effectiveness of your texture painting workflow in Blender, giving you more time to focus on the creative aspects of your projects.
READ MORE:
Conclusion: Unleashing Your Creativity with Texture Painting
Texture painting in Blender is a powerful avenue for artists to explore their creativity and bring their visions to life. With the array of tools and techniques at your disposal, the possibilities are virtually limitless. Whether you\"re working on animations, games, or photorealistic renders, texture painting allows you to add depth, detail, and personality to your projects. Embrace the learning curve, experiment with new strategies, and let your creativity flow. As you refine your skills, you\"ll discover that texture painting is not just about applying colors and patterns; it\"s about infusing your work with emotion and character. So, dive into Blender\"s texture painting environment and start transforming your 3D models into captivating pieces of art.
Embark on a creative journey with texture painting in Blender, where your imagination fuels the transformation of 3D models into mesmerizing artworks. Unleash your artistic potential and watch your digital dreams take vivid form.