Topic blender 3d hdri: Discover the magic of Blender 3D HDRI, the key to creating hyper-realistic scenes and renders that will elevate your 3D projects to new heights of visual excellence.
Table of Content
- Understanding HDRI in Blender
- Benefits of Using HDRI
- Resources for HDRI Maps
- How to use HDRI images in Blender 3D for realistic lighting effects?
- YOUTUBE: Using HDRIs in Blender 3.0 Tutorial
- Benefits of Using HDRI
- Resources for HDRI Maps
- Resources for HDRI Maps
- Introduction to HDRI in Blender 3D
- Benefits of Using HDRI in Blender
- How to Find and Use HDRI Images in Blender
- Top Sources for Free and Premium HDRI Maps
- Step-by-Step Guide: Setting Up HDRI in Blender Scenes
- Advanced Techniques for HDRI Lighting in Blender
- Common Challenges and Solutions with HDRI in Blender
- Case Studies: Real-World Applications of HDRI in Blender
- Future Trends in HDRI Technology and Blender Integration
Understanding HDRI in Blender
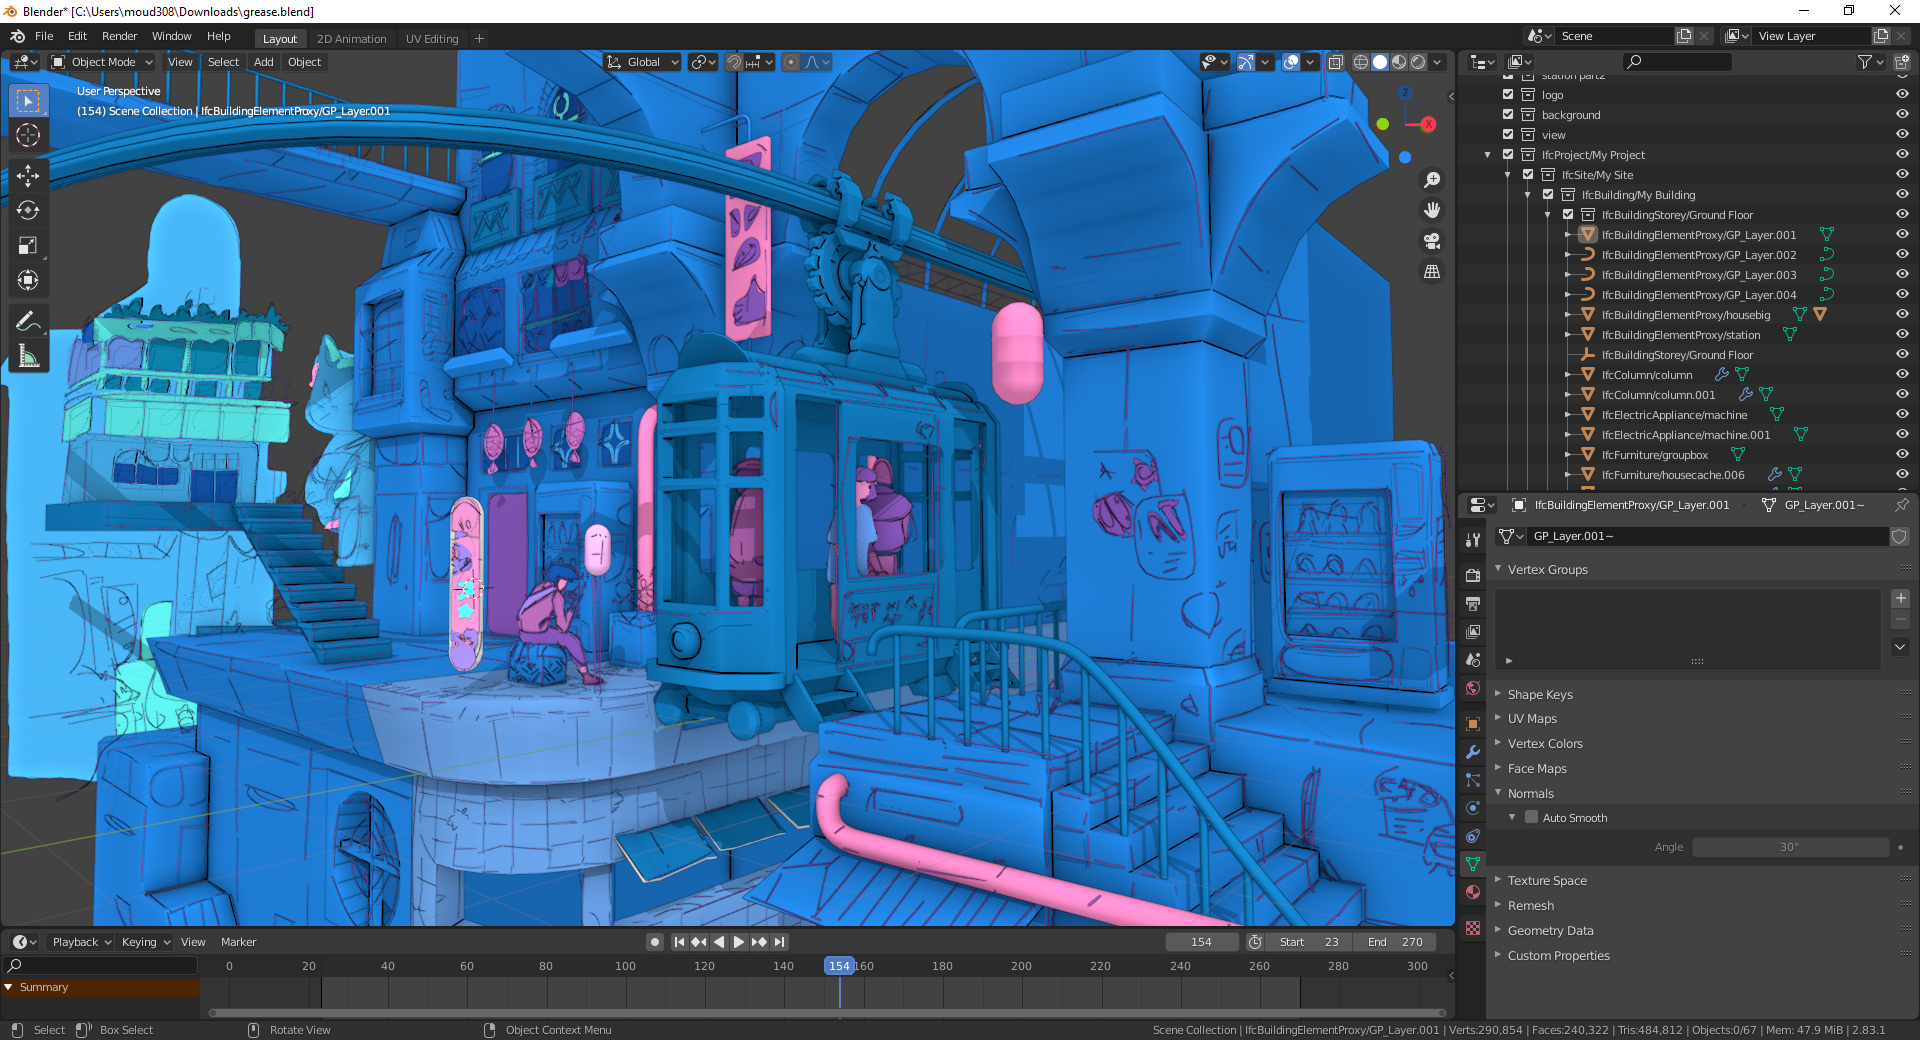
In Blender, HDRIs are used to simulate realistic environmental lighting and reflections, providing a 360-degree background for scenes. This technique allows for a more immersive and lifelike representation of 3D models by mimicking the real-world lighting conditions.
How to Use HDRI in Blender
- Choose a rendering engine like Cycles for better HDR image integration.
- Utilize nodes to control and enhance the lighting effects of the HDRI.
- Adjust the brightness and contrast with math nodes for optimal illumination.
- Experiment with different materials to achieve realistic textures under HDRI lighting.

READ MORE:
Benefits of Using HDRI
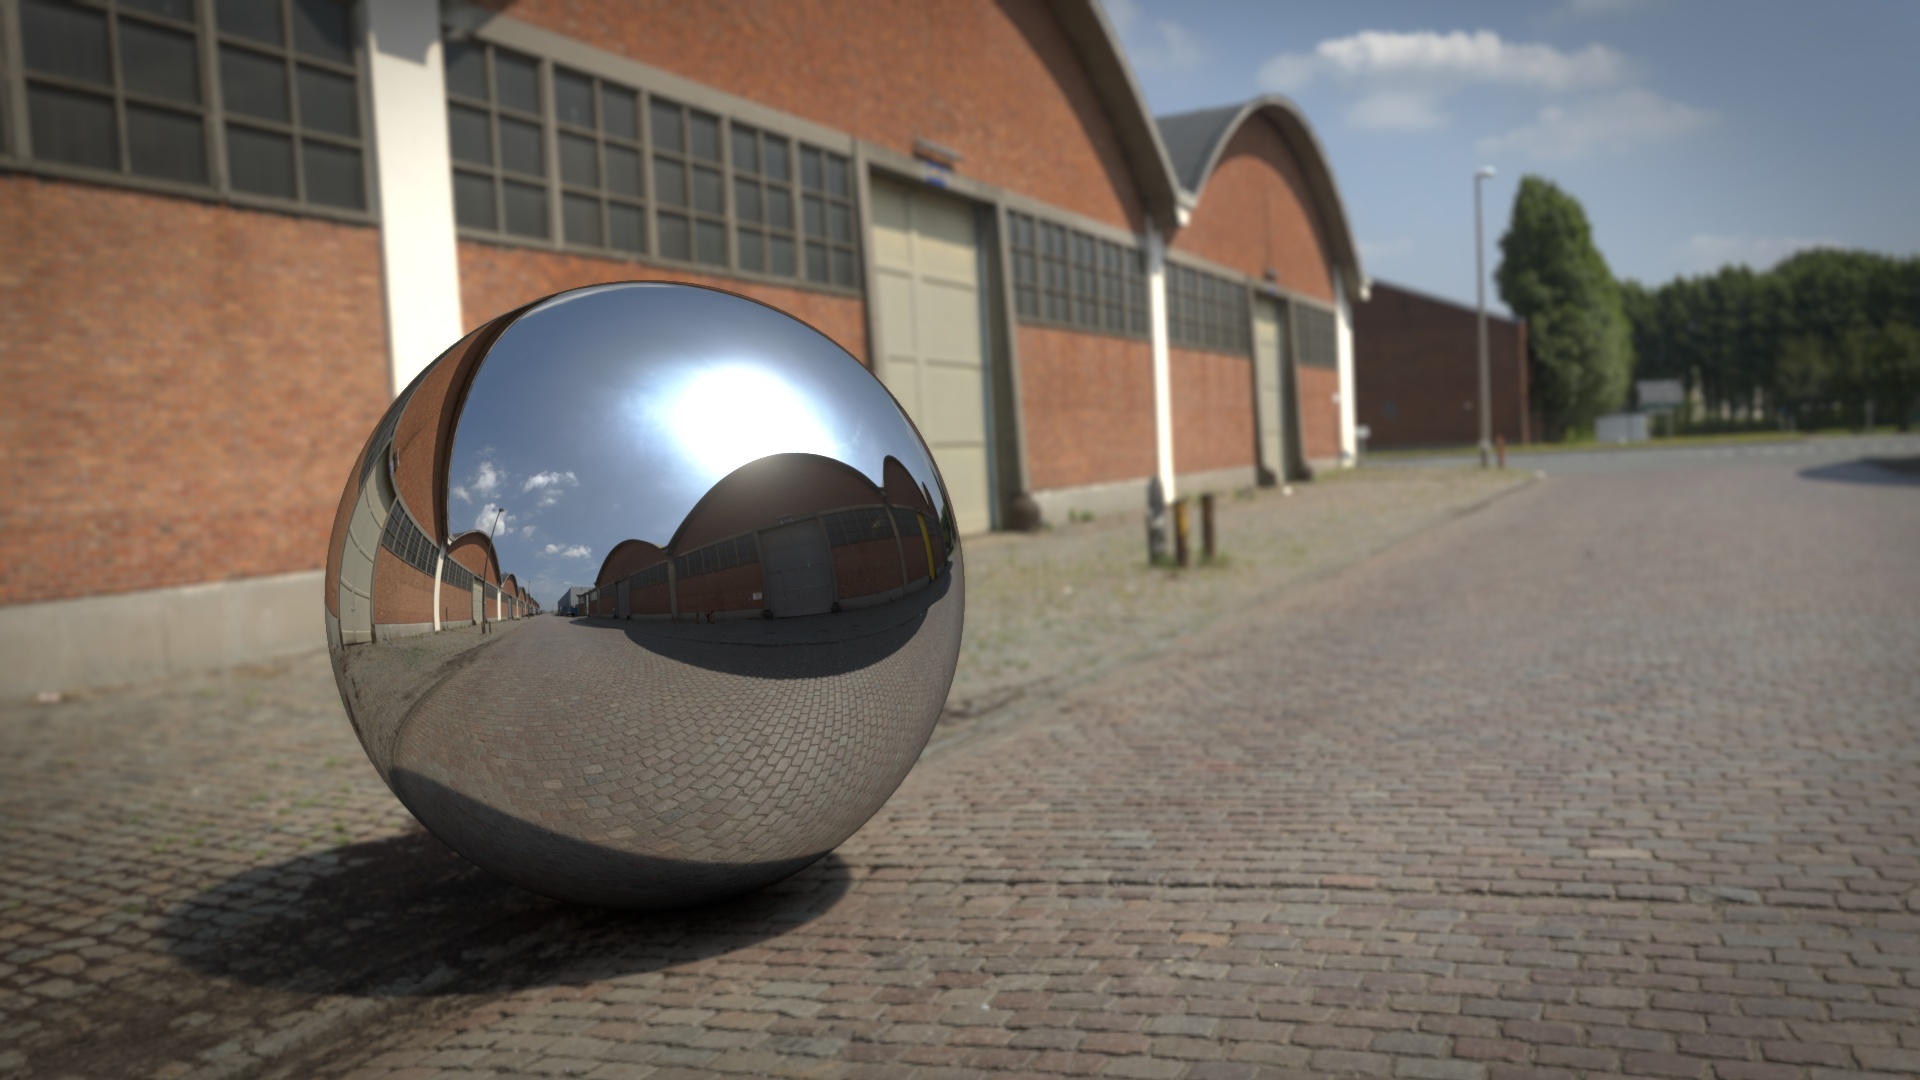
- Enhanced realism through accurate lighting and shadow details.
- Improved reflections on surfaces for more lifelike textures.
- Time-saving setup compared to traditional lighting methods.
- Ability to mimic various environmental conditions easily.
Resources for HDRI Maps
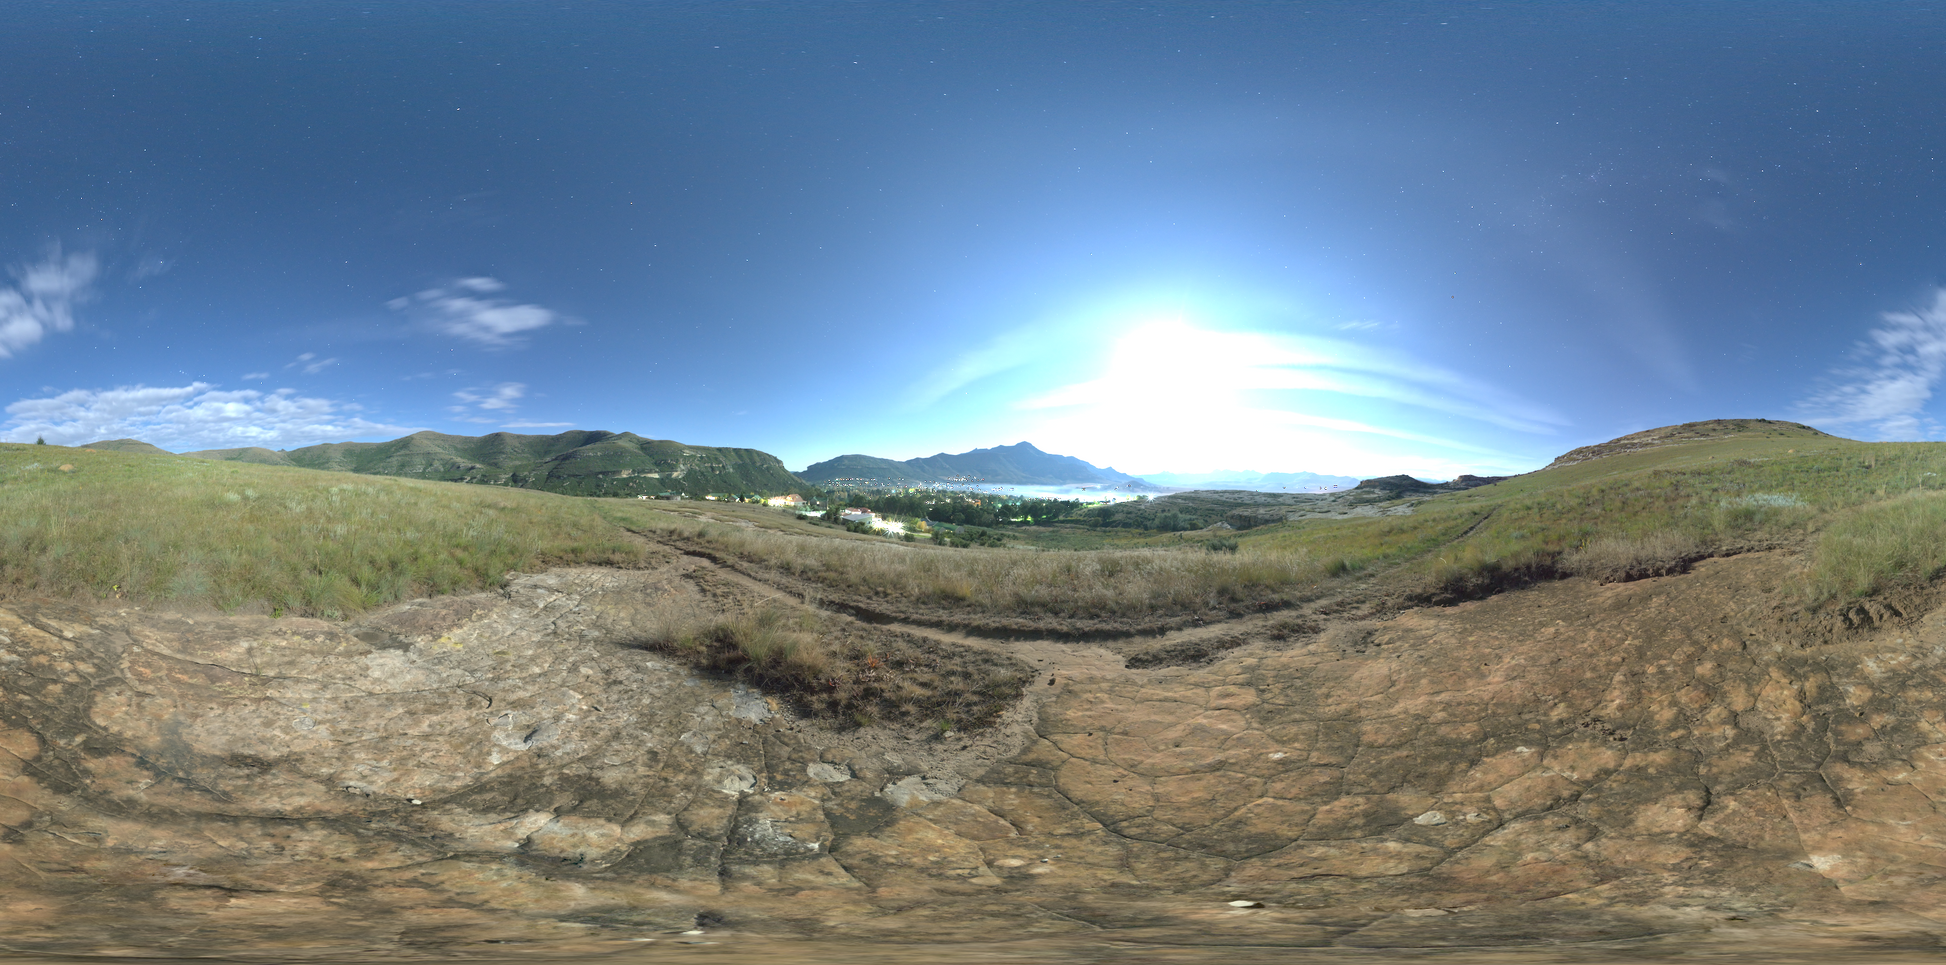
Several platforms offer free and paid HDRI maps suitable for a wide range of scenarios, from natural landscapes to urban settings. These resources enable artists to find the perfect backdrop for their 3D projects, ensuring high-quality and realistic lighting effects.
Popular HDRI Resources
| Resource Name | Type | URL |
| Poly Haven | Free | polyhaven.com |
| Poliigon | Paid & Free | poliigon.com |
| HDRMAPS | Free | hdrmaps.com |
Using HDRI in Blender 3D enhances the realism and depth of 3D scenes, making it an essential technique for artists aiming for photorealistic renders. By carefully selecting and manipulating HDRI maps, one can significantly improve the visual quality of 3D projects.

How to use HDRI images in Blender 3D for realistic lighting effects?
To use HDRI images in Blender 3D for realistic lighting effects, follow these steps:
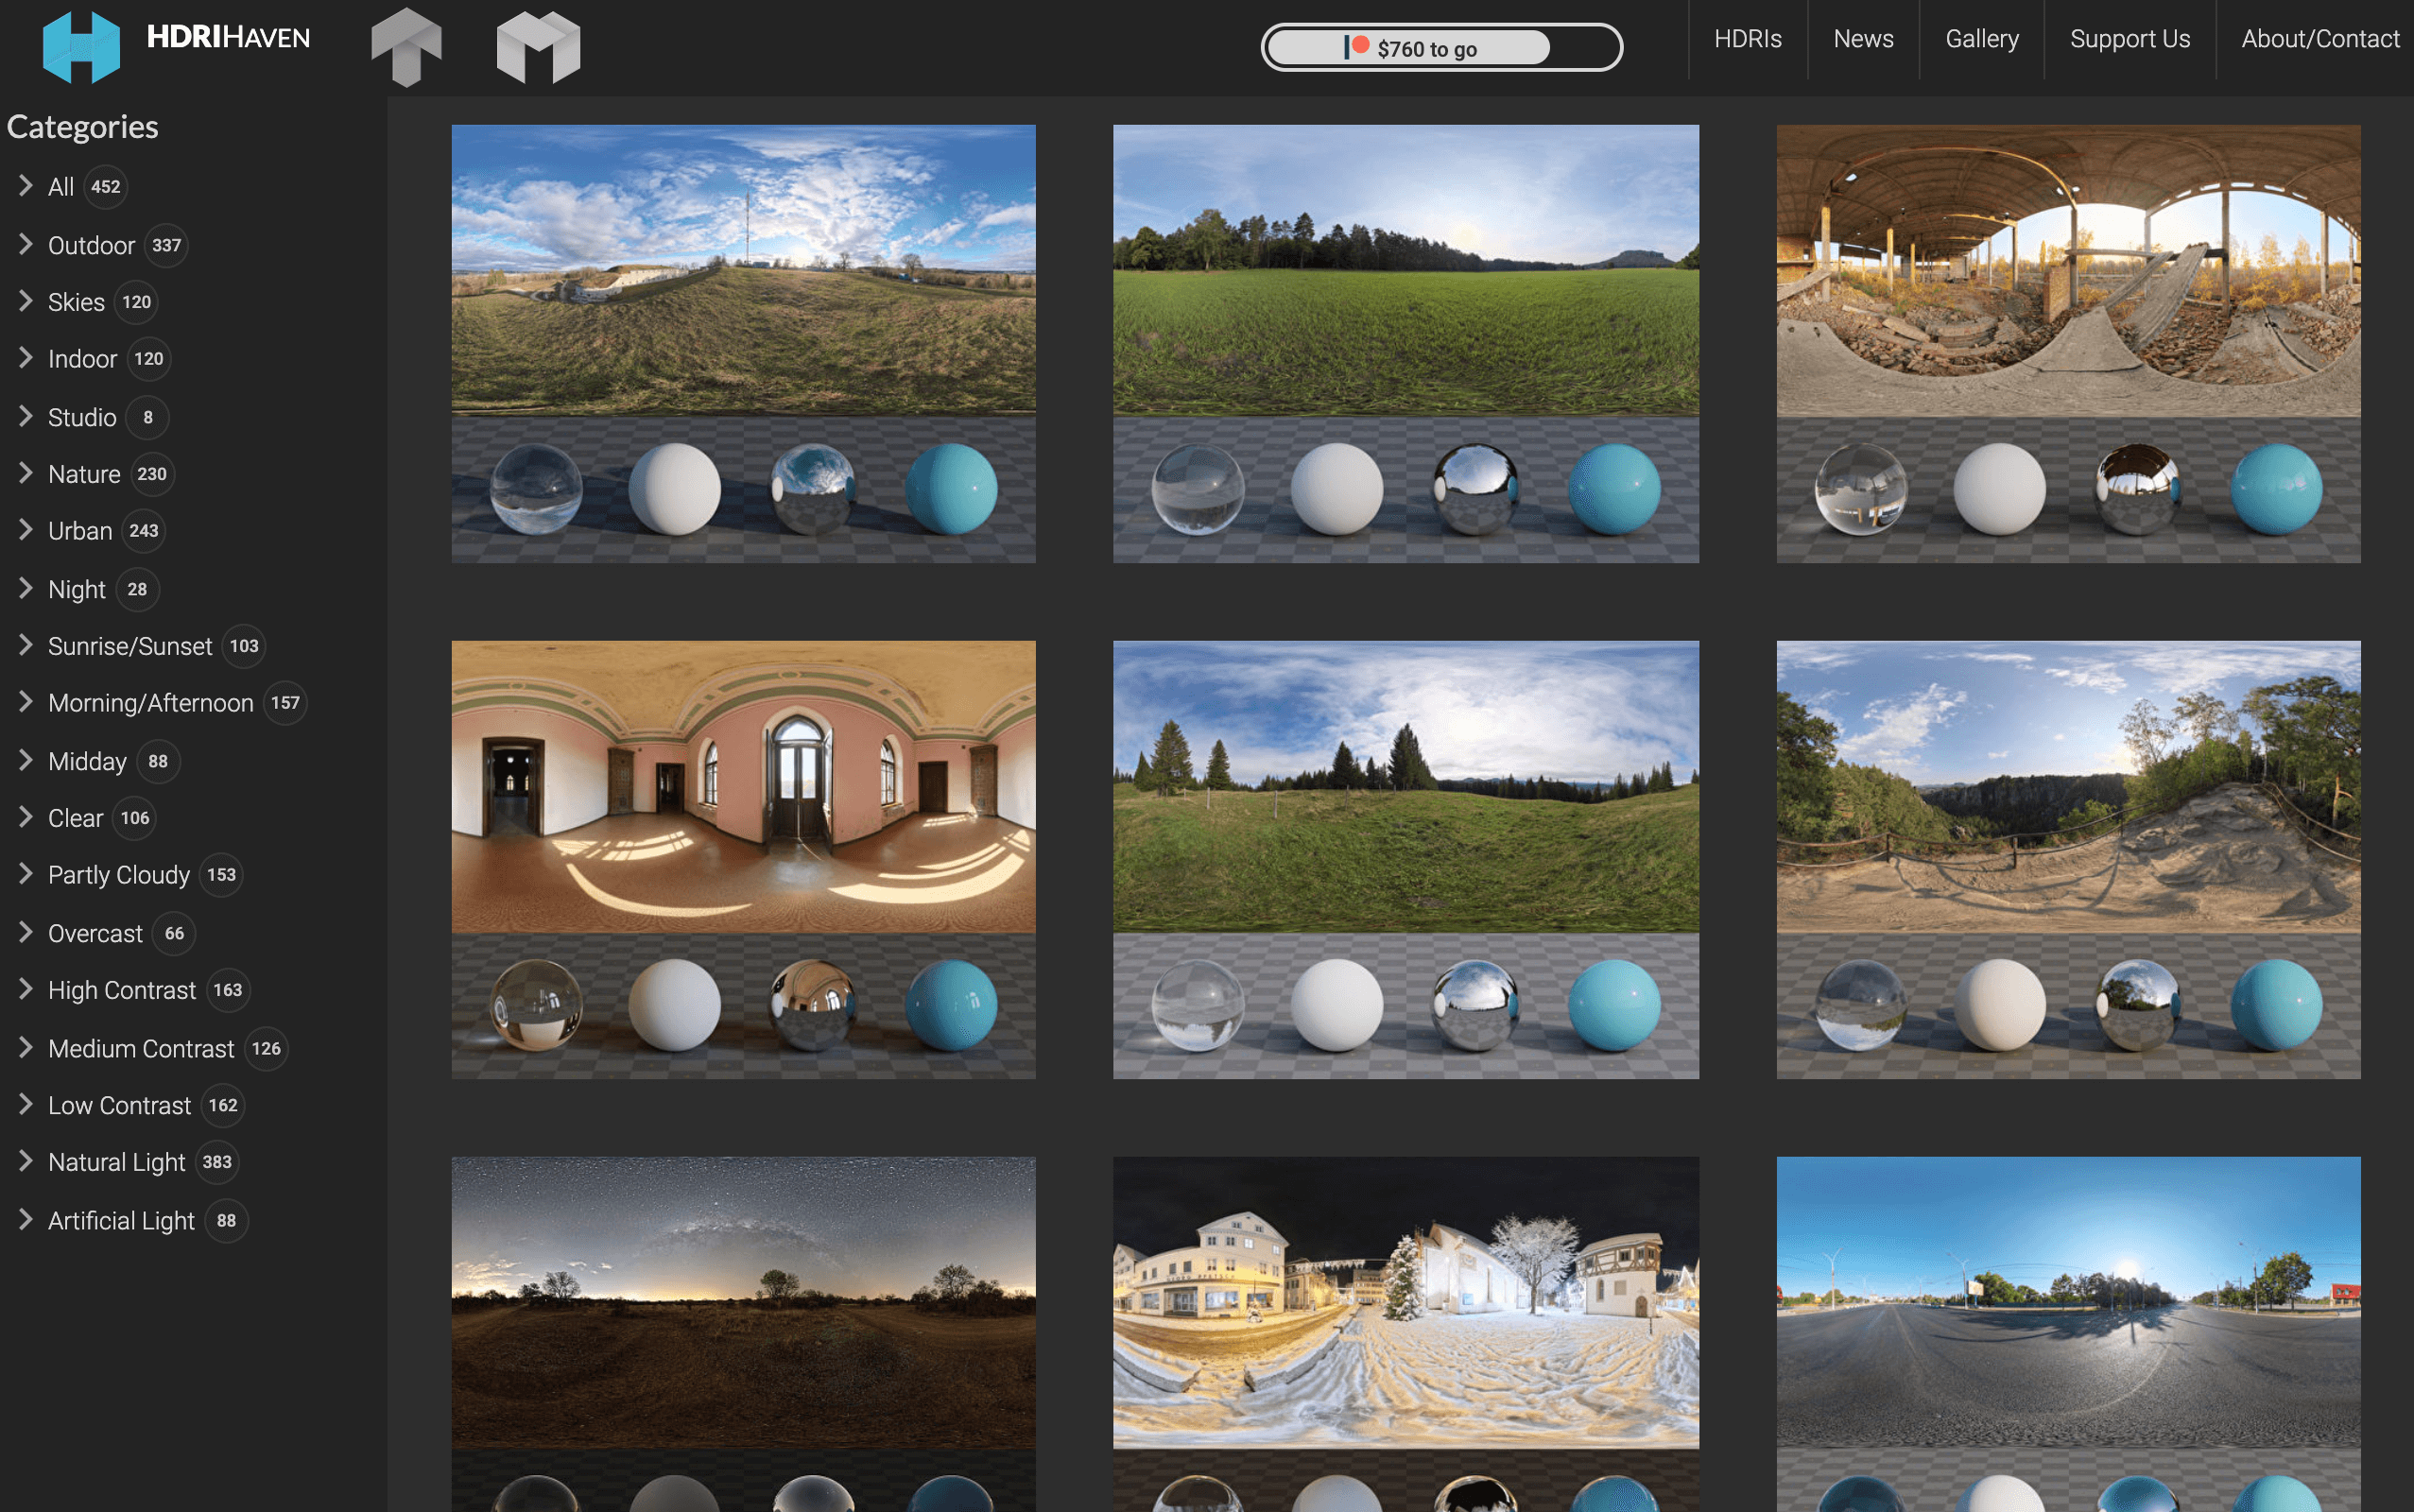
- Download an HDRI image: Find a high-quality HDRI image that suits the mood and lighting you want to create in your scene. There are many websites that offer free HDRI images such as HDRI Haven and Texture Haven.
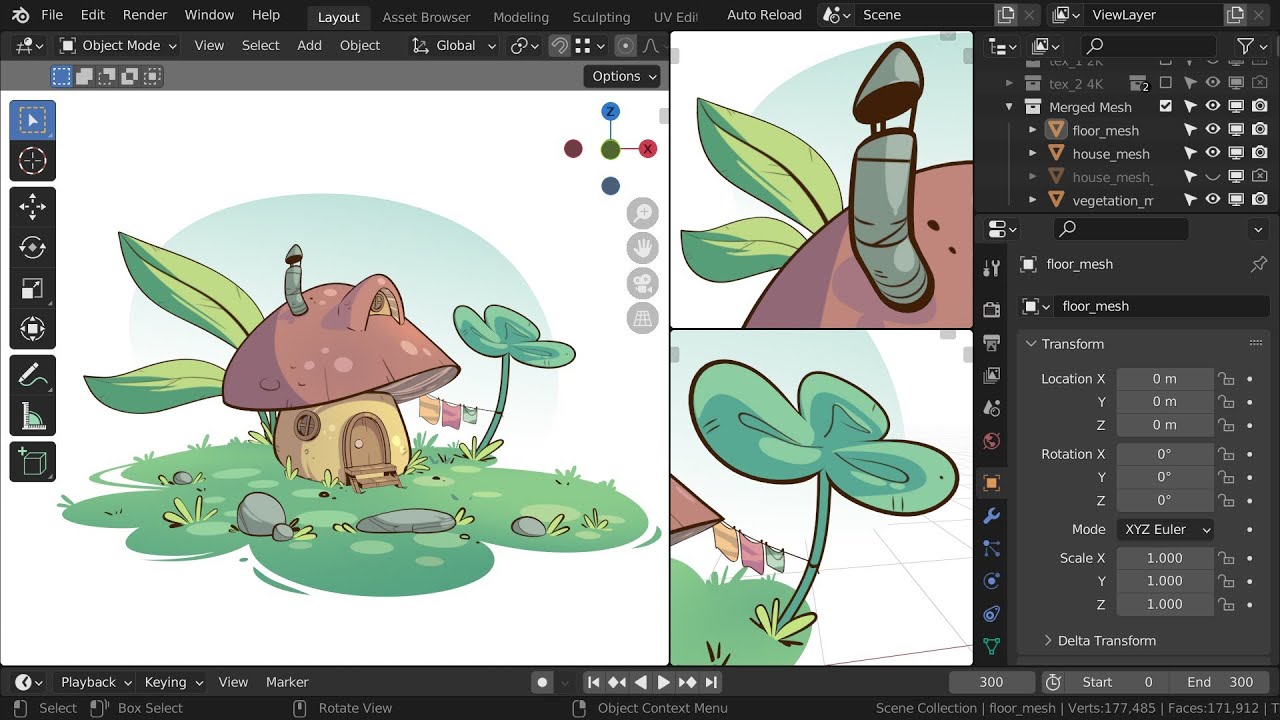
- Open Blender: Launch Blender and open your project file or start a new scene.
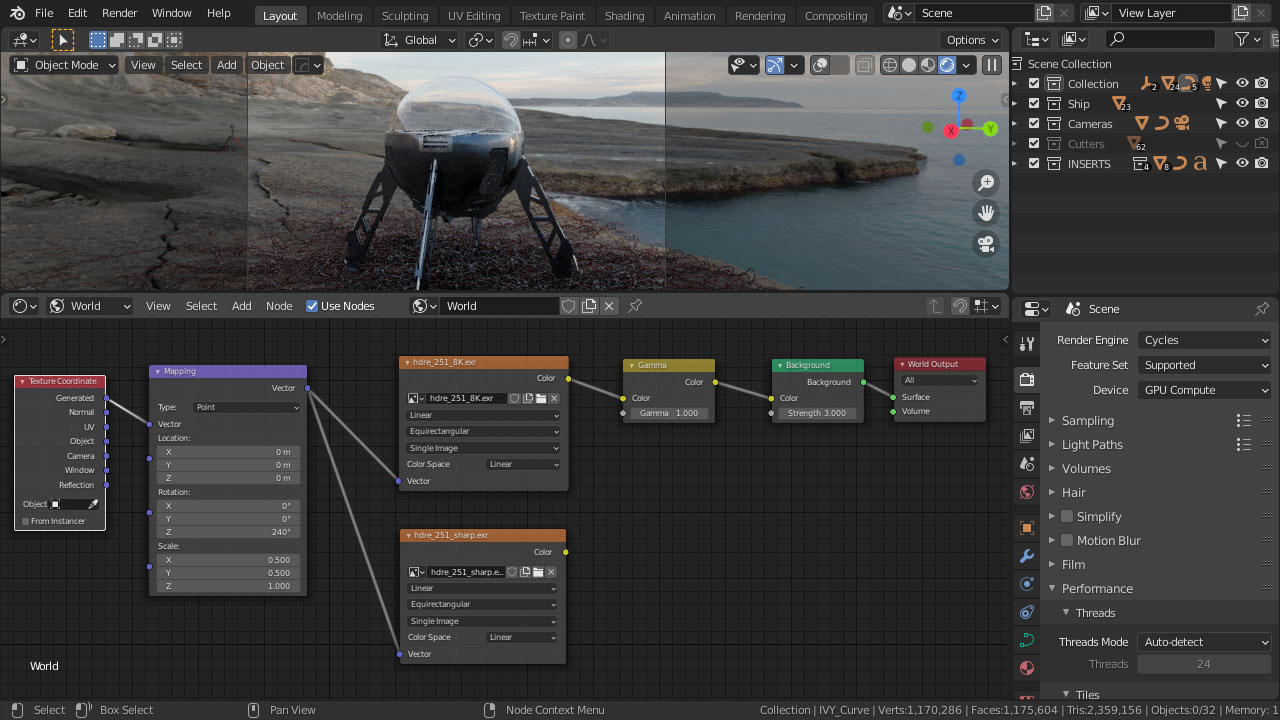
- Set up the lighting: Go to the World Properties tab in the Properties panel. Under the World tab, click on the Use Nodes checkbox to enable the node-based editor for the world settings.
- Add an Environment Texture: Click on the Environment Texture node button, and then click Open to load the HDRI image you downloaded.
- Connect nodes: Connect the Color output of the Environment Texture node to the Color input of the Background node.
- Adjust the strength: You can adjust the strength of the HDRI lighting by changing the Strength value in the Environment Texture node or by adding a Brightness/Contrast node between the Environment Texture and Background nodes.
- Render your scene: Finally, render your scene to see the realistic lighting effects created by the HDRI image.
Using HDRIs in Blender 3.0 Tutorial
Lighting: \"Discover the magic of lighting in our video as we explore how proper lighting techniques can transform a space and enhance its ambiance, bringing a warm and inviting feel to any room.\" Rendering: \"Step into the world of stunning virtual graphics and lifelike visuals with our rendering video. See how detailed textures and lighting effects come together to create a truly immersive and realistic experience.\"
Benefits of Using HDRI
- Enhanced realism through accurate lighting and shadow details.
- Improved reflections on surfaces for more lifelike textures.
- Time-saving setup compared to traditional lighting methods.
- Ability to mimic various environmental conditions easily.
_HOOK_
Resources for HDRI Maps
Several platforms offer free and paid HDRI maps suitable for a wide range of scenarios, from natural landscapes to urban settings. These resources enable artists to find the perfect backdrop for their 3D projects, ensuring high-quality and realistic lighting effects.
Popular HDRI Resources
Using HDRI in Blender 3D enhances the realism and depth of 3D scenes, making it an essential technique for artists aiming for photorealistic renders. By carefully selecting and manipulating HDRI maps, one can significantly improve the visual quality of 3D projects.

Resources for HDRI Maps
Several platforms offer free and paid HDRI maps suitable for a wide range of scenarios, from natural landscapes to urban settings. These resources enable artists to find the perfect backdrop for their 3D projects, ensuring high-quality and realistic lighting effects.
Popular HDRI Resources
| Resource Name | Type | URL |
| Poly Haven | Free | polyhaven.com |
| Poliigon | Paid & Free | poliigon.com |
| HDRMAPS | Free | hdrmaps.com |
Using HDRI in Blender 3D enhances the realism and depth of 3D scenes, making it an essential technique for artists aiming for photorealistic renders. By carefully selecting and manipulating HDRI maps, one can significantly improve the visual quality of 3D projects.