Topic hdri blender tutorial: Unlock the full potential of your Blender projects with our comprehensive HDRI Blender tutorial, guiding you through realistic lighting techniques to elevate your 3D scenes.
Table of Content
- Understanding HDRI
- Setting Up HDRI in Blender
- Advanced Techniques
- Practical Tips
- Resources for HDRI
- Conclusion
- Setting Up HDRI in Blender
- Advanced Techniques
- Practical Tips
- Resources for HDRI
- What are the best sources for free HDRIs for Blender tutorials?
- Conclusion
- YOUTUBE: How to Use HDRIs in Blender 3.0 Tutorial
- Advanced Techniques
- Practical Tips
- Resources for HDRI
- Conclusion
- Practical Tips
- Resources for HDRI
- Conclusion
- Resources for HDRI
- Conclusion
- Conclusion
- Introduction to HDRI in Blender
- Why Use HDRI in Your Blender Projects?
- Step-by-Step Guide to Setting Up HDRI in Blender
- Choosing the Right HDRI for Your Scene
- Adjusting HDRI Settings for Realistic Lighting
- Advanced HDRI Techniques in Blender
- Editing and Creating Custom HDRIs
- Common Challenges and Solutions with HDRI in Blender
- Optimizing Your Workflow with HDRI
- Resources for Finding High-Quality HDRIs
- Conclusion: Enhancing Your Blender Projects with HDRI
Understanding HDRI
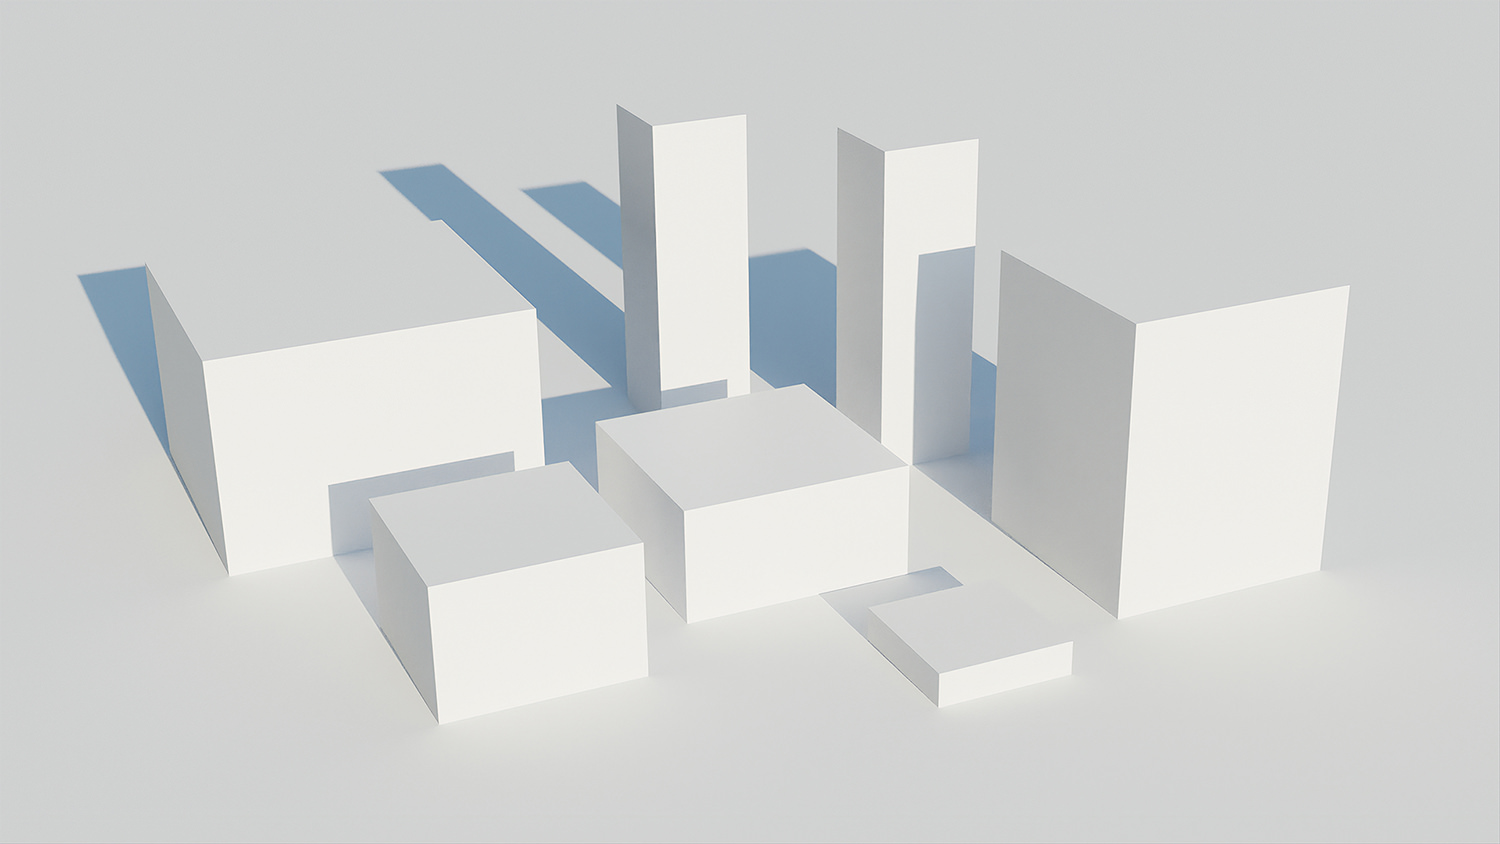
HDRI is an image format that contains a wide range of luminance levels, from the deepest shadows to the brightest highlights. It is essential for achieving detailed and realistic lighting in 3D models.

READ MORE:
Setting Up HDRI in Blender
- Choosing the Right HDRI: Select an HDRI that matches the lighting conditions you wish to simulate in your scene.
- Environment Setup: In Blender, use the World settings to add the HDRI as the environment texture. This process illuminates your scene with realistic lighting and shadows.
- Adjusting Settings: Tweak the mapping and strength of the HDRI to achieve the desired lighting effect. Consider the scale and orientation to match your scene\"s perspective accurately.
Advanced Techniques
- Creating Custom HDRIs in Blender for unique lighting conditions.
- Editing HDRIs to match specific lighting and reflection requirements.
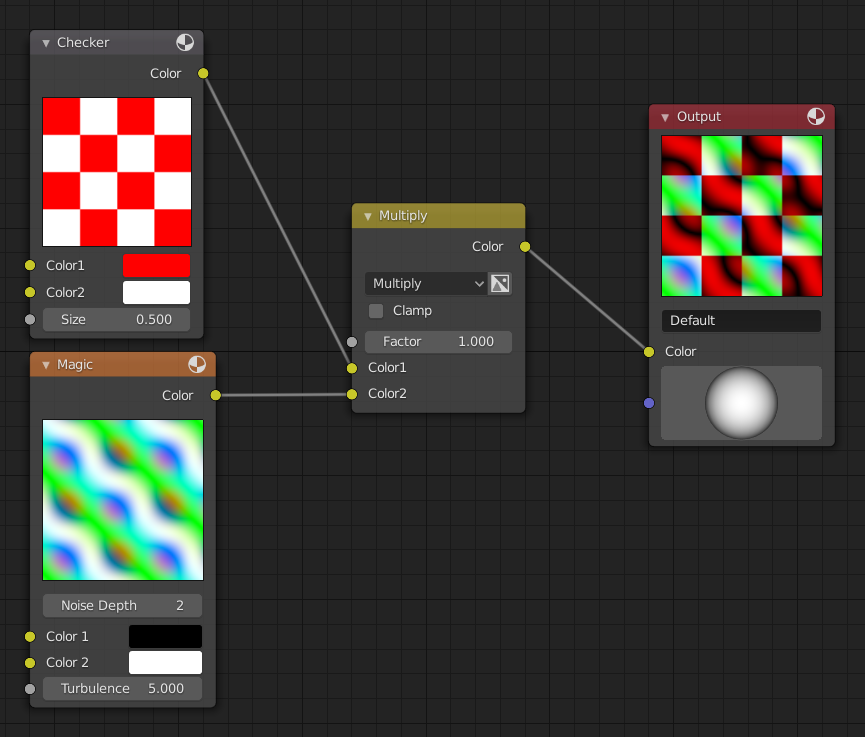
- Using nodes to enhance the realism of materials under HDRI lighting.

Practical Tips
- Use HDRI maps for both background and lighting to maintain consistency in lighting and reflections.
- Experiment with different HDRI settings to understand their impact on scene lighting and mood.
- Optimize render settings to balance quality and rendering time when using HDRI.
Resources for HDRI
Explore online libraries and communities for free and premium HDRIs tailored for Blender. Downloadable resources and tutorials can significantly speed up your learning curve and project workflows.
_HOOK_
Conclusion
Integrating HDRI in Blender projects elevates the realism and depth of your 3D scenes. With practice and exploration of various HDRIs and settings, you can master this powerful technique to achieve photorealistic renders.
Setting Up HDRI in Blender
- Choosing the Right HDRI: Select an HDRI that matches the lighting conditions you wish to simulate in your scene.
- Environment Setup: In Blender, use the World settings to add the HDRI as the environment texture. This process illuminates your scene with realistic lighting and shadows.
- Adjusting Settings: Tweak the mapping and strength of the HDRI to achieve the desired lighting effect. Consider the scale and orientation to match your scene\"s perspective accurately.
Advanced Techniques
- Creating Custom HDRIs in Blender for unique lighting conditions.
- Editing HDRIs to match specific lighting and reflection requirements.
- Using nodes to enhance the realism of materials under HDRI lighting.
Practical Tips
- Use HDRI maps for both background and lighting to maintain consistency in lighting and reflections.
- Experiment with different HDRI settings to understand their impact on scene lighting and mood.
- Optimize render settings to balance quality and rendering time when using HDRI.
Resources for HDRI
Explore online libraries and communities for free and premium HDRIs tailored for Blender. Downloadable resources and tutorials can significantly speed up your learning curve and project workflows.
_HOOK_
What are the best sources for free HDRIs for Blender tutorials?
When it comes to finding free HDRIs for Blender tutorials, there are several excellent sources that you can explore. Here is a list of some of the best sources:
- Poly Haven: Poly Haven offers a wide range of high-quality HDRIs that you can download for free. These HDRIs are great for lighting your scenes in Blender and achieving realistic results.
- HDRI Haven: HDRI Haven is another fantastic resource for free HDRIs. They have a large collection of HDRIs that you can use to enhance the lighting in your Blender projects.
- CGBookcase: CGBookcase provides a selection of free HDRI skies that you can use for lighting your scenes in Blender. Their HDRIs are of high quality and can help you create visually stunning renders.
- 3D Shaker: 3D Shaker offers a variety of free HDRIs that are perfect for Blender users. Their HDRIs can add depth and realism to your renders, making them stand out.
Conclusion
Integrating HDRI in Blender projects elevates the realism and depth of your 3D scenes. With practice and exploration of various HDRIs and settings, you can master this powerful technique to achieve photorealistic renders.
How to Use HDRIs in Blender 3.0 Tutorial
Rendering: \"Step into the world of high-quality rendering with our video demonstration. Witness the power of realistic rendering techniques that bring your designs to life, showcasing every detail with stunning clarity.\"
How to Use HDRIs in Blender 3.0 Tutorial
Rendering: \"Step into the world of high-quality rendering with our video demonstration. Witness the power of realistic rendering techniques that bring your designs to life, showcasing every detail with stunning clarity.\"
Advanced Techniques
- Creating Custom HDRIs in Blender for unique lighting conditions.
- Editing HDRIs to match specific lighting and reflection requirements.
- Using nodes to enhance the realism of materials under HDRI lighting.
Practical Tips
- Use HDRI maps for both background and lighting to maintain consistency in lighting and reflections.
- Experiment with different HDRI settings to understand their impact on scene lighting and mood.
- Optimize render settings to balance quality and rendering time when using HDRI.
Resources for HDRI
Explore online libraries and communities for free and premium HDRIs tailored for Blender. Downloadable resources and tutorials can significantly speed up your learning curve and project workflows.
_HOOK_
Conclusion
Integrating HDRI in Blender projects elevates the realism and depth of your 3D scenes. With practice and exploration of various HDRIs and settings, you can master this powerful technique to achieve photorealistic renders.
Practical Tips
- Use HDRI maps for both background and lighting to maintain consistency in lighting and reflections.
- Experiment with different HDRI settings to understand their impact on scene lighting and mood.
- Optimize render settings to balance quality and rendering time when using HDRI.
Resources for HDRI
Explore online libraries and communities for free and premium HDRIs tailored for Blender. Downloadable resources and tutorials can significantly speed up your learning curve and project workflows.
Conclusion
Integrating HDRI in Blender projects elevates the realism and depth of your 3D scenes. With practice and exploration of various HDRIs and settings, you can master this powerful technique to achieve photorealistic renders.
Resources for HDRI
Explore online libraries and communities for free and premium HDRIs tailored for Blender. Downloadable resources and tutorials can significantly speed up your learning curve and project workflows.
_HOOK_
Conclusion
Integrating HDRI in Blender projects elevates the realism and depth of your 3D scenes. With practice and exploration of various HDRIs and settings, you can master this powerful technique to achieve photorealistic renders.
Conclusion
Integrating HDRI in Blender projects elevates the realism and depth of your 3D scenes. With practice and exploration of various HDRIs and settings, you can master this powerful technique to achieve photorealistic renders.
Introduction to HDRI in Blender
HDRI (High Dynamic Range Imaging) in Blender is a powerful technique for achieving realistic lighting and reflections in 3D scenes. HDRIs capture a wider range of light and shadow details, from the deepest shadows to the brightest highlights, allowing for more detailed and lifelike renderings. This introduction will guide you through the basics of using HDRI in Blender, from selecting the right HDRI to setting up your environment for optimal results.
- Understanding HDRI: Learn what HDRI is and why it\"s a game-changer for 3D visualization, offering unparalleled realism in lighting and reflections.
- Choosing an HDRI: Tips on selecting the best HDRI for your scene, considering factors like lighting, mood, and environment.
- Setting Up HDRI in Blender: A step-by-step guide on how to add an HDRI to your Blender scene, including adjusting settings for the best results.
- Adjusting HDRI Settings: How to tweak your HDRI settings to perfectly match your scene\"s lighting needs, including rotation, scale, and intensity adjustments.
- Advanced Techniques: Explore advanced tips for customizing and enhancing your HDRI setups for even more realistic renders.
Integrating HDRI into your Blender projects can significantly elevate the quality of your renders, providing more depth, realism, and immersion in your 3D scenes. Whether you\"re a beginner or an experienced Blender user, mastering HDRI techniques will open up new possibilities for your digital art and design projects.
Why Use HDRI in Your Blender Projects?
HDRI (High Dynamic Range Imaging) is an indispensable tool in Blender for artists and designers aiming to inject realism into their 3D projects. By employing HDRIs, you can introduce natural lighting, detailed shadows, and vivid reflections that mimic real-world environments. This section explores the key benefits of integrating HDRI into your Blender workflow.
- Enhanced Realism: HDRIs provide a rich spectrum of light intensities, from subtle shadows to bright sunlight, enhancing the realism of your scenes.
- Efficient Lighting Solutions: Instead of manually setting up multiple light sources, an HDRI can illuminate your entire scene naturally, saving time and effort.
- Consistent Environment Reflections: Objects in your scene will reflect their surroundings in a realistic manner, thanks to the environmental data captured in HDRIs.
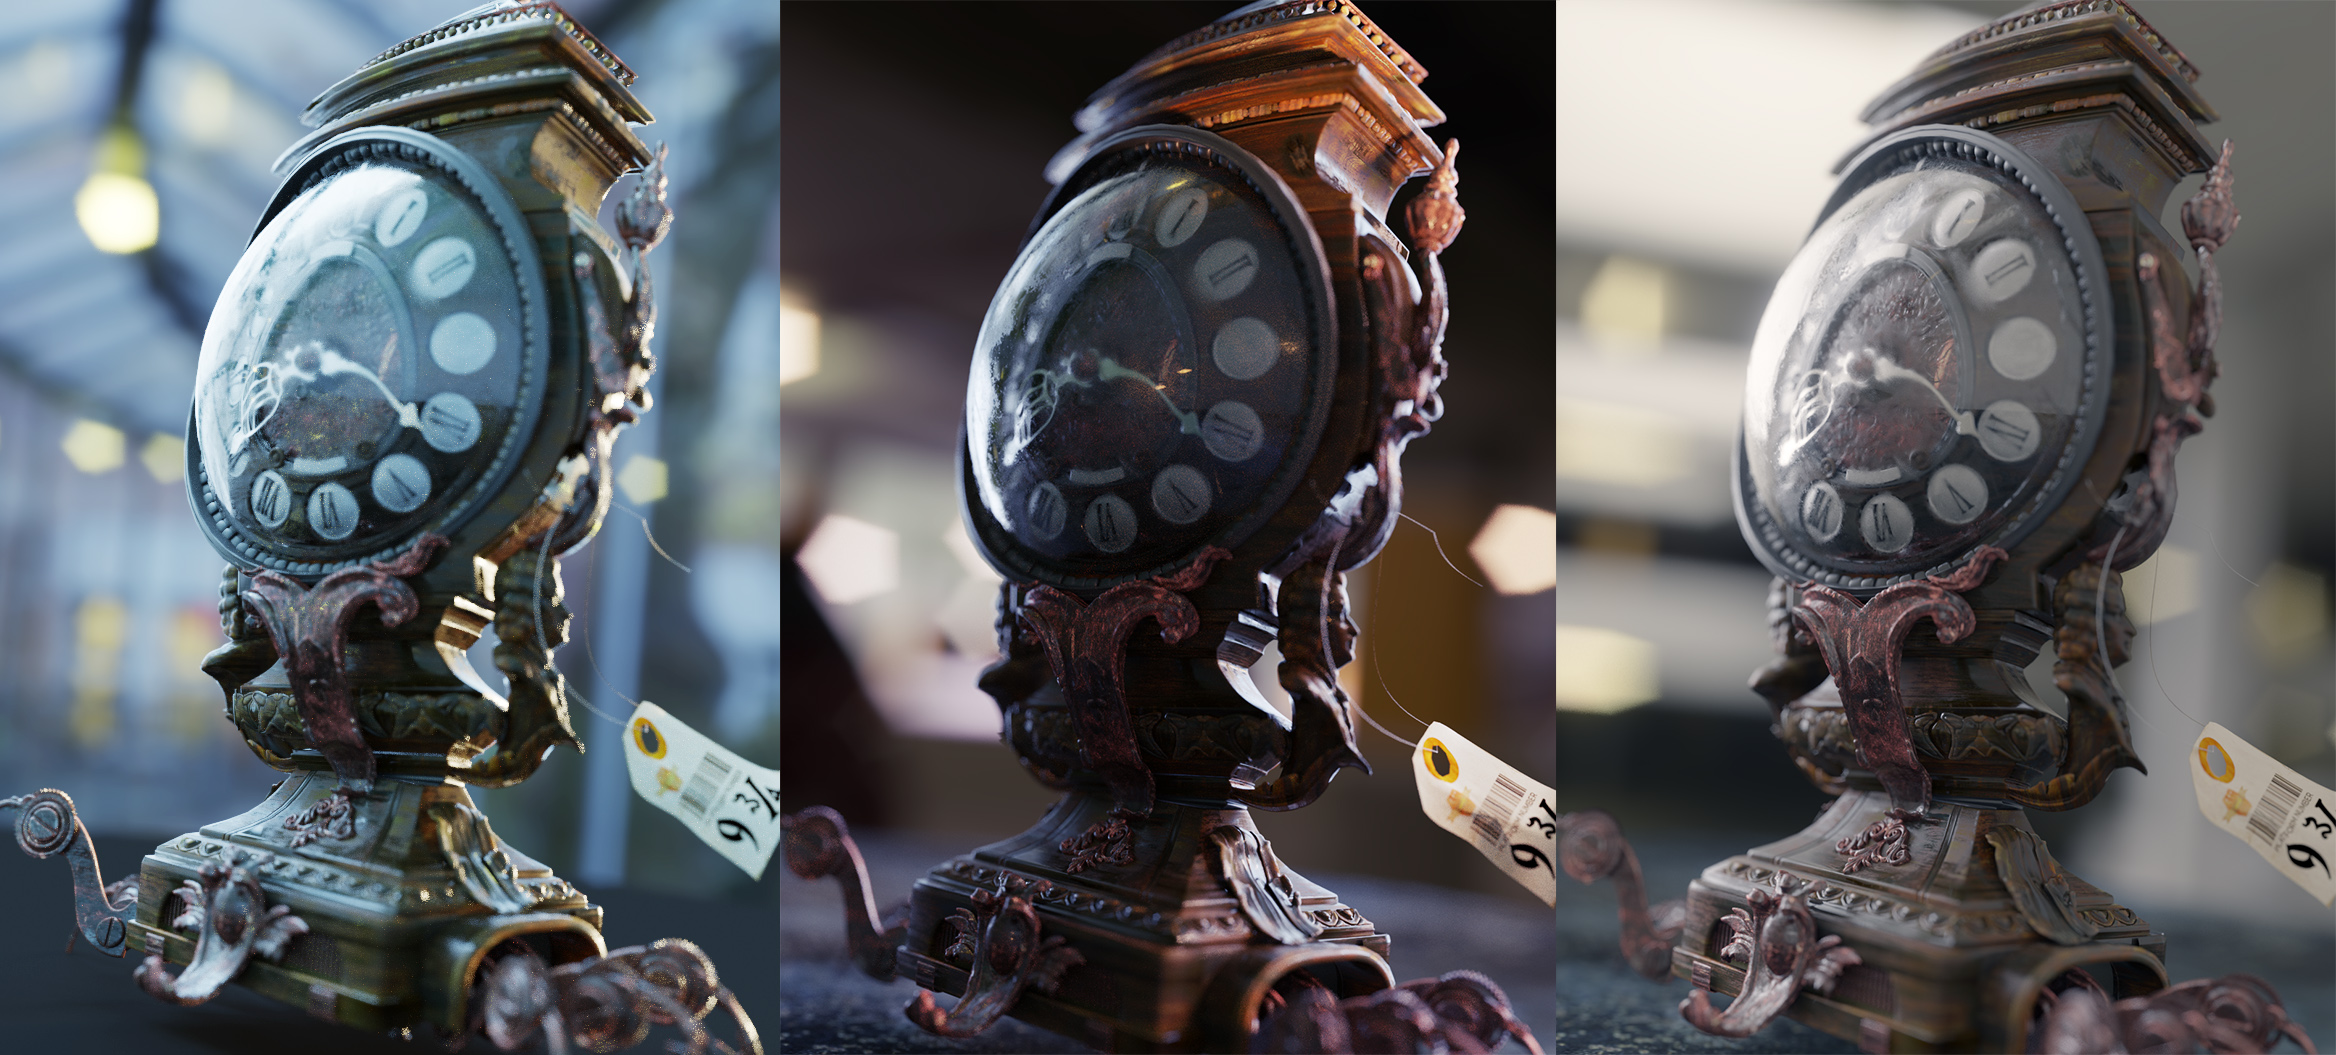
- Dynamic Mood Settings: The variety of HDRIs available allows for quick changes in the atmosphere and mood of your scenes, from sunny skies to twilight hours.
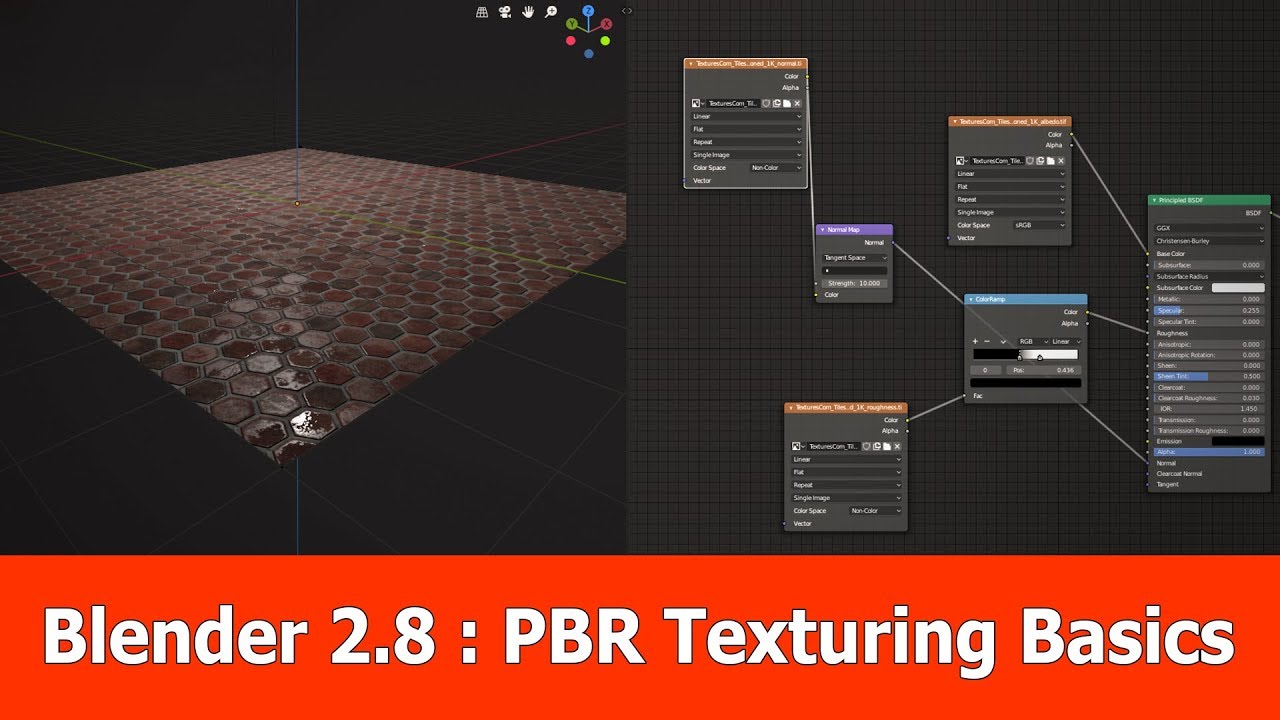
- Improved Material Response: Materials in Blender respond more accurately under HDRI lighting, showcasing their properties like roughness and metallic finish with greater fidelity.
Using HDRI in Blender not only enhances the visual quality of your projects but also streamlines your workflow, allowing for more creative exploration and experimentation. Whether you\"re working on animation, architectural visualization, or any 3D modeling project, HDRI can elevate your work to new heights of realism and immersion.
Step-by-Step Guide to Setting Up HDRI in Blender
- Find and Download HDRI Images: Start by searching for HDRI images that suit your project. Websites like HDRI Haven offer free, high-quality HDRIs for various lighting conditions.
- Open Blender and Set Up Your Scene: Launch Blender and either open an existing project or start a new one. Prepare your scene for HDRI lighting.
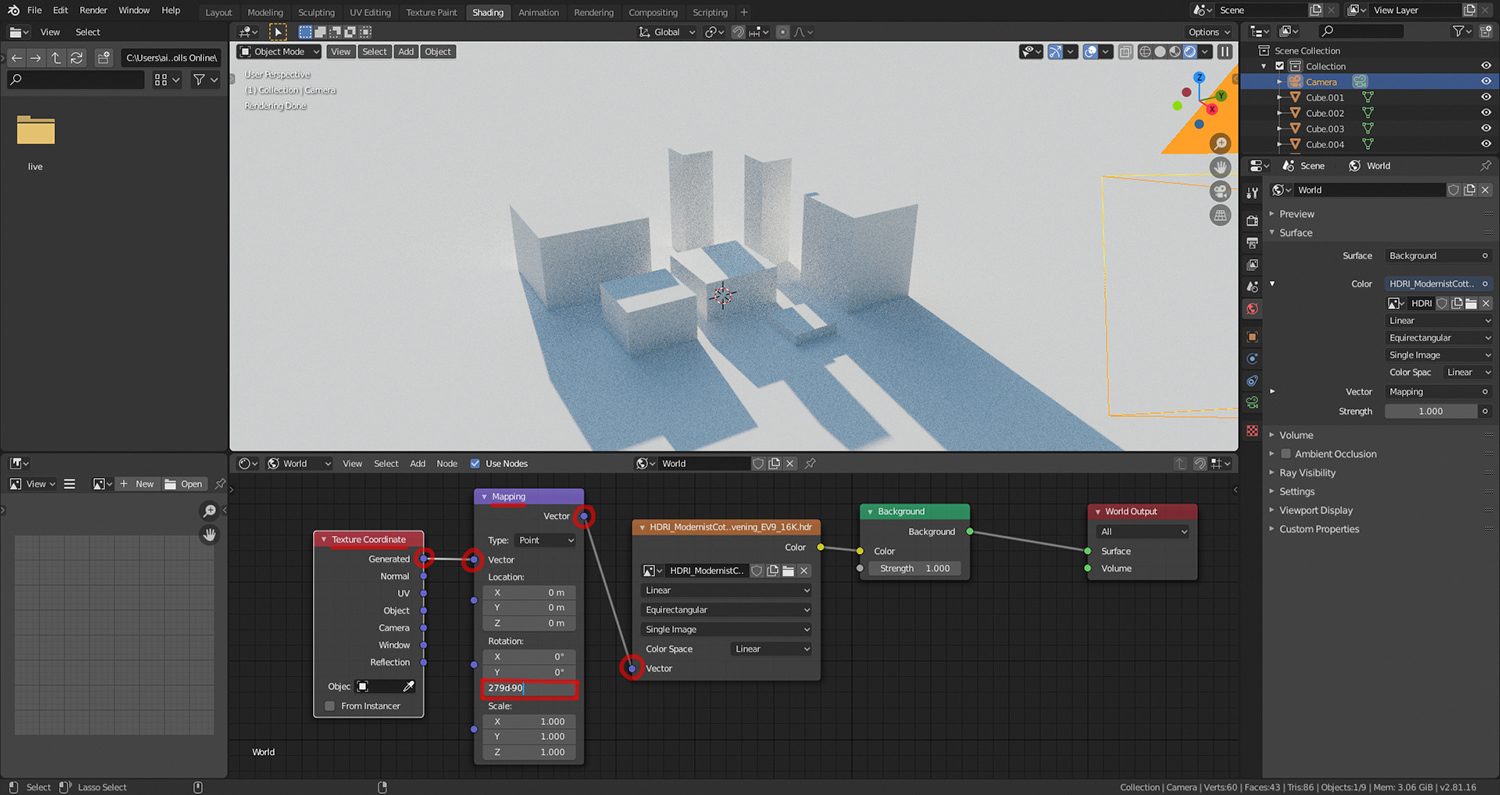
- Switch to the Shading Workspace: Navigate to the Shading workspace to access the World settings, where you\"ll apply the HDRI.
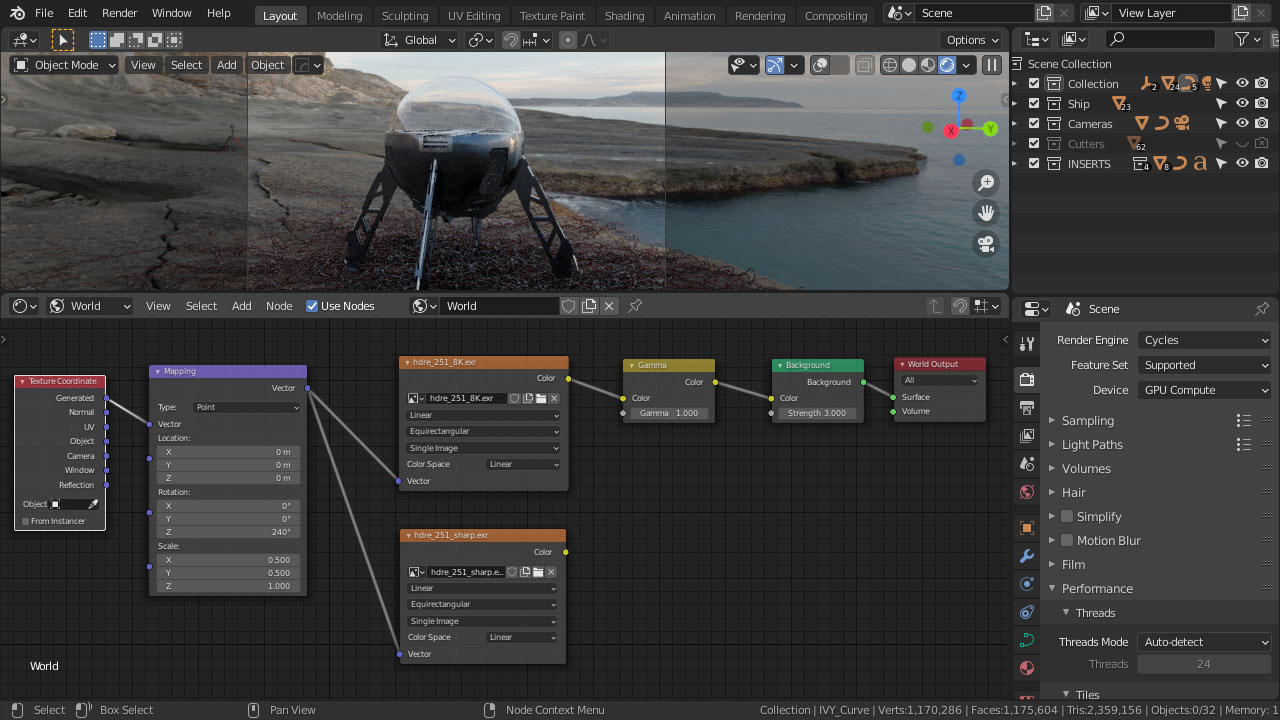
- Add an Environment Texture: In the World settings, add a new environment texture node and load your downloaded HDRI image.
- Adjust the HDRI Settings: Use the mapping node to adjust the orientation and scale of the HDRI to fit your scene. You can also tweak the strength to control the intensity of the light.
- Preview and Adjust Your Scene: Switch to rendered view to preview how the HDRI affects your scene. Make adjustments as needed to achieve the desired lighting effect.
- Refine Materials and Settings: With the HDRI setup, refine your materials and render settings to enhance the realism of your scene.
- Finalize and Render: Once satisfied with the lighting and overall setup, proceed to render your scene to see the full effect of the HDRI lighting.
This step-by-step guide provides a straightforward path for setting up HDRI in Blender, enhancing the realism and depth of your 3D scenes with dynamic lighting and reflections.
_HOOK_
Choosing the Right HDRI for Your Scene
Choosing the correct HDRI for your Blender scene is crucial for achieving the desired mood and realism. The right HDRI can make or break the visual coherence of your project. Follow these steps to ensure you select the most suitable HDRI for your needs.
- Analyze Your Scene: Consider the setting, time of day, and atmosphere you want to portray. The HDRI should complement these elements, providing appropriate lighting and backdrop.
- Quality and Resolution: Opt for high-quality, high-resolution HDRIs to ensure your scene is lit accurately and details are crisp. Lower quality images may result in poor lighting and noise.
- Dynamic Range: A good HDRI has a wide dynamic range, capturing the brightest and darkest areas without losing detail. This range is essential for realistic lighting and shadows.
- Source Reliability: Use reputable sources for downloading HDRIs to ensure they are free of errors and accurately mapped. Sites like HDRI Haven are known for their quality collections.
- Testing in Your Scene: Import your chosen HDRI into Blender and test how it affects your scene. Adjust its orientation and intensity to match your vision closely.
Remember, the goal is to enhance your scene\"s realism and mood without overpowering your models. A well-chosen HDRI acts as a foundation for lighting, adding depth and ambiance to your 3D environment.
Adjusting HDRI Settings for Realistic Lighting
Once you\"ve chosen and imported your HDRI into Blender, fine-tuning its settings is crucial for achieving the most realistic lighting effects. These adjustments can dramatically change the mood and feel of your scene. Follow these steps to optimize your HDRI\"s impact.
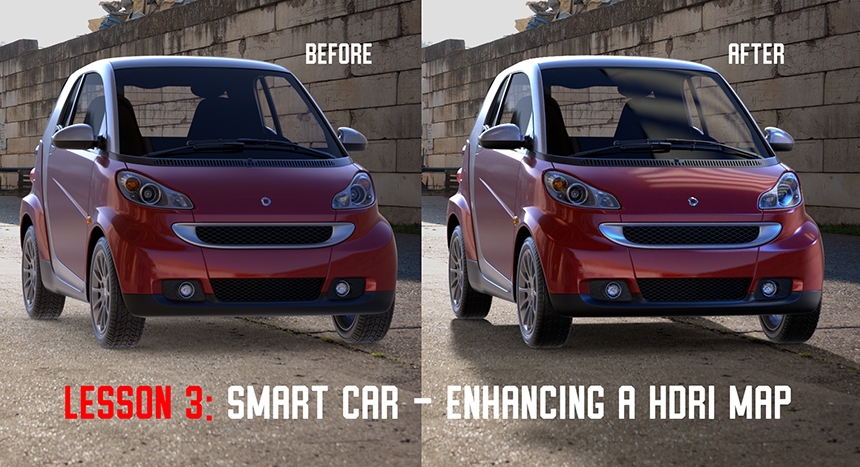
- Adjust the Strength: The strength of the HDRI affects the overall brightness and intensity of the light in your scene. Experiment with different values to find the right balance for your project.
- Modify the Rotation: Changing the rotation of the HDRI can alter the direction of the light and shadows, enhancing the realism of your scene. Use the mapping node in the Shader Editor for precise control.
- Scale the HDRI: Scaling the HDRI can affect the perceived distance of the light sources and the background. Adjusting the scale helps in matching the perspective of your 3D scene with the HDRI.
- Tweak the Location: For certain scenes, adjusting the location of the HDRI can help position specific light or reflection effects where they\"re most effective.
- Use Color Correction: Apply color correction to the HDRI to match the scene\"s mood or to alter the time of day. This can be done within the Shader Editor using color nodes.
By carefully adjusting these settings, you can significantly enhance the realism of your Blender projects. Remember, the goal is to complement your scene with naturalistic lighting and reflections, not to overpower it. Keep testing different adjustments to see how each change affects your final render.
Advanced HDRI Techniques in Blender
Enhancing your Blender projects with HDRI goes beyond basic setup. Advanced techniques allow for even greater realism and control over lighting and reflections. Master these methods to elevate the quality of your renders.
- Custom HDRIs Creation: Learn how to create your custom HDRIs to capture the exact lighting conditions needed for your scene. This involves photography, stitching, and tone-mapping techniques.
- Dynamic Range Enhancement: Utilize software to enhance the dynamic range of your HDRIs, ensuring you have a broad spectrum of light to work with, from the darkest shadows to the brightest highlights.
- Using HDRIs for Backdrop and Lighting: Skillfully combine HDRIs for both the environment backdrop and scene lighting, achieving consistency in lighting and reflections for more cohesive renders.
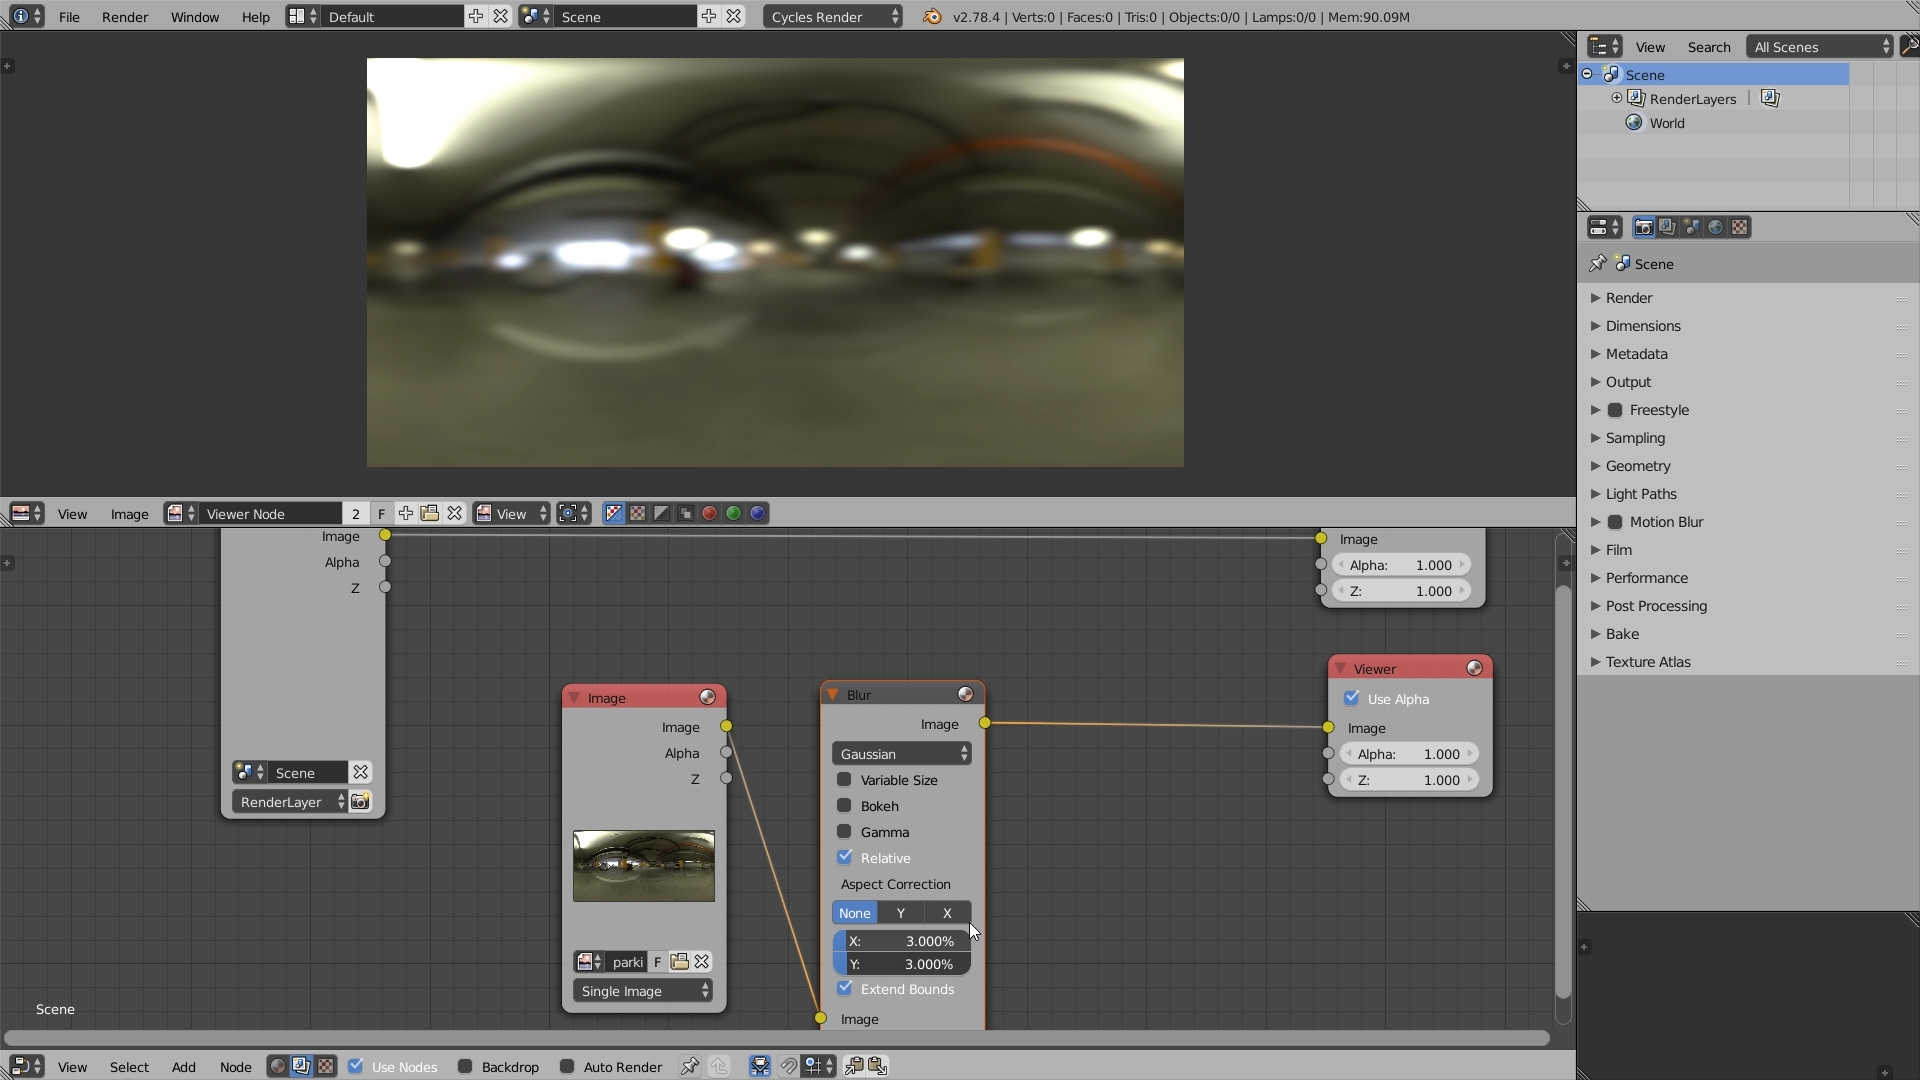
- Node-Based Adjustments: Dive deeper into the Shader Editor to use nodes for granular adjustments of the HDRI properties, such as brightness, contrast, saturation, and hue.
- Light Portals for Interior Scenes: When working with interior scenes, use HDRI in combination with light portals to enhance natural light entry and improve the overall illumination quality.
- Combining HDRIs with Artificial Lights: Integrate HDRIs with artificial light sources within Blender to simulate complex lighting scenarios, adding depth and realism to your scenes.
Advanced HDRI techniques in Blender not only improve the visual impact of your projects but also offer greater flexibility and creativity in your lighting setups. With practice, these methods can significantly enhance the photorealism of your renders.
Editing and Creating Custom HDRIs
Creating and editing custom HDRIs allows for unmatched control over the lighting and atmosphere in your Blender scenes. This advanced technique can tailor the lighting environment precisely to your project\"s needs, providing a unique and realistic backdrop. Here\"s how to embark on creating and editing your custom HDRIs.
- Gathering Your Source Images: Start by taking multiple photographs of your scene at different exposures. This captures the full range of light, from the darkest shadows to the brightest highlights.
- Stitching Images Together: Use software like PTGui or Hugin to stitch these images together into a seamless panorama. Ensure the final image covers a full 360° view.
- Tone Mapping and Editing: Apply tone mapping to your stitched image to convert it to an HDR format while preserving its high dynamic range. Further edit your HDRI in software like Photoshop or GIMP for final touches.
- Importing into Blender: Once your HDRI is ready, import it into Blender as an environment texture. You can then adjust its rotation, scale, and intensity to fit your scene perfectly.
- Customization with Blender\"s Nodes: Use Blender’s powerful node system to further customize your HDRI. You can adjust colors, contrast, and even blend multiple HDRIs for complex lighting scenarios.
Creating your own HDRIs not only gives you complete creative freedom over the lighting of your scenes but also helps in achieving a more realistic and cohesive look. Whether you\"re working on animation, architectural visualization, or any form of digital art, mastering the creation and editing of HDRIs is a valuable skill in your Blender toolkit.
Common Challenges and Solutions with HDRI in Blender
Integrating HDRI into Blender projects can sometimes present challenges, but with the right knowledge and techniques, these can be effectively addressed. This section outlines common issues encountered when using HDRIs in Blender and provides practical solutions to overcome them.
- HDRI Lighting Looks Unrealistic: If the lighting from your HDRI doesn\"t look natural, consider adjusting the strength and rotation of the HDRI. Experiment with different HDRIs to find one that best suits your scene\"s atmosphere.
- Excessive Noise in Shadows: High contrast in HDRIs can sometimes introduce noise, especially in shadows. To mitigate this, increase the samples in your render settings or use denoising tools available in Blender.
- Difficulty in Matching HDRI with Scene: When your HDRI doesn\"t quite match the scale or perspective of your scene, use the mapping node in the Shader Editor to adjust its scale, rotation, and location until it aligns properly.
- Overexposure or Underexposure: If your scene is too bright or too dark, adjust the HDRI strength. You can also tweak the exposure settings in the Color Management section of the render settings for finer control.
- Visible Seams or Artifacts: Ensure you\"re using high-quality, 32-bit HDRIs to avoid seams or artifacts. If issues persist, editing the HDRI in an image editing software to remove visible seams or errors can be beneficial.
Overcoming these challenges can significantly improve the realism and quality of your renders. With practice, you can master the use of HDRIs in Blender, making your scenes more dynamic and visually appealing.
_HOOK_
Optimizing Your Workflow with HDRI
Using HDRI in Blender can significantly improve your rendering results, but knowing how to optimize your workflow can save you time and enhance efficiency. Here are some tips and techniques for integrating HDRIs seamlessly into your projects.
- Utilize HDRI Management Add-ons: Consider using add-ons like Easy HDRI for Blender, which streamline the process of loading and testing different HDRIs, making it quicker to find the perfect lighting for your scene.
- Pre-Visualize with Lower Resolution: Work with lower resolution HDRIs for quick previews and switch to high-resolution versions for the final render to speed up the workflow without compromising on quality.
- Batch Process HDRIs: If you work with custom HDRIs, batch processing them for optimal levels, contrast, and dynamic range can save time in post-production adjustments.
- Customize HDRI with Nodes: Mastering the Shader Editor for HDRI adjustments allows for real-time modifications directly in Blender, reducing the need for external editing software.
- Optimize Render Settings: Adjust render settings to balance between quality and rendering time. Techniques such as adaptive sampling and denoising can help manage rendering times with HDRIs.
By incorporating these strategies into your Blender workflow, you can leverage the full potential of HDRIs to create stunning visuals while maintaining an efficient and streamlined process.
Resources for Finding High-Quality HDRIs
Finding the right HDRI for your Blender projects can be a challenge, but there are several resources dedicated to providing high-quality HDRIs that can help illuminate your scenes beautifully. Here are some top sites where you can find a wide range of HDRIs suitable for various needs and settings.
- HDRI Haven: A well-known source offering a vast collection of free, high-quality HDRIs. Perfect for artists seeking a wide range of lighting conditions.
- Poly Haven: Formerly known as HDRI Haven, Poly Haven provides not just HDRIs but also textures and models. It\"s a community-funded platform ensuring high-quality assets for everyone.
- HDRMAPS: Offers a selection of HDRIs for various rendering engines. It\"s a go-to for artists needing specific environmental settings, including urban, natural, and studio HDRIs.
- ArtStation: While known for its digital art portfolio platform, ArtStation also offers resources like outdoor, indoor, and skies HDRIs, often in high resolutions.
- Open Source Platforms: Websites like CG Channel and others often feature collections of free HDRIs, providing a wealth of options for creatives on a budget.
These resources are invaluable for 3D artists and designers seeking to enhance their Blender projects with realistic lighting and reflections. Whether you\"re working on animations, architectural visualizations, or any digital art, high-quality HDRIs can significantly impact your final renders.
READ MORE:
Conclusion: Enhancing Your Blender Projects with HDRI
HDRI is a powerful tool in the Blender artist\"s toolkit, offering the ability to bring a new level of realism to 3D projects. Through the use of HDRIs, artists can achieve lighting that mimics the complexity and subtlety of the real world, enhancing the visual appeal and immersion of their scenes. This guide has walked you through the essentials of finding, setting up, and optimizing HDRIs in Blender, along with addressing common challenges and providing resources for high-quality HDRIs.
Remember, the key to successfully integrating HDRI into your projects lies in experimentation and continuous learning. Each project offers a unique opportunity to refine your skills and push the boundaries of what\"s possible with Blender and HDRI technology. Whether you\"re working on animations, visualizations, or any other form of digital art, embracing HDRIs can significantly elevate the quality of your work, making your scenes more dynamic, realistic, and engaging.
As you continue to explore and experiment with HDRIs, you\"ll discover new techniques and workflows that suit your artistic vision. The world of HDRI is vast and versatile, and with the right approach, it can open up endless possibilities for creativity and innovation in your Blender projects. Keep pushing the limits, and let HDRIs illuminate your path to stunning, photorealistic renders.
Embrace the transformative power of HDRI in Blender to elevate your 3D projects. Discover the art of realistic lighting and unlock new dimensions of creativity, bringing your digital worlds to life with unparalleled depth and realism.