Topic blender render scene: Discover the magic of Blender render scene, where creativity meets technology, empowering you to bring your 3D visions to life with stunning realism and efficiency.
Table of Content
- Steps to Render in Blender
- Common Rendering Issues and Solutions
- Common Rendering Issues and Solutions
- Introduction to Blender and Its Rendering Capabilities
- Choosing the Right Render Engine: Eevee vs. Cycles vs. FreeStyle
- Step-by-Step Guide to Preparing Your Scene for Rendering
- What are some tips for optimizing Blender render scenes for faster processing?
- YOUTUBE: How to Render an Image in Blender Tutorial
- How to Render Your Scene in Blender: Techniques and Tips
- Understanding Blender\"s Rendering Settings for Optimal Results
- Troubleshooting Common Rendering Issues in Blender
- Advanced Rendering Techniques: Lighting, Materials, and Textures
- Optimizing Render Times: Balancing Quality and Efficiency
- Exploring Non-Photorealistic Rendering with FreeStyle
- Resources for Learning More About Blender Rendering
Steps to Render in Blender
- Scene Preparation: Position 3D objects, set up lighting, apply materials and textures, and configure the camera\"s perspective.
- Rendering: Press F12 for still images or Ctrl+F12 for animations. Options are also available in the render menu for more control.
- Render Engines: Choose between Eevee, Cycles, or FreeStyle based on the desired output.
- Output Settings: Configure output settings such as resolution, file format, and path to save the rendered image or animation.
READ MORE:
Common Rendering Issues and Solutions
- Blender crashing before, during, or after rendering can often be resolved by updating hardware drivers or Blender itself.
- A black screen in the finished render usually indicates a lack of light sources or camera misalignment.
- Missing objects in the final render could be due to their exclusion from the render layer or visibility settings.
Rendering Tips
To achieve optimal rendering results, it\"s recommended to experiment with different lighting setups, materials, and render settings. Utilizing render samples wisely can help balance between render quality and time. Additionally, leveraging Blender\"s community resources, such as tutorials and forums, can provide valuable insights and solutions to common problems.
Introduction to Blender and Its Rendering Capabilities
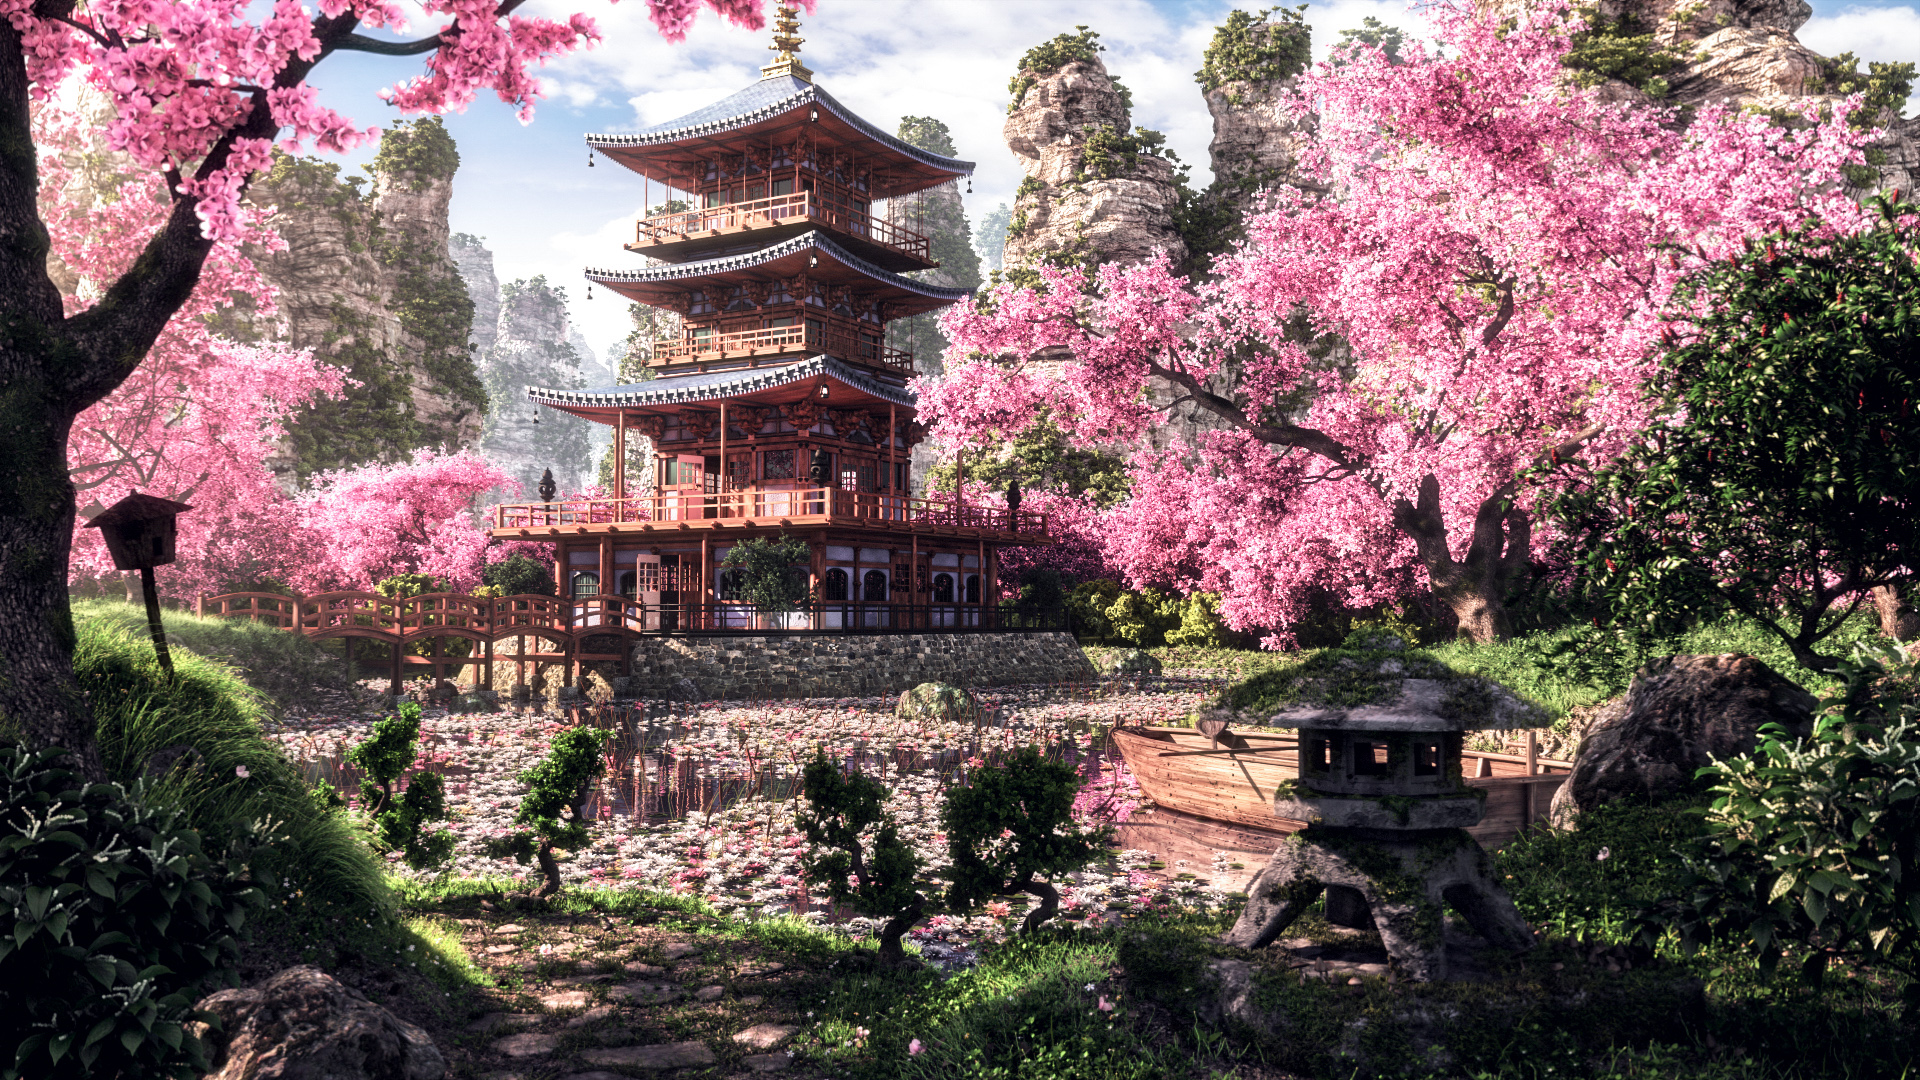
Blender is a versatile and powerful open-source 3D creation suite that supports the entirety of the 3D pipeline—modeling, rigging, animation, simulation, rendering, compositing, and motion tracking, even video editing, and game creation. Central to Blender is its highly capable rendering system, which allows artists and designers to produce photorealistic visuals and artistic creations. Blender comes equipped with three main render engines: Eevee, Cycles, and FreeStyle, each offering unique strengths for different needs.
- Eevee: Blender\"s real-time render engine, ideal for quick previews and interactive feedback. Eevee is designed to simulate real-world lighting and materials in a fast, viewport rendering environment.
- Cycles: A path-tracing render engine that calculates the way light naturally bounces around a scene. It\"s known for its ability to create ultra-realistic images and animations, albeit at a higher computational cost.
- FreeStyle: An edge- and line-based non-photorealistic (NPR) rendering engine. It\"s perfect for creating stylized renders, such as technical illustrations or comic-like visuals, by emphasizing lines and edges.
Each of these engines caters to different aspects of 3D rendering, allowing users to choose based on their project requirements. Whether it\"s real-time feedback during the modeling process, high-quality photorealistic images, or artistic stylization, Blender\"s rendering capabilities are designed to facilitate a broad range of creative workflows.
Rendering in Blender is accessible through simple shortcuts (F12 for still images and Ctrl+F12 for animations) or via the render menu for more detailed control. This flexibility ensures that artists can focus on creativity without being hindered by complex technical processes. Understanding these capabilities and how to leverage them effectively is the first step towards mastering Blender for your 3D projects.

Choosing the Right Render Engine: Eevee vs. Cycles vs. FreeStyle
Blender offers three main render engines, each with unique capabilities and suited for different rendering needs. Understanding the strengths and applications of Eevee, Cycles, and FreeStyle is crucial for choosing the most appropriate engine for your project.
- Eevee: Known for its speed and efficiency, Eevee is a real-time render engine that leverages rasterization techniques similar to those found in modern game engines. It\"s particularly useful for quick previews, animations, and projects where time is of the essence. Eevee excels in environments where interactivity and rapid iteration are required.
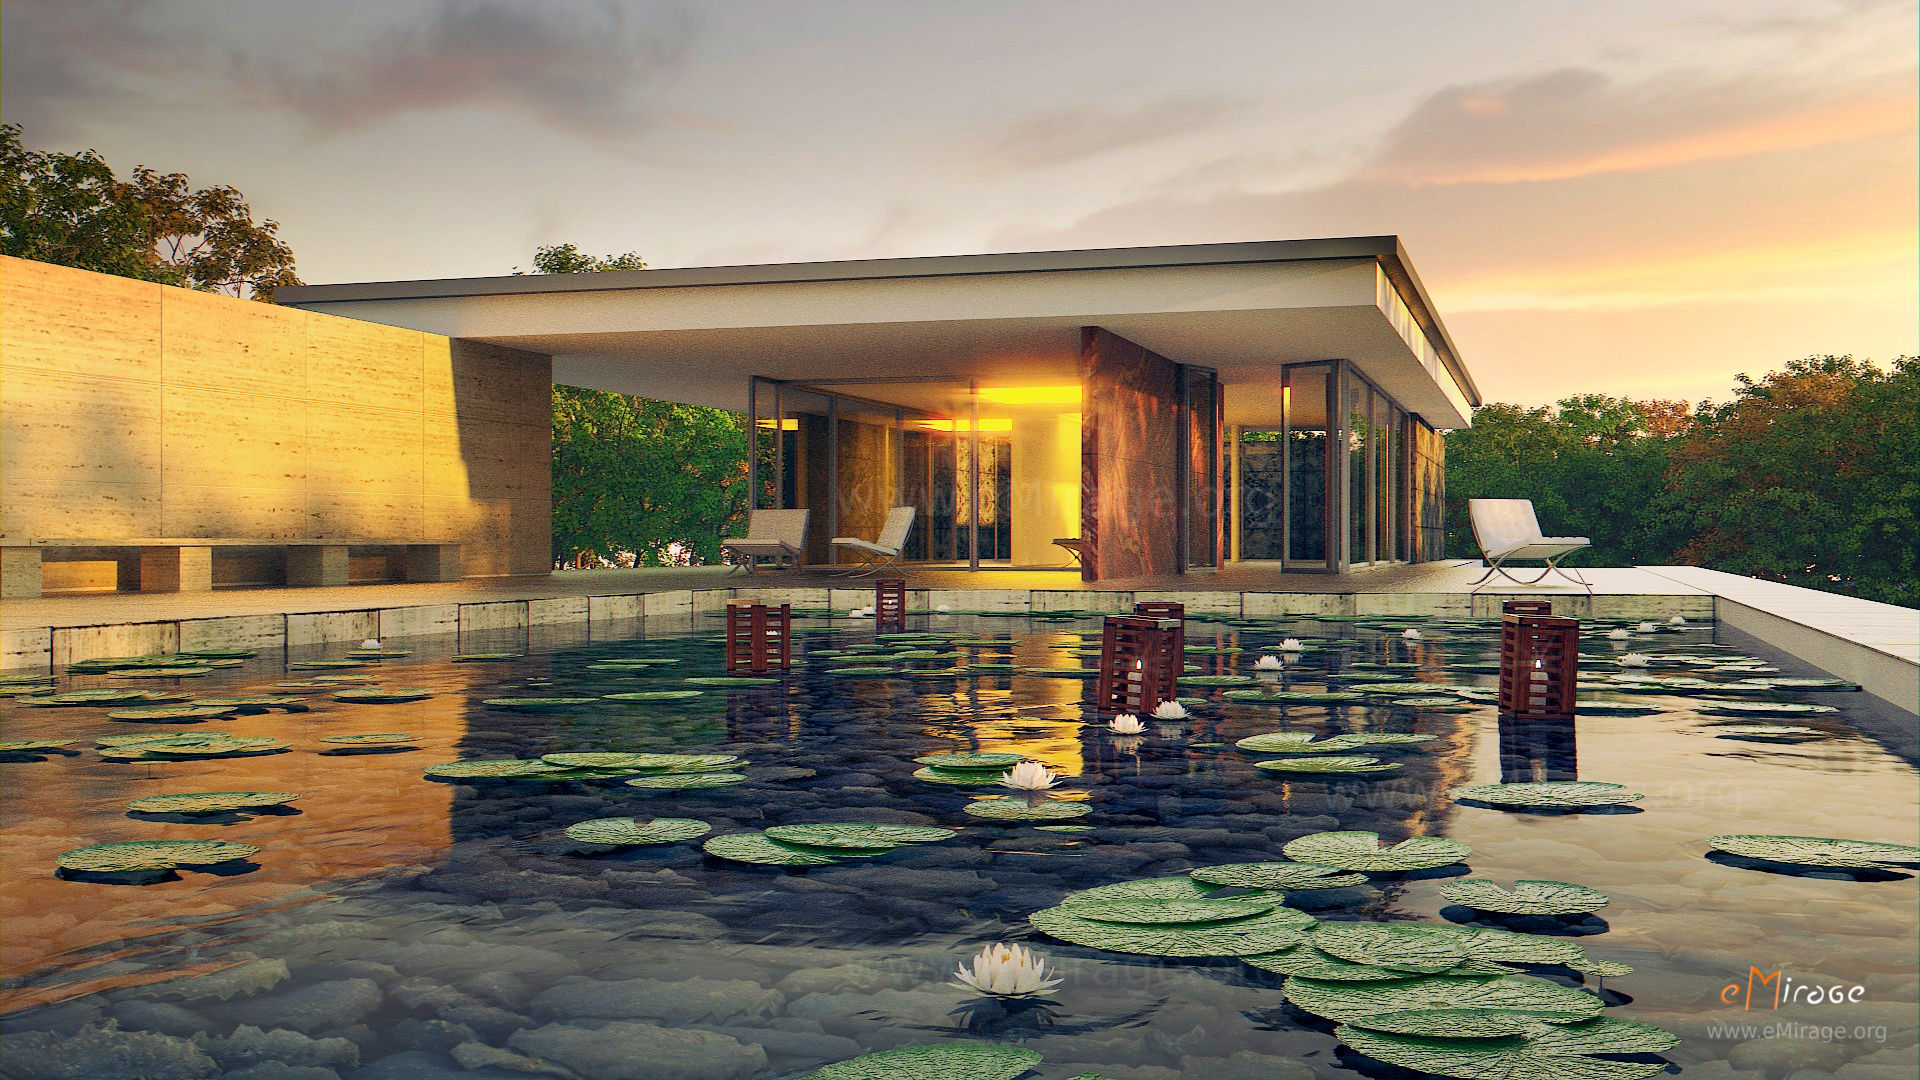
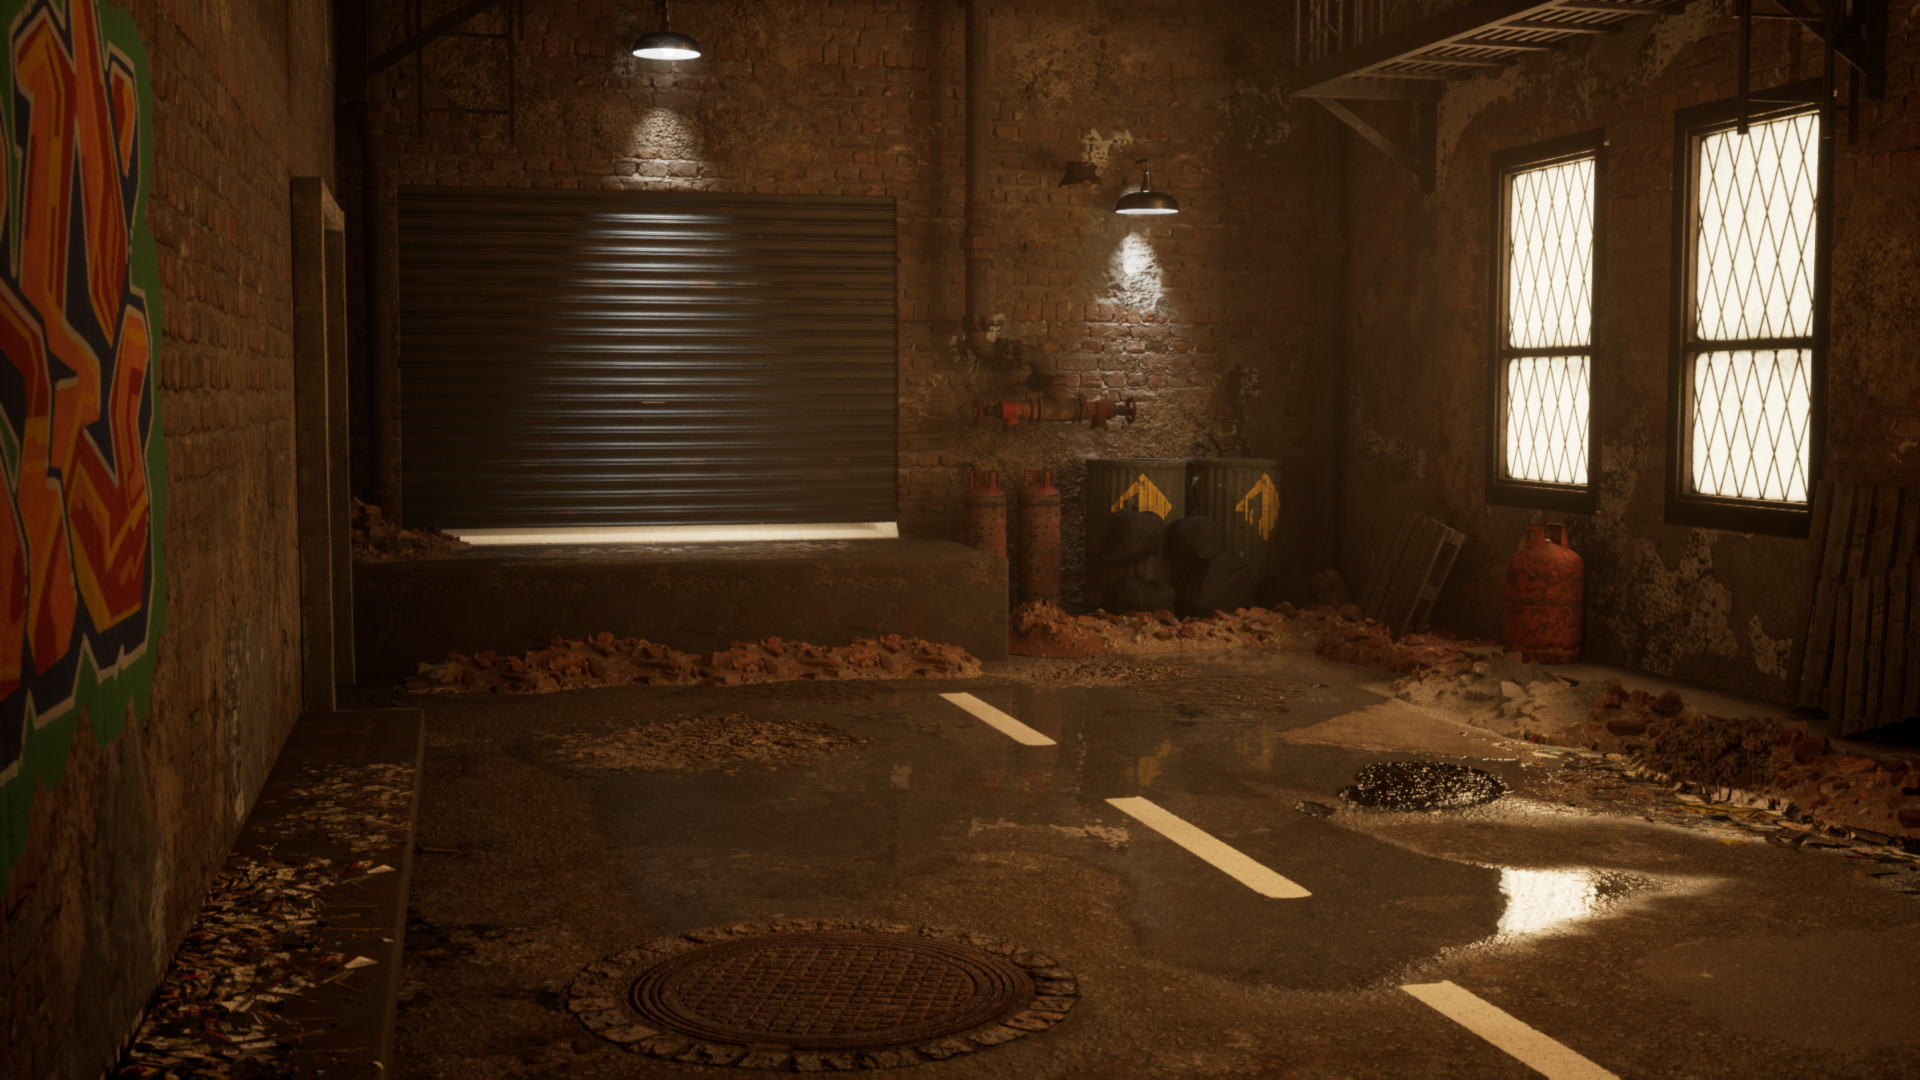
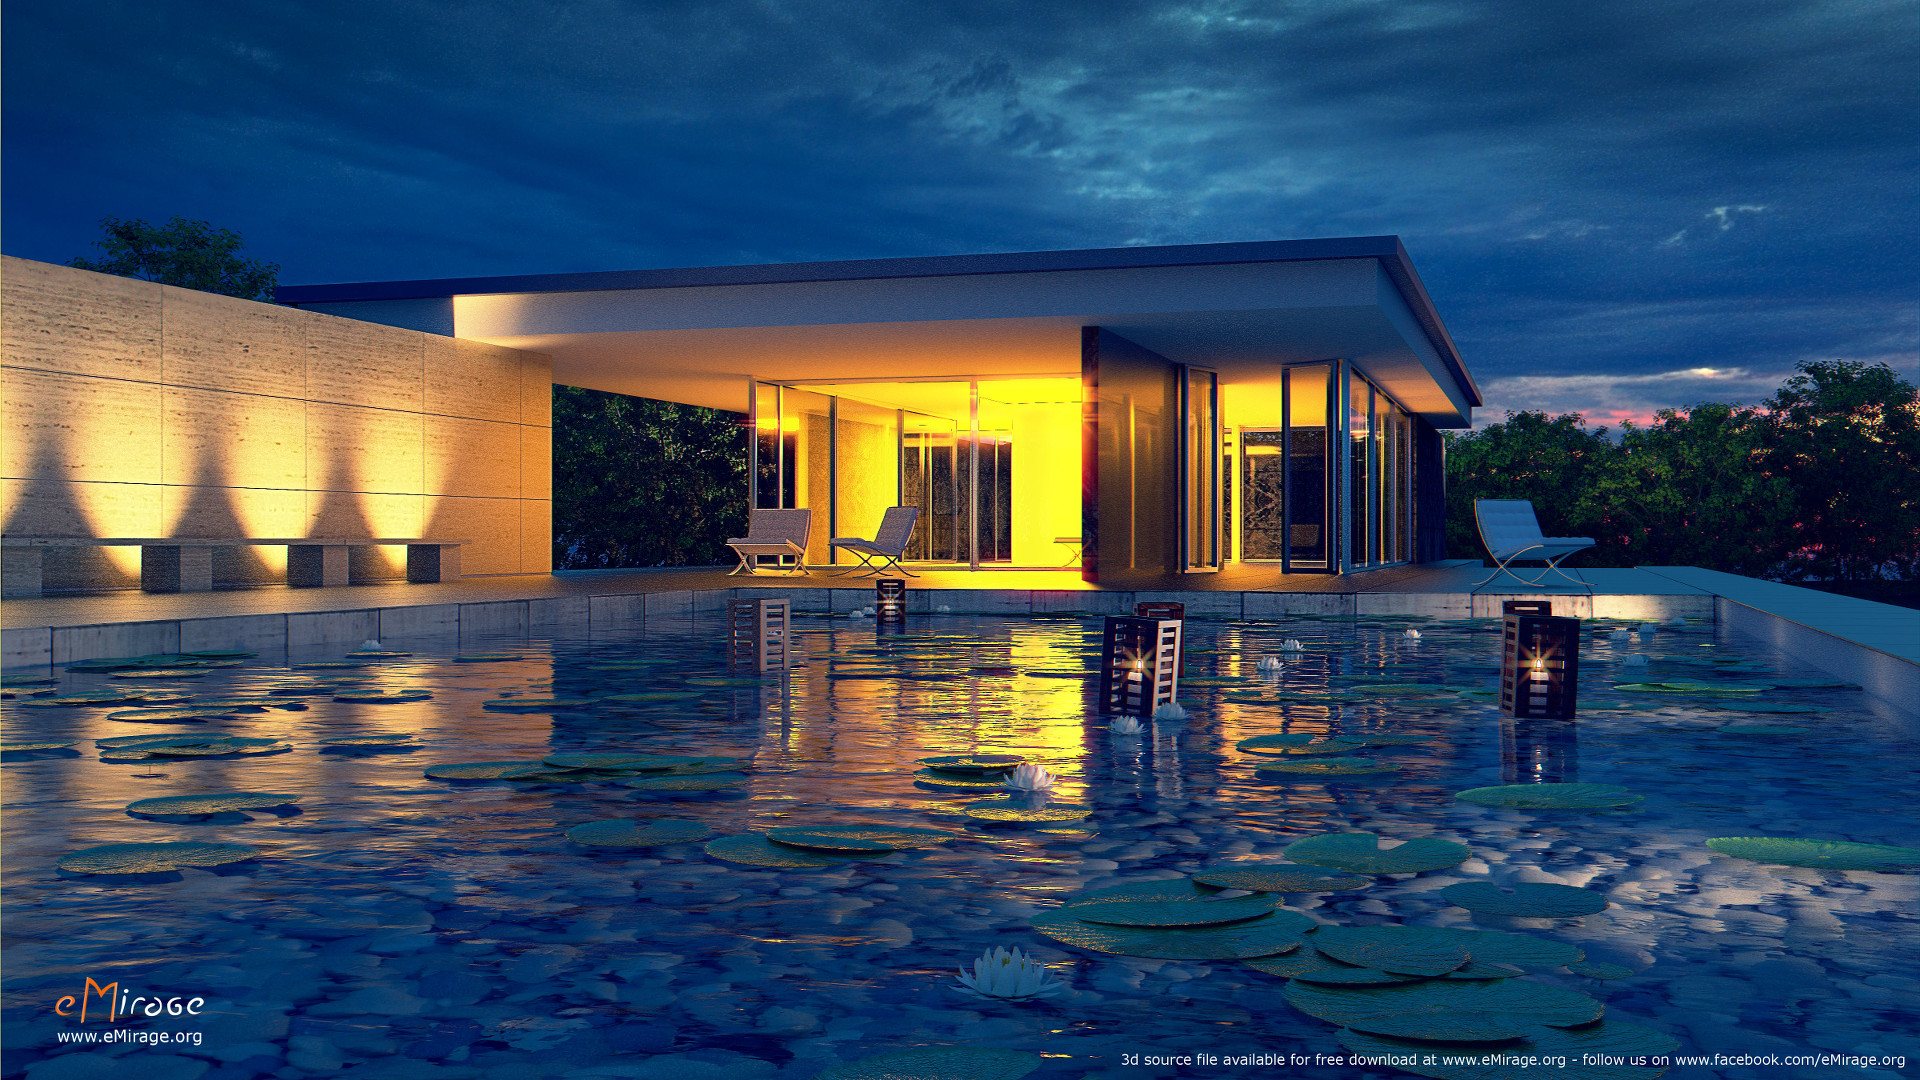
- Cycles: Cycles is a ray-tracing render engine that focuses on photorealism and accuracy. It simulates the way light behaves in the real world, making it ideal for projects requiring high-quality visual outputs. Cycles is more computationally intensive than Eevee but delivers unparalleled realism, especially in scenes with complex lighting and materials.
- FreeStyle: FreeStyle is a non-photorealistic (NPR) render engine that emphasizes artistic expression. It is designed for creating stylized renders with edge- and line-based techniques, perfect for illustrations, architectural visualization, and any project that benefits from a hand-drawn look. FreeStyle works by processing mesh data and z-depth information to selectively apply lines and strokes, offering a unique set of tools for creative rendering.
Choosing between Eevee, Cycles, and FreeStyle depends on your project\"s specific needs. Eevee offers speed and interactivity, making it suitable for real-time rendering and animation. Cycles provide realism and complexity, ideal for still images and projects where visual fidelity is paramount. FreeStyle allows for artistic and stylized representations, offering a different dimension of creativity. Consider your project goals, the level of detail required, and rendering time constraints when selecting your render engine.
_HOOK_
Step-by-Step Guide to Preparing Your Scene for Rendering
Creating a visually captivating render in Blender involves several key steps to prepare your scene. This guide will walk you through the essentials, ensuring your project is ready for rendering.
- Scene Setup: Begin by importing or creating your 3D models within Blender. Arrange your models to compose your scene, considering the final composition and camera angles.
- Lighting: Proper lighting is crucial. Experiment with different light sources, such as point lights, spotlights, and area lights, to illuminate your scene effectively. Adjust the intensity, color, and position to achieve the desired mood and effect.
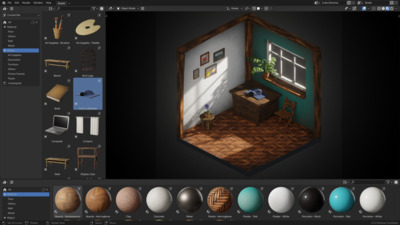
- Materials and Textures: Apply materials to your models to define their appearance. Use textures to add detail, such as color, roughness, and bump mapping, enhancing realism or achieving a specific artistic style.
- Camera Setup: Position your camera to capture the scene from the best angle. Adjust focal length, depth of field, and framing to complement your composition.
- Render Settings: Choose the right render engine (Eevee, Cycles, or FreeStyle) based on your needs. Configure settings like resolution, sample rate, and lighting to optimize the quality and speed of the render.
- Final Adjustments: Before rendering, make any necessary adjustments to your scene, including object placement, lighting, and camera settings. Preview your scene using the viewport shading mode to ensure everything looks as expected.
- Rendering: Once satisfied with the scene setup, proceed to render. Use F12 to render still images or Ctrl+F12 for animations. Monitor the rendering process, and make adjustments if needed.
This structured approach to preparing your scene ensures that every element contributes to the final render, whether you aim for photorealism with Cycles, real-time rendering with Eevee, or an artistic flair with FreeStyle.
What are some tips for optimizing Blender render scenes for faster processing?
Optimizing Blender render scenes for faster processing is crucial for efficient workflow and better productivity. Here are some tips to help you achieve faster render times:
- 1. **Simplify Geometry**: Use the minimum number of polygons necessary to convey your scene. High-poly models can significantly slow down rendering times.
- 2. **Optimize Textures**: Use optimized textures with the right resolution. Large texture files can consume memory and slow down rendering.
- 3. **Lighting Setup**: Use efficient lighting setups like HDRI maps or simple light rigs to enhance the visual appeal without sacrificing render speed.
- 4. **Render Settings**: Adjust render settings such as sample rates, light bounces, and shadow quality to find the right balance between quality and render speed.
- 5. **Use Render Layers**: Utilize render layers to separate complex scenes into manageable components. This can speed up rendering by focusing on smaller sections at a time.
- 6. **Avoid Unnecessary Effects**: Limit the use of unnecessary effects or post-processing that can increase rendering time without adding significant value to the scene.
- 7. **Utilize Proxies**: Make use of proxies for high-poly objects or complex simulations to reduce the computational load during rendering.
- 8. **Update Blender and Hardware**: Ensure that you are using the latest version of Blender and that your hardware meets the recommended specifications for optimal performance.
How to Render an Image in Blender Tutorial
Tutorial: Dive into our engaging tutorial video, packed with step-by-step instructions and expert tips to help you master a new skill or concept. Get ready to learn, explore, and level up! Beginners: Are you just starting out on your journey? This video is perfect for beginners looking to discover the basics and build a solid foundation. Join us as we guide you through the essentials in a simple and enjoyable way.
Beginners Guide to Rendering in Blender Its Really Simple
Let\'s learn the easiest, most beginner-friendly way to create a simple render in Blender that works for pretty much any model!
How to Render Your Scene in Blender: Techniques and Tips
Rendering your scene in Blender can be an exciting yet complex process, involving various techniques to achieve the desired outcome. This guide outlines essential tips and strategies to enhance your rendering skills.
- Choose the Right Engine: Decide between Eevee, Cycles, and FreeStyle based on your project\"s needs. Eevee for speed, Cycles for realism, and FreeStyle for artistic flair.
- Optimize Your Scene: Simplify models, reduce textures sizes, and use instances where possible to decrease render times without sacrificing quality.
- Lighting is Key: Good lighting can make or break a render. Use three-point lighting for character scenes and HDRIs for natural light environments.
- Use Camera Settings Wisely: Adjust depth of field, focal length, and camera angles to enhance composition and focus on your scene\"s key elements.
- Material and Texture Details: Invest time in fine-tuning materials and textures. Utilize nodes in Cycles and Eevee for more dynamic and realistic surfaces.
- Experiment with Compositing: Blender\"s compositor offers powerful post-processing tools. Use them to adjust colors, add effects, or blend different render passes.
- Render in Passes: Rendering in passes allows more control in post-production, enabling adjustments to lighting, shadows, and effects without re-rendering the entire scene.
- Test Renders: Conduct small resolution test renders to adjust settings before committing to a full render. This approach saves time and resources.
- Use Blender’s Denoising: Blender\"s denoising feature can significantly reduce noise in renders, especially in low-light conditions or when using Cycles.
- Stay Updated: Blender is continuously updated with new features and improvements. Keep your software up to date to take advantage of the latest rendering advancements.
By following these techniques and tips, you can improve the quality of your renders in Blender, whether you\"re working on simple projects or complex scenes requiring intricate details.
Understanding Blender\"s Rendering Settings for Optimal Results
Blender\"s versatility in rendering is largely due to its comprehensive settings, allowing for customization to achieve optimal results. Understanding these settings is crucial for both novices and professionals alike.
- Render Engines: Blender offers several engines like Eevee, Cycles, and FreeStyle. Select based on your project\"s needs—Eevee for real-time rendering, Cycles for photorealism, and FreeStyle for non-photorealistic renders.
- Resolution: Set your scene\"s resolution under the Output properties. Higher resolutions offer more detail but increase render times.
- Sampling: In Cycles, adjust the number of samples for rendering. Higher samples increase quality but also render time. Use denoising to reduce noise in lower samples.
- Light Paths: Control how many bounces light makes in a scene. Fewer bounces can speed up rendering with minimal impact on quality in certain scenarios.
- Performance Settings: Tweak settings like tile size and the use of GPU or CPU for rendering. GPUs generally offer faster rendering times.
- Output Format: Choose the right format for your project. PNGs are suitable for still images, while formats like MPEG or AVI are used for animations.
- Post-Processing: Use Blender’s Compositor for post-render adjustments. Add effects, tweak colors, or composite multiple layers for enhanced visuals.
By carefully adjusting these settings, you can significantly impact the quality and efficiency of your renders. Experimentation and understanding the balance between quality and rendering time are key to mastering Blender\"s rendering capabilities.
Troubleshooting Common Rendering Issues in Blender
Rendering in Blender can sometimes present challenges. Here are solutions to some common issues users encounter to ensure a smoother rendering process.
- Objects Missing in Render: Ensure objects are not disabled for rendering. Check the Outliner for the camera icon next to your object to confirm if it\"s active for rendering.
- Black Frames or Scenes: This often results from missing light sources or incorrect camera placement. Verify that your lights are properly positioned and that your camera points towards the scene.
- Unexpected Noise or Grain: High noise levels can be mitigated by increasing the sample rate in Cycles or using denoising options. Ensure your lighting setup is optimal to reduce the need for extremely high samples.
- Long Render Times: Optimize your scene by reducing polygon counts, simplifying textures, and using instances for repeated objects. Consider adjusting your render settings, such as resolution and samples, for a balance between quality and efficiency.
- Textures Not Displaying Correctly: Missing or incorrectly displayed textures might be due to path issues or unsupported formats. Double-check texture paths and ensure they are correctly linked in your material settings.
- Render Crashes: Crashes can occur due to insufficient memory or hardware limitations. Try simplifying your scene or rendering in smaller sections. Also, ensure Blender is up to date and your drivers are current.
Addressing these common issues can significantly improve your rendering experience in Blender, leading to faster workflows and higher quality outputs.

_HOOK_
Advanced Rendering Techniques: Lighting, Materials, and Textures
Mastering advanced rendering techniques in Blender can significantly elevate the quality of your 3D scenes. This section delves into sophisticated strategies for lighting, materials, and textures, ensuring your renders stand out with realism and artistic flair.
- Lighting Techniques: Explore global illumination, HDR lighting, and three-point lighting setups to enhance the mood and depth of your scenes. Utilizing area lights, spotlights, and point lights strategically can mimic real-world lighting conditions, adding a layer of realism to your renders.
- Material Complexity: Utilize Blender\"s node-based material system to create complex, layered materials. Experiment with subsurface scattering for organic materials, anisotropic shading for metals, and glass shaders for transparency and refraction effects.
- Texture Detailing: High-resolution textures can dramatically improve the realism of your scenes. Employ UV mapping techniques to accurately apply textures to your models. Consider using displacement maps to add real geometry details at render time.
- Realistic Environments: Incorporate environmental elements like fog, smoke, or volumetric lighting to add atmosphere and depth to your scenes. Use Blender’s particle system and physics simulations to introduce dynamic elements like fire, water, or cloth into your renders.
- Post-Processing: After rendering, use Blender\"s compositor to tweak colors, add filters, or composite rendered elements together. Techniques like color grading, bloom effects, and glare can enhance the final look of your render.
By mastering these advanced rendering techniques, you can push the boundaries of what\"s possible in Blender, creating stunningly realistic or beautifully stylized scenes that captivate viewers.

Optimizing Render Times: Balancing Quality and Efficiency
Optimizing your Blender render times involves a balance between achieving high-quality visuals and maintaining efficient render speeds. The strategies outlined below can help you significantly reduce render times without sacrificing too much detail in your scenes.
General Optimization Tips
- Update Blender to the latest version for improved optimization and features.
- Consider the necessity of using Cycles for your project; Eevee might offer sufficient quality with faster render times for stylized scenes.
- Enable Intel\"s Open Image Denoise for better noise reduction.
- Adjust noise thresholds to stop rendering when acceptable noise levels are reached, reducing unnecessary sampling.
- Utilize adaptive sub-sampling to focus detail where it\"s most needed, minimizing samples on simple backgrounds.
- Experiment with Fast GI approximation to reduce calculation needs by simplifying light bounces.
- Limit light path bounces and disable caustics if your scene does not require them for realism.
- Reduce resolution for test renders and consider using AI upscaling for final outputs.
- Minimize the use of heavy modifiers and employ the Simplify option to reduce scene complexity.
Advanced Techniques
- Turn off features like Ray Tracing, soft shadows, and Ambient Occlusion when not needed to save computational resources.
- Lower SubSurf levels and disable features like blurry reflections and Subsurface Scattering unless essential for the final render.
- Increase tile sizes for improved performance, particularly on GPU rendering.
- Enable GPU rendering if possible, as GPUs are generally faster than CPUs for rendering tasks.
- Opt for Simplification settings to globally reduce scene complexity, affecting subdivisions, shadow samples, and more.
Scene and Material Optimization
- Reduce the number of objects, materials, and lights in your scene. Simplify materials and utilize instancing for repeated objects to decrease processing demands.
- Employ the \"Simplify\" feature to limit subdivision, shadow samples, and texture sizes, making the scene lighter for rendering.
- Pre-render elements like shadows or reflections to be composited later, reducing real-time calculation needs.
Baking and Data Management
- Bake lighting and shadows into textures, converting dynamic calculations into static images, which speeds up rendering.
- Enable Persistent Data to reuse calculations across frames in animations, saving time on unchanged elements.
- Optimize compositing by simplifying node setups and utilizing render passes for efficient post-processing adjustments.
By integrating these strategies, you can achieve a significant reduction in render times while maintaining the quality of your Blender projects. Experiment with different combinations of these tips to find the best balance for your specific needs.
Exploring Non-Photorealistic Rendering with FreeStyle
Blender\"s FreeStyle module offers a unique approach to Non-Photorealistic Rendering (NPR), enabling artists to create line-based illustrations directly from 3D models. This versatile rendering engine supports a wide range of artistic and technical drawing styles, from hand-drawn effects to technical blueprints.
Getting Started with FreeStyle
To begin using FreeStyle, switch your render engine to Cycles or Eevee, enable the FreeStyle option in the render settings, and adjust your line set and style options. FreeStyle works by analyzing your scene\"s geometry and selectively drawing lines based on various criteria such as silhouette, border, and crease edges.
Customizing Line Styles
- Line Thickness: Control the visibility and thickness of your lines based on distance from the camera or along the stroke, allowing for dynamic changes in line weight.
- Modifiers: Use modifiers like distance from camera and along stroke for varied line thickness, adding depth and emphasis to different parts of your scene.
- Edge Types: Select specific edges to draw, such as silhouettes, borders, and creases, to highlight or downplay elements of your model.
Advanced Techniques
- Material and Visibility Options: Further refine your render by adjusting material boundaries, visibility settings, and employing culling techniques to manage scene complexity.
- Compositing with FreeStyle: Combine FreeStyle renders with other Blender features like toon shaders and compositing nodes for rich, layered effects.
Practical Applications and Creative Exploration
FreeStyle is not limited to static images; it can also be used to create stylized animations, technical illustrations, and unique artistic expressions. Its integration into Blender facilitates a wide range of NPR applications, from animated films to architectural visualizations, offering a bridge between 3D modeling and 2D presentation.
For artists and developers interested in extending FreeStyle\"s capabilities, the module supports Python scripting, allowing for the creation of custom line styles and the automation of rendering processes. The potential for SVG export and HTML5 animation via external tools like SVGWriter opens up exciting possibilities for web-based presentations and interactive artworks.
As the Blender community continues to explore and expand upon FreeStyle\"s capabilities, we can expect to see further innovations in non-photorealistic rendering, pushing the boundaries of 3D art and visualization.
READ MORE:
Resources for Learning More About Blender Rendering
Embarking on the journey of mastering Blender rendering can be both exciting and daunting. Thankfully, the internet is rich with resources that cater to both beginners and advanced users alike. Below is a compilation of some of the best online resources available to help you enhance your Blender rendering skills.
Official Blender Tutorials
- Blender.org offers an array of tutorials covering everything from the basics of Blender 2.80 to advanced topics like Grease Pencil Basics and Stylized Character Workflow. These resources are ideal for understanding the foundational aspects and exploring creative avenues within Blender.
Artisticrender.com
- Artisticrender dives deep into the rendering process in Blender, providing insights on everything from saving rendered images in various formats to configuring your system for GPU rendering. It also offers guidance on rendering animations and leveraging Blender\"s denoising features for cleaner results.
Blender Studio Training
- Blender Studio presents an opportunity to learn from the creators of Blender\"s open movies. The platform offers courses, workshops, and production lessons with .blend files included, allowing you to learn by example across a variety of topics such as Geometry Nodes and Procedural Shading.
Online Learning Platforms and Communities
- Websites like Blender Guru, CG Cookie, and Blender Nation are treasure troves of tutorials, assets, and community wisdom. Whether you\"re looking to enhance your animation skills, find the perfect asset for your project, or dive into procedural shading, these platforms have something for everyone.
- Udemy and CG Masters offer structured courses ranging from beginner to advanced levels, covering aspects like modeling, animation, and game art. These resources are perfect for those who prefer a more traditional learning structure.
- Blend Swap and Blender itself provide vast libraries of models and direct support through tutorials, documentation, and community forums, ensuring you have access to quality, accurate resources to improve your skills.
Specialized Tutorials
- For those interested in game asset creation, hair modeling, or even constructing nature scenes, tutorials from Concept Art Empire offer step-by-step guides that cater to specific interests and skill sets within the Blender ecosystem.
By leveraging these resources, you can significantly enhance your Blender rendering skills, explore new creative possibilities, and join a vibrant community of Blender enthusiasts. Happy rendering!
Embark on a journey to master Blender\"s rendering capabilities, and unlock the full potential of your creative visions. This comprehensive guide is your gateway to transforming ideas into stunning visual realities, inviting both beginners and seasoned artists to explore, learn, and innovate in the world of 3D rendering.