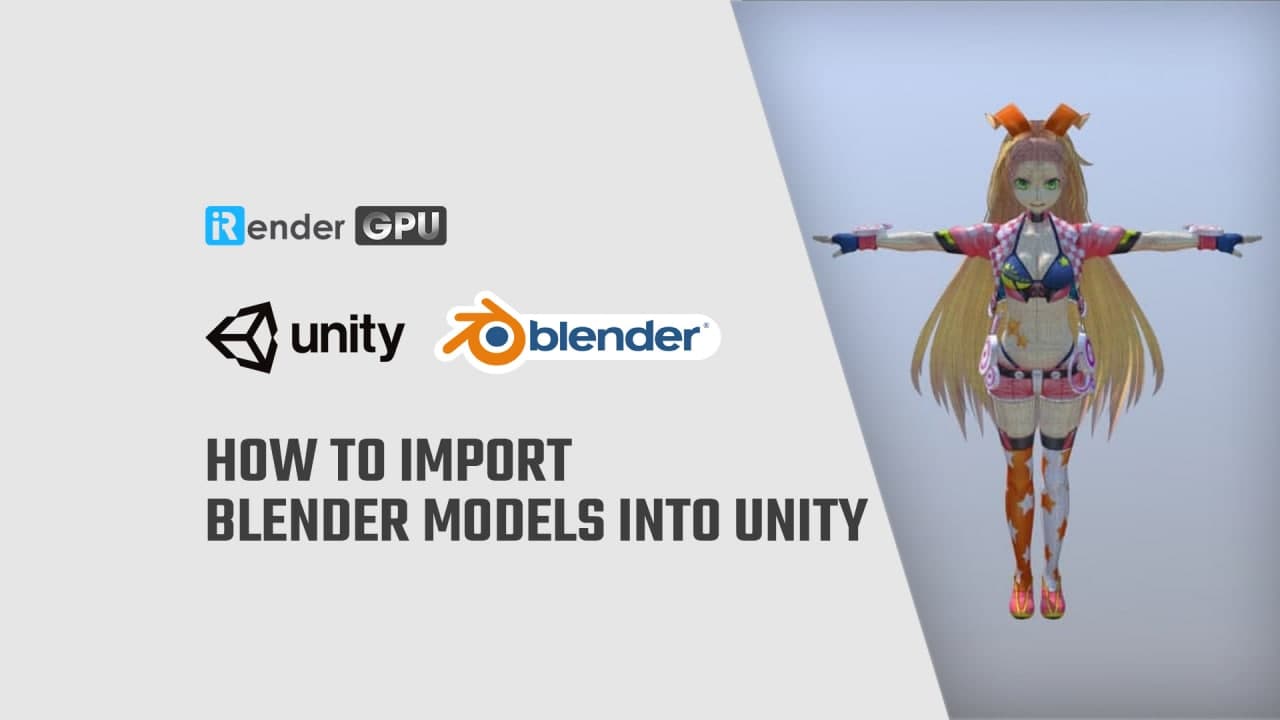
Topic how to import blender models into unity: Discover the seamless integration of Blender models into Unity, enhancing your game development with efficient workflows and creative flexibility. This guide promises to elevate your project"s visual fidelity and interactive potential.
Table of Content
- Step 1: Prepare Your Blender Model
- Step 2: Export Your Model from Blender
- Step 3: Importing Your Model into Unity
- Step 4: Configuring Your Imported Model in Unity
- Step 5: Using Your Blender Model in Unity
- Step 2: Export Your Model from Blender
- Step 3: Importing Your Model into Unity
- Step 4: Configuring Your Imported Model in Unity
- Step 5: Using Your Blender Model in Unity
- How do I import Blender models into Unity with textures?
- YOUTUBE: Blender to Unity tutorial: Importing models with material and texture
- Step 3: Importing Your Model into Unity
- Step 4: Configuring Your Imported Model in Unity
- Step 5: Using Your Blender Model in Unity
- Step 4: Configuring Your Imported Model in Unity
- Step 5: Using Your Blender Model in Unity
- Step 5: Using Your Blender Model in Unity
- Introduction to Importing Blender Models into Unity
- Preparing Your Blender Model for Export
- Choosing the Right File Format for Export
- Step-by-Step Guide to Exporting Models from Blender
- Importing Models into Unity: A Detailed Procedure
- Configuring Imported Models in Unity for Optimal Use
- Tips and Best Practices for a Smooth Import Process
- Common Issues and How to Solve Them
- Enhancing Your Unity Project with Blender Models
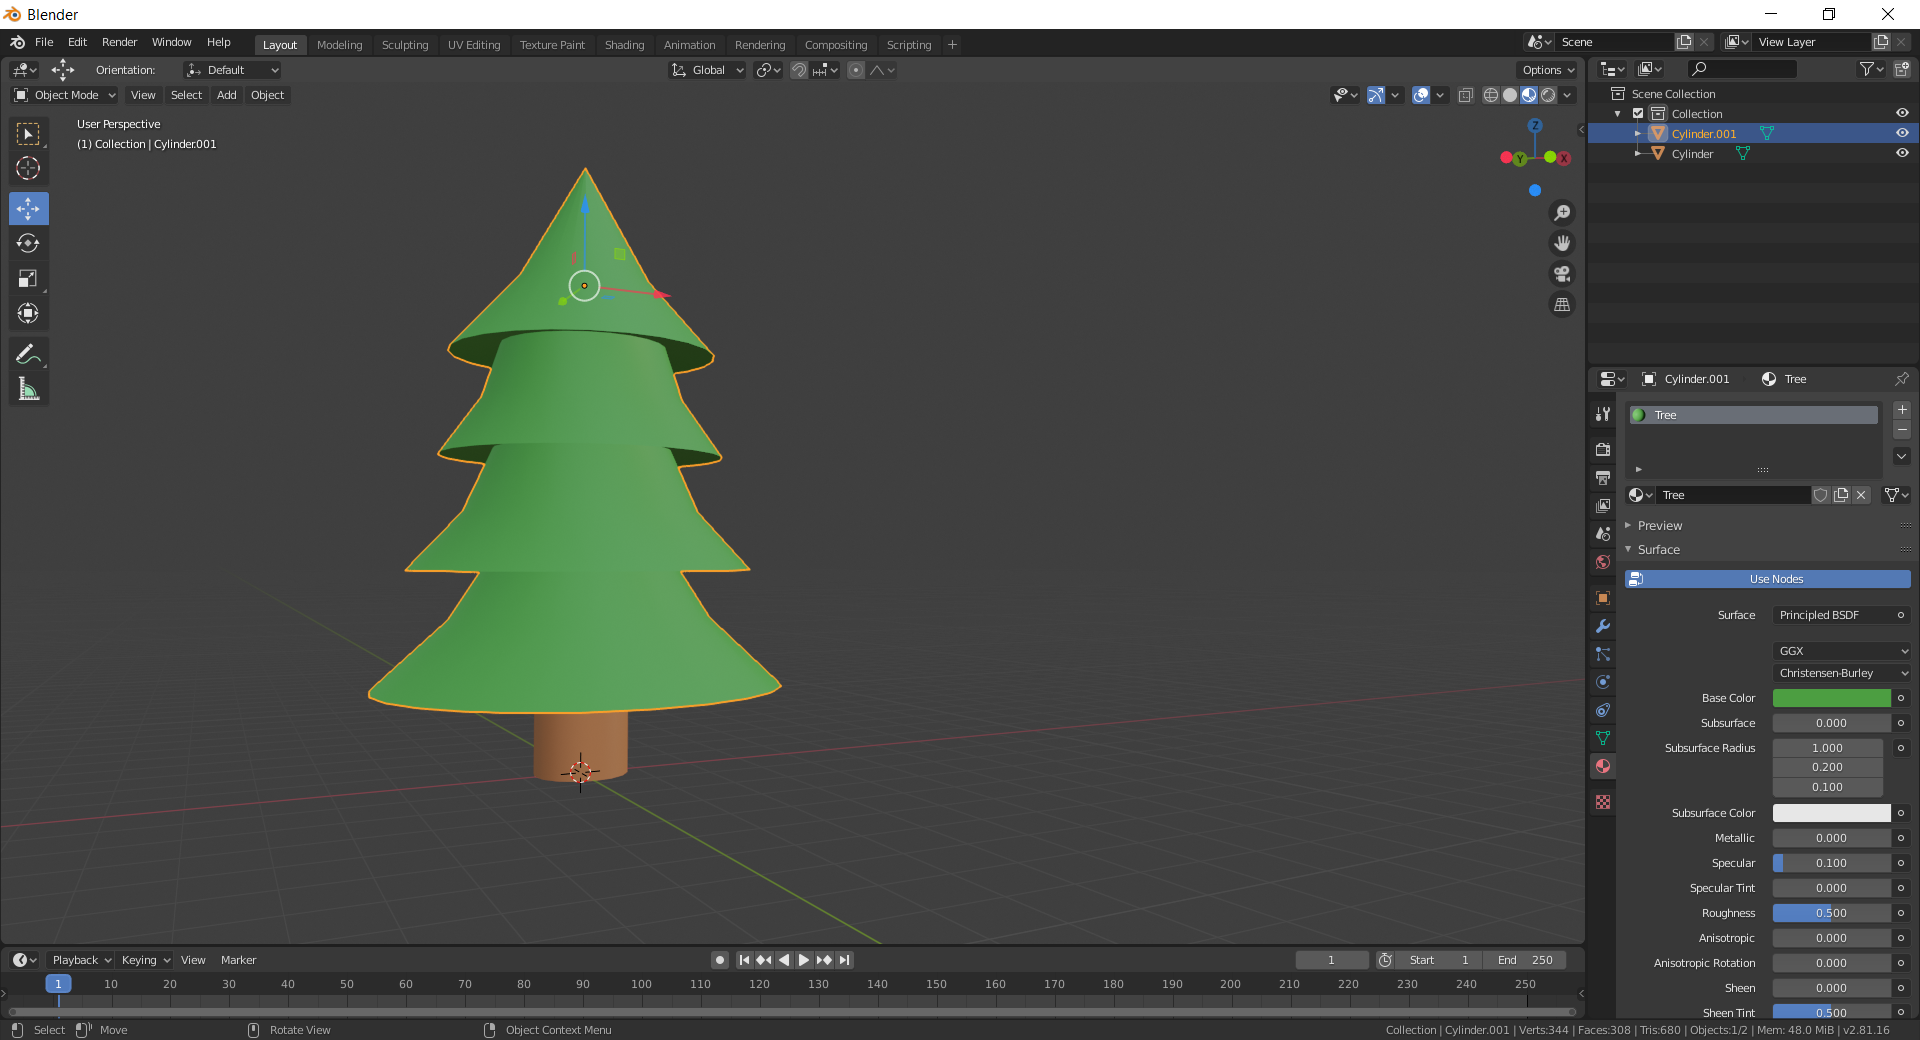
Step 1: Prepare Your Blender Model
- Ensure your model is ready for export, checking for any necessary adjustments in geometry or textures.
- Select the Cursor tool in Blender and click to set the origin point, or manually set the 3D cursor\"s location for precise origin placement.

READ MORE:
Step 2: Export Your Model from Blender
- Go to File > Export and choose FBX (.fbx) format.
- In the export window, enable \"Apply Transform\" to ensure compatibility with Unity\"s coordinate system.
- Click \"Export FBX\" after making sure all settings are correct.
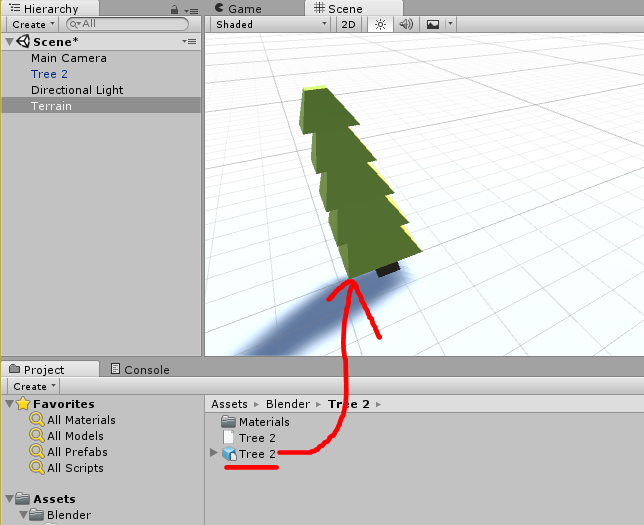
Step 3: Importing Your Model into Unity
- Unity natively imports Blender files. Place your .blend file or the exported FBX file into your project’s Assets folder.
- Unity will automatically import the file, which then appears in the Project View.
- For FBX files, you may also use the menu option Assets > Import New Asset and navigate to your file.
Step 4: Configuring Your Imported Model in Unity
- Select your imported model in the Project View to access Import Settings.
- Adjust Model, Rig, and Animation settings as needed to fit your project requirements.
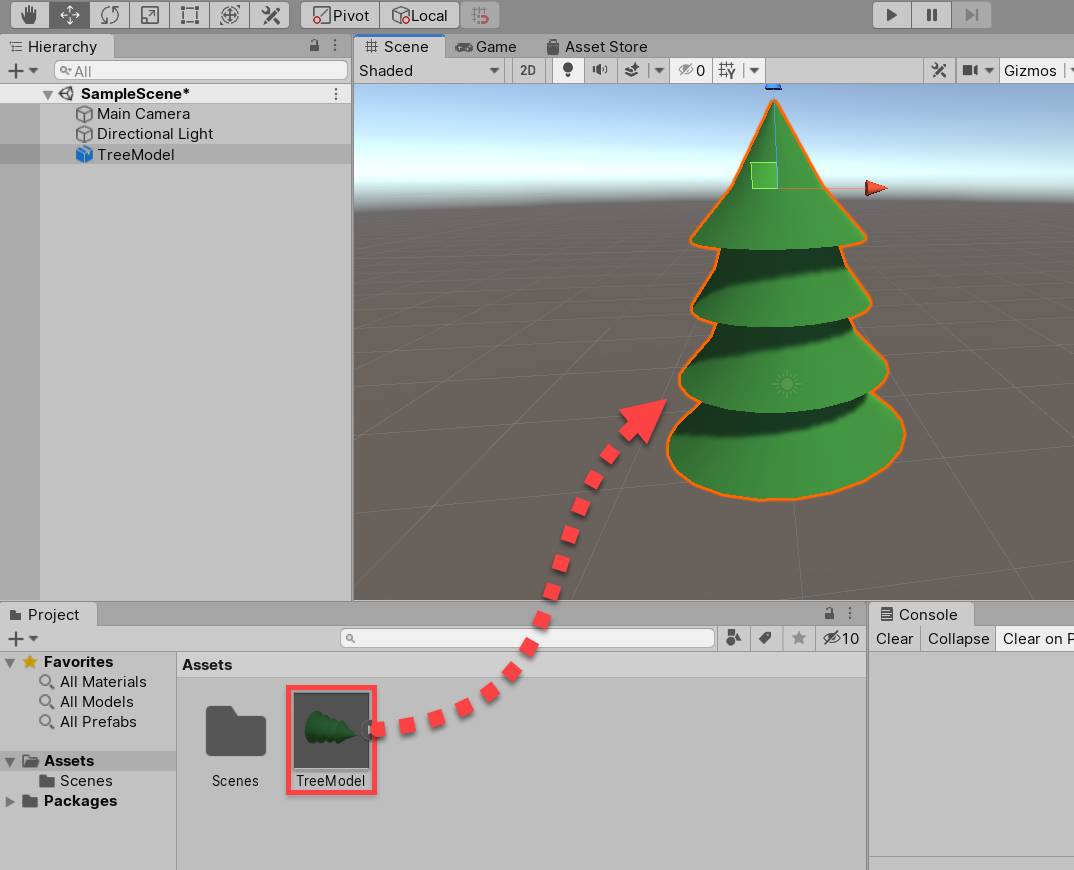
Step 5: Using Your Blender Model in Unity
- Drag the model from the Project View into your Scene or Hierarchy.
- Adjust the model’s position, rotation, and scale to fit your scene.
- Apply materials and textures in Unity if they weren’t included during the import.
Tips for a Smooth Import Process
- For complex models, consider exporting as FBX for better performance and compatibility.
- Check Unity\"s documentation for specific import settings related to rigs and animations.
_HOOK_
Step 2: Export Your Model from Blender
- Go to File > Export and choose FBX (.fbx) format.
- In the export window, enable \"Apply Transform\" to ensure compatibility with Unity\"s coordinate system.
- Click \"Export FBX\" after making sure all settings are correct.
Step 3: Importing Your Model into Unity
- Unity natively imports Blender files. Place your .blend file or the exported FBX file into your project’s Assets folder.
- Unity will automatically import the file, which then appears in the Project View.
- For FBX files, you may also use the menu option Assets > Import New Asset and navigate to your file.
Step 4: Configuring Your Imported Model in Unity
- Select your imported model in the Project View to access Import Settings.
- Adjust Model, Rig, and Animation settings as needed to fit your project requirements.

Step 5: Using Your Blender Model in Unity
- Drag the model from the Project View into your Scene or Hierarchy.
- Adjust the model’s position, rotation, and scale to fit your scene.
- Apply materials and textures in Unity if they weren’t included during the import.
Tips for a Smooth Import Process
- For complex models, consider exporting as FBX for better performance and compatibility.
- Check Unity\"s documentation for specific import settings related to rigs and animations.
How do I import Blender models into Unity with textures?
To import Blender models into Unity with textures, you can follow these steps:
- Before exporting the model from Blender, make sure the model is fully textured and properly UV mapped.
- In Blender, go to File > Export > FBX (.fbx) to export the model in a format compatible with Unity.
- In Unity, click on Assets > Import New Asset in the menu bar.
- Locate and select the exported .fbx file from Blender and click Import to bring the model into Unity.
- To ensure textures are imported correctly, make sure to place the textures in the same folder as the .fbx file or reassign them in Unity.
- You can adjust materials and shaders in Unity to achieve the desired look for your model.
_HOOK_
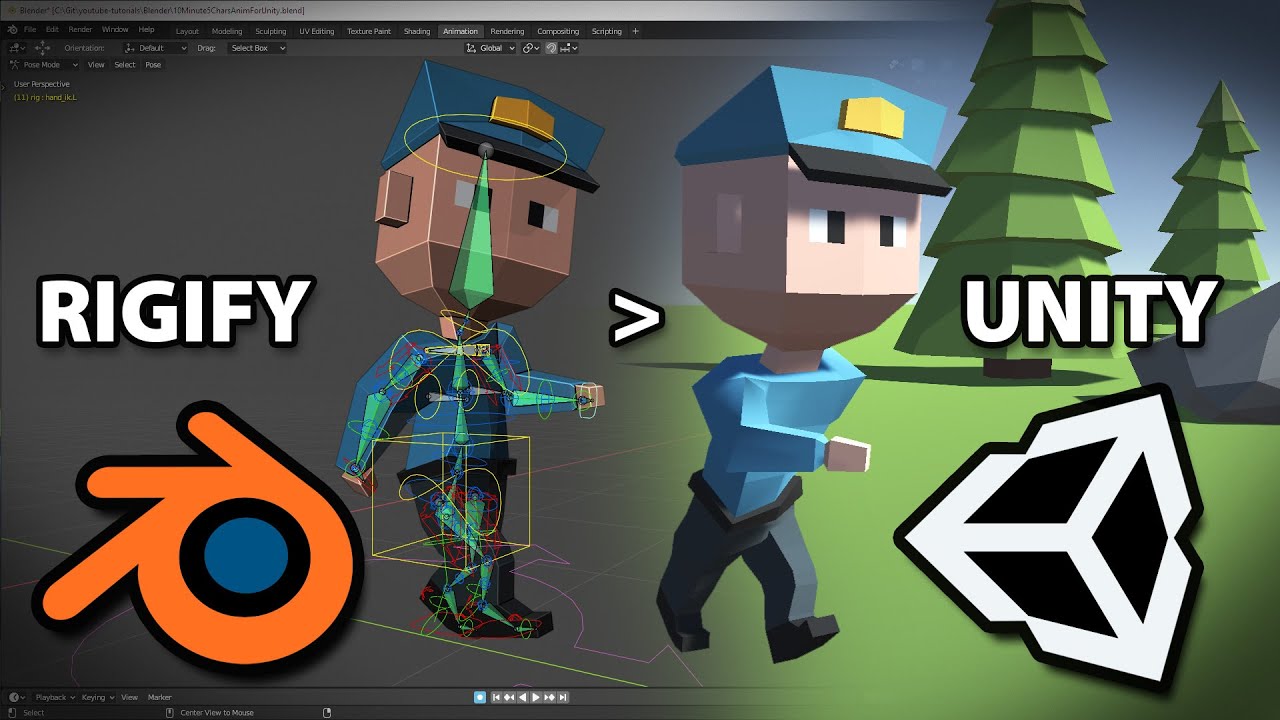
Blender to Unity tutorial: Importing models with material and texture
Import: \"Explore the exciting world of global trade with our video on Imports! Discover how importing goods can benefit economies and consumers worldwide, and learn about the process behind bringing products from around the world to your doorstep.\" Export: \"Join us on a journey to uncover the fascinating realm of Exports in our video! Delve into the mechanisms of international trade and see how exporting goods plays a crucial role in boosting economic growth and fostering partnerships across borders.\"
Exporting materials from Blender to Unity 2023
Let\'s learn about how to take your models and materials from blender, and how to properly export them into Unity! Join the ...
Step 3: Importing Your Model into Unity
- Unity natively imports Blender files. Place your .blend file or the exported FBX file into your project’s Assets folder.
- Unity will automatically import the file, which then appears in the Project View.
- For FBX files, you may also use the menu option Assets > Import New Asset and navigate to your file.

Step 4: Configuring Your Imported Model in Unity
- Select your imported model in the Project View to access Import Settings.
- Adjust Model, Rig, and Animation settings as needed to fit your project requirements.
Step 5: Using Your Blender Model in Unity
- Drag the model from the Project View into your Scene or Hierarchy.
- Adjust the model’s position, rotation, and scale to fit your scene.
- Apply materials and textures in Unity if they weren’t included during the import.
Tips for a Smooth Import Process
- For complex models, consider exporting as FBX for better performance and compatibility.
- Check Unity\"s documentation for specific import settings related to rigs and animations.
_HOOK_
Step 5: Using Your Blender Model in Unity
- Drag the model from the Project View into your Scene or Hierarchy.
- Adjust the model’s position, rotation, and scale to fit your scene.
- Apply materials and textures in Unity if they weren’t included during the import.
Tips for a Smooth Import Process
- For complex models, consider exporting as FBX for better performance and compatibility.
- Check Unity\"s documentation for specific import settings related to rigs and animations.
Introduction to Importing Blender Models into Unity
Integrating Blender models into Unity enhances game development, offering a seamless transition from detailed model creation to interactive game design. This process, involving the export of models from Blender and their import into Unity, leverages the strengths of both platforms to bring your creative visions to life in a game environment.
- Unity natively supports importing Blender files, facilitating a straightforward workflow.
- The preparation of your Blender model includes ensuring the geometry and textures are game-ready, and setting the origin point appropriately for your Unity scene.
- Exporting models from Blender typically involves using the FBX format, known for its compatibility with Unity’s asset management system.
- Once in Unity, models can be easily added to your project’s assets and configured within the game scene, including adjustments for materials, textures, and animations.
This introductory guide aims to demystify the process, breaking down each step from model preparation in Blender to its final integration in Unity. Whether you\"re a beginner or an experienced developer, understanding this workflow can significantly impact the quality and efficiency of your game development projects.
Preparing Your Blender Model for Export
Before transferring your Blender model to Unity, it\"s crucial to prepare it correctly to ensure compatibility and optimal performance. This involves several key steps, from optimizing the model\"s geometry to setting up materials and textures.
- Clean Up the Geometry: Ensure your model\"s mesh is clean, with no unnecessary vertices or faces. This reduces file size and improves performance in Unity.
- Apply Modifiers: Before exporting, apply any Blender modifiers to your model. This includes modifiers like Subdivision Surface, which affects the model\"s geometry.
- Set the Origin Point: Unity uses the origin point of your Blender model for positioning in the scene. Use the Cursor tool in Blender to set the origin to a logical location, such as the base of the model.
- Materials and Textures: Assign materials and textures in Blender. While Unity can import Blender materials, you may need to adjust or reapply textures within Unity for the best results.
- Scale and Rotation: Apply scale and rotation (Ctrl+A in Blender) to ensure your model\"s size and orientation are correctly interpreted by Unity.
- Choose the Right Export Format: Export your model as an FBX file, which is widely supported and maintains most data integrity between Blender and Unity. Make sure to select the option to embed textures if your model uses them.
Following these steps prepares your Blender model for a smooth transition to Unity, allowing you to leverage your detailed models effectively in your game development projects.
Choosing the Right File Format for Export
When exporting models from Blender for use in Unity, selecting the correct file format is crucial for maintaining the integrity of your models and ensuring compatibility. This section will guide you through the most suitable formats for different types of projects.
- FBX (.fbx): The most recommended format for exporting 3D models from Blender to Unity. It supports a wide range of features including meshes, armatures, and animations, making it versatile for game development.
- Blender File (.blend): Unity can directly import .blend files, automating the conversion to an intermediate format. This method is convenient for quick tests, but it\"s recommended to use FBX for final imports to have more control over the import settings.
- Collada (.dae): An alternative to FBX, offering good compatibility but might require more adjustments in Unity compared to FBX.
FBX stands out as the optimal choice due to its support for complex animations and the ability to embed textures, ensuring a seamless import process into Unity. When exporting as FBX, ensure to select options that embed textures and maintain the correct scale to avoid additional adjustments in Unity.
Ultimately, the choice of format depends on your project needs and the complexity of your models. Experimenting with different formats and settings can help you find the best workflow for your game development process.
Step-by-Step Guide to Exporting Models from Blender
Exporting your Blender model for use in Unity is a critical step in the game development process. Follow this detailed guide to ensure your models are ready for import into Unity.
- Finalize Your Model: Make sure your model is complete, with all geometry, textures, and animations finalized.
- Choose the Correct Export Format: Navigate to File > Export in Blender and select FBX (.fbx) as the export format for optimal compatibility with Unity.
- Configure Export Settings: In the export options, select \"Selected Objects\" if you only want to export part of your scene. Ensure \"Apply Transform\" is checked to maintain the correct scale, rotation, and position.
- Embed Textures: If your model uses textures, make sure to embed them in the FBX file by selecting the \"Path Mode\" to \"Copy\" and clicking the \"Embed Textures\" option.
- Export the Model: After configuring all settings, click \"Export FBX\". Choose a memorable location to save your file, ensuring it\"s easily accessible for the next step in Unity.
This process bridges the gap between Blender\"s detailed modeling capabilities and Unity\"s interactive environment, enabling a smooth transition of assets from conception to gameplay.
_HOOK_
Importing Models into Unity: A Detailed Procedure
Once you have your Blender model ready and exported, the next step is to import it into Unity. This detailed procedure ensures a smooth transition of your assets into the Unity engine for further development.
- Place Your Model in the Assets Folder: Start by placing your exported FBX file or the original .blend file directly into your Unity project\"s Assets folder. Unity automatically detects and imports new assets.
- Check the Import Settings: Once Unity has imported your model, select it in the Assets folder to view and adjust the Import Settings in the Inspector window. Here, you can configure settings such as Mesh Compression, Materials, and Textures.
- Adjust Materials and Textures: If your model included materials and textures, you might need to adjust or reapply them within Unity to ensure they display correctly. Unity\"s Standard Shader is versatile and can be used to recreate your Blender materials.
- Drag and Drop into Your Scene: With your model imported and materials adjusted, you can now drag the model from the Assets folder into your scene. Position, scale, and rotate the model as needed to fit your game\"s environment.
- Optimize the Model: Depending on your project\"s needs, you may need to optimize the model further. Consider aspects like reducing the polygon count or baking textures to improve performance.
Importing models from Blender into Unity can significantly enhance your game\"s visual appeal and interactivity. Following these steps ensures that your models are imported efficiently and are ready for use in your Unity projects.
Configuring Imported Models in Unity for Optimal Use
After importing your Blender models into Unity, configuring them correctly is crucial for achieving the best results in your game development project. This section outlines essential steps to optimize and utilize your models effectively within Unity.
- Adjust Import Settings: Select your imported model in the Project view to access and tweak its Import Settings. Here, you can manage mesh compression, material generation, and animation import options.
- Material Setup: Unity might not automatically apply Blender\"s materials correctly. Manually adjust materials in the Unity Editor to match your original design by using the provided shaders or custom ones.
- Scale and Orientation: Verify the model\"s scale and orientation. If they don\"t match your expectations, adjust the import settings or scale the model directly in the Unity Editor.
- Optimize Meshes: For performance, consider optimizing your model\"s meshes within Unity by reducing polygon counts or merging meshes, if necessary.
- Lighting and Shadows: Ensure your model interacts correctly with Unity\"s lighting by adjusting the model\"s Normal and Shadow settings.
- Colliders: Add physics colliders to your model if it will interact with the game world physically. Unity offers various collider types to match the shape and complexity of your model.
- Rigging and Animation: If your model includes animations, review the rigging settings under the Rig tab in the Import Settings. Unity allows you to define the model as Generic, Humanoid, or Legacy, depending on your animation setup.
Properly configuring your models ensures they look good and perform well in your Unity projects. Paying attention to these details can make a significant difference in the development process and the final game experience.
Tips and Best Practices for a Smooth Import Process
Successfully importing Blender models into Unity can streamline your game development workflow. Here are some expert tips and best practices to ensure a smooth import process.
- Optimize Your Blender Model: Before exporting, reduce the model\"s complexity by minimizing the number of vertices and textures. This improves performance in Unity.
- Keep Your Files Organized: Maintain a structured folder hierarchy in your Unity project. This makes managing assets easier and speeds up the development process.
- Use the Correct Scale: Ensure your Blender model\"s scale matches Unity\"s unit system. Adjusting the scale before exporting can save time on adjustments within Unity.
- Consolidate Textures: Combine textures where possible. This reduces the number of materials Unity needs to render, thereby optimizing game performance.
- Apply Modifiers Before Exporting: Applying any Blender modifiers before export ensures your model looks as intended when imported into Unity.
- Check for Compatibility: Regularly update both Blender and Unity to ensure compatibility. Using mismatched versions may lead to import issues.
- Test Frequently: Import your model into Unity regularly during development. This helps catch and resolve any issues early in the development cycle.
Following these tips can significantly enhance your efficiency and effectiveness when importing models from Blender into Unity, ensuring a more productive game development process.
Common Issues and How to Solve Them
Importing Blender models into Unity can sometimes present challenges. Here are some common issues you might face and their solutions to ensure a smooth import process.
- Invisible Models: If your model does not appear in Unity, check the scale and ensure it\"s not too small. Adjust the scale in Blender and re-export the model.
- Incorrect Rotation or Scale: This can occur due to differences in the coordinate systems between Blender and Unity. Apply rotation and scale in Blender (Ctrl+A) before exporting.
- Missing Textures: Unity might not automatically import textures. Ensure textures are correctly linked in Blender and consider using the FBX format which supports embedding textures.
- Animations Not Playing: Make sure to export animations with the model and check the import settings in Unity under the Animations tab to ensure they are correctly configured.
- Materials Look Different: Due to rendering differences, materials may need adjustments in Unity. Reconfigure materials using Unity\"s Shader options to achieve the desired look.
- Performance Issues: Large or complex models can cause performance issues. Optimize your model in Blender by reducing polygon counts and textures sizes before exporting.
Addressing these common issues can help streamline the process of bringing Blender models into your Unity projects, ensuring your creative vision is realized without technical hindrances.
READ MORE:
Enhancing Your Unity Project with Blender Models
Blender models can significantly enhance the visual quality and interactivity of your Unity projects. By leveraging Blender\"s advanced modeling and texturing capabilities, you can create detailed, high-quality assets that bring your game or VR experience to life. Here\"s how to make the most of Blender models in Unity:
- High-Quality Assets: Use Blender to create detailed models and intricate textures. The precision and flexibility offered by Blender can help in creating unique assets that stand out.
- Complex Animations: Blender\"s animation tools allow for the creation of complex animations that can be imported into Unity, adding depth and realism to your project.
- Efficient Workflow: Streamlining the workflow between Blender and Unity saves time and resources, allowing for a more efficient development process. Make use of Blender\"s export features designed for Unity to ensure compatibility.
- Prototyping: Blender\"s versatility makes it an excellent tool for prototyping game assets quickly. These can be refined in Blender and then imported into Unity for testing and further development.
- Environmental Design: Utilize Blender\"s powerful modeling tools to create immersive environments. Detailed terrains, buildings, and props can be exported to Unity to build engaging worlds.
Integrating Blender models into your Unity projects not only improves the aesthetic appeal but also opens up a world of creative possibilities. By following these tips, you can effectively enhance your Unity projects with the power of Blender.
Embrace the synergy between Blender and Unity to bring your creative visions to life. By mastering the import process, you unlock endless possibilities for game development and interactive design, enhancing your projects with stunning visuals and dynamic animations.
_HOOK_