Topic how to create 3d characters in blender: Discover the art of creating 3D characters in Blender, an exciting journey from basic models to detailed animations, tailored for both beginners and experienced artists alike.
Table of Content
- Getting Started with Blender
- Step-by-Step Character Creation
- Tips for Successful Character Creation
- Step-by-Step Character Creation
- Tips for Successful Character Creation
- Tips for Successful Character Creation
- Introduction to 3D Character Creation in Blender
- How to create 3D characters in Blender?
- YOUTUBE: Making a Character in Blender: My Full Process in 10 Minutes
- Getting Started with Blender for Character Design
- Essential Tools and Techniques for Modeling
- Character Sculpting for Detailing and Realism
- Texturing and Material Application
- Rigging Your Character for Animation
- Animating Your 3D Character
- Lighting, Rendering, and Exporting Final Work
- Advanced Tips for Professional Character Artists
- Learning Resources and Community Support
- Conclusion and Next Steps in Your 3D Art Journey
Getting Started with Blender
- Download and install Blender from the official website.
- Familiarize yourself with the Blender interface and key shortcuts.
- Set up your workspace to focus on character modeling.

READ MORE:
Step-by-Step Character Creation
- Concept and Planning: Start with a clear concept of your character. Sketching your character can help visualize the final model.
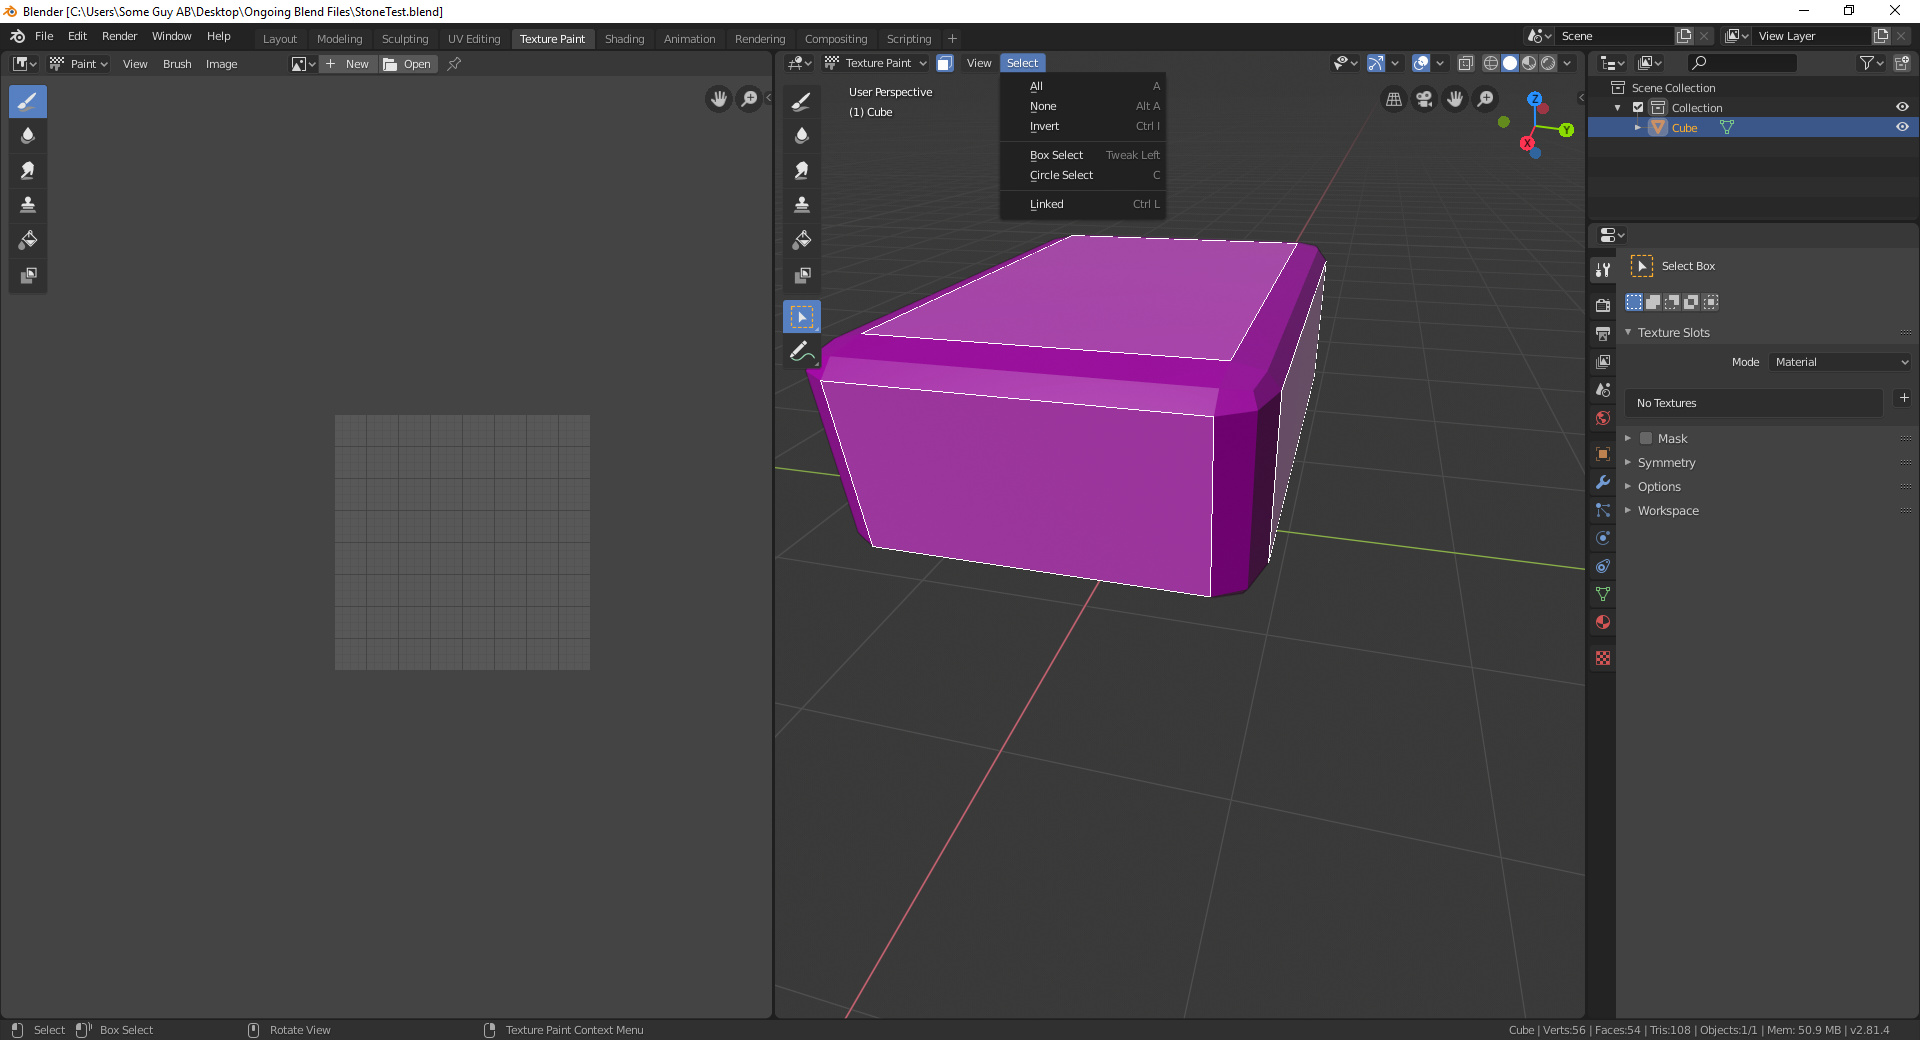
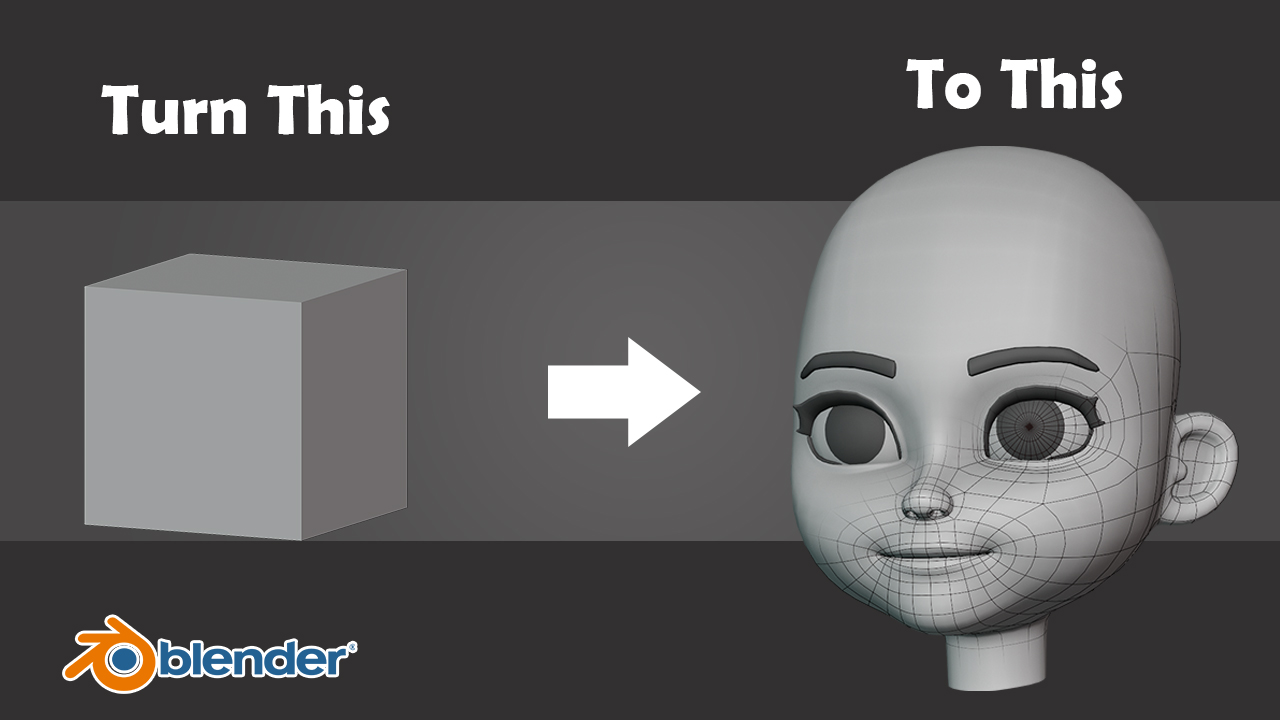
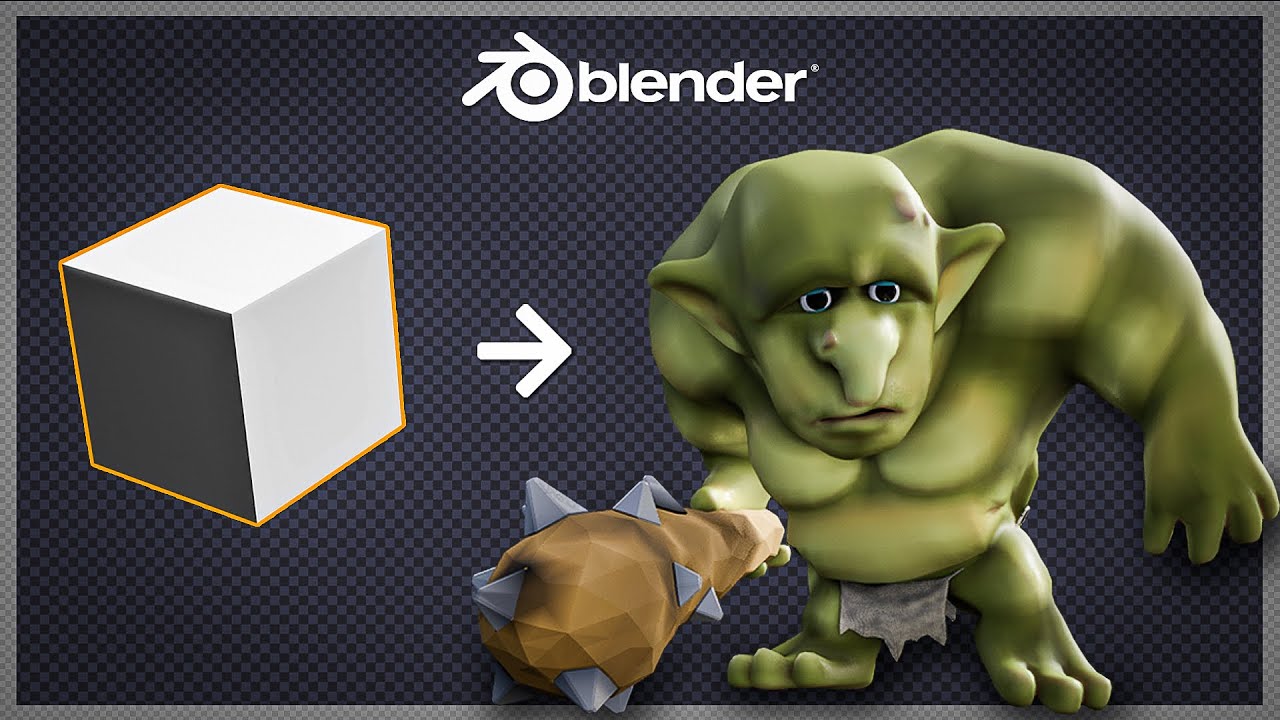
- Modeling: Begin with a basic shape, such as a cube, and use Blender\"s modeling tools to form the basic structure of your character.
- Sculpting: Use Blender\"s sculpting tools to add details and refine your character\"s features.
- Texturing: Apply textures to give your character color, depth, and realism.
- Rigging: Rig your character with a skeleton to prepare it for animation.
- Animating: Bring your character to life with animation. Start with simple movements and progress to more complex animations.
- Lighting and Rendering: Set up lighting to highlight your character and render images or animations to share your work.
- Exporting: Export your character for use in games, animations, or other projects.
Tips for Successful Character Creation
- Practice regularly to improve your modeling and sculpting skills.
- Explore Blender\"s vast library of tutorials and resources to learn new techniques.
- Join Blender communities to share your work and get feedback from other artists.
Conclusion
Creating 3D characters in Blender is a journey of creativity and learning. By following these steps and tips, you can develop the skills to create amazing 3D characters and bring your artistic visions to life.
Step-by-Step Character Creation
- Concept and Planning: Start with a clear concept of your character. Sketching your character can help visualize the final model.
- Modeling: Begin with a basic shape, such as a cube, and use Blender\"s modeling tools to form the basic structure of your character.
- Sculpting: Use Blender\"s sculpting tools to add details and refine your character\"s features.
- Texturing: Apply textures to give your character color, depth, and realism.
- Rigging: Rig your character with a skeleton to prepare it for animation.
- Animating: Bring your character to life with animation. Start with simple movements and progress to more complex animations.
- Lighting and Rendering: Set up lighting to highlight your character and render images or animations to share your work.
- Exporting: Export your character for use in games, animations, or other projects.
Tips for Successful Character Creation
- Practice regularly to improve your modeling and sculpting skills.
- Explore Blender\"s vast library of tutorials and resources to learn new techniques.
- Join Blender communities to share your work and get feedback from other artists.
Conclusion
Creating 3D characters in Blender is a journey of creativity and learning. By following these steps and tips, you can develop the skills to create amazing 3D characters and bring your artistic visions to life.
_HOOK_
Tips for Successful Character Creation
- Practice regularly to improve your modeling and sculpting skills.
- Explore Blender\"s vast library of tutorials and resources to learn new techniques.
- Join Blender communities to share your work and get feedback from other artists.
Conclusion
Creating 3D characters in Blender is a journey of creativity and learning. By following these steps and tips, you can develop the skills to create amazing 3D characters and bring your artistic visions to life.

Introduction to 3D Character Creation in Blender
Blender is a powerful, free, and open-source 3D creation suite that supports the entirety of the 3D pipeline—modeling, rigging, animation, simulation, rendering, compositing, and motion tracking. Creating 3D characters in Blender is a multifaceted process that allows artists and hobbyists alike to bring their imaginative characters to life. This introduction covers the basics of starting with Blender, understanding its interface, and the key steps involved in character creation.
- Understanding Blender\"s Interface: Familiarize yourself with Blender\"s user interface, including the 3D viewport, outliner, properties panel, and timeline.
- Modeling Basics: Learn the fundamental tools and techniques for modeling 3D characters, such as extruding, sculpting, and using modifiers.
- Texturing and Materials: Explore how to apply colors, textures, and materials to your character to enhance realism and visual appeal.
- Rigging and Animation: Understand the basics of rigging your character for animation, setting up bones, and creating movements.
- Rendering and Exporting: Discover how to render your character into images or animation sequences and how to export your models for use in other projects or game engines.
Each step is crucial for creating a believable and dynamic 3D character in Blender. By the end of this guide, you will have a foundational understanding of the process, ready to explore more advanced techniques and bring your unique characters to life.

How to create 3D characters in Blender?
To create 3D characters in Blender, follow these steps:
- Start with a concept: Before diving into Blender, have a clear concept of the character you want to create. This can be a sketch, reference images, or a written description.
- Modeling: Use Blender\'s modeling tools to create the basic shape of your character. Start with a simple mesh and gradually add details to refine the shape.
- Texturing: Add textures to your character to give it color and surface details. You can either create your own textures or use pre-made textures.
- Rigging: Rigging is the process of creating a skeleton for your character that will allow it to move realistically. Create bones and rig your character accordingly.
- Animating: Once your character is rigged, you can start animating it. Use Blender\'s animation tools to bring your character to life with movements.
- Lighting and Rendering: Set up lighting in your scene to create the desired atmosphere. Then, use Blender\'s rendering engine to render high-quality images or animations of your character.
- Refinement: Finally, make any necessary adjustments and refinements to your character to improve its overall appearance and functionality.
Making a Character in Blender: My Full Process in 10 Minutes
Discover the fascinating world of character design where creativity knows no bounds. Unleash your imagination and bring unique characters to life in vibrant colors and intricate details. Watch the video to be inspired!
Blender Character Modeling Tutorial for Absolute Beginners - Part 1
Dive into the world of modeling tutorials and unlock the secrets to creating stunning 3D models from scratch. Learn essential techniques, tips, and tricks to bring your creations to the next level. Watch the video and master the art of 3D modeling!
Getting Started with Blender for Character Design
Embarking on the journey of character design in Blender begins with setting up your workspace and familiarizing yourself with the tools and features Blender offers. This section guides you through the initial steps required to start creating your own 3D characters.
- Download and Install Blender: Ensure you have the latest version of Blender installed from the official website to access all the newest features and improvements.
- Familiarize with the Interface: Spend some time getting to know the layout, including the 3D viewport, editor types, and where to find the essential tools for character design.
- Configure User Preferences: Adjust Blender\"s settings to suit your workflow. This can include input settings, theme colors, and enabling add-ons.
- Learn Basic Navigation: Practice navigating the 3D viewport using your mouse and keyboard shortcuts to efficiently move around your project.
- Start with Basic Shapes: Begin your character design by creating basic shapes to block out the form of your character. Use Blender\"s modeling tools to modify these shapes into the rough silhouette of your character.
- Explore Modeling Techniques: Delve into more advanced modeling techniques such as extruding, loop cuts, and subdivision surfaces to add detail to your character.
- Practice Regularly: Like any skill, proficiency in Blender comes with practice. Set aside time regularly to explore Blender\"s capabilities and work on your character design projects.
By following these steps, you will lay a solid foundation for your character design journey in Blender. Remember, the key to mastering Blender is consistent practice and exploration.
Essential Tools and Techniques for Modeling
Modeling in Blender is a core skill for creating 3D characters, requiring a good grasp of the tools and techniques available. This section highlights the essential tools and modeling techniques that will help you build complex and detailed character models.
- Mesh Modeling Tools: Utilize vertices, edges, and faces to sculpt your character. Tools like Extrude, Loop Cut, and Bevel are fundamental for shaping your model.
- Sculpting Mode: For adding fine details to your character, switch to Sculpting mode. Use brushes like Grab, Clay Strips, and Smooth to mold your character.
- Modifiers: Modifiers like Subdivision Surface can smooth or add complexity to your model without permanently changing the mesh, allowing for flexible modeling.
- Topology and Edge Flow: Understanding topology and maintaining a clean edge flow are crucial for deformations, especially for animated characters. Use tools like Knife and Retopology to refine your mesh.
- Shading and UV Unwrapping: Proper shading and UV mapping are essential for texturing your character. Explore Blender\"s shading options and UV editing tools to prepare your model for texturing.
- Armature and Rigging Tools: While not strictly modeling tools, preparing your character for rigging by considering joint locations and movement ranges is essential during the modeling process.
Mastering these tools and techniques is vital for creating high-quality 3D characters in Blender. Practice and experimentation are key to understanding how to best utilize each feature for your specific project needs.

_HOOK_
Character Sculpting for Detailing and Realism
Sculpting in Blender is a powerful technique for adding detailed textures and realism to your 3D characters. This process allows for intuitive shaping, similar to working with clay in the real world. Here are key steps and tips to enhance your character sculpting skills.
- Start with a Base Mesh: Before sculpting, create a basic mesh that outlines your character\"s general shape. This serves as a foundation to add details onto.
- Choose the Right Brushes: Blender offers a variety of sculpting brushes. Use the Grab brush for large adjustments, the Clay strips for adding volume, and the Crease brush for sharp details.
- Work with Dynamic Topology: Enable dynamic topology to add more geometry to your mesh as you sculpt, allowing for finer detail without worrying about the initial mesh density.
- Focus on Anatomy: Understanding basic human or animal anatomy will greatly enhance the realism of your characters. Pay attention to muscle groups, bone structure, and how skin wraps around these elements.
- Add Fine Details: Use high-resolution sculpting for skin textures, wrinkles, and clothing details. Brushes like Draw Sharp and Damp Standard are great for these final touches.
- Symmetry Mode: For most characters, you\"ll want to use symmetry mode to ensure that both sides of your character are identical. This saves time and maintains consistency.
- Practice Patience and Layering: Good sculpting comes from patience and gradually building up your details. Work in layers, starting with broad shapes and moving to finer details.
Character sculpting is both an art and a skill that improves with practice. Incorporating these techniques into your Blender workflow will bring your characters to life with stunning detail and realism.
Texturing and Material Application
Texturing and applying materials are critical steps in character creation, adding color, realism, and depth to your 3D models. This section guides you through the process of creating and applying textures and materials in Blender to achieve lifelike characters.
- Understanding Textures: Textures are images or patterns applied to the surface of a model to give it color, detail, and realism. Learn the types of textures, such as diffuse, bump, and specular maps.
- UV Mapping: Before applying textures, you must unwrap your model. UV mapping involves projecting a 3D model onto a 2D plane to accurately apply textures.
- Creating Textures: You can create textures using Blender\"s texture painting tools or import images as textures. Consider using high-resolution images for more detail.
- Applying Materials: Materials define how a surface interacts with light. Use Blender\"s shader editor to create and apply materials that simulate real-world properties like metal, glass, or fabric.
- Shader Nodes: Utilize shader nodes in Blender to create complex materials. Nodes like Principled BSDF allow for a wide range of material properties to be simulated.
- Testing and Adjusting: Render your character with different lighting setups to test how the textures and materials look. Adjust as necessary to achieve the desired appearance.
Texturing and material application can dramatically enhance the visual quality of your 3D characters. With practice, you can create stunning, realistic characters that stand out in any digital environment.
Rigging Your Character for Animation
Rigging is the process of creating a skeleton for your 3D character so it can move and pose. It\"s a crucial step in bringing characters to life in Blender. This section provides a step-by-step guide on how to rig your character for animation.
- Create the Armature: Start by adding an armature object to your scene. This will serve as the skeleton for your character.
- Positioning Bones: Place bones in key parts of the character, such as the limbs, torso, and head. Ensure the bones align with the character\"s mesh for accurate movement.
- Parenting Mesh to Armature: Once the armature is set up, parent the character\"s mesh to the armature. This step is crucial for the mesh to follow the movements of the bones.
- Weight Painting: Use weight painting to specify how much each part of the mesh is influenced by the corresponding bones. This controls how your character deforms during animation.
- Adding Inverse Kinematics (IK): For more natural movements, apply inverse kinematics constraints to limbs. IK helps create more realistic and easier-to-control animations.
- Testing the Rig: Pose your character in various positions to test the rigging. Make adjustments as needed to ensure the rig behaves as expected.
Successful rigging is essential for creating believable and dynamic animations. With practice, you can master the art of rigging in Blender, unlocking endless possibilities for animating your 3D characters.
Animating Your 3D Character
Animation breathes life into your 3D character, turning a static model into a dynamic figure capable of expressing emotions, performing actions, and interacting with environments. This section outlines the steps to animate your character in Blender.
- Understanding the Animation Tools: Get familiar with Blender\"s animation tools, including the timeline, dope sheet, and graph editor.
- Setting Up Keyframes: Keyframes are the cornerstone of animation, defining the start and end points of any movement. Position your character at the start of an action, insert a keyframe, then move to the next point and insert another keyframe.
- Working with the Action Editor: Use the Action Editor for more complex animations, allowing you to create, edit, and blend different movements.
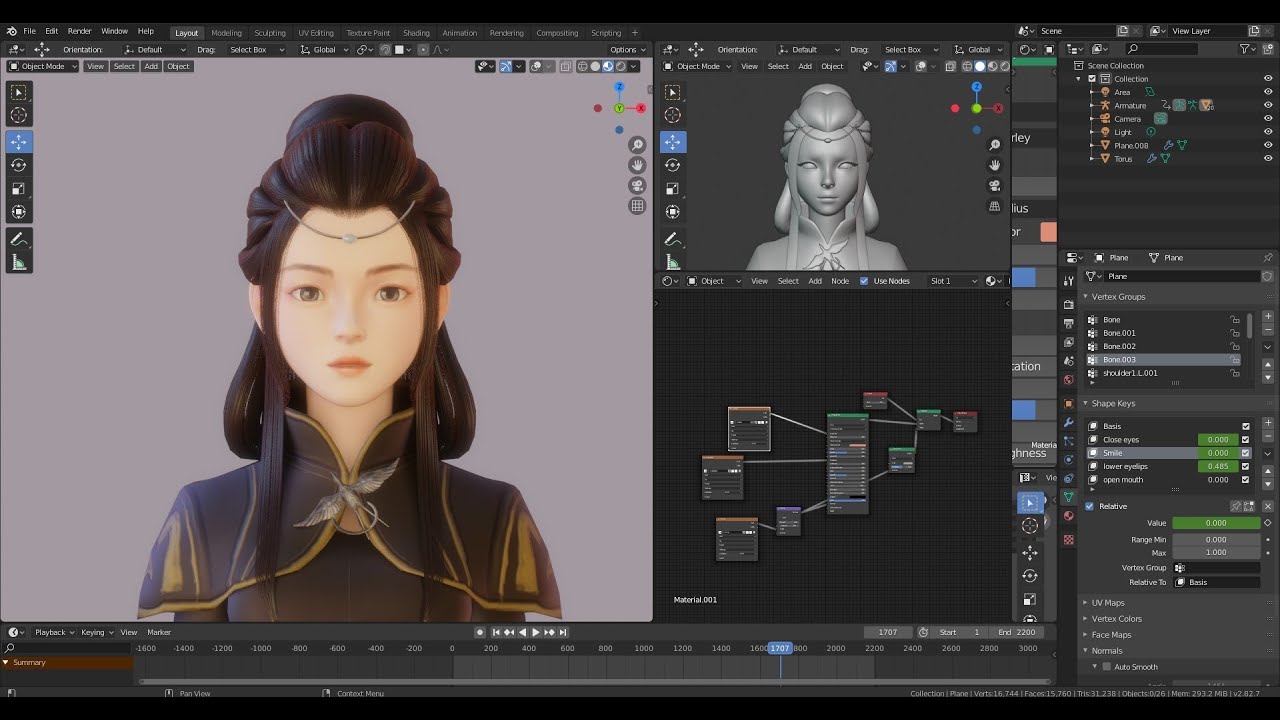
- Animating Facial Expressions: For facial animations, create shape keys to control the movement of facial features independently.
- Applying Inverse Kinematics (IK) for Natural Movements: Use IK rigs for animating limbs to achieve more natural and realistic movements.
- Using Motion Paths: Motion paths help visualize the trajectory of movements, ensuring smooth and coherent animations.
- Adding Sound and Lip Sync: For characters that speak or react to audio, synchronize animations with sound for a more immersive experience.
Animation is a detailed and iterative process, requiring patience and creativity. By mastering Blender\"s animation tools, you can create compelling and lifelike animations that showcase your character in motion.
Lighting, Rendering, and Exporting Final Work
The final steps in the 3D character creation process involve lighting, rendering, and exporting your work. These stages are crucial for showcasing your character in its best light, literally and figuratively. Follow these steps to complete your project in Blender.
- Setting Up the Lighting: Proper lighting is essential for highlighting the details and textures of your character. Experiment with different light sources and positions to achieve the desired effect.
- Choosing the Right Camera Angle: Position the camera to capture your character from the best perspective. Consider the rule of thirds and other composition techniques for a dynamic presentation.
- Rendering Settings: Adjust rendering settings in Blender to balance quality and rendering time. Explore settings like resolution, sampling, and denoising to get the best results.
- Using Render Layers and Passes: For complex scenes, use render layers and passes to separate elements of your scene. This allows for more control in post-production editing.
- Post-Production Editing: Use Blender\"s Compositor or external software to adjust colors, contrast, and add effects to your rendered image or animation.
- Exporting Your Work: Export your character model, images, or animations in the appropriate format for your project or portfolio. Blender supports a variety of formats suitable for different uses, from game engines to film production.
By carefully planning and executing each of these steps, you can ensure your 3D character is presented in the best possible way, ready for any application or audience.
_HOOK_
Advanced Tips for Professional Character Artists
Becoming a professional character artist in Blender involves not just mastering the basics, but also exploring advanced techniques that can push your work to new heights. Here are some tips aimed at professionals looking to refine their craft.
- Study Real-Life Anatomy: A deep understanding of human and animal anatomy will significantly improve the realism of your characters. Pay attention to muscle groups, skeletal structure, and how they influence movement.
- Experiment with Different Sculpting Brushes: Beyond the basic brushes, explore Blender\"s vast array of sculpting tools to add intricate details to your characters.
- Utilize Custom Shaders: Learning to create and modify shaders can give your characters unique visual styles and enhance the realism of their materials.
- Master Retopology: For characters intended for animation, practicing efficient retopology techniques ensures your models are not only detailed but also performance-friendly.
- Incorporate Photogrammetry: Use photogrammetry for creating highly realistic textures and models based on real-world objects and people.
- Focus on Facial Expressions: Spend extra time refining facial expressions. Subtle changes can convey a wide range of emotions and bring your character to life.
- Explore Non-Destructive Workflow: Use modifiers and procedural texturing techniques that allow for easy adjustments and iterations without permanently altering your base mesh.
- Continuous Learning: The field of 3D art is always evolving. Stay updated with the latest Blender updates, plugins, and techniques shared by the community.
By incorporating these advanced tips into your workflow, you\"ll enhance the quality and professionalism of your character art, making your work stand out in the competitive field of 3D animation and game development.
Learning Resources and Community Support
Mastering Blender and the art of 3D character creation is a journey that is significantly enriched by a wealth of learning resources and a supportive community. Here are some invaluable resources and avenues for support to help you grow as a character artist.
- Official Blender Tutorials: Start with the tutorials provided by the Blender Foundation. They cover basics to advanced topics and are updated with new features.
- Online Courses and Workshops: Platforms like Udemy, Coursera, and CG Cookie offer comprehensive courses on Blender and character design, catering to all skill levels.
- YouTube Channels: YouTube hosts a vast array of Blender tutorials. Channels like Blender Guru, CG Geek, and FlippedNormals offer tutorials and tips that are invaluable for both beginners and advanced users.
- Blender Community Forums: Join forums such as Blender Artists and the Blender subreddit to connect with other artists, share your work, get feedback, and troubleshoot issues.
- Blender Conferences and Meetups: Attending Blender conferences and local meetups can provide networking opportunities, insights into industry trends, and inspiration from fellow artists.
- Books and E-Books: There are several comprehensive guides and reference books on Blender that are perfect for in-depth learning.
- Practice and Personal Projects: Applying what you learn through personal projects is one of the best ways to improve. Challenge yourself with new techniques and styles.
Leveraging these resources and engaging with the community can dramatically accelerate your learning curve, helping you to overcome obstacles and continuously improve your skills in character creation.
READ MORE:
Conclusion and Next Steps in Your 3D Art Journey
The journey of learning to create 3D characters in Blender is both challenging and rewarding. With the resources, tools, and community support available, you are well-equipped to explore the vast possibilities of 3D art and character creation.
- Continue Learning: The field of 3D art is ever-evolving. Stay curious, and continue to learn new techniques, tools, and software updates.
- Join Projects: Collaborating on projects can offer practical experience, feedback from peers, and the opportunity to apply your skills in real-world scenarios.
- Build a Portfolio: Showcase your best work in an online portfolio. This will be crucial for networking, applying for jobs, or freelancing opportunities.
- Participate in Challenges: Online challenges and competitions are great ways to push your limits, experiment with new ideas, and gain visibility in the community.
- Give Back to the Community: As you grow, consider sharing your knowledge and experiences with others who are starting their journey. This can be through forums, creating tutorials, or mentoring.
Creating 3D characters in Blender is just the beginning. Each project is a step forward in your art journey, filled with opportunities to innovate, create, and inspire. Embrace the process, and enjoy where your creativity takes you.
Embark on a creative journey with Blender to bring your 3D characters to life, unlocking endless possibilities for storytelling, animation, and art. Let your imagination lead the way to a world of digital creation.