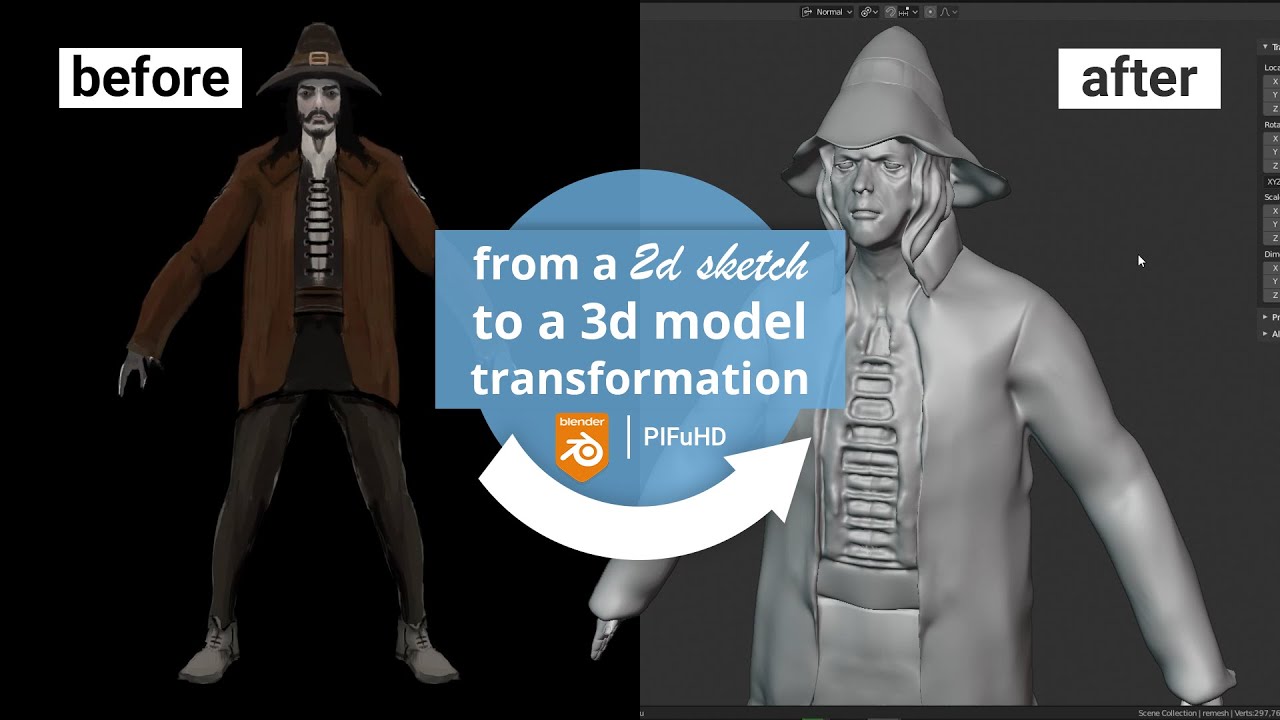
Topic 2d to 3d blender: Unlock the full potential of Blender and transform your 2D sketches into stunning 3D models. This comprehensive guide offers step-by-step tutorials, tips, and techniques for artists and designers looking to master the art of 2D to 3D conversion.
Table of Content
- How to convert a 2D image into a 3D model using Blender?
- Understanding the Basics of Blender for 2D to 3D Conversion
- Step-by-Step Tutorial: Importing 2D Images into Blender
- Using Grease Pencil for 2D Sketching and 3D Modeling
- Converting 2D Images to 3D Models with Sculpting Tools
- Utilizing Add-ons and Plugins for Enhanced Conversion
- YOUTUBE: 2D to 3D Using Blender Tracing
- Texturing and Material Application for 3D Models
- Lighting and Rendering Techniques for Realistic Output
- Animating 2D to 3D Converted Models in Blender
- Tips and Tricks for Efficient Workflow in Blender
- Case Studies: Successful 2D to 3D Conversion Projects
How to convert a 2D image into a 3D model using Blender?
To convert a 2D image into a 3D model using Blender, you can follow these steps:
- Open Blender and import the 2D image you want to convert.
- Click on the \"Add\" menu at the top and select \"Mesh\".
- Choose \"Plane\" as the mesh type to create a flat surface.
- Select the plane and go to the \"Modifiers\" tab in the Properties panel.
- Click on the \"Add Modifier\" button and choose \"Displace\".
- In the Displace Modifier settings, click on the \"New\" button under the Texture section.
- Set the texture type to \"Image or Movie\".
- Click on the \"Open\" button and select the 2D image you imported.
- Adjust the \"Strength\" parameter to control the height of the 3D model.
- Under the \"Texture Coordinate\" section, choose \"UV\" as the Coordinate type.
- Apply the Displace Modifier to see the 2D image transformed into a 3D model.
- You can further refine the result by adjusting the other settings in the Displace Modifier or adding additional modifiers if needed.
- Finally, you can also add materials, textures, and lighting to enhance the visual appeal of the 3D model.
READ MORE:
Understanding the Basics of Blender for 2D to 3D Conversion
Embarking on the journey from 2D to 3D in Blender begins with grasping its foundational concepts. Blender is a powerful open-source software toolset used for creating animations, models, and even games. It offers an extensive range of tools for 2D drawing and 3D modeling, making it an ideal platform for artists transitioning from 2D to 3D.
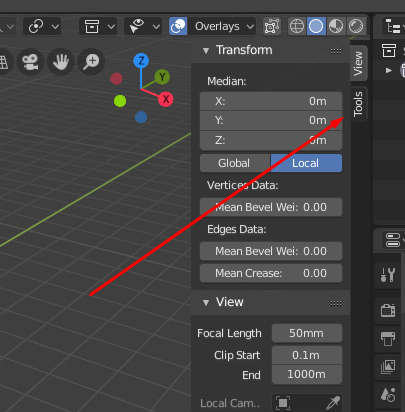
Before diving into the conversion process, it\"s crucial to familiarize yourself with Blender\"s interface, including its 3D viewport, outliner, properties panel, and timeline. These components are key to navigating and utilizing Blender efficiently.
- 3D Viewport: The main area where you create, view, and edit your 3D scene.
- Outliner: Displays a hierarchical list of all objects in the scene, making it easier to manage complex projects.
- Properties Panel: Contains various settings for the active object or scene, including materials, modifiers, and physics properties.
- Timeline: Allows for animation control, providing a straightforward way to animate your models.
After mastering the interface, the next step is learning how to import 2D images into Blender. This involves using the ‘Import Images as Planes’ add-on, which converts your 2D images into 3D planes, providing a base for your 3D modeling.
Understanding the principles of 3D modeling is also crucial. This includes familiarizing yourself with basic modeling operations like extrusion, loop cuts, and beveling, which are essential for creating 3D geometry from 2D images.
To fully leverage Blender\"s capabilities for 2D to 3D conversion, exploring its Grease Pencil feature is a must. It allows artists to draw directly in the 3D space, bridging the gap between 2D sketching and 3D modeling. With Grease Pencil, you can create 2D animations or use sketches as a base for 3D models.
Lastly, practice is key. Experiment with different tools and techniques, and utilize Blender’s vast community and resources for learning. As you become more comfortable with the software, you’ll find your workflow becoming more efficient and your 2D to 3D conversions more seamless.
Step-by-Step Tutorial: Importing 2D Images into Blender
Converting 2D images into 3D models in Blender starts with importing your artwork into the software. This step-by-step tutorial will guide you through the process, ensuring a smooth transition from your 2D concepts to 3D creations.
- Prepare Your 2D Image: Before importing, ensure your image is in a compatible format (e.g., JPEG, PNG). If necessary, edit your image to enhance its quality or adjust its dimensions.
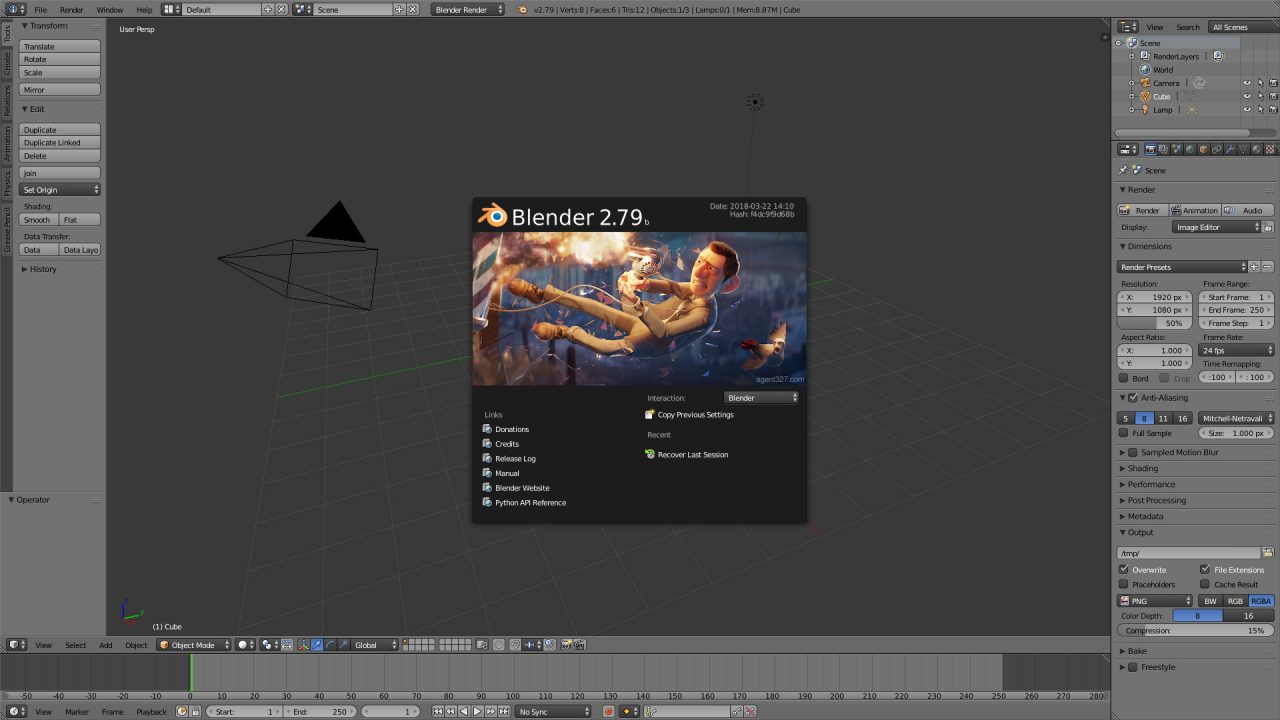
- Open Blender: Launch Blender and select a new project or the project you wish to import your image into.
- Enable \"Images as Planes\" Add-on: Go to Edit > Preferences > Add-ons and search for \"Import-Export: Import Images as Planes\". Check the box to enable this add-on, then close the Preferences window.
- Import Your Image: In the 3D viewport, go to File > Import > Images as Planes. Navigate to your image file, select it, and click \"Import Images as Planes\".
- Adjust the Imported Image: Once imported, you can move, rotate, and scale the image plane to fit your scene. Use the Transform tools in the toolbar or the respective shortcuts (G for move, R for rotate, S for scale).
- Set Up the View: Switch to Camera view (Numpad 0) to position your image as desired within the scene. This view will also help you better visualize how your 2D image will integrate with 3D elements.
- Utilize Shading: To see the image texture in the 3D Viewport, change the shading mode to Texture or Material Preview. This allows you to view the image as it will appear on the 3D model.
- Save Your Project: Don’t forget to save your project frequently to avoid losing any progress. Use File > Save As and choose your preferred location and file name.
This tutorial is just the beginning of your 2D to 3D journey in Blender. With your image now part of the 3D workspace, you can proceed to model, sculpt, or animate based on your project needs. Experiment with different tools and techniques to explore the vast possibilities Blender offers for creative expression.

Using Grease Pencil for 2D Sketching and 3D Modeling
Blender\"s Grease Pencil tool bridges the gap between 2D drawing and 3D modeling, offering a unique workflow for artists and designers. This section delves into how you can leverage the Grease Pencil for both 2D sketching and transforming those sketches into 3D models.
- Accessing the Grease Pencil: Start by creating a new Grease Pencil object. In the 3D Viewport, press Shift+A and select Grease Pencil > Blank. This creates a new layer for your 2D sketches.
- Drawing with Grease Pencil: With the Grease Pencil object selected, switch to Draw mode. Use the various brushes available to sketch your 2D design directly in the 3D Viewport.
- Layer Management: Organize your sketches by using layers. Add new layers for different parts of your sketch, allowing for easier editing and manipulation.
- Converting Sketches to 3D Geometry: Once you\"re satisfied with your 2D sketch, you can convert it into 3D geometry. Select the sketch, then go to Object mode. Use the Convert to Geometry button in the Grease Pencil tab to turn your sketches into 3D meshes.
- Editing and Sculpting: After converting your sketches, switch to Edit mode or Sculpt mode to refine your 3D model. Here, you can add details, adjust shapes, and further develop your model.
- Materials and Textures: Apply materials and textures to your 3D model to bring it to life. The Grease Pencil allows for the direct painting of textures, adding color and detail to your creation.
- Animation: Grease Pencil isn\"t just for static models; it\"s also a powerful tool for animation. Animate your 2D sketches or 3D models directly within Blender, creating dynamic sequences and animations.
Using the Grease Pencil for 2D sketching and 3D modeling in Blender opens up a world of creative possibilities. Whether you\"re conceptualizing, modeling, or animating, the Grease Pencil tool provides a seamless workflow for artists transitioning from 2D to 3D. Practice and explore its vast features to fully harness the power of this innovative tool.
Converting 2D Images to 3D Models with Sculpting Tools
Transforming 2D images into 3D models is a creative process that can be greatly enhanced with Blender\"s sculpting tools. This technique allows for detailed and organic shapes to be developed from flat images, offering a hands-on approach to 3D modeling. Follow these steps to use sculpting tools effectively in your 2D to 3D conversion projects.
- Import Your 2D Image: Begin by importing your 2D image into Blender as a reference. Use the \"Images as Planes\" add-on for a straightforward import or set the image in the background of your 3D viewport for guidance.
- Create a Basic Shape: Start with a basic 3D shape that matches the general silhouette of your 2D image. This could be a simple mesh like a cube or sphere that you\"ll sculpt into the desired form.
- Switch to Sculpt Mode: With your basic shape selected, switch to Sculpt Mode. Here, you will have access to a variety of brushes and tools designed for shaping and detailing your model.
- Use Sculpting Brushes: Utilize brushes such as Grab, Inflate, and Smooth to mold your mesh to match the contours and details of your 2D image. The Grab brush is particularly useful for adjusting large areas of your mesh, while the Inflate brush can add volume to specific features.
- Refine Details: As your model starts to take shape, switch to smaller brushes for detailing. The Crease and Pinch brushes are excellent for defining sharp edges and fine details.
- Dynamic Topology: Enable Dynamic Topology (Dyntopo) to add more geometry where needed automatically. This feature is essential for high-detail sculpting, allowing for intricate details without worrying about the initial mesh density.
- Retopology: After sculpting, you may need to retopologize your model for animation or to clean up the mesh. Blender offers tools and add-ons to facilitate retopology, ensuring your model has a clean and efficient topology.
- Apply Materials and Textures: Once satisfied with the sculpt, apply materials and textures to your model. This step will bring your 3D creation to life, adding realism or stylized effects as desired.
Using sculpting tools to convert 2D images into 3D models is a rewarding process that offers unparalleled control over the final appearance of your creations. With practice, you can achieve detailed and organic models that faithfully represent your original 2D designs.
_HOOK_
Utilizing Add-ons and Plugins for Enhanced Conversion
Blender\"s functionality can be significantly expanded with the use of add-ons and plugins, making the conversion from 2D images to 3D models both easier and more efficient. Discover how these tools can streamline your workflow, introduce new features, and elevate the quality of your 3D models.
- Images as Planes: Simplify the process of importing 2D images by using the \"Images as Planes\" add-on. It allows for quick insertion of images into your 3D scene, perfectly setting them up for modeling or as reference images.
- Grease Pencil Tools: Enhance your 2D sketching and animation capabilities with additional Grease Pencil tools. These can offer more brushes, improved stroke smoothing, and advanced animation features, enriching your 2D to 3D workflow.
- Retopology Add-ons: For converting detailed sculptures into animation-ready models, retopology add-ons can be invaluable. They provide tools for creating a clean, efficient mesh topology over your detailed sculpt, saving time and effort.
- Sculpting Enhancements: Sculpting-focused add-ons introduce new brushes, textures, and dynamics to your sculpting toolkit, enabling more intricate detailing and realistic textures on your 3D models.
- Material and Texture Libraries: Quickly apply realistic materials and textures to your models using libraries offered by various add-ons. These can dramatically speed up the process of texturing and material application, offering high-quality results with minimal effort.
- Lighting and Rendering Tools: Improve the final presentation of your 3D models with add-ons designed for advanced lighting and rendering. These tools can help you achieve more realistic or stylized looks, enhancing the visual impact of your projects.
- Animation and Rigging Add-ons: Streamline the animation process with tools that simplify rigging, add automatic walk cycles, or enhance motion capture data. These add-ons can make animating your 3D models more intuitive and less time-consuming.
To install an add-on in Blender, go to Edit > Preferences > Add-ons, and use the Install button to add the downloaded add-on file. Once installed, enable the add-on and configure any settings as needed to integrate it into your workflow.
By leveraging these add-ons and plugins, you can enhance your 2D to 3D conversion process in Blender, making it more versatile, efficient, and enjoyable. Whether you\"re a beginner or an experienced artist, these tools can provide significant benefits to your creative projects.
2D to 3D Using Blender Tracing
Learn how to unleash your creativity with Blender! This powerful software opens up a world of possibilities, allowing you to create stunning 3D animations, games, and visual effects. Join our tutorial and master the art of Blender today!
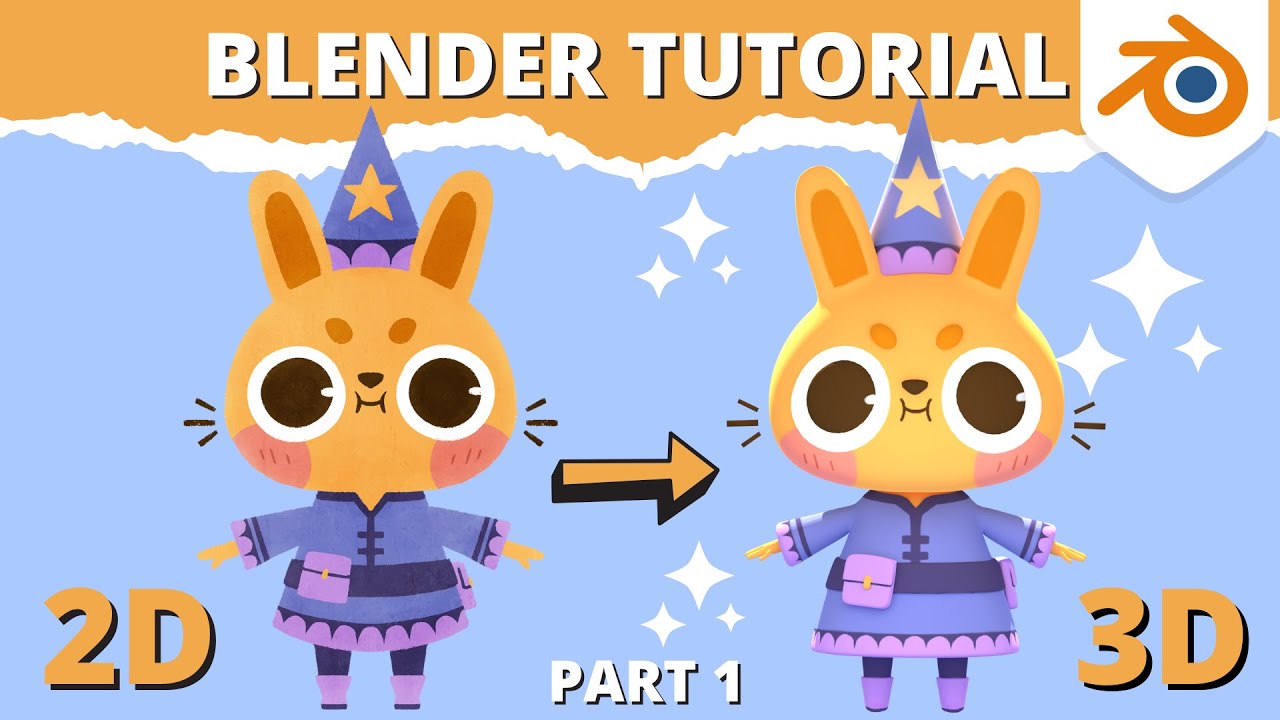
Blender Tutorial - 2D Drawing to 3D Model (Part 1)
Are you eager to expand your skills and acquire new knowledge? Dive into our comprehensive tutorial on Blender and discover the endless possibilities this software offers for 3D modeling, rendering, and animation. Unleash your inner artist and become a Blender expert now!
Texturing and Material Application for 3D Models
Applying textures and materials is a crucial step in bringing your 3D models to life, providing them with color, depth, and realism. This section covers the basics of texturing and material application in Blender, guiding you through the process to achieve professional-looking results.
- Understanding Materials: Materials define the color, shininess, transparency, and texture of your model. In Blender, you create and assign materials using the Shader Editor, where nodes are used to build complex material effects.
- Adding a New Material: Select your model and go to the Material Properties tab. Click \"New\" to add a material. You can customize its properties, such as base color, specular intensity, and roughness, to achieve the desired appearance.
- Applying Textures: Textures are images or procedural patterns that add detail to your materials. To add a texture, switch to the Shader Editor, and add an Image Texture node connected to the Base Color input of the material\"s shader.
- UV Unwrapping: For the texture to correctly map to your model, you must unwrap the model\"s geometry. This process translates the 3D surface into a 2D layout, which can be done automatically or manually for more control.
- Editing the UV Map: After unwrapping, adjust the UV map in the UV Editor to ensure the texture aligns correctly with your model. This may involve moving, scaling, or rotating the UV islands.
- Procedural Texturing: For more dynamic textures, consider using procedural textures. These are generated mathematically and offer endless customization through nodes in the Shader Editor.
- Material Preview: Use the Material Preview mode in the viewport to see how your materials and textures look under different lighting conditions, helping you to adjust and refine them in real-time.
- Rendering: Finally, render your scene to see the full effect of your materials and textures. Adjustments can be made based on the render output to achieve the perfect look for your model.
With practice, you\"ll find that texturing and material application can transform a simple model into a visually compelling asset. Explore different materials and textures to discover the vast creative possibilities Blender offers for your 3D projects.

Lighting and Rendering Techniques for Realistic Output
Lighting and rendering are crucial for achieving realistic outputs in 3D modeling. This section explores advanced techniques in Blender to enhance the realism of your 3D models, ensuring your final renders stand out with lifelike quality.
- Understanding Lighting Basics: Start with three-point lighting, which includes a key light, fill light, and back light. This setup provides depth and dimension to your models, highlighting details effectively.
- Experiment with HDRI Lighting: High Dynamic Range Imaging (HDRI) offers realistic environmental lighting by simulating light from a real-world scene. Use an HDRI as the world background in Blender to add realistic ambient light to your scene.
- Utilize Area Lights for Soft Shadows: Area lights produce softer, more realistic shadows compared to point or spotlights. Adjust the size and intensity of area lights to simulate natural light diffusion.
- Adjust Color Temperature: Lighting isn’t just about intensity; color temperature plays a significant role in mood and realism. Use warmer tones for sunlight and cooler tones for moonlight or artificial lights.
- Work with Volumetric Lighting: For atmospheric effects like fog or light rays, volumetric lighting can add a layer of depth and realism. This is achieved by using the Principled Volume shader in the world’s volume settings.
- Master the Render Settings: Blender’s render engines, such as Cycles and Eevee, offer different benefits. Cycles is a ray-tracing render engine for photorealistic results, while Eevee is a real-time engine for faster previews.
- Post-Processing Effects: Use Blender’s Compositor for post-processing effects. Adjustments like color grading, glare, and bloom can significantly enhance the visual quality of your renders.
- Optimize Render Samples: Adjust the number of samples in your render settings. Higher samples reduce noise for cleaner images but at the cost of longer render times. Find a balance based on your project\"s needs.
By carefully applying these lighting and rendering techniques, you can achieve stunningly realistic results in your 3D projects. Experiment with different settings and effects to find what works best for your specific scene and artistic vision.
Animating 2D to 3D Converted Models in Blender
Animation breathes life into your 2D to 3D converted models, allowing them to move and interact within their environment. This section outlines the steps to animate your models in Blender, from basic motion to complex sequences.
- Rigging Your Model: Begin by creating a skeleton (rig) for your model. This involves placing bones within the mesh to define how it moves. Use the Armature object in Blender to build your rig, aligning bones with the model\"s geometry.
- Weight Painting: Next, assign vertices of your model to the bones using weight painting. This step determines how much influence a bone has over certain parts of the mesh, allowing for smooth deformations during animation.
- Creating Keyframes: With your model rigged, start animating by setting keyframes. Move to the desired frame in the timeline, position your model, and insert a keyframe (I key) for the properties you wish to animate (location, rotation, scale).
- Animation Curves: Blender\"s Graph Editor allows you to fine-tune your animation by adjusting the interpolation curves between keyframes. This controls the speed and timing of movements for more natural motion.
- Using Inverse Kinematics: For more complex animations, consider using inverse kinematics (IK) constraints. IK simplifies the animation of jointed structures, like arms and legs, by allowing you to move the end effector (hand or foot) and having the system calculate the joint angles.
- Adding Modifiers and Constraints: Use modifiers and constraints to add secondary motions and dynamic effects, such as cloth simulation or automatic eye tracking, enhancing the realism of your animations.
- Lip Sync and Facial Expressions: For characters, use shape keys to animate facial expressions and lip sync. Shape keys allow for morphing between different mesh states, perfect for creating talking or emotive characters.
- Preview and Refine: Regularly preview your animation using the Playback feature. Adjust keyframes and motion curves as needed to refine movements and ensure smooth transitions.
Animating your 3D models can be as simple or complex as your project demands. By following these steps and experimenting with Blender\"s rich animation toolset, you can create dynamic and engaging animations that bring your converted models to life.
Tips and Tricks for Efficient Workflow in Blender
Maximizing efficiency in Blender not only speeds up your 3D modeling and animation projects but also enhances your creative process. Here are essential tips and tricks to streamline your workflow and make the most of Blender\"s powerful features.
- Customize Your Interface: Tailor Blender\"s interface to fit your workflow. You can rearrange panels, create custom workspaces, and use shortcuts to access your most-used tools quickly.
- Use Collections to Organize Your Scene: Keep your project organized by grouping objects into collections. This makes managing complex scenes easier, allowing you to hide, lock, or selectively render groups of objects.
- Implement Add-ons for Enhanced Functionality: Blender\"s community offers a wide range of add-ons that can introduce new tools or streamline existing processes. Explore and install add-ons that cater to your specific needs.
- Master Keyboard Shortcuts: Learning Blender\"s keyboard shortcuts can dramatically speed up your workflow. Familiarize yourself with shortcuts for commonly used actions to reduce reliance on the mouse.
- Utilize Proportional Editing for Smooth Transitions: Proportional editing allows you to move or modify a group of vertices together, creating smoother transitions on your models. This is especially useful for organic shapes.
- Save Incrementally: Protect your work by saving incrementally. Use Blender\"s built-in versioning system (File > Save As and then click on the \"+\" button) to create backups of your project at different stages.
- Preview Renders with Eevee: Use Blender\"s Eevee render engine for quick preview renders. Eevee provides a fast, real-time look at your scene, which is invaluable for adjusting lighting, materials, and camera angles without the wait time of full renders.
- Optimize Your Models: Keep your models optimized by applying modifiers only when necessary and using lower-polygon geometry for distant objects. This will help maintain high performance and faster rendering times.
By incorporating these tips into your Blender workflow, you can work more efficiently, leaving more time to focus on the creative aspects of your projects. Remember, every artist has a unique process, so adapt these suggestions to fit your personal workflow.
_HOOK_
READ MORE:
Case Studies: Successful 2D to 3D Conversion Projects
Exploring real-world examples can provide invaluable insights into the 2D to 3D conversion process, showcasing the potential of Blender in transforming ideas into tangible 3D models. Here are case studies highlighting successful projects that navigated the journey from 2D sketches to stunning 3D creations.
- Animated Short Films: Many independent animators have utilized Blender to bring their 2D storyboards to life. By carefully rigging and animating 3D models based on 2D art, creators have produced award-winning short films that demonstrate the seamless integration of 2D artistry with 3D animation techniques.
- Video Game Development: Indie game developers often start with 2D concept art to envision their game\"s world and characters. Blender has been instrumental in these projects, allowing artists to convert their concepts into 3D assets used in game engines, contributing to the development of immersive gaming experiences.
- Architectural Visualization: Architects and designers frequently rely on Blender to turn 2D blueprints into 3D architectural models. These projects highlight Blender\"s capacity for detailed modeling, texturing, and rendering, offering clients a virtual tour of their projects before any real-world construction begins.
- Product Design and Prototyping: From conceptual sketches to 3D prototypes, Blender aids designers in visualizing and refining product designs. Case studies in this field demonstrate how 2D to 3D conversion can streamline the development process, from initial concept to final product visualization and testing.
- Historical Reconstructions: Blender has also been used in educational and cultural projects to reconstruct historical sites and artifacts from 2D images and drawings. These reconstructions provide a 3D perspective on historical studies, making them accessible and engaging for a wider audience.
These case studies illustrate the versatility and power of Blender in various fields, from entertainment and gaming to architecture and education. They serve as inspiration for artists and designers seeking to explore the endless possibilities offered by 2D to 3D conversion.
Embark on a transformative journey with Blender, where your 2D visions evolve into breathtaking 3D realities. Master the art of conversion and unlock endless creative possibilities, shaping the future of your digital artistry.