Topic retopology blender: Discover the transformative power of retopology in Blender, enhancing your 3D modeling workflow for smoother, more efficient animations and game assets. Master this essential skill to elevate your digital creations.
Table of Content
- How to perform retopology in Blender using free tools and add-ons?
- Understanding Retopology
- Tools and Add-ons for Retopology in Blender
- Best Practices for Clean Topology
- Learning Resources
- Conclusion
- Tools and Add-ons for Retopology in Blender
- Best Practices for Clean Topology
- Learning Resources
- YOUTUBE: Blender Secrets: Retopo Settings
- Conclusion
- Best Practices for Clean Topology
- Learning Resources
- Conclusion
- Learning Resources
- Conclusion
- Conclusion
- Introduction to Retopology in Blender
- Why Retopology is Essential in 3D Modeling
- Key Tools and Add-ons for Blender Retopology
- Step-by-Step Guide to Retopology in Blender
- Best Practices for Effective Retopology
- Common Challenges and Solutions in Retopology
- Advanced Techniques and Tips for Blender Retopology
- Learning Resources and Tutorials for Blender Retopology
- Case Studies: Successful Retopology Projects in Blender
- Future Trends in Retopology and Blender Developments
- Conclusion: Enhancing Your 3D Modeling Workflow with Retopology
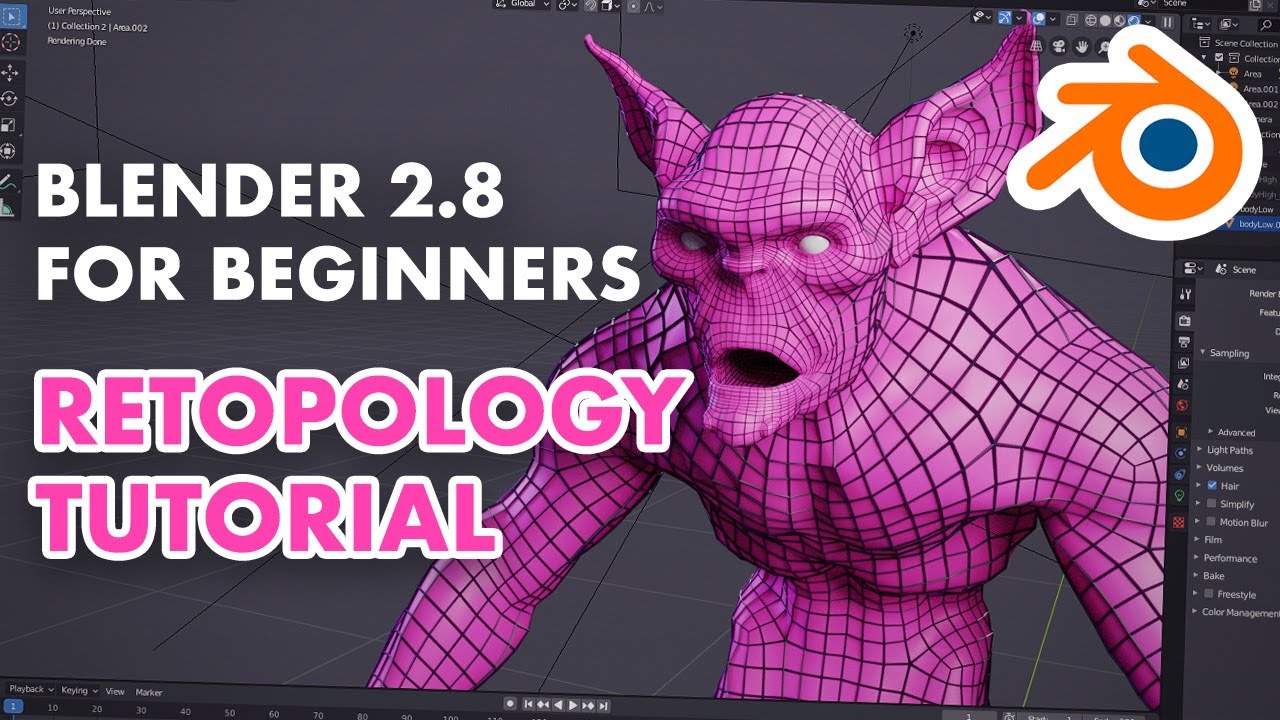
How to perform retopology in Blender using free tools and add-ons?
To perform retopology in Blender using free tools and add-ons, you can follow the following steps:
- Open Blender and import the high-resolution mesh that you want to perform retopology on.
- Create a new mesh by adding a plane or a cube, which will serve as the base for your retopology.
- Enable the \"Retopology\" add-on in Blender. To do this, go to \"Edit\" on the top menu, then \"Preferences,\" and under \"Add-ons,\" search for \"Retopology.\" Enable the add-on by checking the box next to it.
- With the new mesh selected, go to the \"Retopology\" tab in the right-hand properties panel.
- Choose the desired retopology tool. Blender offers several tools for retopology, such as \"Grease Pencil,\" \"Poly Build,\" or \"Quad Remesher.\"
- Start tracing the new topology over the high-resolution mesh using the selected tool. You can use vertex snapping to align the new vertices with the existing mesh.
- Adjust the topology as needed by adding or removing vertices, and aligning them to create a clean and efficient mesh.
- Once you have finished the retopology, you can use the \"Shrinkwrap\" modifier to project the new mesh onto the high-resolution mesh, making sure it conforms to the surface.
- Apply the \"Shrinkwrap\" modifier and delete the high-resolution mesh, leaving only the retopologized mesh.
- Finally, you can add additional details or further refine the retopologized mesh as required.
- When you are satisfied with the result, you can export the retopologized mesh for further use.
READ MORE:
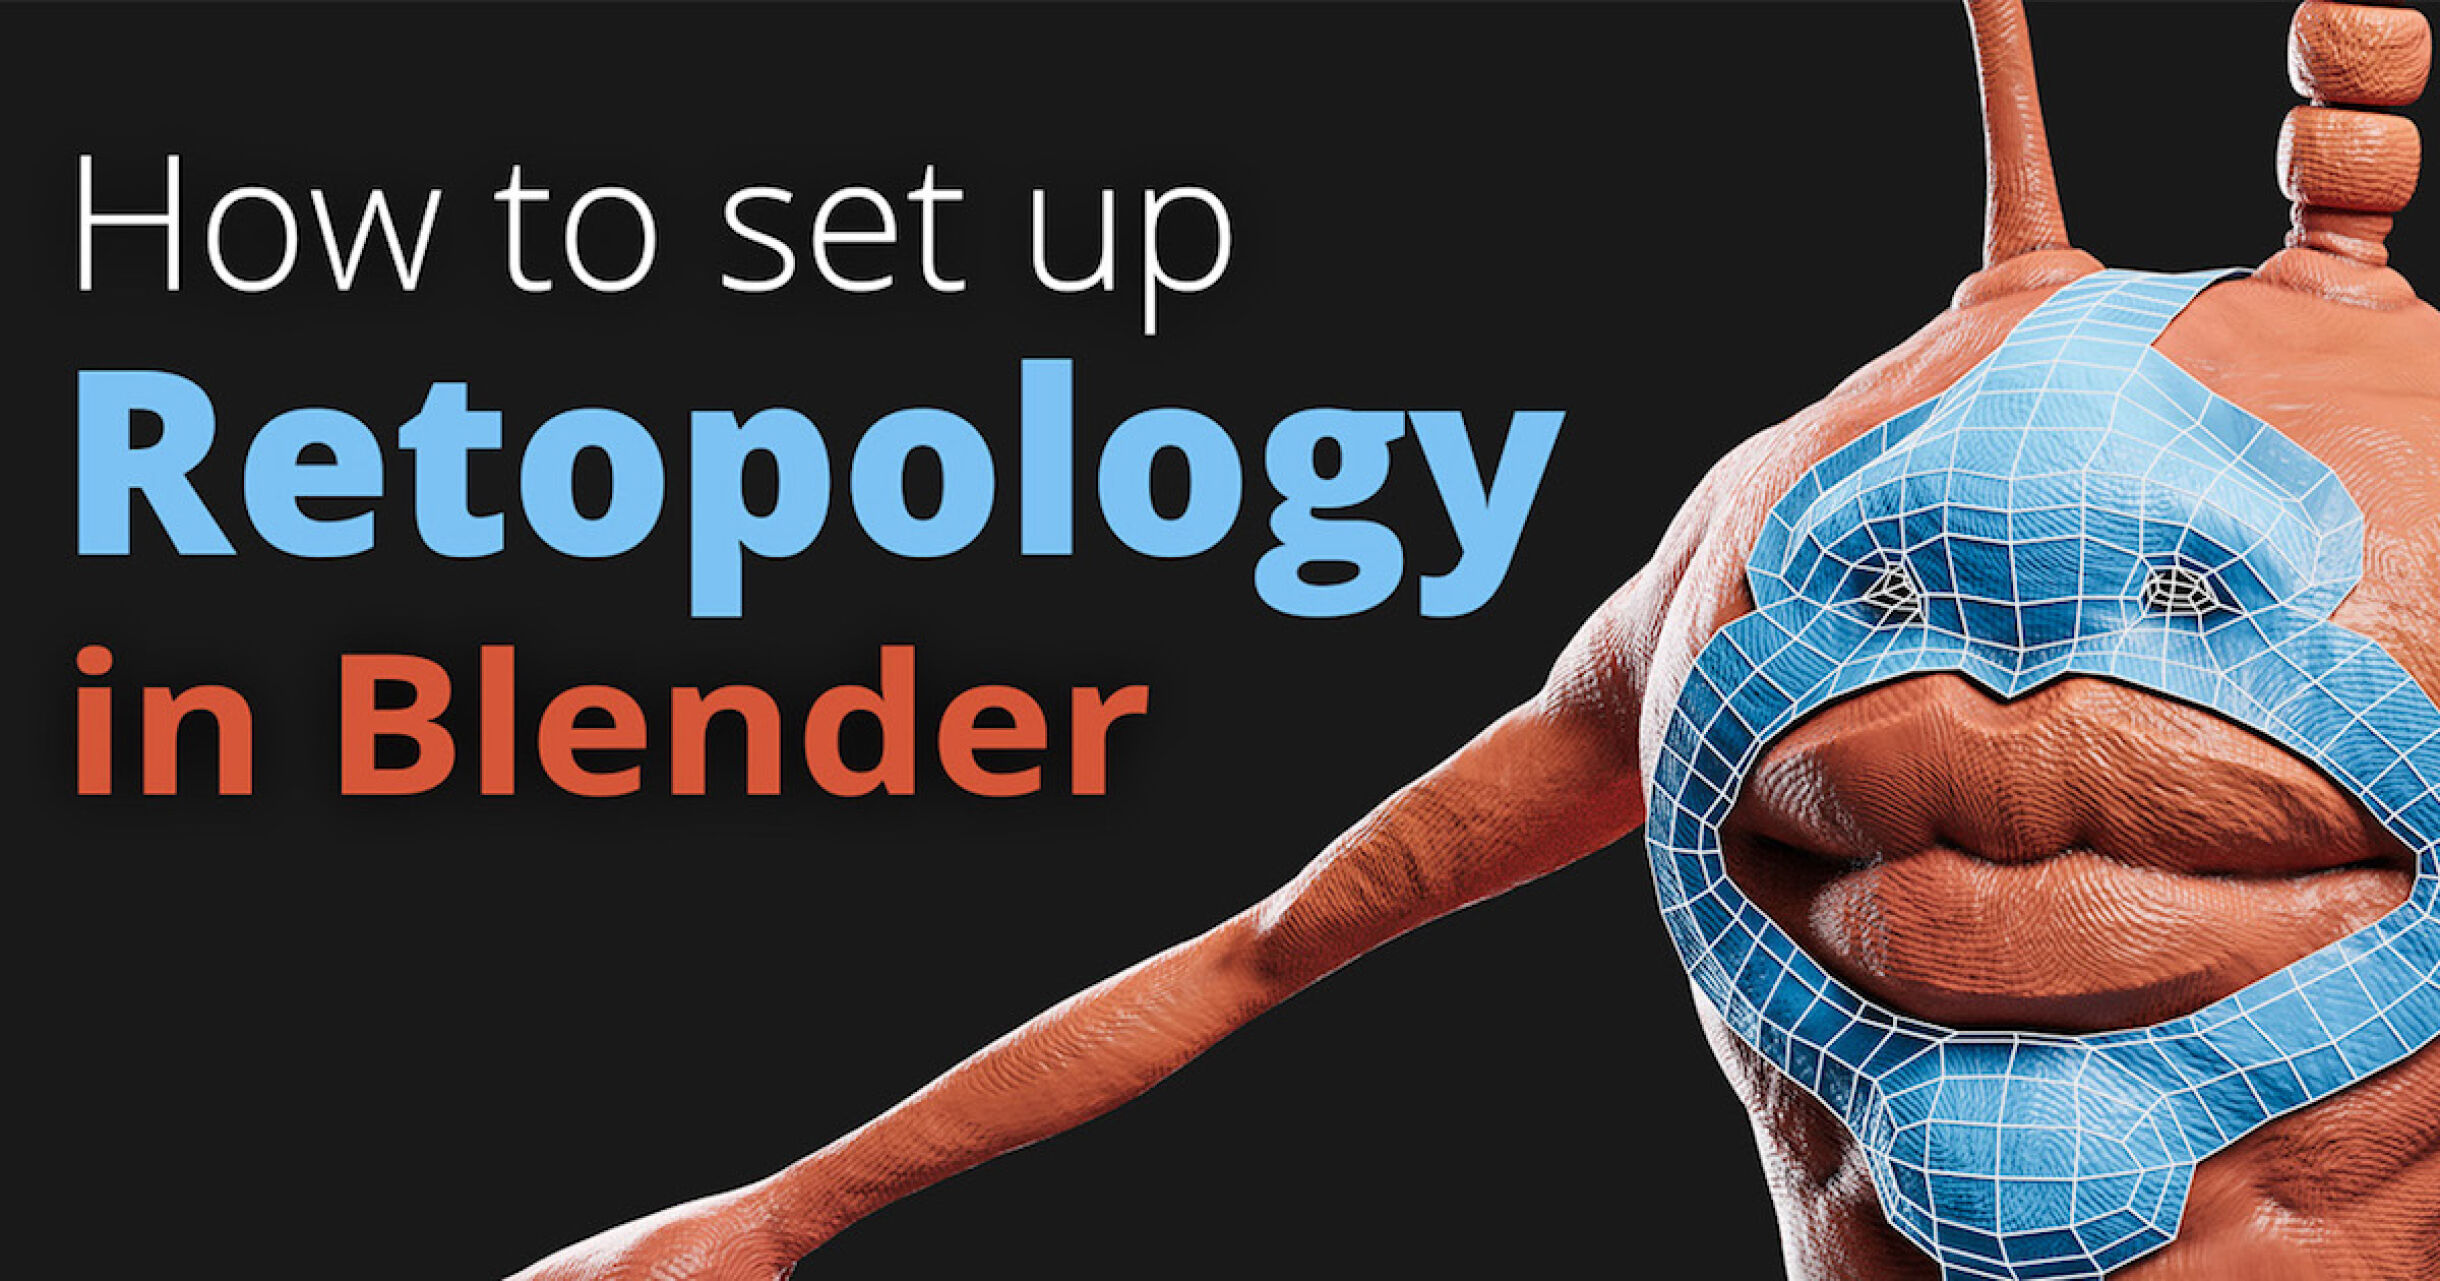
Understanding Retopology
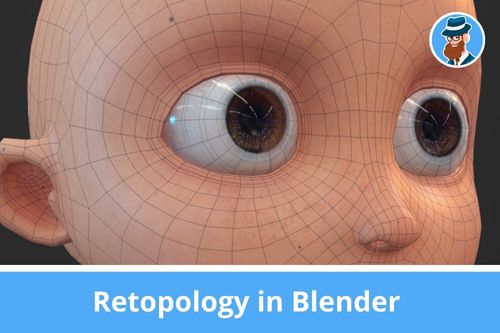
Retopology involves converting high-resolution models into more manageable, low-polygon meshes without sacrificing too much detail. This is essential for animation, game asset creation, and any scenario where performance is a concern.

Tools and Add-ons for Retopology in Blender
RetopoFlow
RetopoFlow is a comprehensive retopology toolkit designed to make the process more intuitive and efficient. It offers a sketch-based workflow, allowing artists to draw topology lines directly on their models.
Built-in Blender Tools
- Poly Build Tool: Allows for quick placement and adjustment of vertices and edges.
- Shrinkwrap Modifier: Conforms the retopology mesh to the surface of the high-resolution model.
- Snapping: Helps in aligning the new topology precisely to the original model.

Best Practices for Clean Topology
- Strive for an all-quad mesh to ensure smooth deformations during animation.
- Maintain even spacing between vertices for a uniform mesh density.
- Use edge loops to define areas of high deformation, such as joints and facial expressions.
Learning Resources
Several tutorials and guides are available that cover the retopology process in Blender from beginner to advanced levels. These resources often include step-by-step instructions, tips for efficient workflows, and how to use specific tools and modifiers.

_HOOK_
Conclusion
Whether you\"re a seasoned artist or new to 3D modeling, mastering retopology in Blender can significantly improve the quality and performance of your models. By leveraging Blender\"s retopology tools and following best practices, you can create clean, efficient meshes ready for animation and game development.

Tools and Add-ons for Retopology in Blender
RetopoFlow
RetopoFlow is a comprehensive retopology toolkit designed to make the process more intuitive and efficient. It offers a sketch-based workflow, allowing artists to draw topology lines directly on their models.
Built-in Blender Tools
- Poly Build Tool: Allows for quick placement and adjustment of vertices and edges.
- Shrinkwrap Modifier: Conforms the retopology mesh to the surface of the high-resolution model.
- Snapping: Helps in aligning the new topology precisely to the original model.
Best Practices for Clean Topology
- Strive for an all-quad mesh to ensure smooth deformations during animation.
- Maintain even spacing between vertices for a uniform mesh density.
- Use edge loops to define areas of high deformation, such as joints and facial expressions.
Learning Resources
Several tutorials and guides are available that cover the retopology process in Blender from beginner to advanced levels. These resources often include step-by-step instructions, tips for efficient workflows, and how to use specific tools and modifiers.

Blender Secrets: Retopo Settings
\"Discover the secrets of optimizing your device\'s settings to enhance performance, accessibility, and overall user experience. Dive into this video to unlock the full potential of your device!\"
Blender Secrets: Retopo Tips with F2 Add-On
\"Looking for ways to streamline your workflow and improve efficiency? This video is packed with expert tips and tricks that will empower you to work smarter, not harder. Don\'t miss out!\"
Conclusion
Whether you\"re a seasoned artist or new to 3D modeling, mastering retopology in Blender can significantly improve the quality and performance of your models. By leveraging Blender\"s retopology tools and following best practices, you can create clean, efficient meshes ready for animation and game development.
_HOOK_
Best Practices for Clean Topology
- Strive for an all-quad mesh to ensure smooth deformations during animation.
- Maintain even spacing between vertices for a uniform mesh density.
- Use edge loops to define areas of high deformation, such as joints and facial expressions.
Learning Resources
Several tutorials and guides are available that cover the retopology process in Blender from beginner to advanced levels. These resources often include step-by-step instructions, tips for efficient workflows, and how to use specific tools and modifiers.
Conclusion
Whether you\"re a seasoned artist or new to 3D modeling, mastering retopology in Blender can significantly improve the quality and performance of your models. By leveraging Blender\"s retopology tools and following best practices, you can create clean, efficient meshes ready for animation and game development.
_HOOK_
Conclusion
Whether you\"re a seasoned artist or new to 3D modeling, mastering retopology in Blender can significantly improve the quality and performance of your models. By leveraging Blender\"s retopology tools and following best practices, you can create clean, efficient meshes ready for animation and game development.
Introduction to Retopology in Blender
Retopology in Blender is a fundamental technique for artists and designers working in 3D modeling. This process involves creating a new, more efficient mesh that retains the essential details of a complex or high-polygon original model. It\"s particularly crucial for animation, game development, and any application requiring optimized models.
Blender, with its comprehensive set of tools and community-developed add-ons, stands out as a premier environment for retopology. This section introduces the basics of retopology, its significance, and how Blender facilitates this process with its powerful features.
- Why Retopology: Learn why retopology is a critical step in the 3D modeling workflow, especially for animation and game asset creation.
- Tools for Retopology in Blender: Discover the key tools and features within Blender that make retopology more accessible and efficient, including the Poly Build tool, Shrinkwrap modifier, and various snapping options.
- Getting Started with Retopology: Step-by-step guidance on beginning your retopology project in Blender, from setting up your workspace to selecting the right tools for your needs.
- Best Practices: Tips and strategies for achieving clean, efficient topology that meets industry standards and optimizes your models for performance.
Whether you\"re refining a sculpt for animation rigging or optimizing a character model for a video game, understanding the retopology process in Blender is essential. This introduction aims to equip you with the knowledge to start transforming your complex models into optimized, high-performance assets.
Why Retopology is Essential in 3D Modeling
Retopology is a pivotal step in the 3D modeling process, serving a vital role in preparing complex models for practical use across various applications. This section delves into the critical reasons why retopology is indispensable for 3D artists and modelers.
- Optimizes Meshes for Animation: Retopology helps in creating a mesh with the optimal number of polygons, ensuring smooth animations without overloading the system.
- Improves Performance in Games: For game development, retopology is essential to reduce the polygon count of models, enhancing game performance and load times without compromising visual quality.
- Facilitates High-Quality Texturing: A well-topologized model allows for better UV unwrapping and texturing, leading to more detailed and realistic textures.
- Enhances Rigging and Weighting: Clean topology ensures that rigs deform naturally, making the weight painting process more straightforward and effective.
- Makes Future Edits Easier: A model with clean, organized topology is much easier to modify, update, or repurpose for different projects.
Understanding the essence of retopology underscores its importance in creating efficient, high-quality 3D models. Whether it\"s for animations, game assets, or visual effects, mastering retopology in Blender can significantly elevate the quality and functionality of your digital creations.
Key Tools and Add-ons for Blender Retopology
Blender offers an impressive array of built-in tools and third-party add-ons specifically designed to streamline the retopology process. This section highlights the most essential tools and add-ons that Blender artists can utilize to achieve optimal results in retopology.
- RetopoFlow: A powerful add-on that provides a suite of specialized tools for retopology, making it easier to create clean, efficient meshes directly on top of your high-res models.
- Shrinkwrap Modifier: This modifier allows your retopology mesh to conform closely to the surface of the original model, ensuring accuracy while simplifying the process.
- Snapping Tool: Blender\"s snapping feature is crucial for retopology, as it enables vertices to snap precisely to the surface of the target model, facilitating manual retopology efforts.
- Grease Pencil: For planning and guiding the flow of topology, the Grease Pencil tool allows artists to draw directly on the 3D viewport, outlining important features and edge flows.
- Poly Build Tool: This tool is particularly useful for manually adding and adjusting topology. It allows for the intuitive placement and removal of vertices and edges on the fly.
Each tool and add-on serves a specific purpose in the retopology workflow, from initial planning with Grease Pencil to refining the mesh with RetopoFlow or the Poly Build tool. Leveraging these resources can significantly enhance the efficiency and quality of your retopology projects in Blender.
Step-by-Step Guide to Retopology in Blender
Retopology in Blender can seem daunting at first, but with the right approach, it becomes a straightforward and rewarding process. Follow this step-by-step guide to transform your high-poly models into optimized, animation-ready assets.
- Prepare Your Model: Start by importing your high-resolution model into Blender. Ensure it\"s clean and ready for retopology.
- Setup the Workspace: Adjust your Blender workspace for retopology. This might include configuring the viewport for better visibility of the high-poly model and the retopology mesh.
- Use a Shrinkwrap Modifier: Add a Shrinkwrap modifier to your new mesh to make it conform to the surface of the high-poly model. This step is crucial for maintaining accuracy.
- Start with Basic Forms: Begin by creating the basic forms and shapes of your model. Use the Poly Build tool or similar to block out the main features.
- Refine the Topology: Once the basic forms are in place, start refining the topology. Focus on maintaining an all-quad mesh for better deformation.
- Add Details Gradually: Increase the level of detail gradually, ensuring that each addition respects the flow and structure of the underlying topology.
- Use RetopoFlow for Efficiency: If you have the RetopoFlow add-on, use its specialized tools to streamline the retopology process, especially for complex areas.
- Check for Errors: Regularly check your mesh for topology errors such as n-gons or poles with more than five edges. Use Blender\"s Clean Up tools to fix these issues.
- Finalize and Optimize: Once you\"re satisfied with the topology, finalize your mesh. Optimize it further if necessary, ensuring it\"s ready for texturing, rigging, or animation.
This guide provides a foundation for your retopology projects in Blender. With practice, you\"ll develop a workflow that suits your style and meets the demands of your 3D modeling projects.
_HOOK_
Best Practices for Effective Retopology
Adhering to best practices in retopology not only streamlines the process but also ensures the highest quality results. These guidelines are designed to help you achieve clean, efficient, and animation-ready models.
- Focus on Topology Flow: Pay attention to the flow of your topology, especially around areas of high deformation. This ensures that your model deforms naturally during animation.
- Maintain Consistent Edge Loops: Consistent edge loops are crucial for maintaining the structural integrity of your model, making it easier to add details and textures later on.
- Use Quads Wherever Possible: Quad-based topology is preferred because it deforms more predictably than triangles or n-gons, especially in animation and sculpting.
- Keep Geometry Evenly Distributed: Uniform distribution of geometry prevents issues in rendering and deformation, resulting in a smoother and more realistic model.
- Minimize Pole Usage: Poles (vertices where more than four edges converge) can cause pinching. Use them sparingly and strategically to avoid deformation issues.
- Optimize for Animation: If your model is intended for animation, ensure the topology supports the range of motion required, particularly around joints and facial features.
- Use the Mirror Modifier for Symmetry: For models that are symmetrical, use Blender\"s Mirror Modifier to save time and ensure consistency across both halves.
- Regularly Review Your Work: Periodically step back and review your model from different angles to catch any potential issues early in the process.
By integrating these best practices into your retopology workflow, you can create models that are not only visually appealing but also highly functional for animation, game development, and other 3D applications.
Common Challenges and Solutions in Retopology
Retopology is a crucial step in 3D modeling, but it comes with its own set of challenges. Understanding these common hurdles and knowing how to overcome them can make the process smoother and more efficient.
- Dealing with High-Poly Models: High-poly models can be cumbersome to work with. Solution: Use Blender\"s decimate modifier to simplify the model before starting retopology, ensuring a smoother workflow.
- Managing Complex Topology: Complex areas like faces or hands can be tricky. Solution: Break down the process into smaller, manageable sections and use reference lines with the Grease Pencil to plan your topology.
- Achieving Smooth Deformations: It\"s challenging to ensure smooth deformations around joints and other moving parts. Solution: Place extra edge loops in these areas to allow for more flexibility during animation.
- Ensuring Uniform Mesh Density: Uniform mesh density is crucial for a natural-looking model. Solution: Regularly check your mesh density and use tools like the Poly Build tool to add or remove geometry as needed.
- Avoiding N-gons: N-gons can cause rendering and deformation problems. Solution: Always strive for quads in your topology and use the Knife or Loop Cut tools to convert n-gons into quads.
- Maintaining Symmetry: Keeping both sides of a model symmetrical can be challenging. Solution: Use the Mirror Modifier effectively, ensuring any edits on one side are mirrored to the other.
These challenges, while common, can be effectively managed with the right strategies and tools. By anticipating these issues and applying these solutions, you can enhance your retopology workflow in Blender and achieve better results.
Advanced Techniques and Tips for Blender Retopology
Once you\"ve mastered the basics of retopology in Blender, you can elevate your skills further with advanced techniques and tips. These strategies can help you tackle more complex projects with efficiency and precision.
- Custom Normals for Smoother Surfaces: Utilize Blender\"s Data Transfer modifier to transfer custom normals from your high-poly model to the retopologized mesh, ensuring smoother surface appearances without increasing polygon count.
- Topology Guides with Grease Pencil: Use the Grease Pencil to draw topology guides directly on your model. This can help plan out edge flows around complex areas like the face or joints.
- Use of the F2 Add-on for Faster Filling: The F2 add-on enhances Blender\"s Fill tool, making it faster and more intuitive to fill in faces during retopology.
- Edge Slide for Optimal Edge Placement: Use the Edge Slide tool to adjust the position of edges without altering the overall shape of your model, allowing for finer control over topology.
- Controlling Mesh Density with Loops: Insert edge loops strategically to control mesh density in areas that require more detail, ensuring that the added geometry serves a purpose.
- Mirror Modifier for Symmetrical Models: To ensure perfect symmetry, apply the Mirror Modifier with clipping enabled. This prevents vertices from crossing the mirror plane during editing.
- Snapping for Precision: Enable Blender\"s snapping feature to precisely place vertices on the high-poly model, ensuring accuracy in your retopologized mesh.
These advanced techniques and tips can significantly improve your retopology process in Blender, allowing you to create more detailed, efficient, and high-quality models. Experimenting with these strategies will enable you to find the best approach for your specific projects.
Learning Resources and Tutorials for Blender Retopology
Mastering retopology in Blender is an essential skill for any 3D artist, and thankfully, there are numerous resources available to help you learn and refine your technique. From beginner to advanced levels, these resources cover everything you need to know about retopology in Blender.
- Blender Official Documentation: Start with the basics by exploring the official Blender manual. It offers comprehensive guides on all tools relevant to retopology.
- YouTube Tutorials: YouTube is a treasure trove of tutorials covering Blender retopology. Look for tutorials by well-known Blender artists and educators for both fundamental concepts and advanced techniques.
- BlenderNation: BlenderNation regularly features tutorials, articles, and news updates, including tips on retopology and related workflows.
- Online Courses: Platforms like Udemy, Coursera, and Skillshare offer in-depth courses on Blender, including specific classes focused on retopology. These courses often range from beginner to expert levels.
- Blender Artists Forum: The Blender Artists community is an excellent place to ask questions, share your work, and receive feedback from fellow Blender users.
- RetopoFlow: While RetopoFlow is an add-on, it also comes with its own set of tutorials designed to help you make the most of its features for efficient retopology.
Utilizing these resources can dramatically improve your retopology skills in Blender. Practice regularly, and don\"t hesitate to experiment with different tools and techniques to find what works best for your projects.
Case Studies: Successful Retopology Projects in Blender
Examining successful retopology projects can provide valuable insights into the process, challenges, and solutions employed by professionals and talented enthusiasts alike. Here are several case studies that highlight the effectiveness and versatility of Blender\"s retopology tools in various projects.
- Character Modeling for Animation: A detailed case study of a character model retopologized for animation, focusing on maintaining edge flow for facial expressions and body movements.
- Game Asset Creation: An exploration of the retopology process for a complex game asset, demonstrating how to reduce polygon count while preserving detail for real-time rendering.
- Architectural Visualization: A project showcasing the use of retopology in architectural visualization to simplify models of intricate structures, making them suitable for VR applications.
- 3D Sculpting to Production Model: A breakdown of converting a high-poly sculpt into a production-ready model, emphasizing topology optimization for manufacturing processes.
- Visual Effects (VFX): An analysis of a VFX project where retopology was crucial in creating realistic deformations and interactions with the environment.
These case studies demonstrate the critical role of retopology in various fields, including animation, game development, architectural visualization, product design, and visual effects. They serve as inspiring examples for Blender users looking to enhance their retopology skills and apply them to their own projects.
_HOOK_
Future Trends in Retopology and Blender Developments
As the 3D modeling and animation industry continues to evolve, so too do the tools and techniques used by artists and designers. Blender, being at the forefront of this evolution, is continuously updated to meet the needs of its users. Here are some anticipated trends in retopology and future developments in Blender.
- AI and Machine Learning Integration: The integration of AI and machine learning could revolutionize retopology by automating parts of the process, making it faster and more efficient.
- Improved Interactive Tools: Future versions of Blender are expected to introduce more interactive retopology tools, allowing for real-time adjustments with greater precision and control.
- Enhanced Add-ons and Plugins: The development of specialized add-ons and plugins, including those by third-party developers, will continue to enhance Blender\"s retopology capabilities.
- Virtual Reality (VR) Support: With the rise of VR, retopology tools may evolve to support VR environments, enabling artists to work on models in a more immersive setting.
- Community-Driven Features: The Blender community plays a significant role in the software\"s development. User feedback and suggestions will likely shape future retopology tools and features.
- Global Collaboration Platforms: Advancements in cloud computing and online collaboration tools could make it easier for teams to work on retopology projects together, regardless of their physical location.
Staying abreast of these trends and developments will be crucial for 3D artists and Blender users wanting to leverage the latest in retopology techniques and technology.
READ MORE:
Conclusion: Enhancing Your 3D Modeling Workflow with Retopology
Retopology is not just a step in the 3D modeling process; it\"s a critical technique that enhances the quality, efficiency, and functionality of your models. Whether you\"re working on intricate character designs for animation, detailed architectural visualizations, or optimized assets for game development, mastering retopology in Blender can elevate your work to new heights.
By incorporating the tools, techniques, and best practices discussed throughout this guide, you can streamline your workflow, overcome common challenges, and unlock the full potential of your 3D projects. The future of retopology in Blender looks promising, with ongoing developments aimed at making the process even more intuitive and powerful.
Embrace retopology as a vital skill in your 3D modeling arsenal. With practice, patience, and a willingness to explore new tools and techniques, you can achieve stunning results that stand out in the digital world. Remember, the journey to retopology mastery is a continuous learning process, enriched by each project you undertake and every challenge you overcome.
Embrace the power of retopology in Blender to transform your 3D modeling projects. With the right tools and techniques, you can unlock unparalleled creativity and efficiency, propelling your digital art to professional heights.
